


Easily Display Them in Your Kitchen...

How can you easily use pallets wood!!!
And just a few slats...
In this article I am showing you how you can create a simple wine glass Rack for with pallet wood that we can all find around in the street...
Alright let's make it happen...
To receive a free 3D plan, support us by signing up to our newsletter and sharing with your friends at the following link...
Here you will find a preview video of the creation!
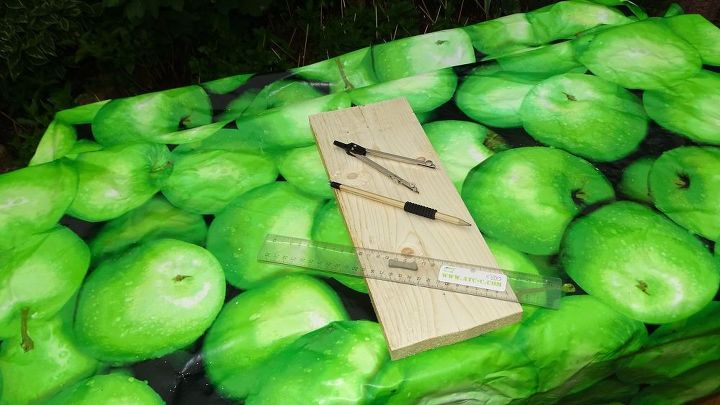
Step 1: To start, I will have to determined the middle of this slat in order to trace a line that will help me afterward to create an half circle with my compass…
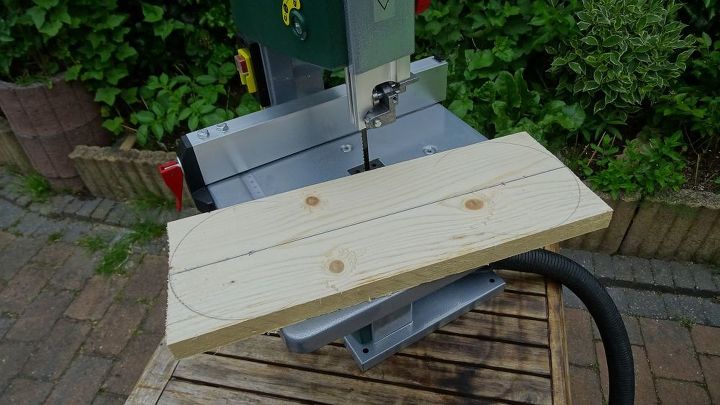
And now that the half circles are made, time to move to my band saw to make the cut.
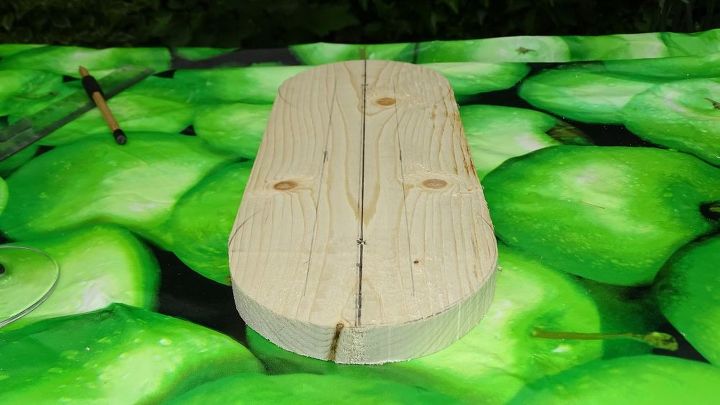
Before using the router, I will use one wine glass to know where exactly i will need to trace the line in order to create the sliding gaps…
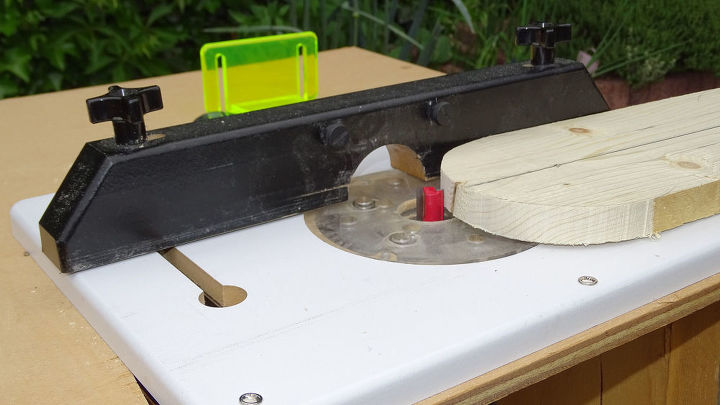
Step 2: To properly do it, I am starting at the edge of the slat to slowly drive my way in, until I have reached the limit lines...
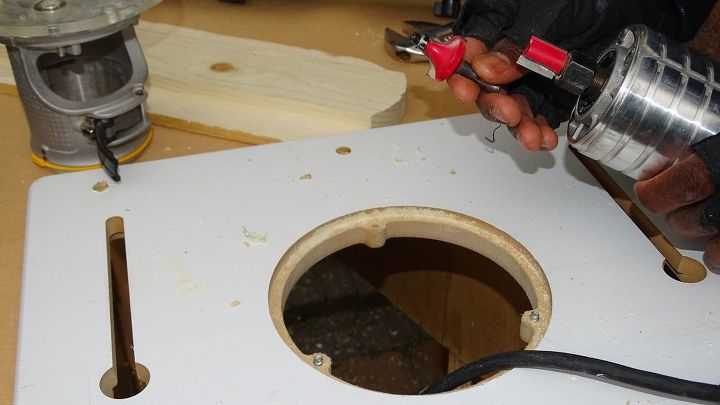
Now time to move back to my round over bit in order to round up a little the edges…

Step 3: But before that as I wanted to make sure all 4 sides are done at the same time, I am moving one last time to the band saw in order to divide them both…
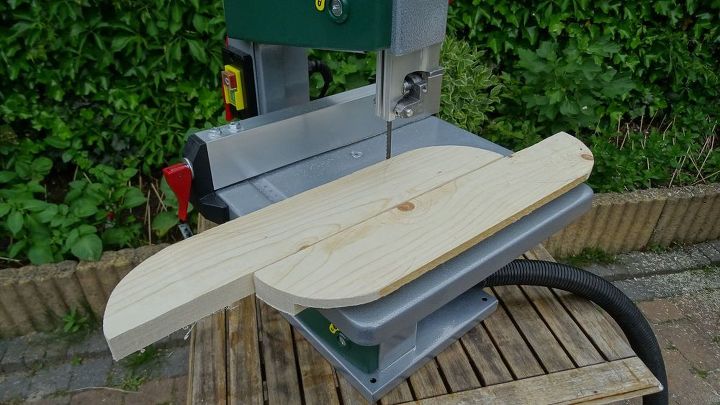
After using my band saw...
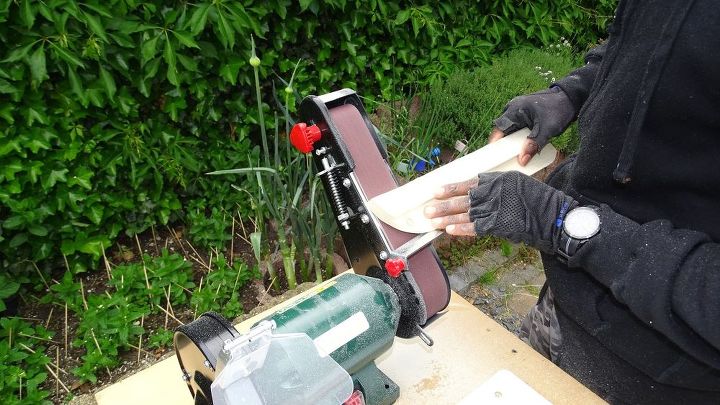
Step 4: Before going to any painting process, I am moving to my belt sander to this time smooth down both side…
This belt sander is a new one that I just got again from Parkside and if you would like to have more information about it feel free to let us know in the comments below and we'll share a nice article for you...
And remember to keep between both a gap of at least 2.5 cm in order to slide the glasses

Moving now to one of my favorite part, the wood burning… which will create a rustic effect and perfectly match with the kitchen design and color…
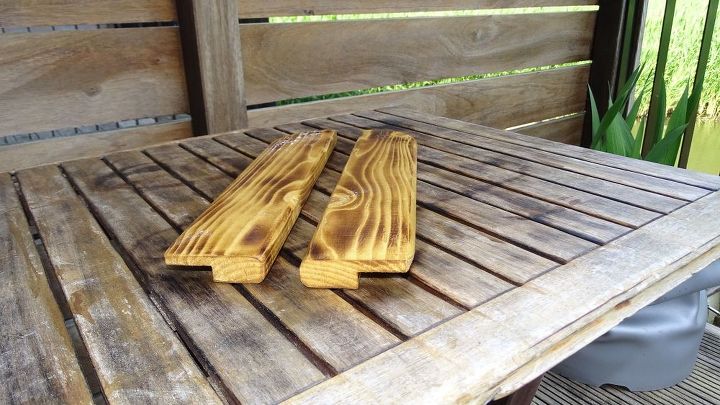
Step 5: Some more sanding… Followed by some wood lacquer
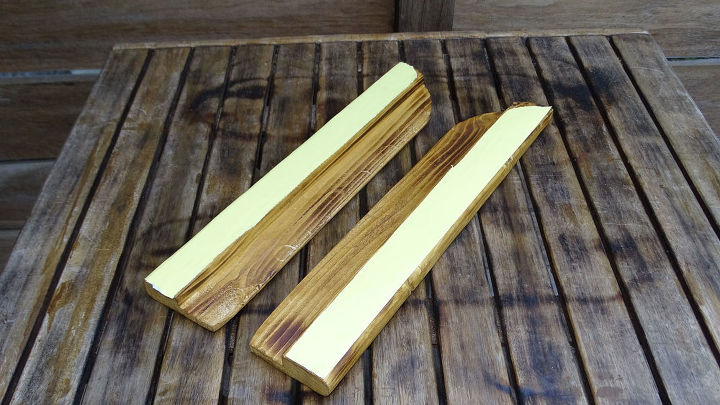
To finally apply thin layer of transparent spray
And note that to fix under the kitchen cabinets, I will be using here some double sided tape but keep in mind that this will be only for showing purposes. To properly fix them, I will advise you to create some holes and use screws from around 3 cm long...
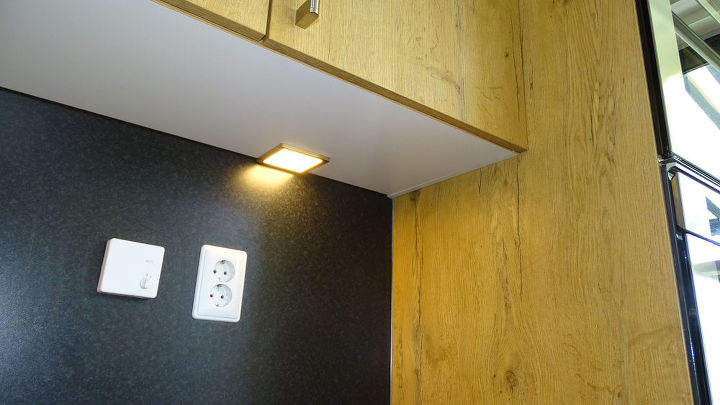
Here you will find what this corner was looking like before
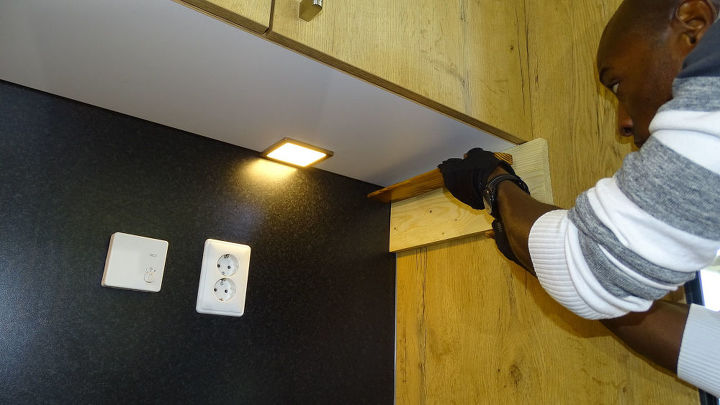
Step 6: fixing the design
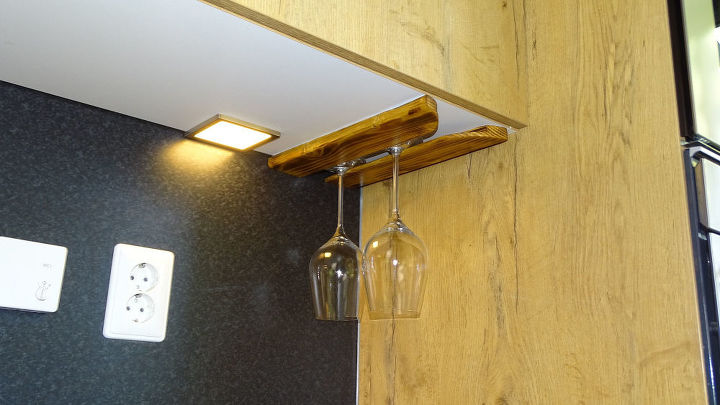
To finally have this new design in our kitchen!
I hope that you like it Guys… This was a small and easy project I wanted to share with you and if you need to see more feel free to join my youtube channel at the link below this article


Frequently asked questions
Have a question about this project?