


DIY Hand Painted Wall Mural
Sometimes you see the perfect thing, yet it's unattainable for one reason or another. Why not paint it instead?
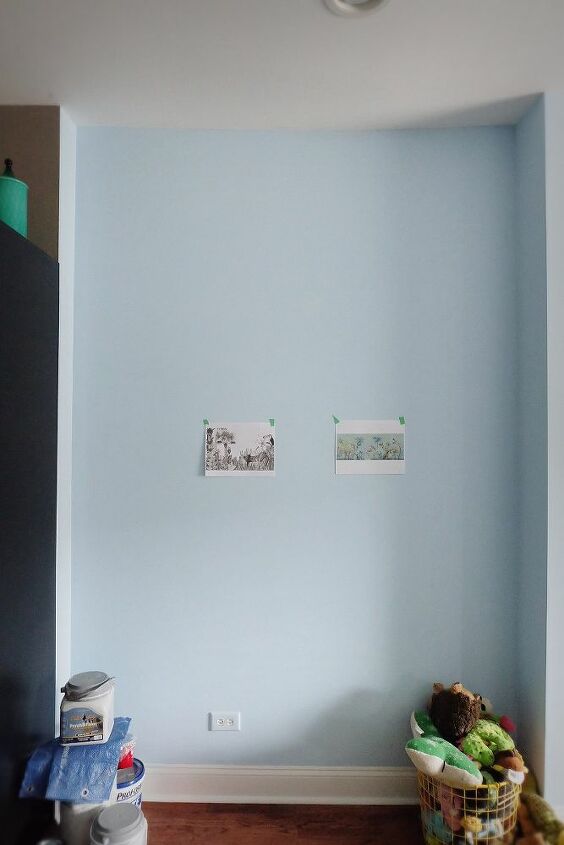
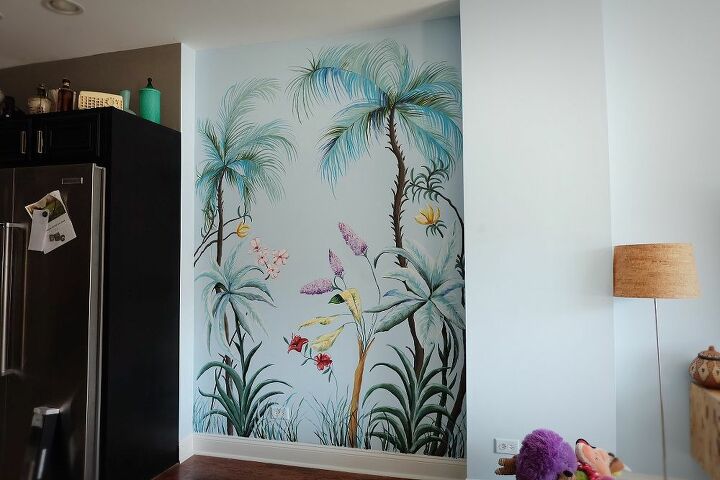
We have this awkward blank space between our living room and kitchen, see. I have big plans for this area now though.
Part of that plan included painting a wall mural. I had discovered this amazing image on Instagram and felt it would fit seamlessly with my plan. Well, then I became torn between 2 images but went with the first.
Over on the blog post, you'll find a life lesson which relates here. After receiving a no vote originally, I went ahead and painted it anyway. Ahem. Patient husband, I love him.
Even if you feel as though you have zero artistic skills, you can do this.
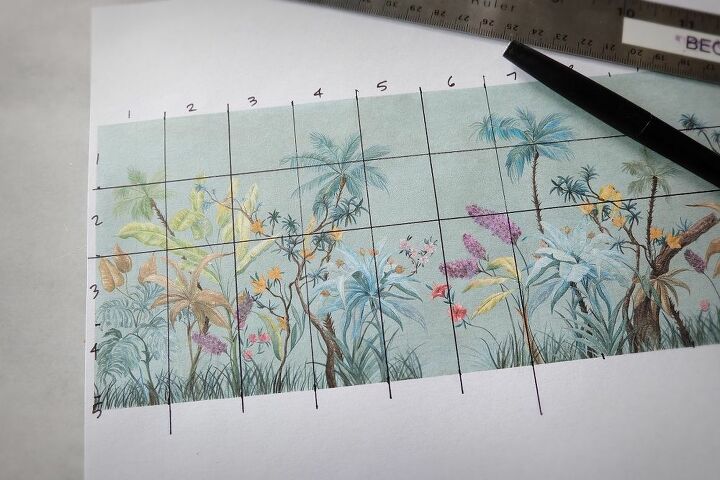
Print out the image you want to paint and draw a grid, details of which are spelled out more clearly in the blog post. You'll snap a larger grid on the wall with a chalk line that corresponds. Important: don't use chalk in the line though, it doesn't erase and it stains.
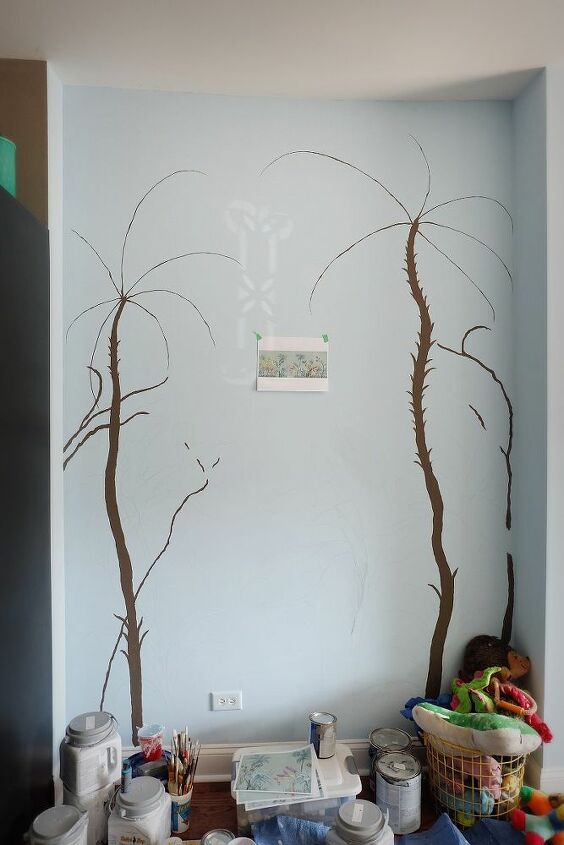
Focus only on one block at a time, nothing else, and with an artist's charcoal stick, draw what you see in that one box using the grid lines as guides, then continue onto other boxes. By focusing small, you won't be overwhelmed by the larger image.
Be sure to swing by my blog, Flipping the Flip, for the details on this and so many other fun projects.
My husband thought I had fallen off my rocker with this project. To him it made absolutely zero sense. Granted, he couldn't see the magazine-worthy complete build-out in my head....it was cool, it totally worked.
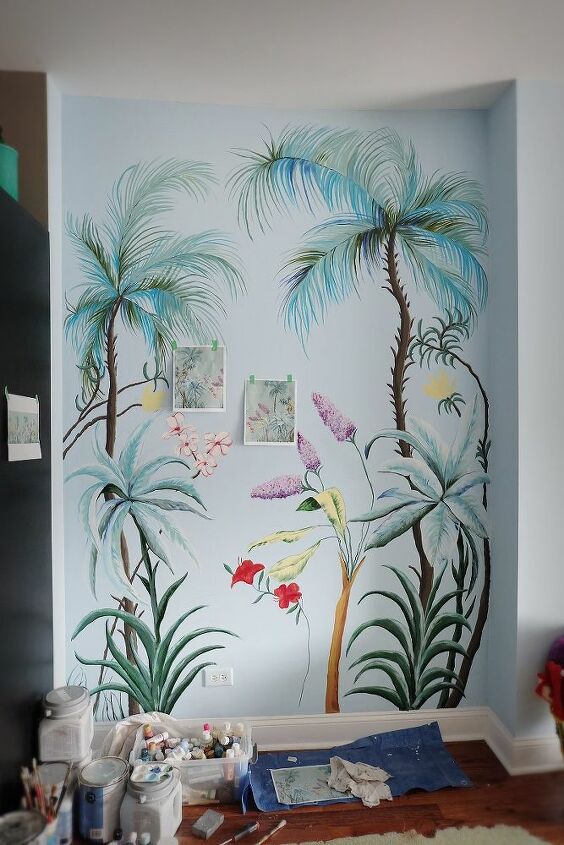
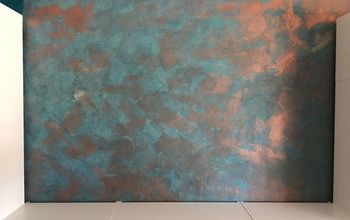
I used latex paint I already had in the house along with acrylics.
Here's about finished, or where I left it for a while. To sink in.
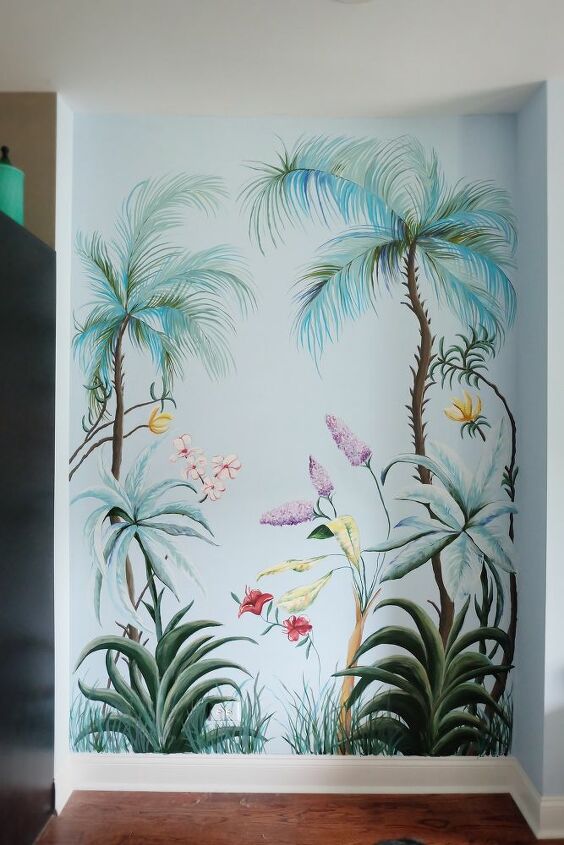
Ok, here's where I decided the line was drawn after tweaking it a few more times. Done. Done done done.
Hm. I like it but...
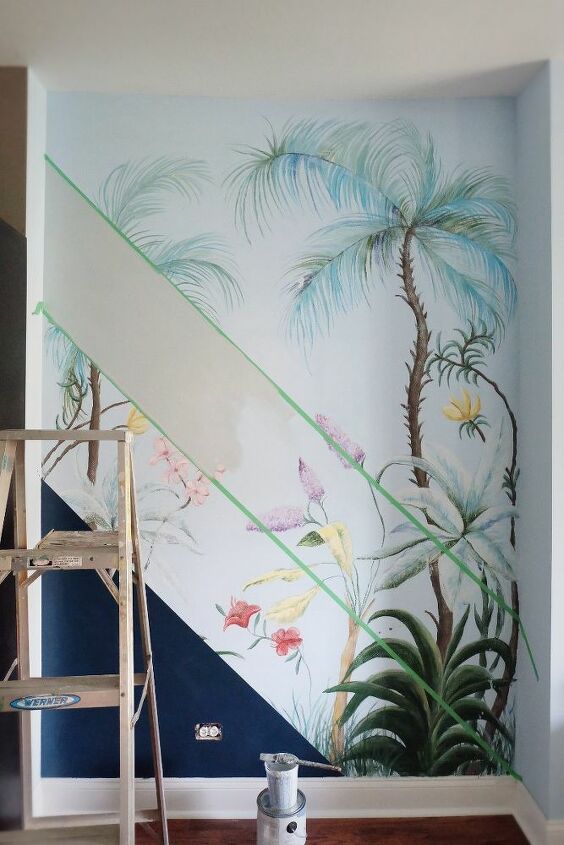
....come read why I changed my mind.
Instead I went with diagonal stripes. I sanded down any bumps, used a speed square to spot out the 45° angles, then used painters tape.
Paint a segment, leave a segment blank, then paint another. Once they're dry, go back and fill in the blank areas.
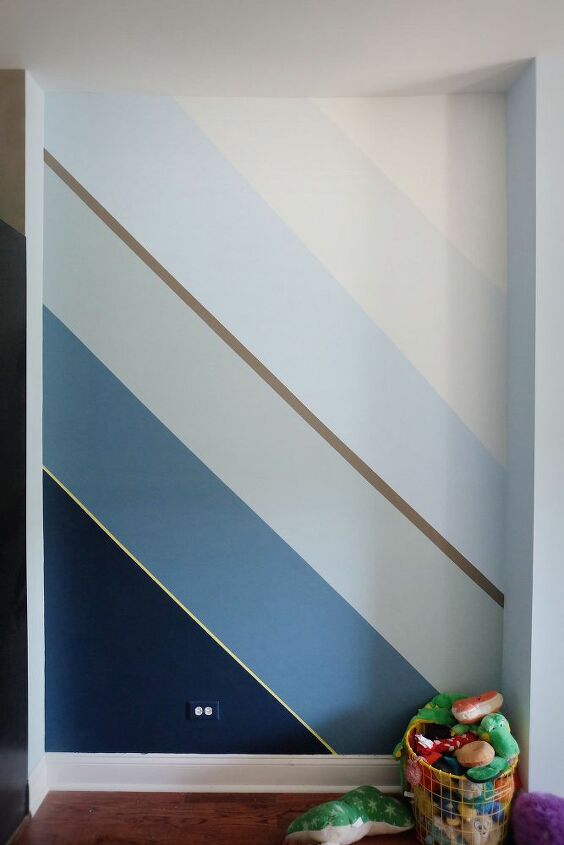
Yes, haha, the dog has an awful lot of toys. Either way, here's the sort of 70's vibe wall mural I ended up with, using colors I already had, colors used throughout the house.
My husband is a lot happier.
Be sure to click on the blog link below to read more!
Resources for this project:
See all materials


Comments
Join the conversation
-
Seriously? After all that work, you went a different direction? I loved your initial outcome - one of a kind! (But like the diagonal design as well)
-
I was absolutely blown away with the first treatment. So uniquely high end...so Palm Beach, Amanda Lindroth. Oh , how fun it would have been for me to have it and style it!
i was crushed when you painted over it. But then we all have visions in our head of what feels right, and what we’re ultimately after...so I understand.


Frequently asked questions
Have a question about this project?