


Macrame Feather Ornaments

I’ve fallen in love with the boho macrame trend and these ornaments are perfect to add that extra boho touch to your tree this year!
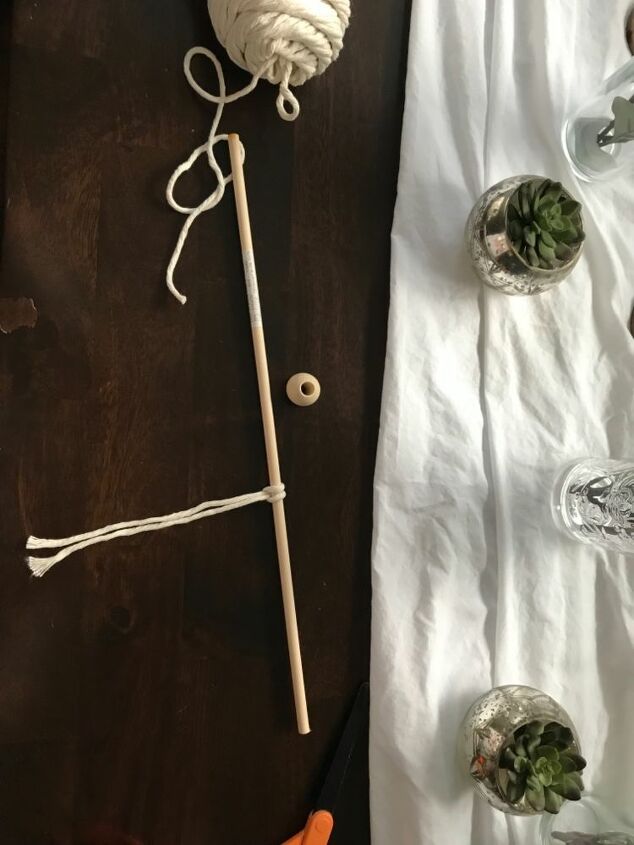
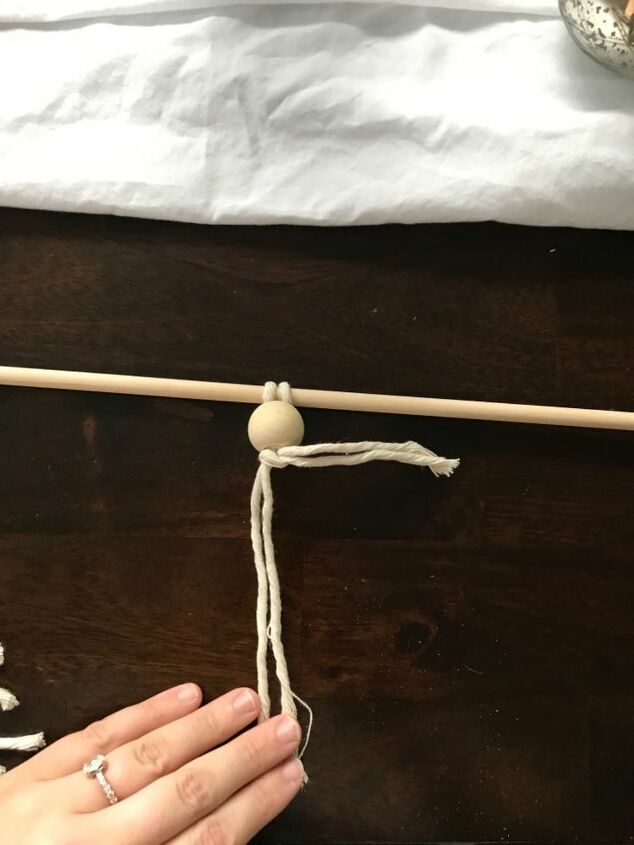
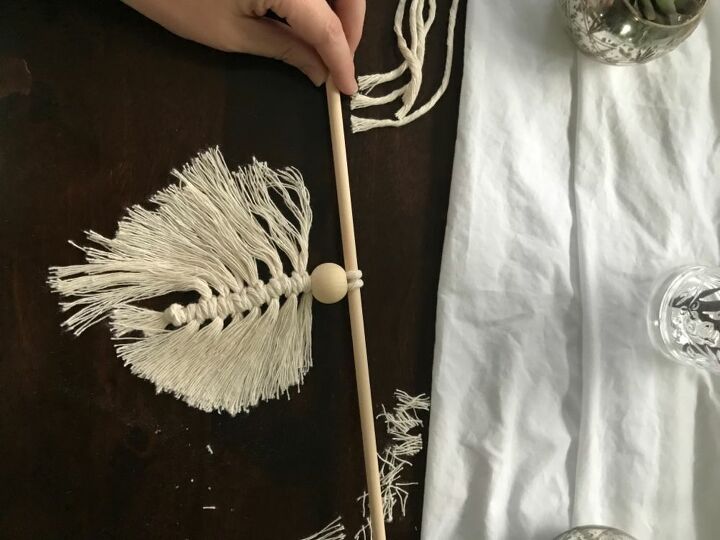
You’ll start by tying your macrame string around a wooden dowel.
(I find that it’s easier to create your feather if it’s tied to something to help you keep it stabilized)
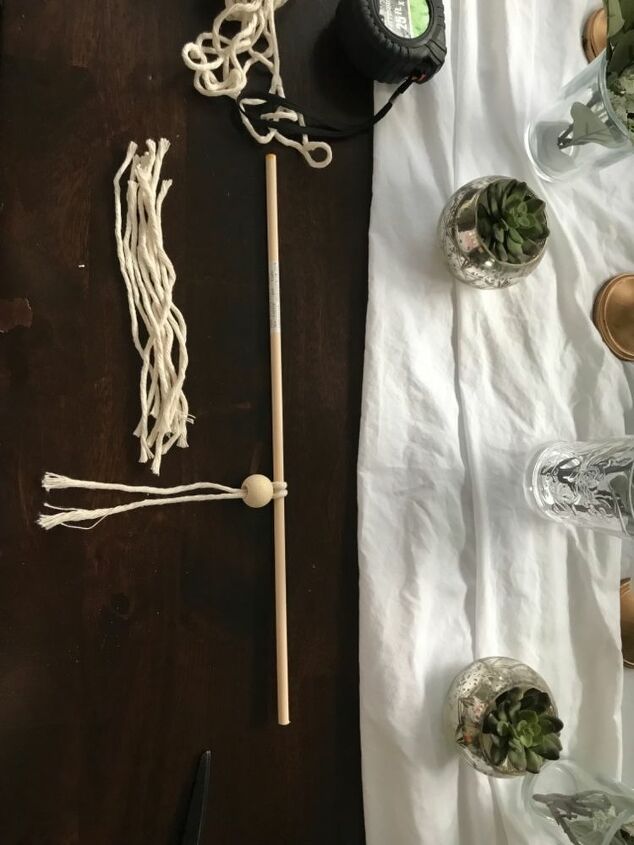
Add a wooden bead next (if desired)
Now you’ll start tying the strings that will make up your feather. I cut my strings to 8” each.
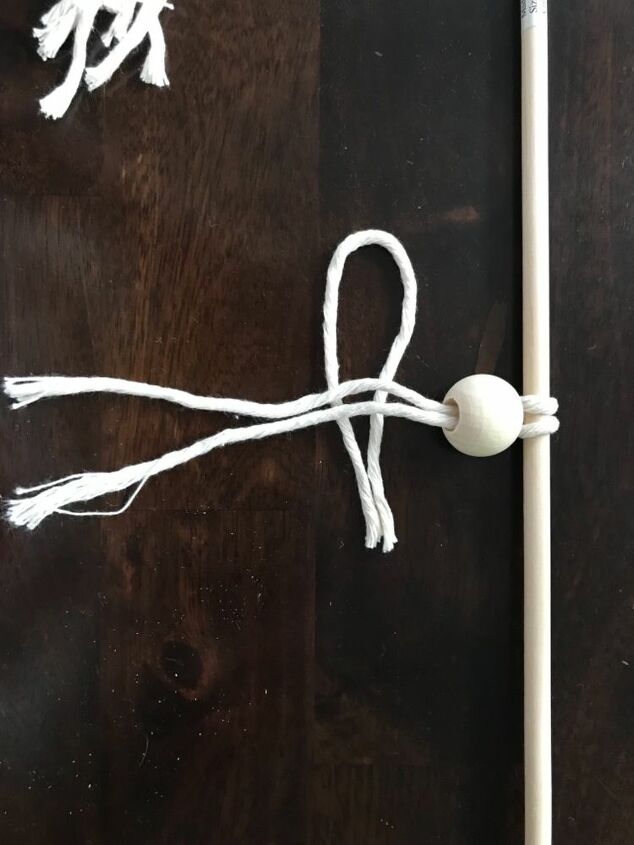
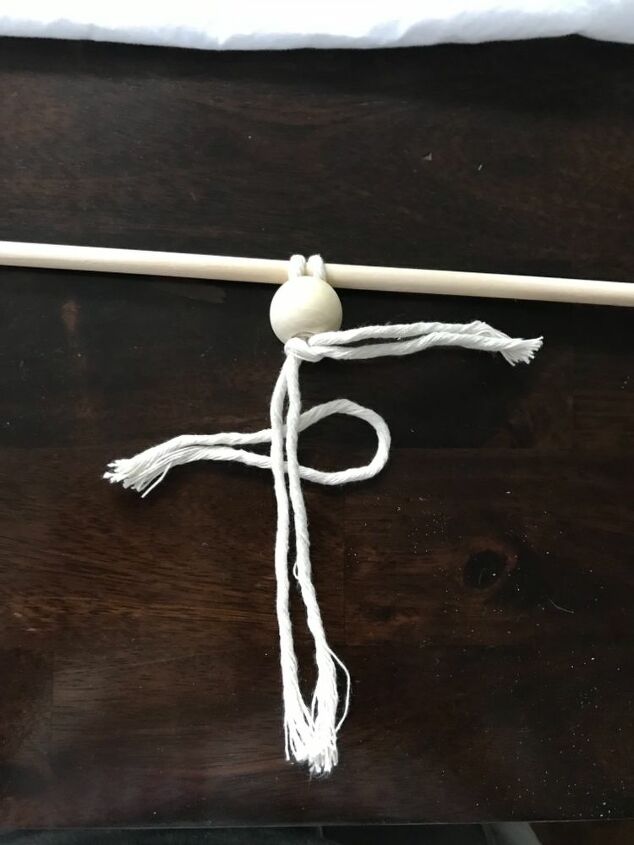
Fold your string in half and place it under your center strings.
Next you’ll take the loop end, fold it over top of the middle strings, and pull the ends up through the loop. (See photo)
Pull them tight and slide them to the top.
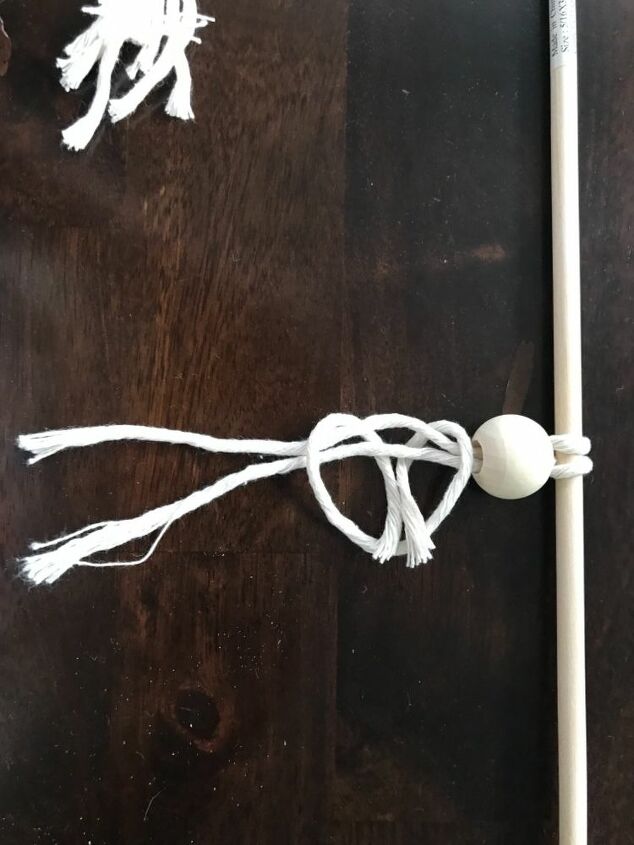
take your next string and put it under your center strings, this time facing the other way. Follow the same steps to tie your knot.
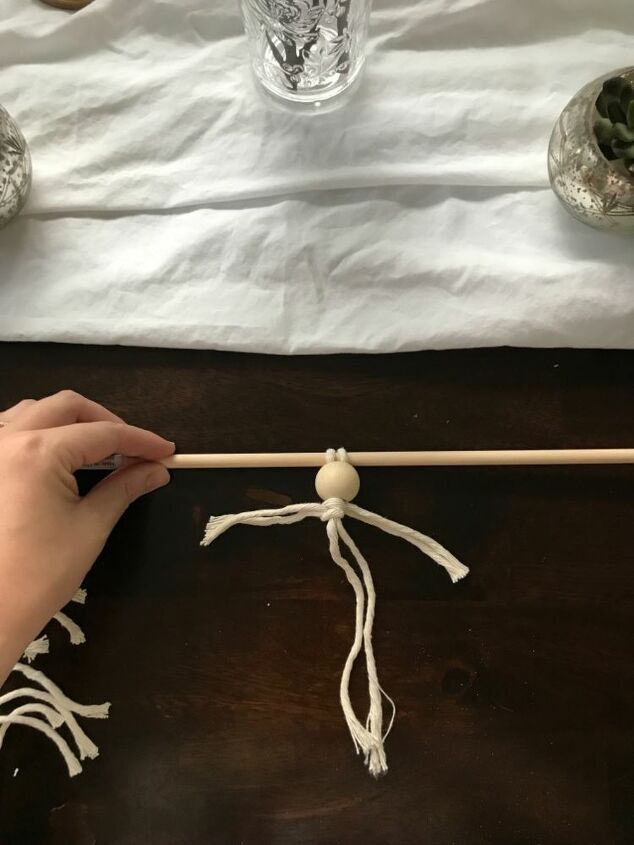
Once you’ve tightened your second string, it will look like this

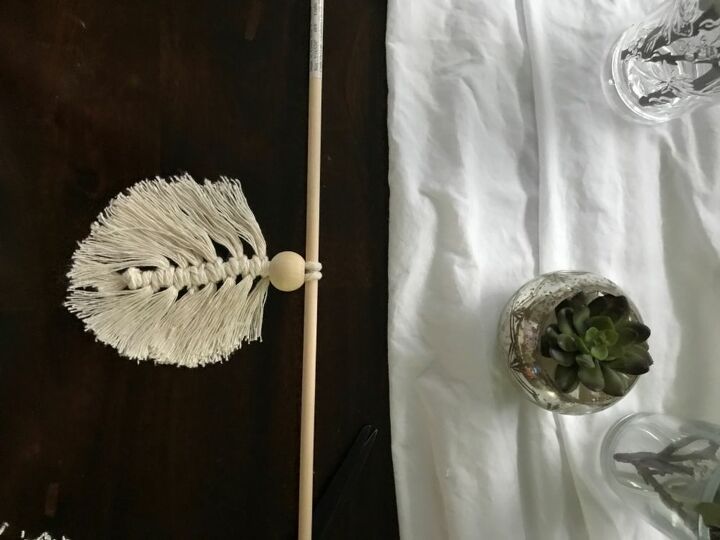
Continue until you reach about an inch from the bottom of your feather.
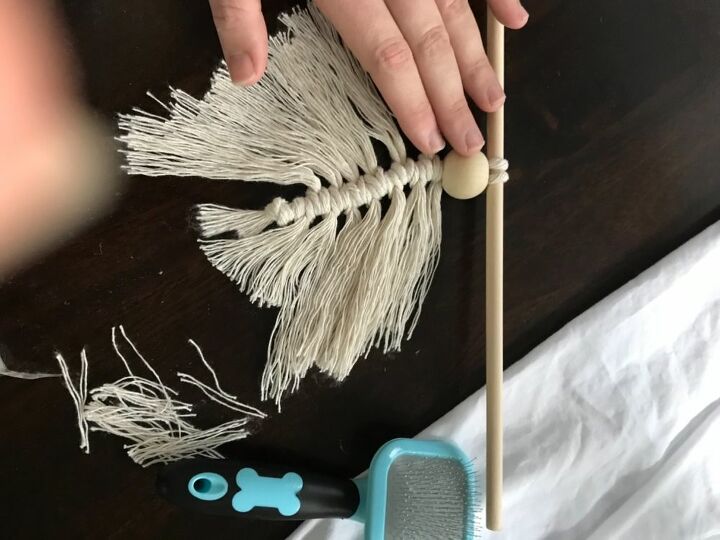
Take your center strings and tie a knot at the base of your feather.
Now I used a pet brush to brush out the strings to make the feather fluffy.

Here is what it will look like after brushing.
Now it’s time to cut your strings to shape the feather.
Continue brushing the strings as you cut to make sure you don’t miss any.
Once you’ve got your feather cut to the size and shape you’d like, pull it off of the dowel. I put a Christmas ornament hook threw the loop that was wrapped around the dowel.
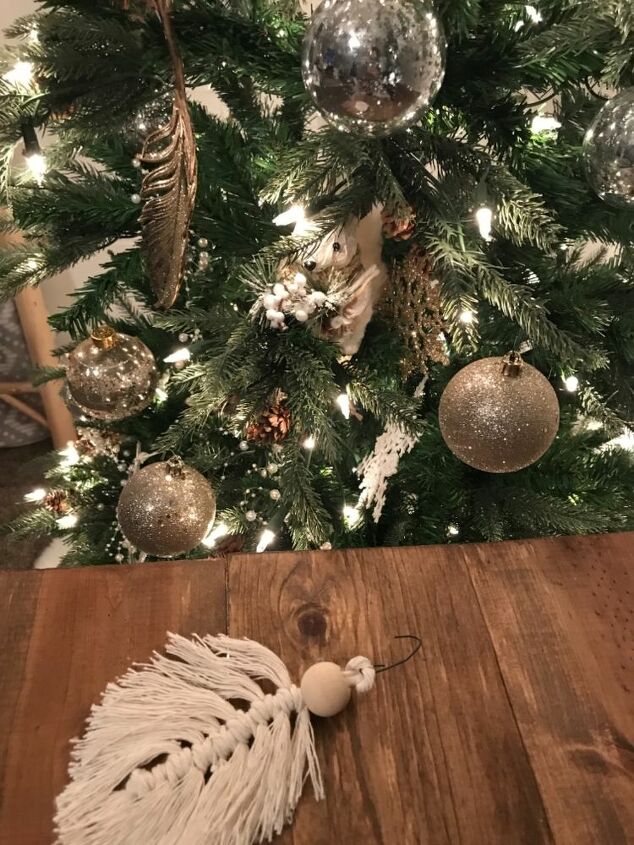
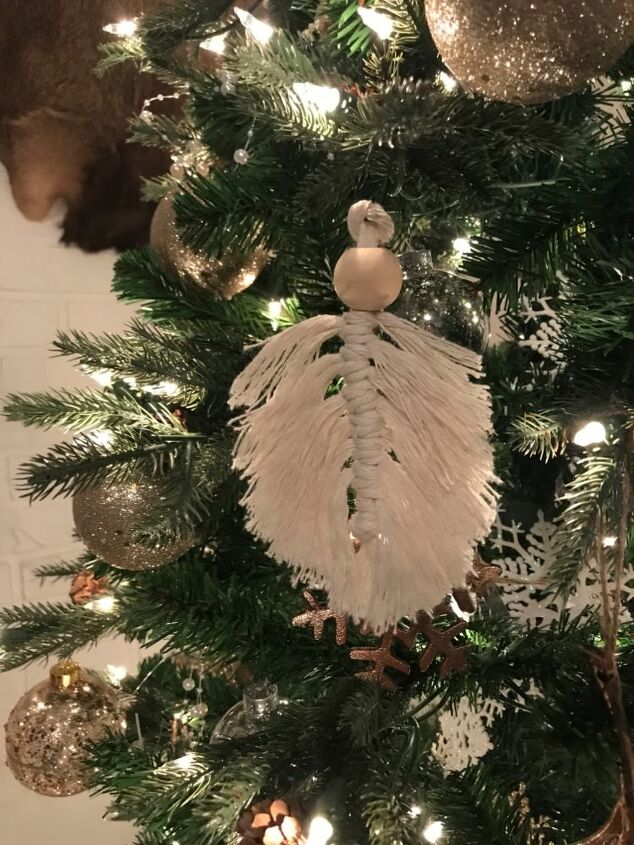
Then, hang it in your tree.
Once you get the hang of it, this DIY is super simple, and very pretty!
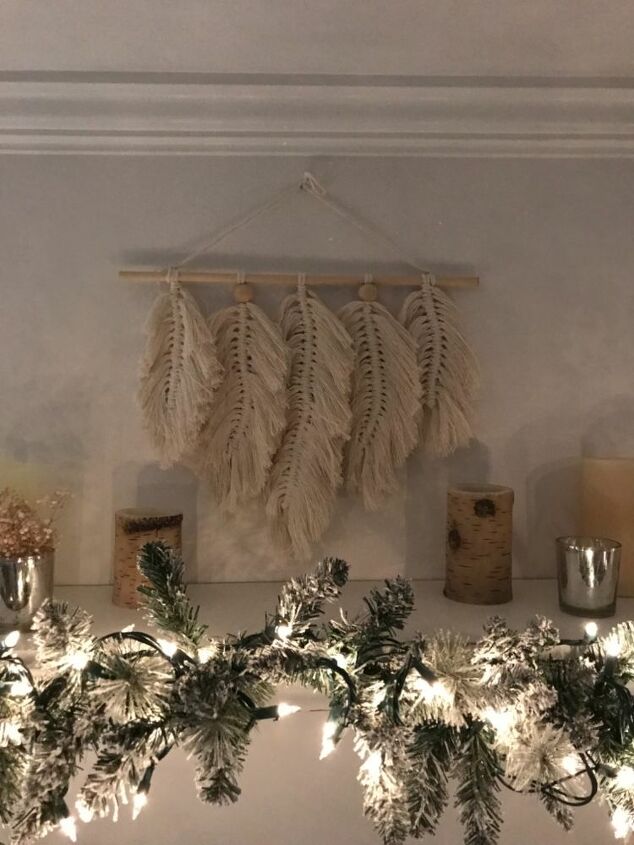
You can use different colors, turn them into keychains, and even make it on a larger scale to create a wall hanging.
Resources for this project:
See all materials


Comments
Join the conversation
-
Love the wall hanging! Beautiful!
-
I love it yeah I’m gonna try it


Frequently asked questions
Have a question about this project?
Does it hold up by itself or should one treat it with liquid starch or something like it to stiffen the ornament? They definitely look great as ornaments or as decorations. :-)
Really pretty!