


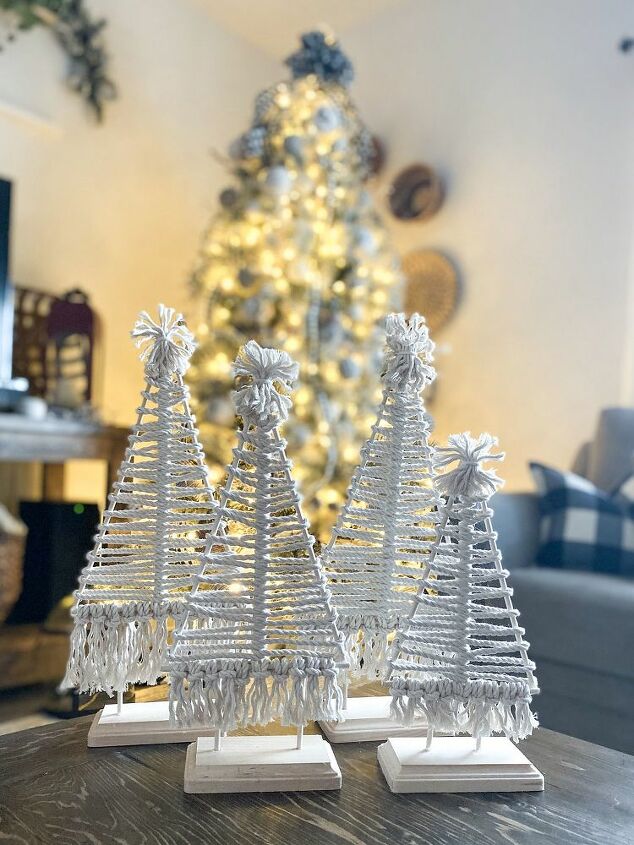
DIY Macrame Christmas Trees

These trees add a perfect touch to any Christmas scene. This project may look difficult, but following the steps should help you make your own trees  My inspiration came from Hobby Lobby. They have macrame Christmas trees that are already made but can cost $$$ if you wanted more than one like I did. This method will allow you to create as many as you want for a pretty inexpensive price. Also, if you are in the market for making your Christmas gifts this year--keep reading!
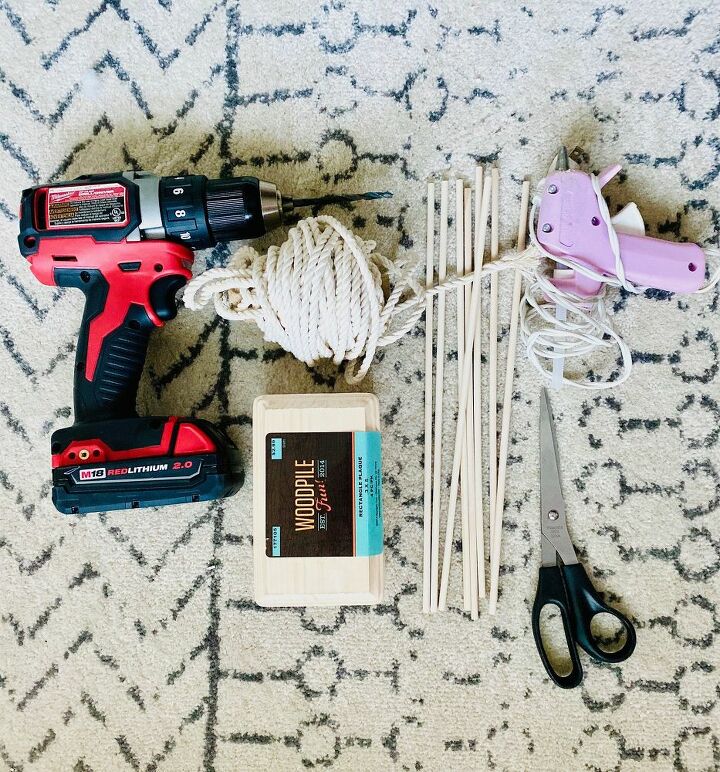
Project list:
- Wooden dowels
- Craft twine
- Wood plaques or any other base you would want
- Hot glue gun/glue
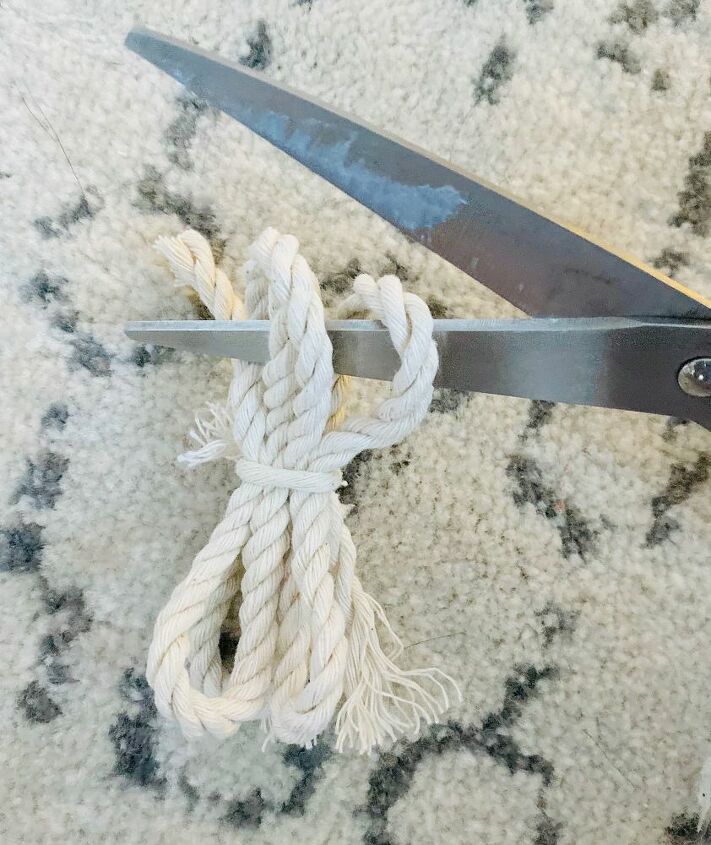
- Scissors
- Drill
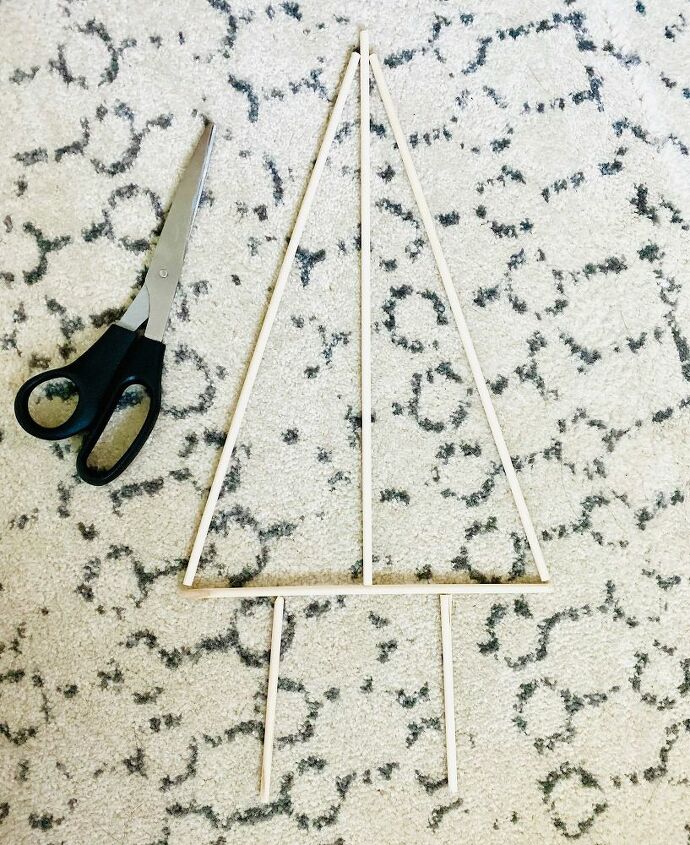
Start by cutting your wooden dowels to the size you would want your tree. I simply used scissors to cut mine but you could use whatever is easiest for you. Make sure to have a piece for the middle of the tree as well as legs for your tree.
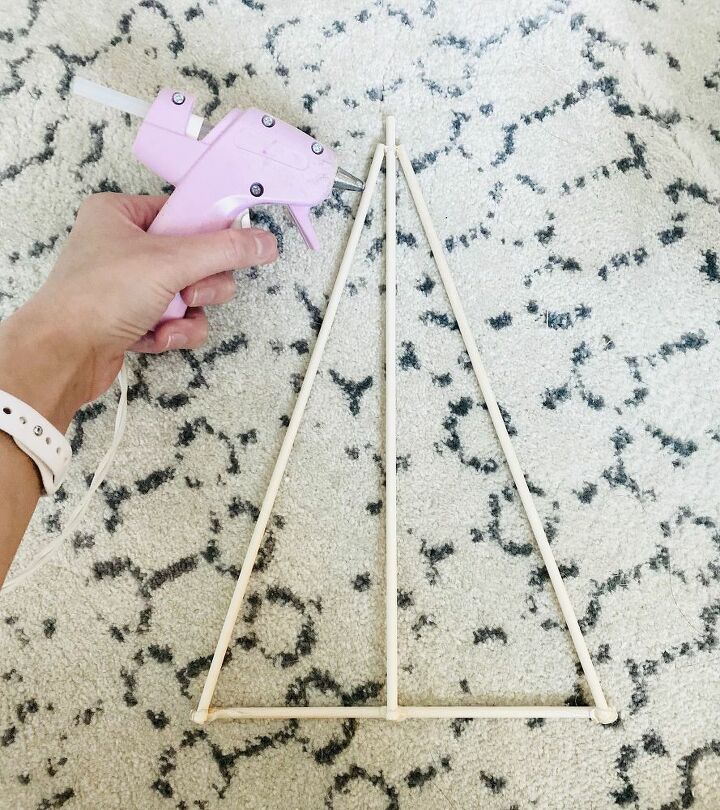
Hot glue the pieces together. I recommend hot gluing on the side that will be the back of the tree so you won't see the glue from the front.
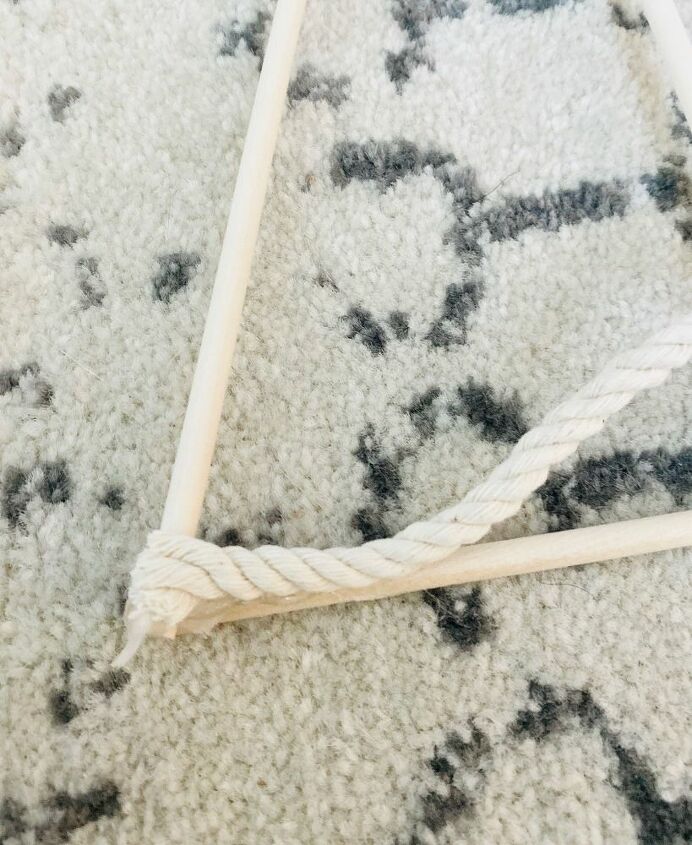
Glue your starting end of the twine to one corner of the tree. Make sure you glue it to the back side of your tree so you won't see your starting point from the front when it it finished.
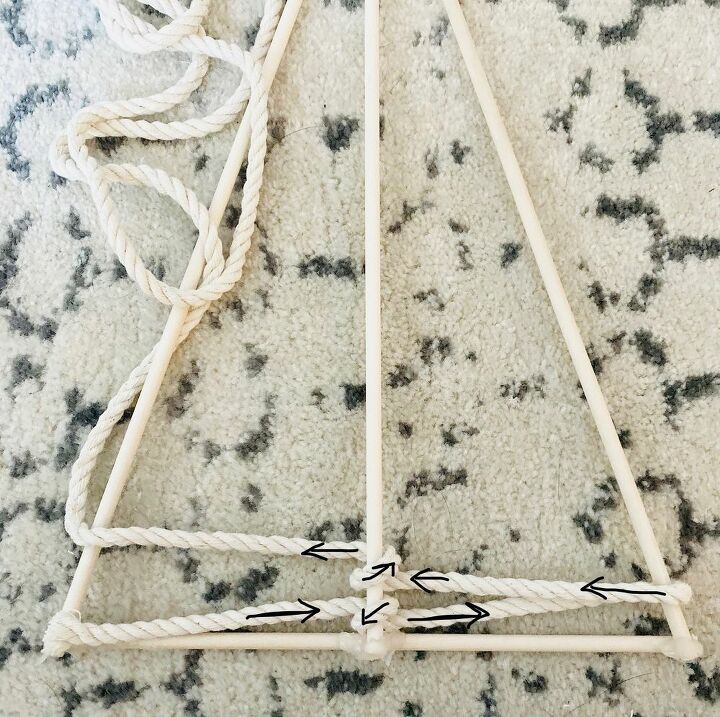
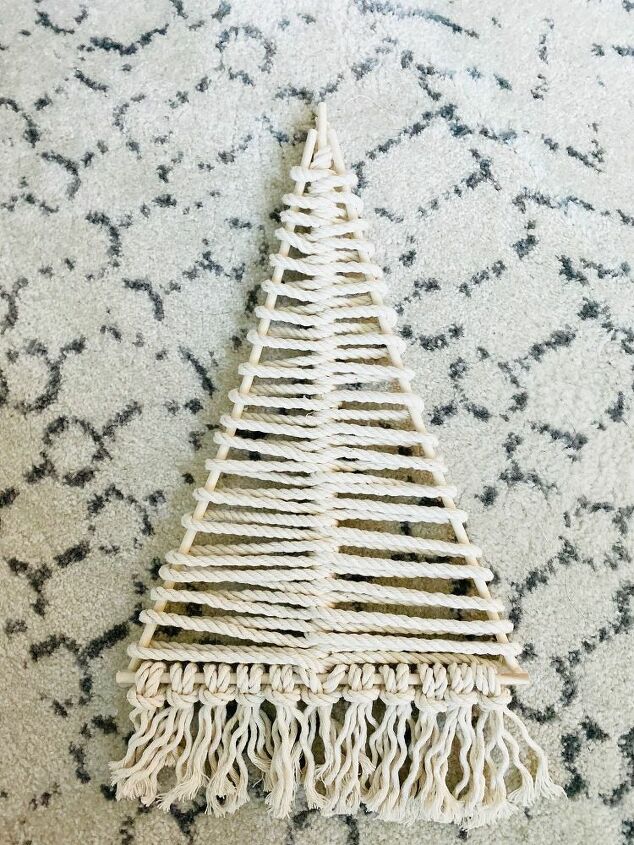
Here comes the tricky part--wrapping your dowels. You can follow exactly how I did or choose a different way to wrap your tree. Just note whichever method you use and continue to do the same method all the way to the top so that it is symmetrical. I added arrows to hopefully better show how I wrapped mine.
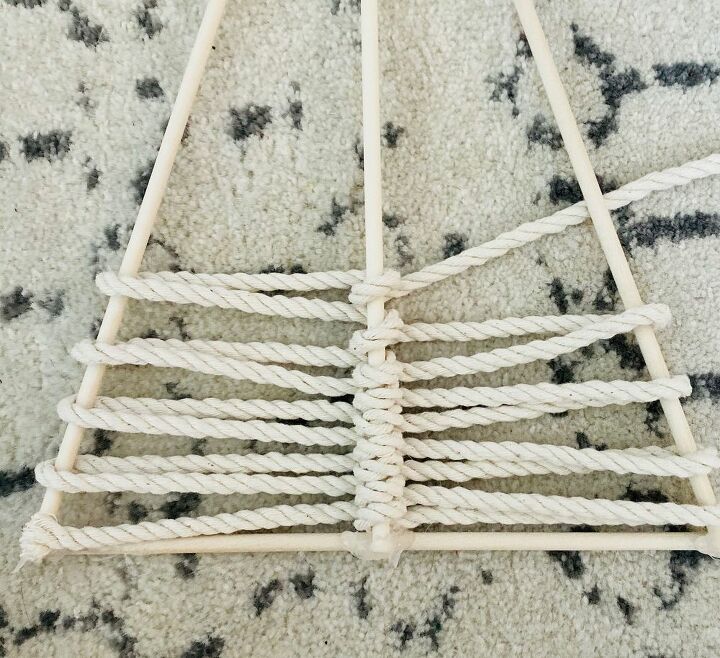
Keep wrapping.
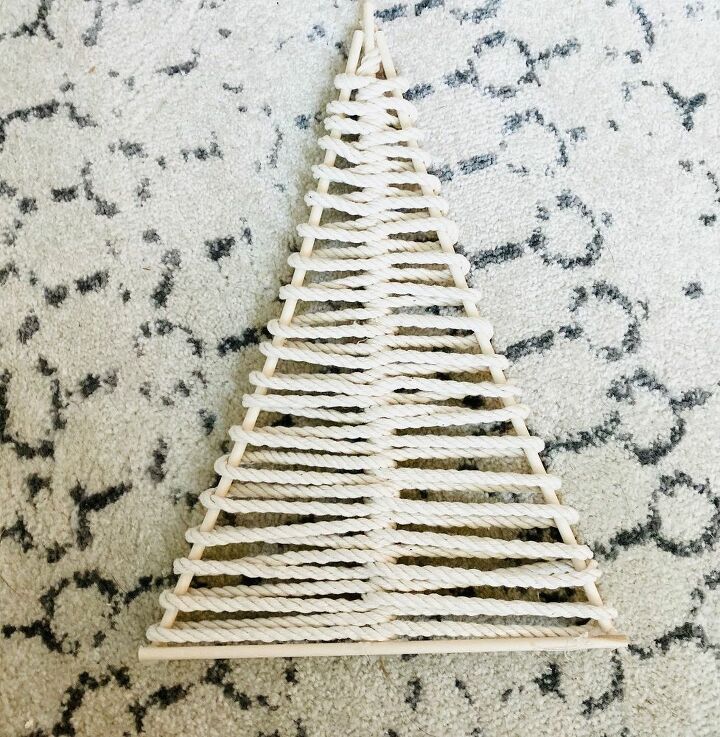
Ta-da! This is the tree flipped over to the front. Spread out the twine to make it evenly placed. When I reached the top of the tree, I simply hot glued the end of the twine to the top.
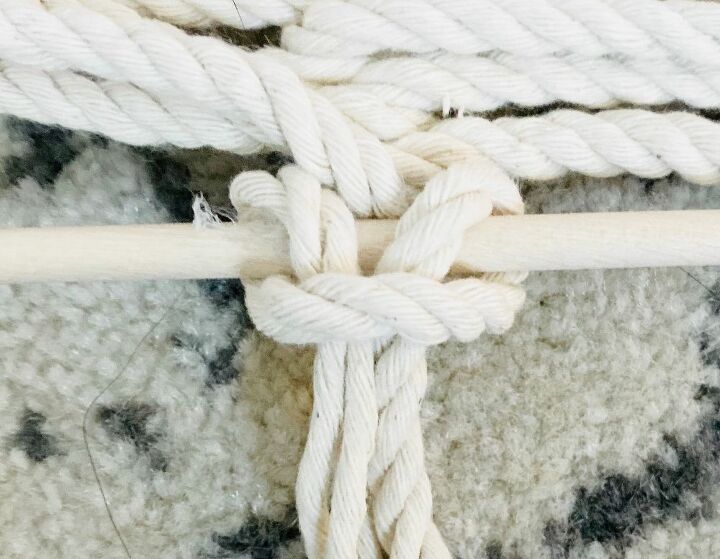
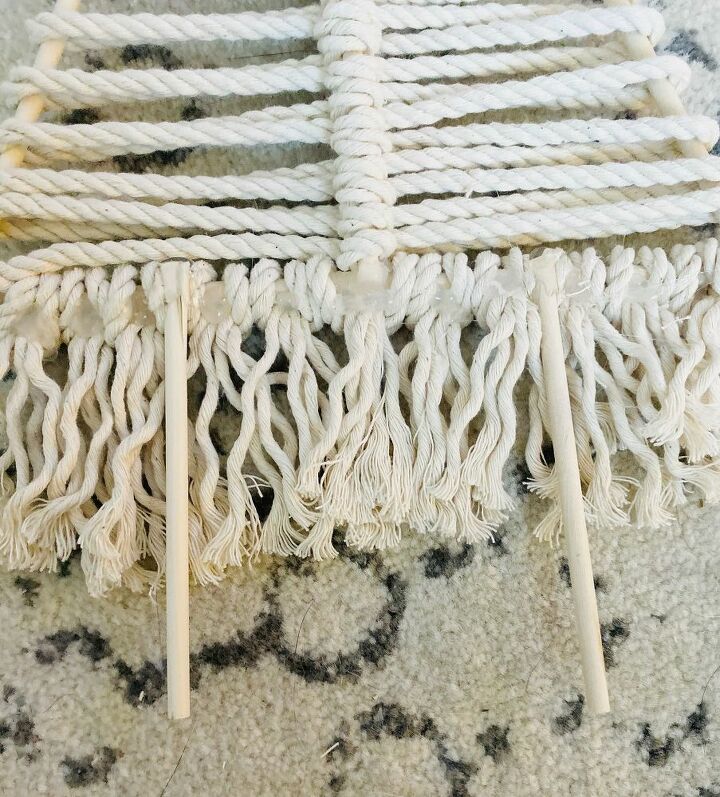
Cut individual pieces of your twine to make your fringe across the bottom. Tie each piece across the bottom. I used a "cow hitch knot" (google it! lol) and started in the middle.
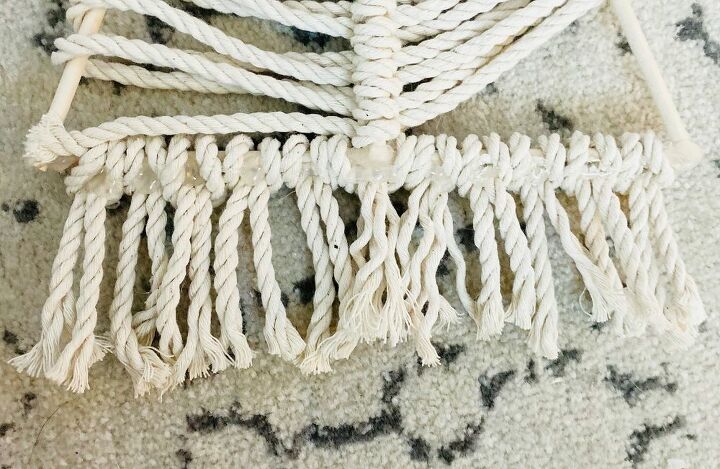
This is the backside of the tree. Put a drop of hot glue in the middle of each knot to make sure they stay.
This is the front view. Unravel the fringe across the bottom.
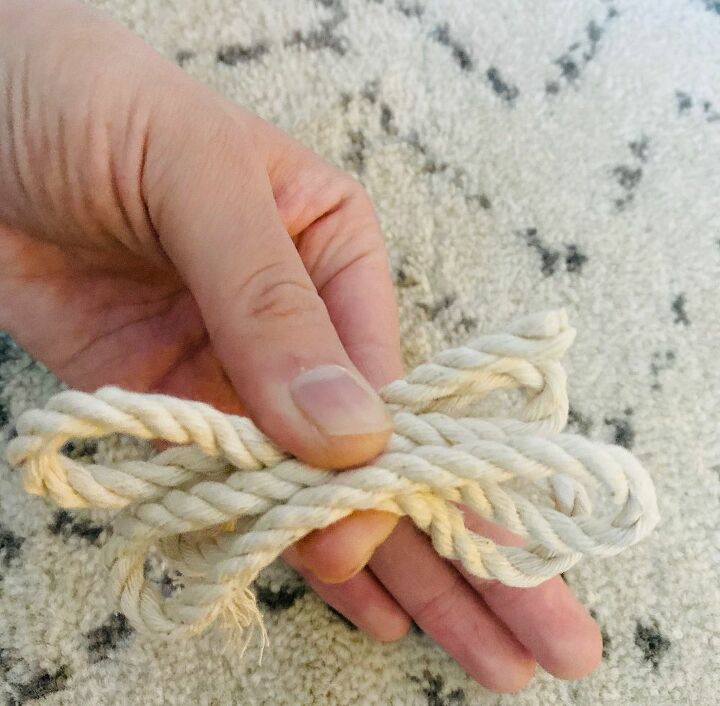
Now for your tree topper. Make a pom-pom. This is one long piece of twine. I pinched it together.
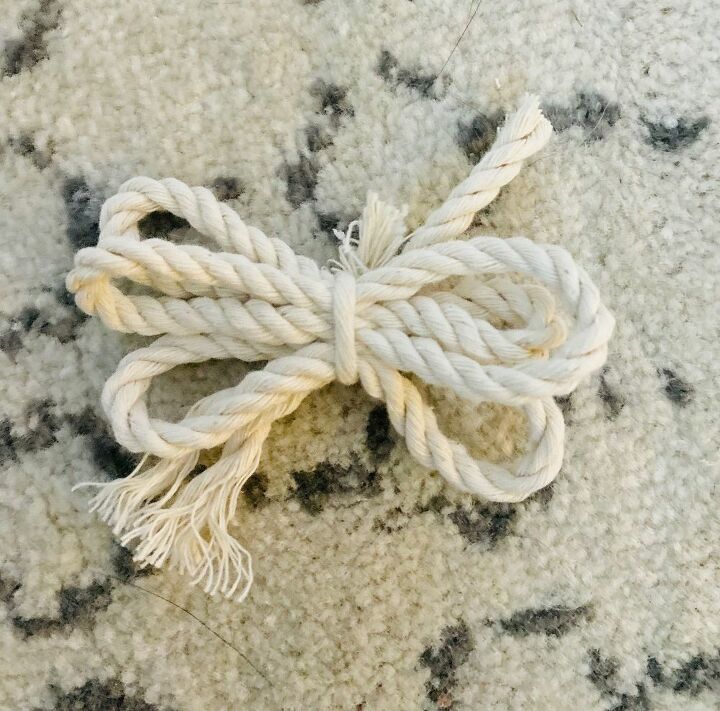
Then I took a small piece of twine and tied it to make this shape.
Cut your loops.
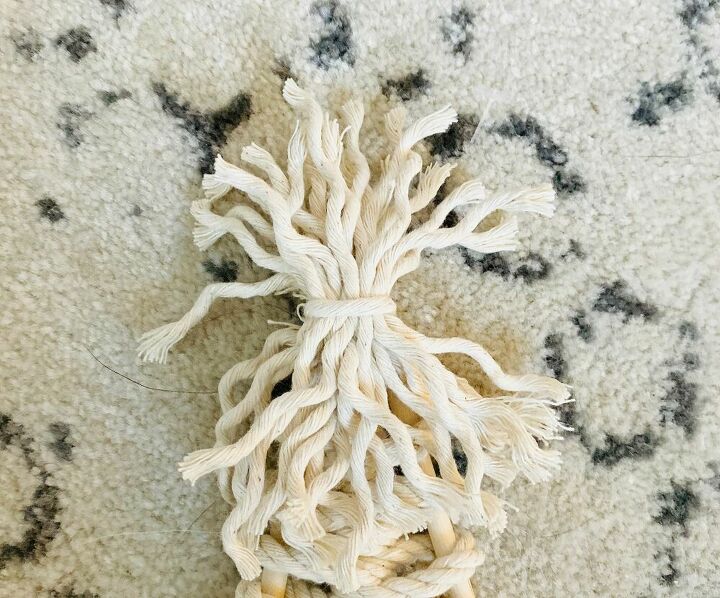
Unravel the strings to make it "poofy".
Attach your legs to the back of the tree with hot glue.
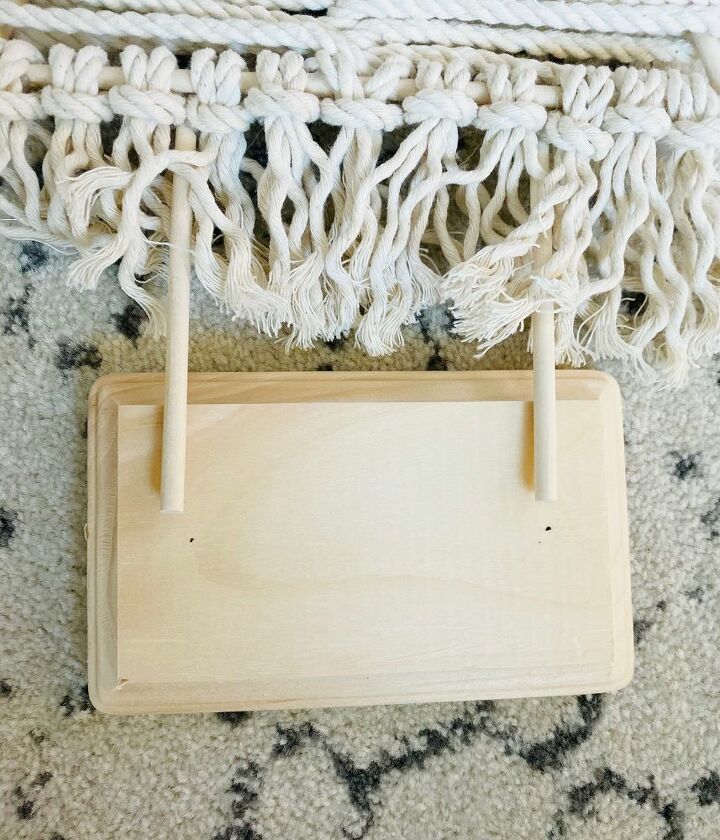
Mark where your legs will go on your plaque.
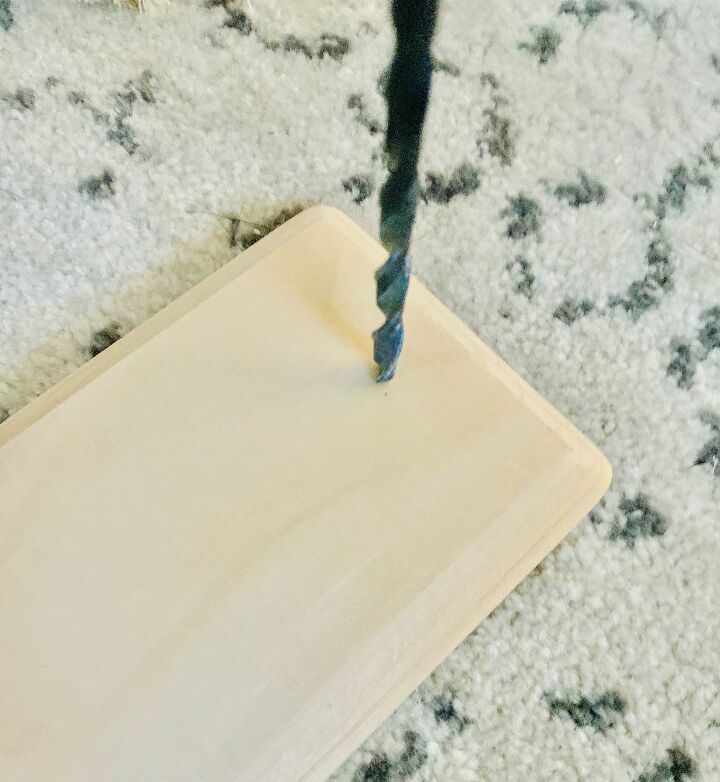
Drill holes for your legs.
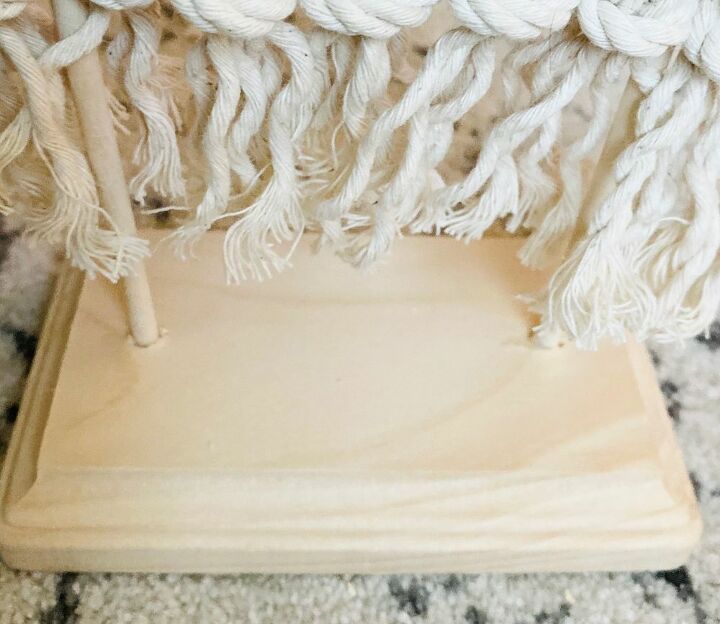
Put hot glue in the holes and then stick your legs in the holes.
You are all finished!! I hope you enjoyed this project! If you need further help, I have a video tutorial saved to my "highlights" on my Instagram called "DIY Trees" , which can be found here
Resources for this project:
See all materials


Comments
Join the conversation
-
I may do this instead of a tree!
-
These are really cute, a great idea leading to even more creativity. Thanks !


Frequently asked questions
Have a question about this project?