


How to Make a Cute DIY Christmas Tree Collar in 5 Easy Steps

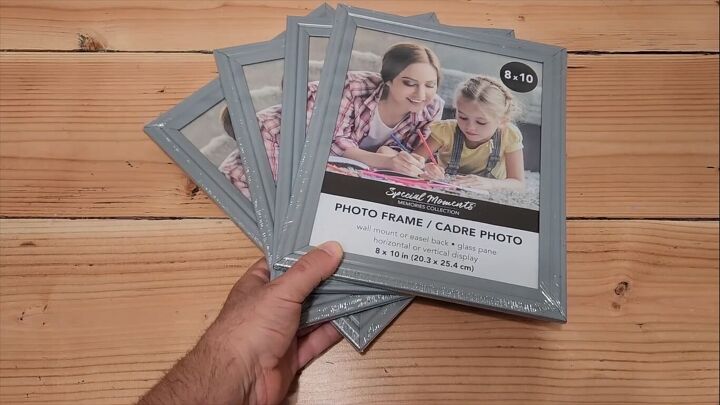
Get ready to add a stylish touch to your Christmas tree with this easy DIY Christmas tree collar tutorial. We're going to transform ordinary picture frames into a chic tree collar that'll elevate your holiday decor.
It's a fun and budget-friendly project that anyone can do. Let's dive in and give your tree a festive upgrade.
For even more ideas, see Hometalk's ultimate guide to DIY Christmas decor here.
This post was transcribed by a member of the Hometalk editorial team from the original HometalkTV episode.
Tools and materials
- Picture frames (8 x 10)
- Christmas fabric (I used the same in my cardboard tube Christmas tree craft here)
- Scissors
- Hot glue gun
Hometalk may receive a small affiliate commission from purchases made via Amazon links in this article but at no cost to you.
How to make a DIY Christmas tree collar
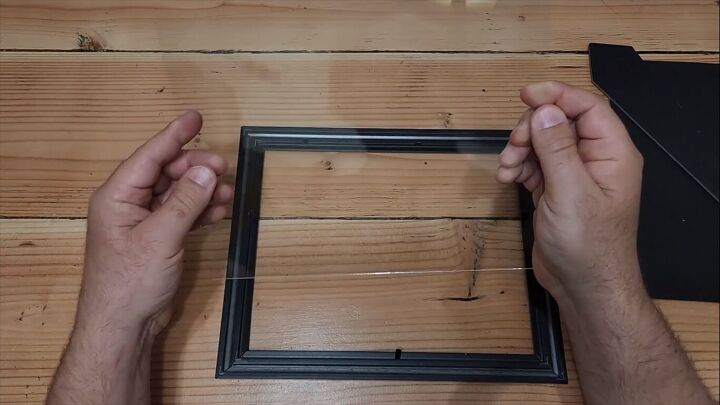
1. Remove the photo and glass
Take that first picture frame, we're gonna turn it over. We gotta take the back off because we don't need the picture inside. We can just go ahead and take that back right off. And we're gonna also remove the glass. We can save that glass for another project another time.
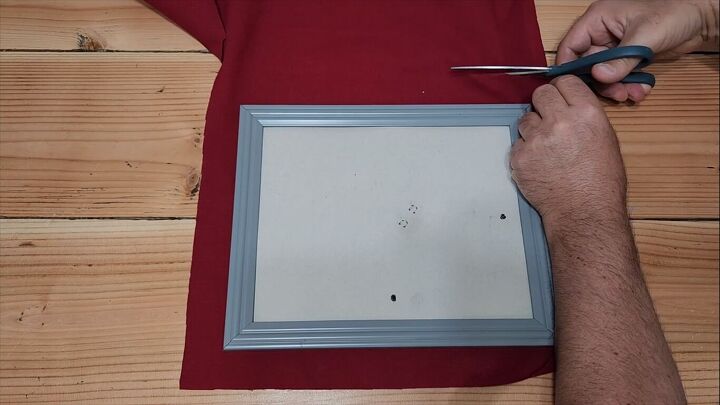
2. Cut the fabric
Put the back back on and it is ready to go to cover in fabric. Pull that first cloth over, and we're gonna leave about an inch to an inch and a half surrounding the frame.
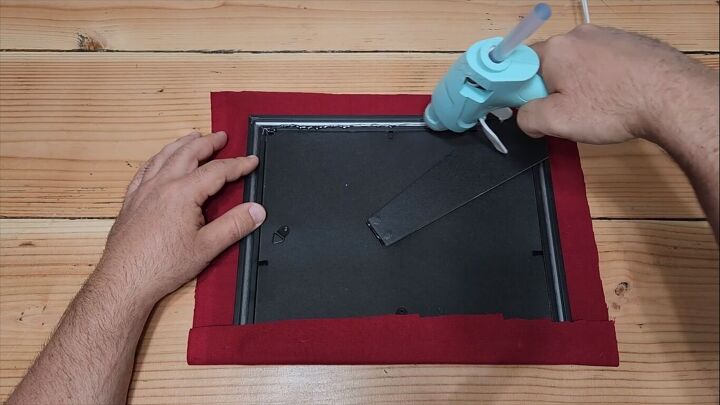
3. Glue fabric to the picture frames
Once you get your piece cut, turn it back over, lay it down, and start gluing down the side. You wanna get right up next to the edge, and we're gonna lay the fabric right over.
Now be careful, that hot glue is hot, so go gently on it. Make sure you don't burn yourself.
Once you get that one side done, flip it back over, run a bead of glue right against the top again, pull it over, and we're gonna just hold it in place. It sets up pretty quick.
For the shorter sides, we're gonna fold this like a Christmas gift. Just fold the ends in and pull it right on over.
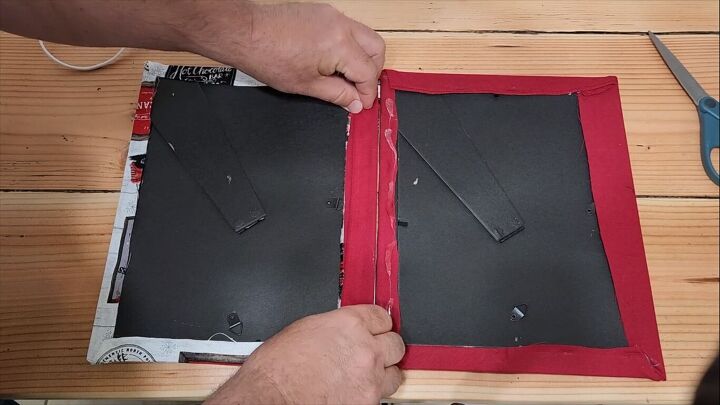
4. Attach the fabric hinges
Cover all your picture frames, and then it's time to put them together. The first two are gonna go right next to each other, but we need what we call a hinge.
Using some extra fabric, cut off about an inch for each side. Run that hot glue right down the sides and attach it to the two picture frames. That is gonna put both of these together, and you're gonna have a nice hinge that holds it together.
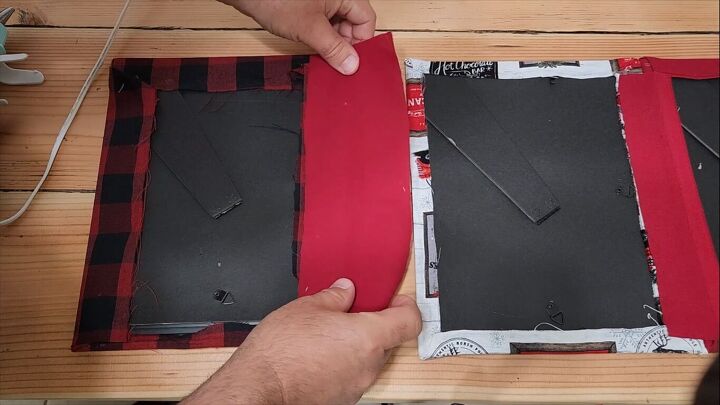
The second one, and every other one, is gonna be a lot wider.
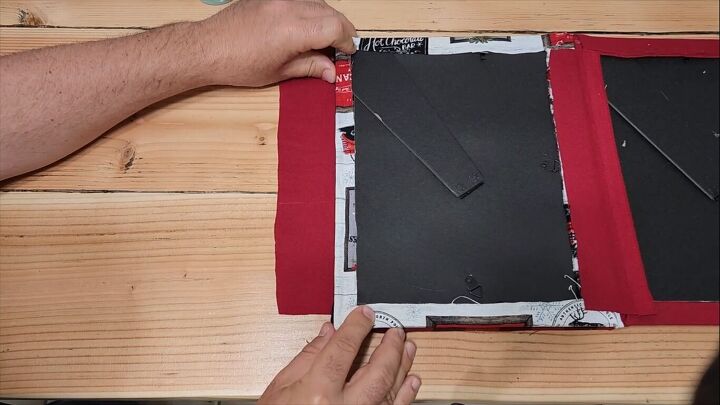
Again, just put it down halfway, but this time, take two of the picture frames and you're gonna put both faces because we're gonna wrap it over the back.

Here's the reason we do this. As you fold it up, it's easier to store.
I used 10 picture frames in total. They store up really nicely.
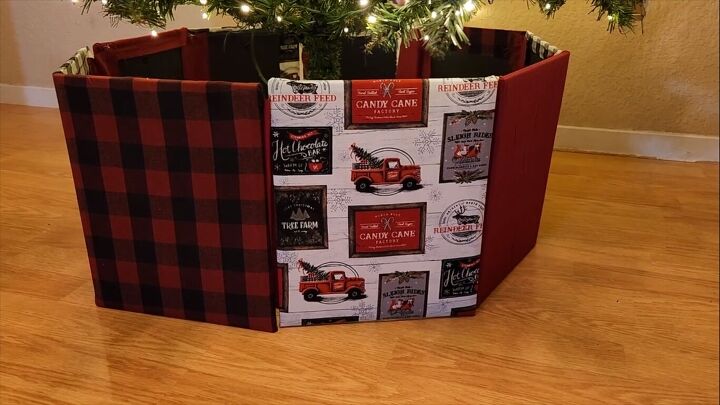
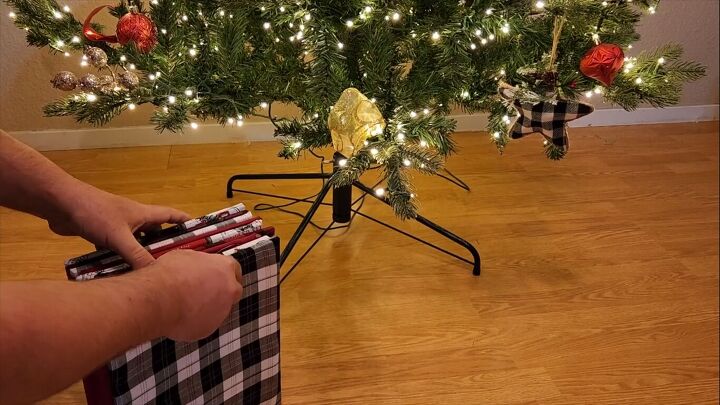
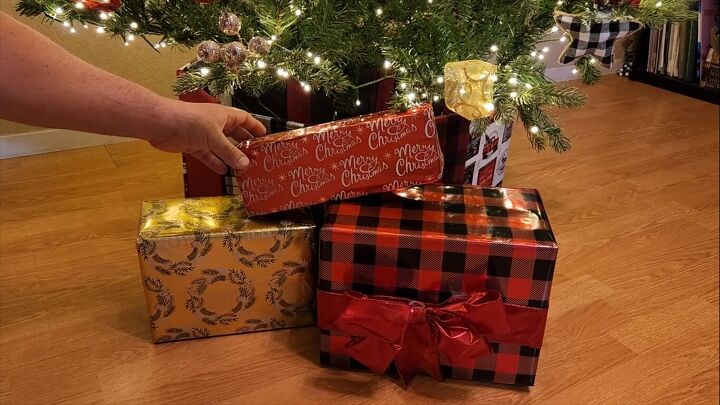
5. Wrap around the tree
We're gonna go ahead and start placing it around our Christmas tree. Look how beautiful that turned out.
DIY Christmas tree collar
I hope this inspired you to build your own Dollar Tree tree collar. What do you think of this project? Let me know in the comments below.
Comments
Join the conversation
-
You get 5 stars … swell idea !
-
I was thinking you could put a puppy or other pet inside for a child to wake up to on Christmas morning!!! Great job and soothing voice!


Frequently asked questions
Have a question about this project?