


How to Sand and Polish Epoxy Resin (SAVE $$$)
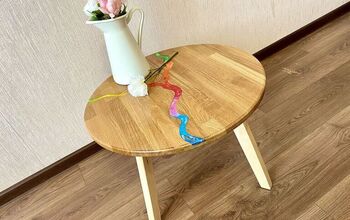
In this HT tutorial, I show you how to sand and polish epoxy resin like a pro. This technique works for anything with epoxy resin such as wood tables or resin art.
Most folks need to hire a professional to do this work, but you can totally do this yourself with a few inexpensive tools and the ability to follow simple directions.
The normal price for a pro to do this work would start at $500 and go up from there depending on the size and details of the project.
Introduction
First, the resin sanding and polishing starts at 3:53 (three minutes and 53 seconds in this video). So, be sure to fast forward to this point for resin sanding and polishing. Or, watch the entire video to learn how to make resin ocean art.
Additionally, you do NOT need the same sander or material I used in order to accomplish this product. The only 2 tools you need are as follows:
- 5" random orbital sander (roughly 30 dollars on Amazon)
- Soft Sanding Pad for 5" random orbit sander
- random orbit waxer/polisher (roughly 30.00 on Amazon)
Determining Sanding Grit Starting Point
First, the default sanding grit sequence I use for resin is 220grit, 320 grit, 400 grit, 600 grit, 800 grit, 1000 grit, 1200 grit, 1500 grit, 2000 grit, 4000 grit. You may not need to sand up to 4000 grit depending on the sheen you want. More on the Sanding ending Point next step.
Never ever skip sanding grits when sanding resin.
Why? Because each sanding grit removes the scratches from the previous sanding grit. Therefore, skipping grits will leave visible micro scratches.
Ultimately, you sand resin and polish resin for one of three reasons.
- You are working on a new project and most new projects need sanding (except for resin art). For new resin and wood projects, it is important to sand the wood only before the resin pour with the following sanding grits: 80, 100, 120, 150, 180 and 220. This just makes things easier since the resin sanding 'normally' starts at 220 grit.
- You want to bring back the shine and luster to an epoxy resin top coat on a table, countertop, etc.. (Most Common Reason) Normally, you start at 1200 grit Or, start at a higher grit to see if the scratch disappears after sanding. If it doesn't, drop down a grit. Basically, when the scratch goes away, start working up the grit sequence.
- You need to fix a scratch or gouge on your epoxy resin table or counter. For scratches you can feel with your hand while rubbing across the surface, start at 220 grit. it's important to follow a golden rule: Start high and work up OR start high, work down, and then up. In other words, start at 220 grit or higher and see if this grit removes the scratches. 220 grit is the worse case for scratches/gouges.
Determine Resin Sanding Grit Ending Point
So, you determined from the previous step the standard sanding grit sequence and where in the grit sequence to start . I've listed it below again to serve as reference for this step.
220, 320, 400, 600, 800, 1000, 1200, 1500, 2000, 4000
To determine whether to stop at 1200 or 4000 grit depends on the sheen you want. Some folks like a matte finish like sandstone or smooth concrete while others prefer a high gloss finish like marble.
For a matte finish, stop at 1200 or 1500 grit. I like to call 1200 raw matte and 1500 real matte. Most folks know the paint sheen levels and matte is equivalent to flat paint.
For a satin finish, stop at 2000 grit. Satin has more sheen than matte, but less sheen than semi-gloss. I believe the paint sheen equivalent to satin is eggshell.
For a gloss/shiny finish, go all the way up to 4000 grit. This sheen level is equivalent to semi-gloss in the paint world. Maybe a tad bit higher than this sheen.
If you aren't sure what gloss you want, stop at 1200 and clean the resin with a water and dry with a soft cloth. This will give you an idea of the sheen level.
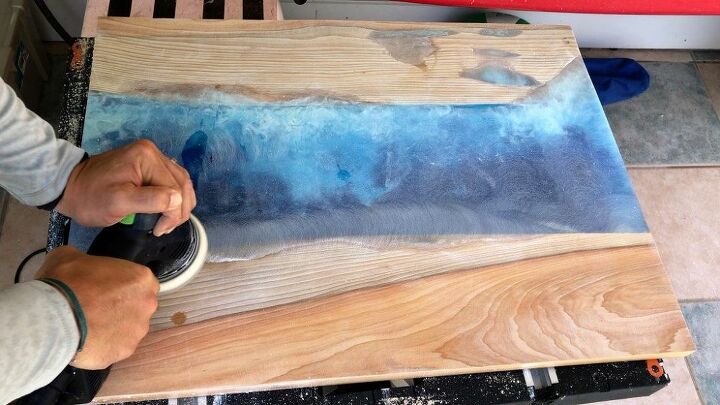
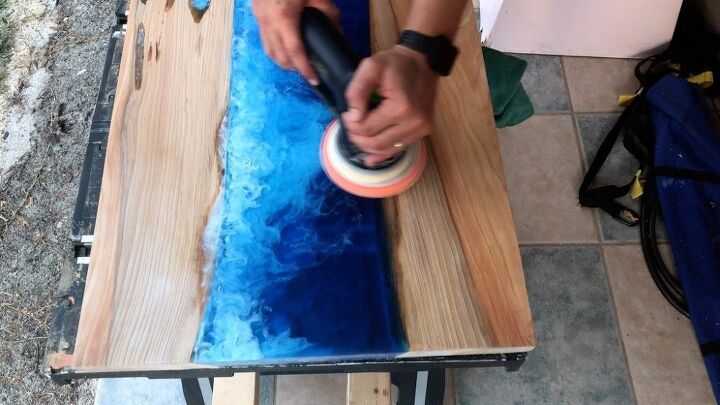
Choose Polish & Pad
Now that you are done sanding, it's time to polish.
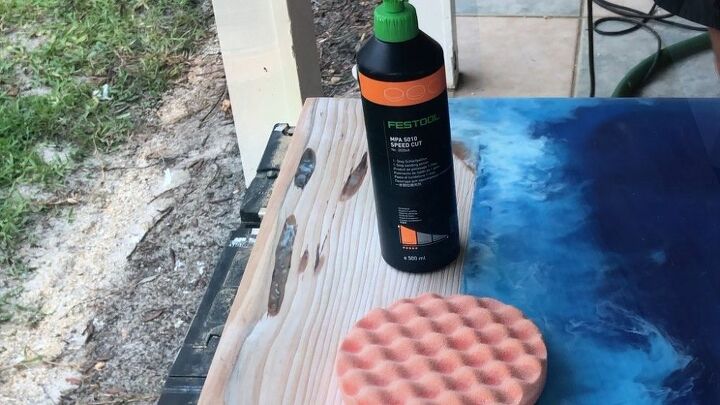
Again, you don't need to use the polish I'm using to achieve the same result. I use the festool ecosystem b/c I am a professional and this polish and polishing waffle pad ties into other festool products. Also, this polish works well for wood and resin.
The polish I recommend you use is McGuires 105 Ultra Cut Compound which can be purchased from Amazon or any auto part store. Also, I'm fairly sure I saw these for sale at wal mart; however, I'm not sure b/c my main objective while in Wal-Mart is to get the hell out of wal-mart.
Also, you need a polish and polishing pad as well. Essentially, this is a car polish and polishing pad normally used to polish/wax a vehicle. Total for both items is probably around 35 to 40 dollars.
Be sure to choose a waffle pad over a flat pad. The waffle pad provides better pad to surface contact which reduces heat build-up and delivers a smooth polishing action. It also helps to purchase 2 of these instead of only 1.
Lastly, polishing pads have grits (normally coarse, medium, fine, extra fine). Choose medium or fine.
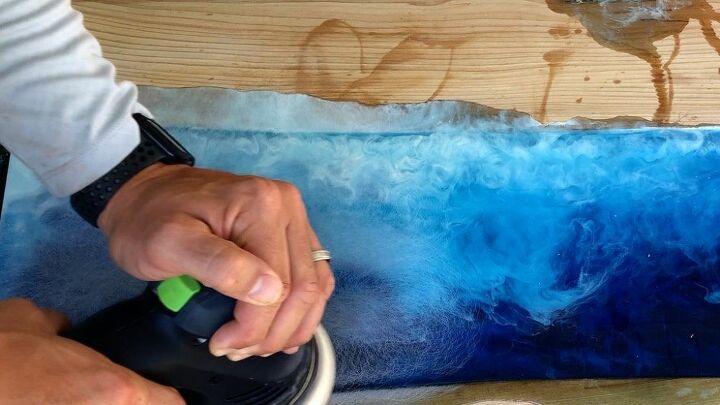
Apply Polish
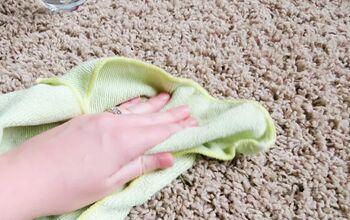
First, make sure the surface is clean and free of dust/debris. Do this by using a damp microfiber towel or water spray bottle with a dry microfiber towel.
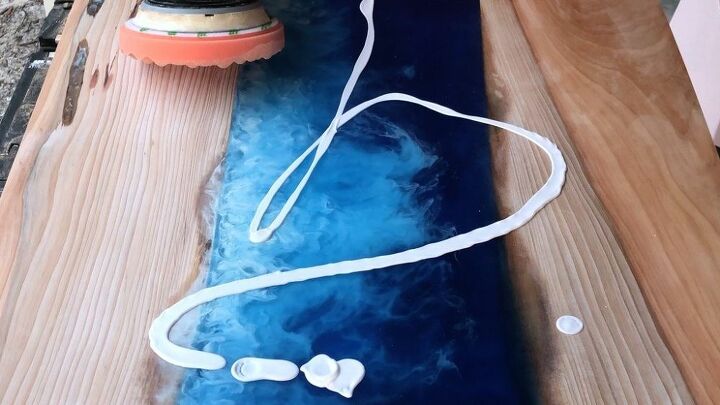
Squirt a generous amount of polish in the resin.
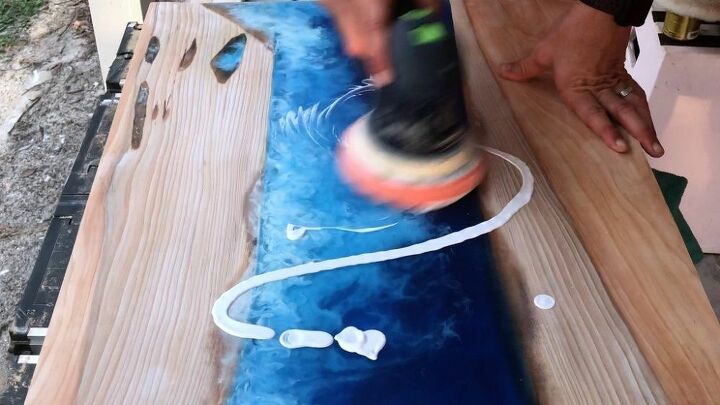
Prevent Over Spray
To prevent over spray, rub the polish in as much as possible while the buffer is OFF. If you don't do this, the polish will likely spray everywhere and you will have a line of polish across your clothes.
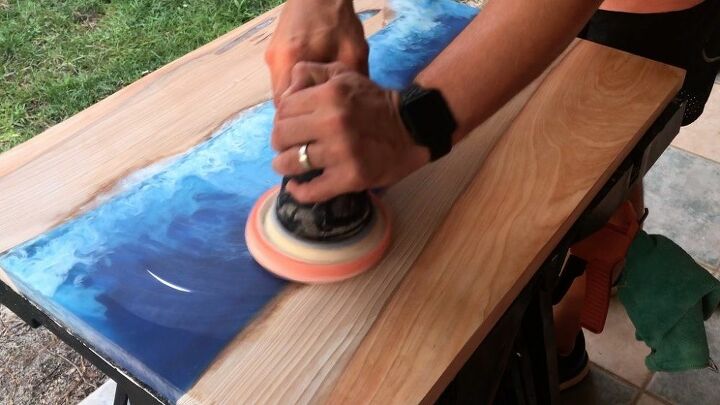
Polishing
Place the buffer pad on the surface and turn it on. If you have a variable speed buffer, start slow and then ramp up the speed. If you don't, no worries - it's not a big deal.
Work the polish into the surface into it is all worked in. If you have trouble removing all the polish, wipe off the excess from the buffing pad and resin surface and polish again. Or, use a clean polishing pad.
Be Patient
This step could take a while and may require you to do it twice. If the sheen is not enough, you can repeat the sanding sequence again. If you do decide to repeat the sanding sequence, you can try wet sanding with each grit by spraying a bit of water on the surface, sanding with a grit, and then use a squeegee to remove the water. Repeat this for each grit.
Final Thoughts
Remember, it is impossible to mess up the surface. If you don't like the finished product, start again and make it better. IN other words, any mistake you make using this technique can be fixed with relative ease.
This technique is a very useful skill to learn because it can save you a lot of money and you won't be as nervous about damaging your epoxy resin table, countertop, or resin artwork.
Furthermore, you now have the ability to buy a used/damaged table and make it new again. Or, resurface an old kitchen or bathroom countertop with epoxy resin and make it look like stone or marble.
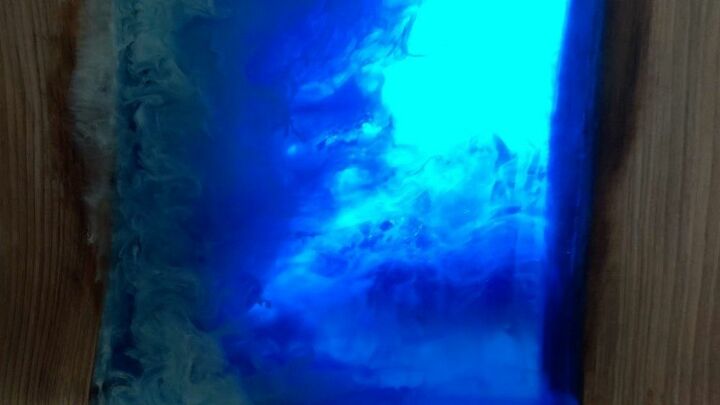
I hope you this HT tutorial provided you with value. If you like this resin ocean art, visit my online store to purchase it or similar items.
Resources for this project:
See all materials


Frequently asked questions
Have a question about this project?