


Board and Batten Bedroom Wall – Must See DIY!
ContentsHappy New Year! I’m excited for my first official 2021 reveal! There are many more projects planned that I promise you will not want to miss – you can subscribe here for all the home inspiration!
DIY Board and BAtten Bedroom Wall VisionMy vision for this space was to create a hotel style guest suite. To do that, I knew I needed an amazing bedroom feature wall. I have seen so many gorgeous DIY board and batten bedroom walls and this rectangular shaped wall was perfect for board and batten.
Board and batten walls are also sometimes referred to as grid walls, wainscoting, and wall paneling among other terms.
If you have been here awhile, then you have seen all the other woodworking projects my handy husband has done. DIY Board and batten bedroom walls are of medium difficulty and can be done even if you are not extremely handy as long as you have the right tools!
As far as the time estimate to complete a DIY board and batten wall like this, we mostly do our projects as weekend projects. One weekend, we bought the materials. The next weekend, my husband & his parents installed the board & batten. The following weekend, my husband caulked & paint sprayed. This was a multi-weekend project but the DIY board and batten wall itself was about 15 hours broken up into multiple increments.
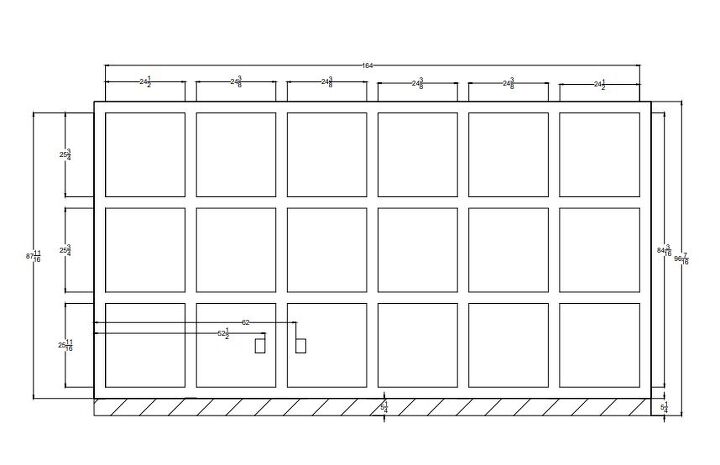
Board and Batten Drawing / Design
There is so much creativity that goes into a DIY Board and Batten bedroom wall. A traditional board and batten is made of rectangular boxes. You can also do vertical board and batten, square board and batten or a partial board and batten wall.
Here is the layout we used:
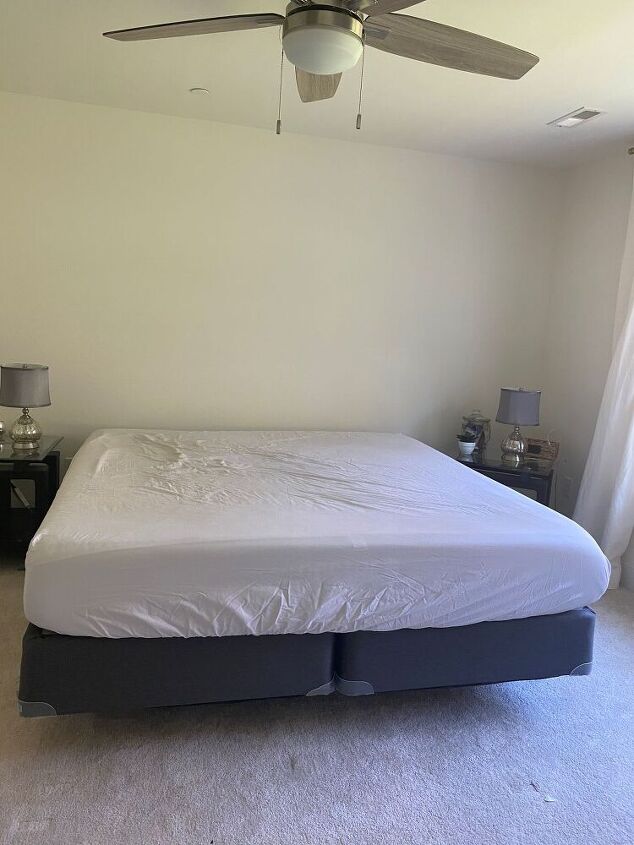
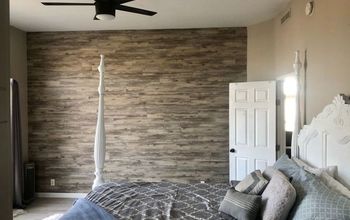
Board and batten bedroom wall before
I love a good before shot – don’t you? You can see this was just a plain wall with white builder grade paint. I wanted this bedroom to have cozy vibes & also wanted the wall to have a wow factor!
Board and Batten Bedroom Wall DIY
Materials Used:
- 1”x4”x16’ Finger Joint Pine Primed Trim Boards
- Sherwin Williams Shermax White Caulk
- Sherwin Williams SuperPaint – Chantilly Lace
- Crawfords 31604 qt Natural Blend Painters Putty
Tools Used:
- Dewalt Flexvolt 120V MAX Miter Saw Kit, 12-Inch, Double Bevel, Compound, Sliding (DHS790AT2)
- DeWalt Flexvolt 60 volt 13 amps Cordless 8-1/4 in. Table Saw
- DeWalt DWE6423 3 Amp Corded 5 in. Variable Speed Random Orbital Sander
- Graco FinishPro II 395 3300 PSI @ 0.47 GPM Air-Assisted Airless Sprayer
- Kreg Jig R3 Pocket Hole System with Classic 2″ Face Clamp and Screws
- Porter and Cable Air Compressor
- Porter and Cable Finish Nailer
- Hitachi Pneumatic Pin Nailer
- 6’ Level
- Tape Measure
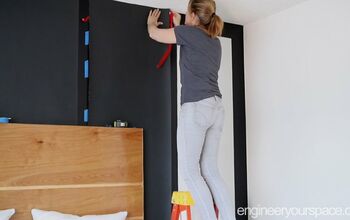
Process:
We nailed our boards into the wall so all the nail holes had to be filled with wood putty and then sanded down.
Here is my husband adding the caulk. He also sanded the joints so there was a nice smooth transition finish between boards.

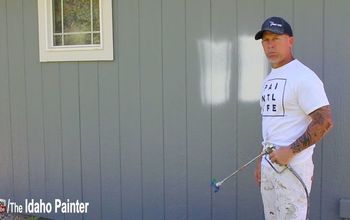
Next up was paint. You could either paint by hand or use a paint sprayer like we did. As with any paint job, it generally takes more time to prep than it does to actually paint! The wall didn’t even use half a gallon.
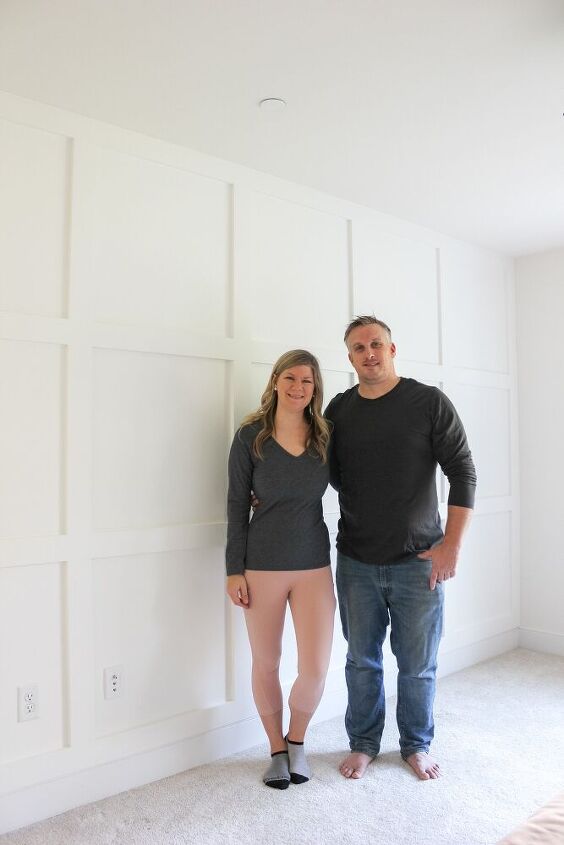
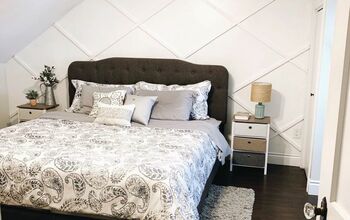
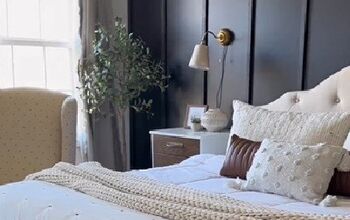
Board and Batten Bedroom Wall After
Isn’t she lovely? I just love the crisp lines & the texture it adds to the room!

Click here to see a little highlight video that I made of the whole project!
Guest Bedroom Makeover Design Board
All sources are linked here.
I find having a design board helpful for any room makeover.
Want to see the final reveal? You can subscribe here!
pin this
Stay Connected and Get All The Latest
Resources for this project:
See all materials


Comments
Join the conversation
-
I am definitely inspired and appreciate the fact that you listed each item that you used. It truly helps to plan when you know what is involved! Mary
-
Looks so great! Love how big and chunky it is.


Frequently asked questions
Have a question about this project?
I LOVE IT, BUT I DON'T HAVE ALL THE TOOLS YOU LIST. CAN THIS BE DONE WITHOUT THE PNEUMATIC PIN NAILER, ETC. HOW ABOUT JUST WITH HAMMER NAILS, ETC.? ALSO DID YOU PUT IT ALL TOGETHER BEFORE NAILING TO WALL, OR DID YOU PUT THE HORIZONTAL ONES UP FIRST AND THEN FILL IN WITH THE VERTICALS. IF I DO THIS I WILL DO BY MYSELF, AM A WOMAN, SO IT MIGHT BE A LITTLE HARDER FOR ME. ANY HELP APPRECIATED.