


How to Transform a Room With Removable Wallpaper
Wallpaper. I'd say most people love it or hate it. After buying a 1960's home and taking down layer after layer of terrible floral-print wallpaper, I definitely hated it. However, removable wallpaper recently piqued my interest. Wallpaper that I could put up and easily take back down again?! I'm sold on this idea! Want to know how easy it is? Here's a super simple step-by-step tutorial on how to apply removable wallpaper so that it looks great and comes off easily. If you want to see a quick video tutorial, head over to my Instagram account: https://www.instagram.com/the_handcrafted_haven/ and watch the "Wallpapering" story highlight.
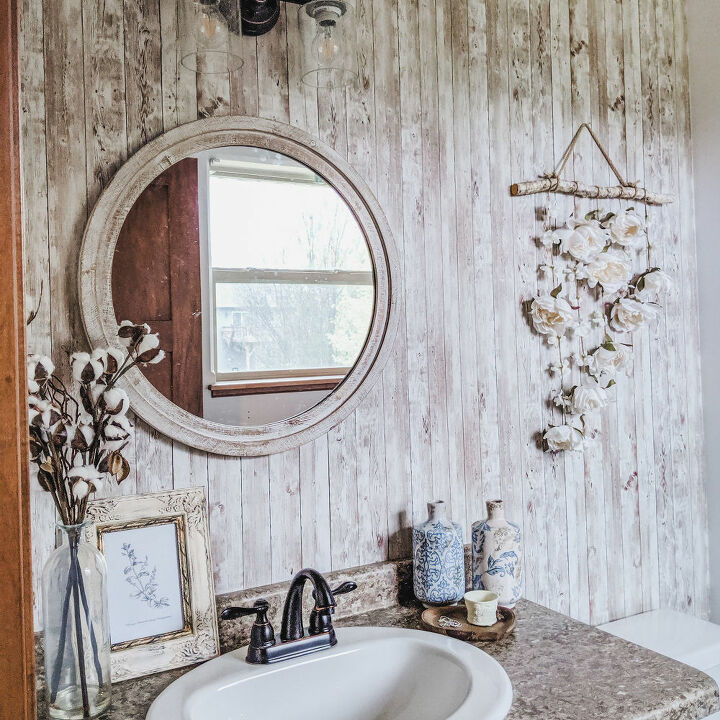
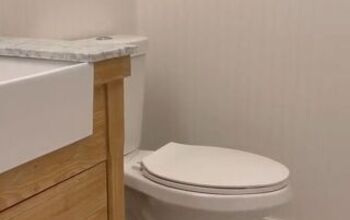
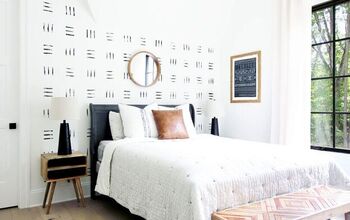
Here's the "After" photo just to keep you inspired from the start!
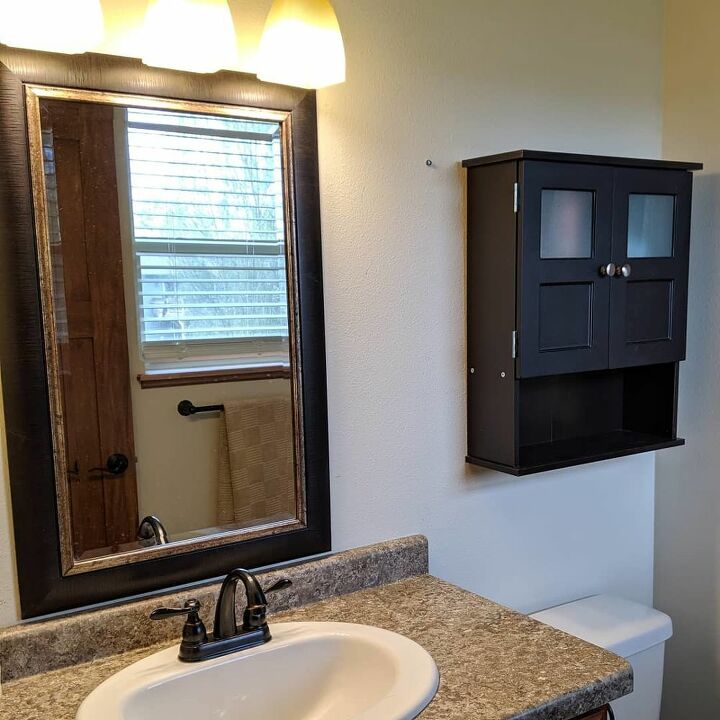
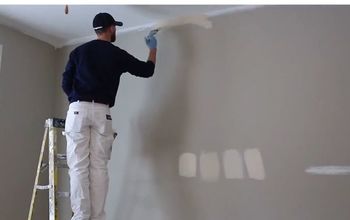
Here's the "Before" photo. Of course I did a lot more than just add removable wallpaper! However, the wallpaper makes a big difference in this space.
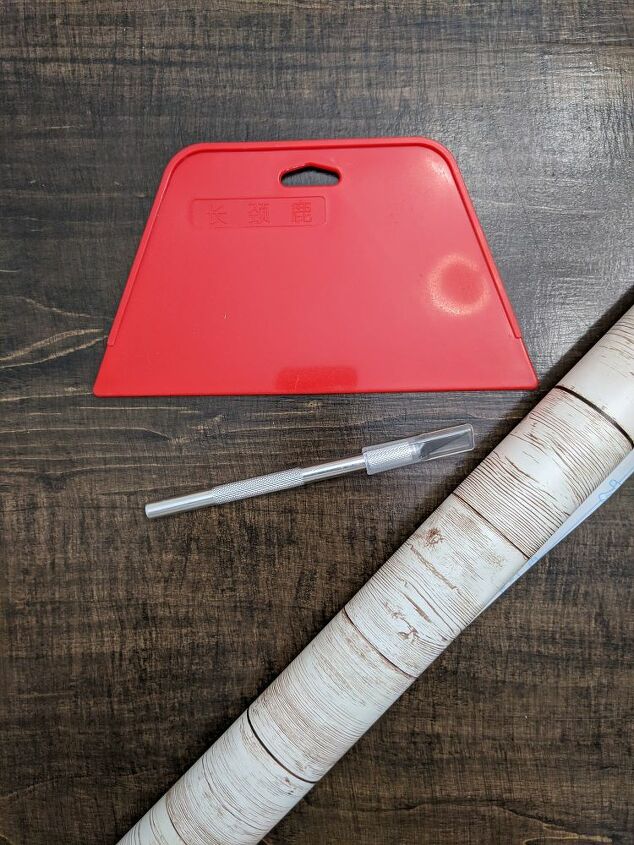
Step 1: Gather your supplies. You will only need three items: removable wallpaper, a razor knife and a wallpaper smoothing tool.
Step 2: Clean off your wall with soap and water. You might need to use something stronger if you are cleaning off a wall with a lot of dirt or grease on it. Let it dry.
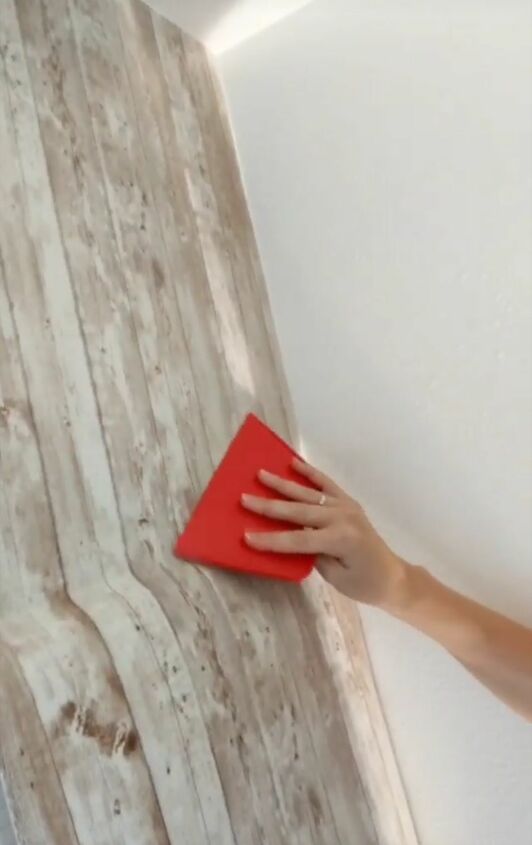
Step 3: Slowly stick the wallpaper onto the wall, starting near the ceiling. You will slowly peel off the backing as you go down the wall. Peel a little bit of the backing off at a time, stopping to use your smoothing tool every 6 inches or so. Continue down the wall.

Step 4: Check that the wallpaper is straight. Use a level to make sure that you are putting it on perfectly straight as you go down the wall.
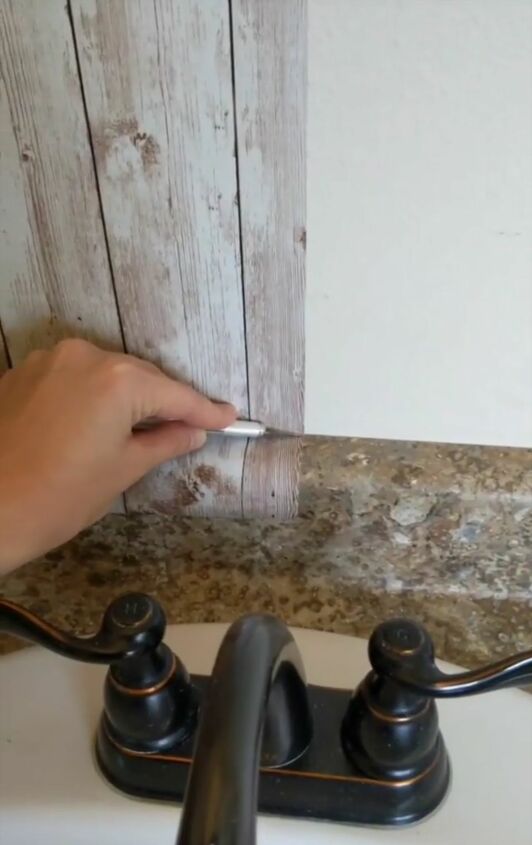
Step 5: Finish off the bottom of the wallpaper piece by smoothing it down to the very bottom with the smoothing tool and using a razor knife to cut it perfectly along the bottom edge.
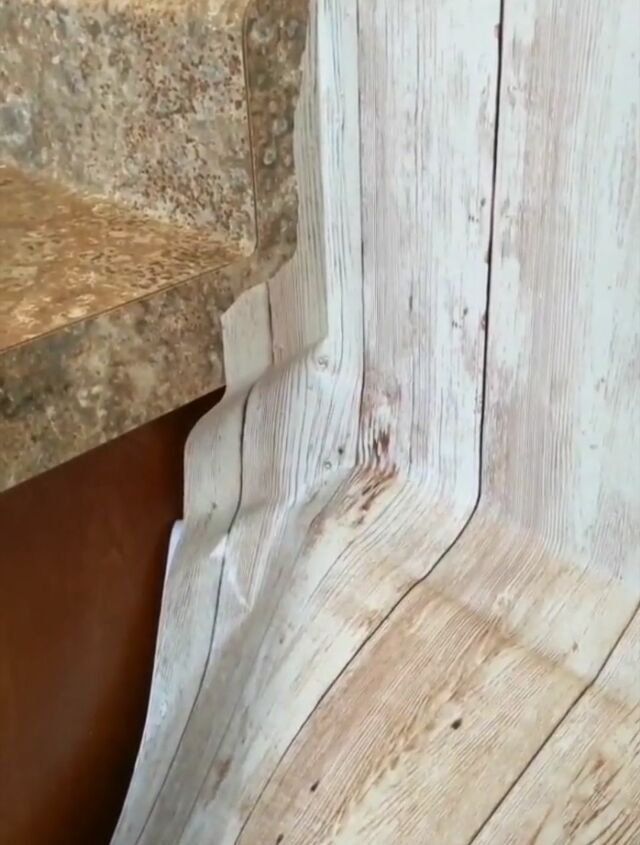
Step 6: Continue putting on wallpaper, carefully working your way around anything attached to the wall. You'll have to be patient, slowly cutting away more wallpaper until it all fits perfectly. My advice is to just take your time!

That's it! Applying removable wallpaper is so much easier than I thought it would be. I highly recommend that you give it a try, starting with a small space in your home. The best part is: You can always just peel it off if you decide you don't like it. For more DIY home projects, head over to my blog at http://www.thehandcraftedhaven.com/.
Resources for this project:


Comments
Join the conversation
-
Do you recommend a smooth wall? In Arizona we seem to always have stucco walls
-
I definitely will try this project if I can fine the wall paper!!


Frequently asked questions
Have a question about this project?
How has the wallpaper held up
over time? Is this a bathroom with a shower or just a powder room? Looks very nice!
Can it be put over paneling
What did you get the wallpaper???