


Holiday Photo Display Shelf

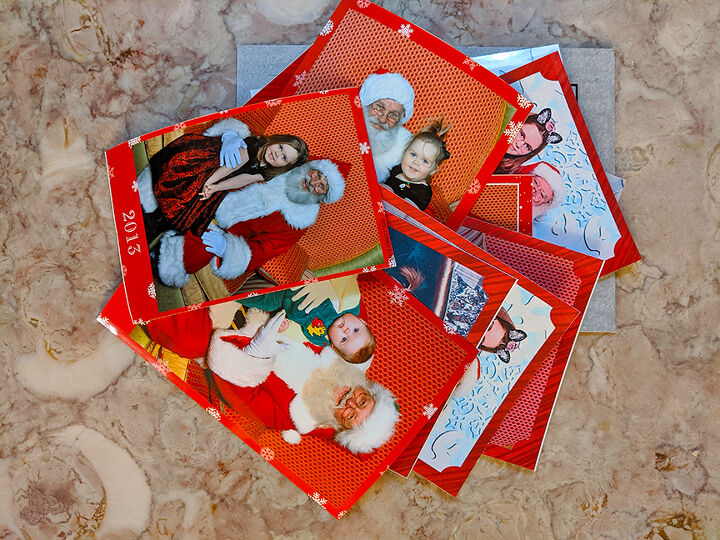
My daughter has her photo taken with Santa every year. The first few years, it was easy to display them on a surface in our home. But as the years went by, and the photos stacked up, it became harder to find a way to display them. I’ve been wanting to come up with a solution, but just hadn’t gotten around to it.
This year, my dad is coming to spend the holidays with us. It will be our first Christmas together in 30 YEARS!! And he’s never been to our home and hasn’t seen my daughter since she was two years old. So I was determined to find a way to display these adorable Santa pics this year.
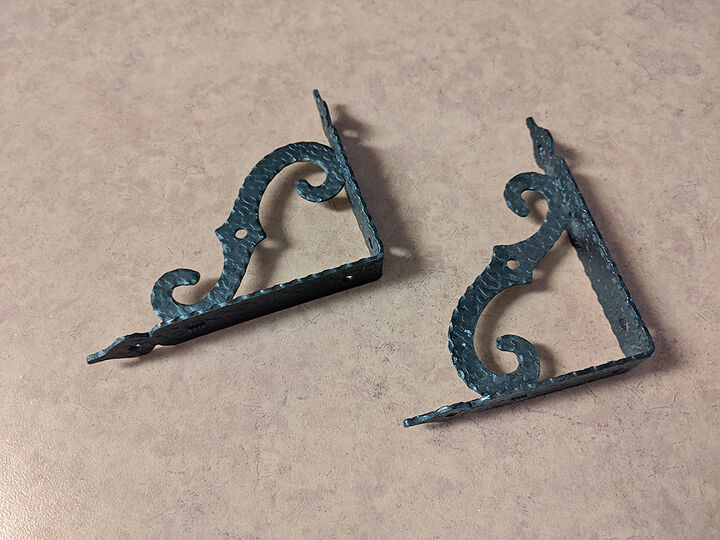
I went into my garage, with my DIY wheels spinning hard, looking for inspiration. I found a pair of shelving brackets...and decided this would be my starting point.
I went to Home Depot and picked up 2 pieces of pine wood. One to use as a shelf. And a smaller piece to use as a lip, to prevent the pictures from sliding off the front.
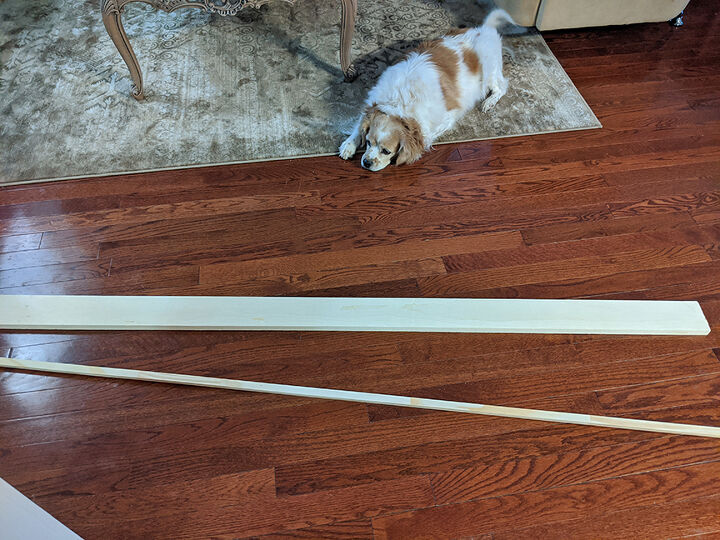
Prepping the wood:
Because the thinner (lip) piece was longer, I trimmed it to the same length using a miter saw. A handsaw would have worked just as well.
Then I sanded the wood very lightly to make sure there were no splinters.
Joining the wood:
I glued the smaller piece to the front of the larger, using wood glue.
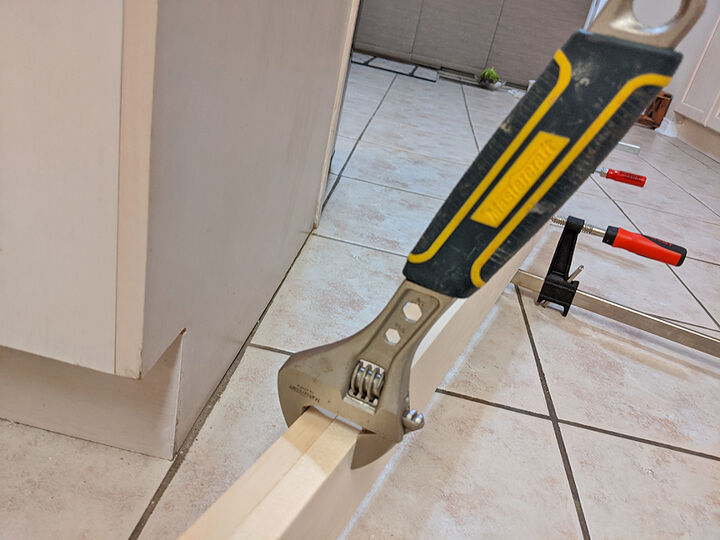
Then clamped them together.
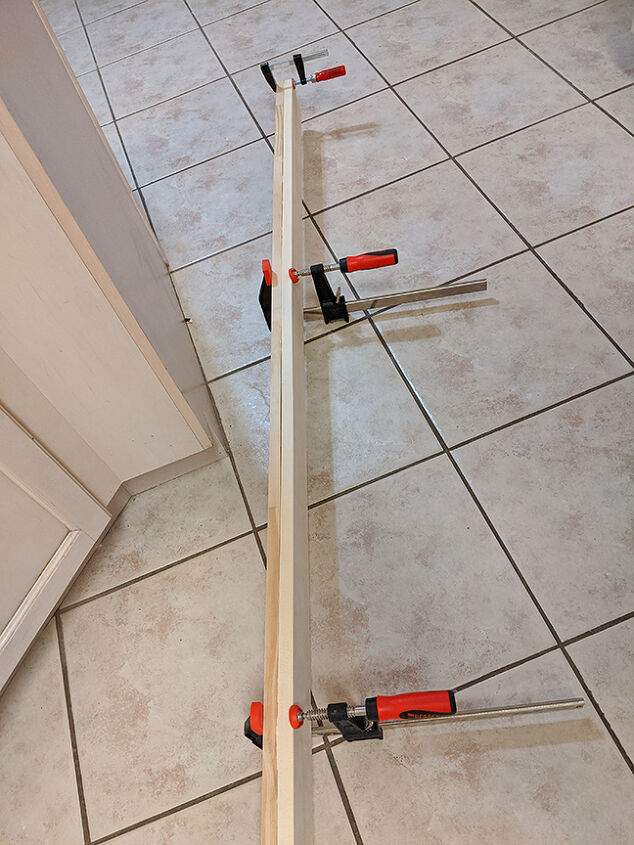
I didn’t have enough clamps for 6 feet of board, so I used large wrenches too.
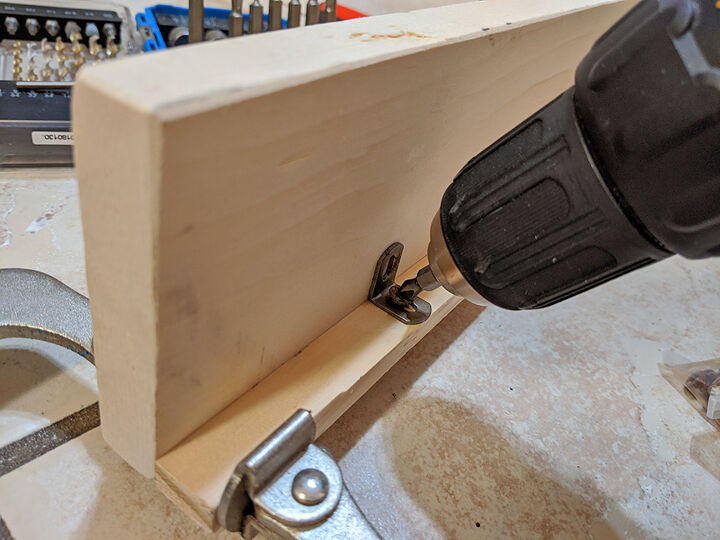
I found a couple of tiny brackets in my garage, so I added those to the inside of the lip for added support. I could have skipped this step as the glue held up nicely.
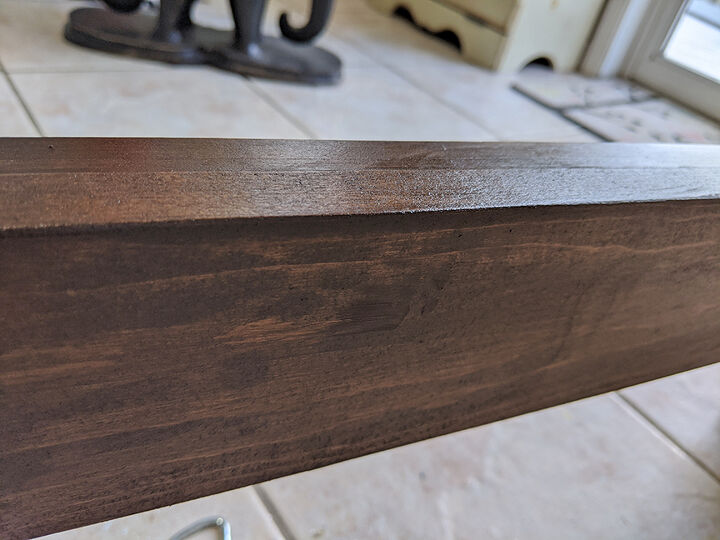
I smoothed wood filler into the crease where the two pieces joined. I applied it with my finger and wiped off any excess with a damp cloth.
Then I stained the wood with gel stain (applied with a cloth) and added a clear coat finish (applied with a foam brush).
Tip: I use the squared off end of disposable wooden chopsticks to stir small cans of stain, sealer or paint. I've never figured out how to eat with them, but they make perfect stir sticks.
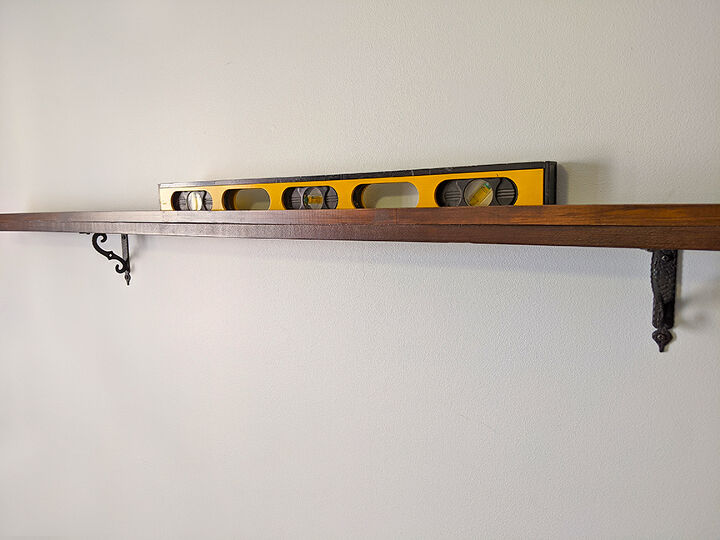
Then I attached the brackets to the shelf. I pre-drilled holes to avoid splitting. I placed the brackets about 18" in from each end, hoping that would help prevent the wood from sagging over time.
Then I attached the brackets to the wall. I drilled one end directly into a stud and the other end I attached using plugs and screws.
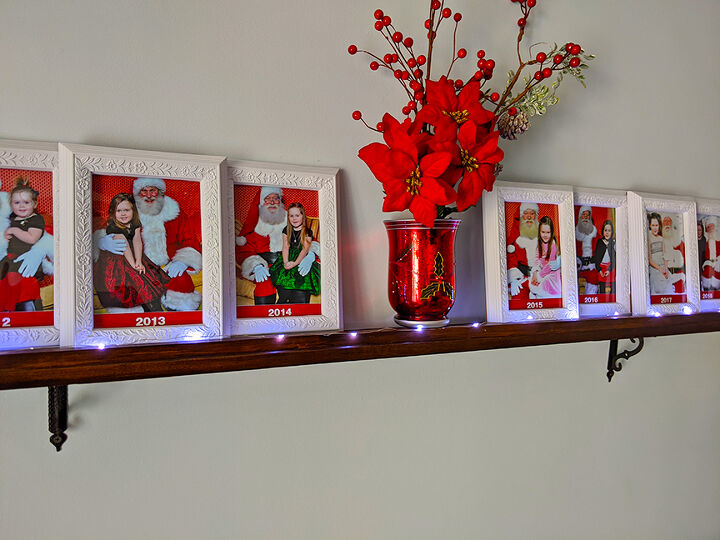
Then the shelf was ready to go! I added the photos, framed in matching dollar store frames, and a string of battery operated starry lights.
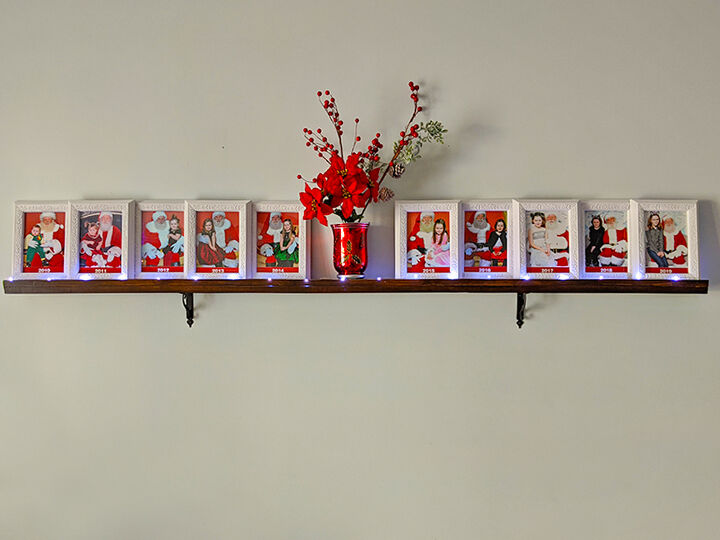
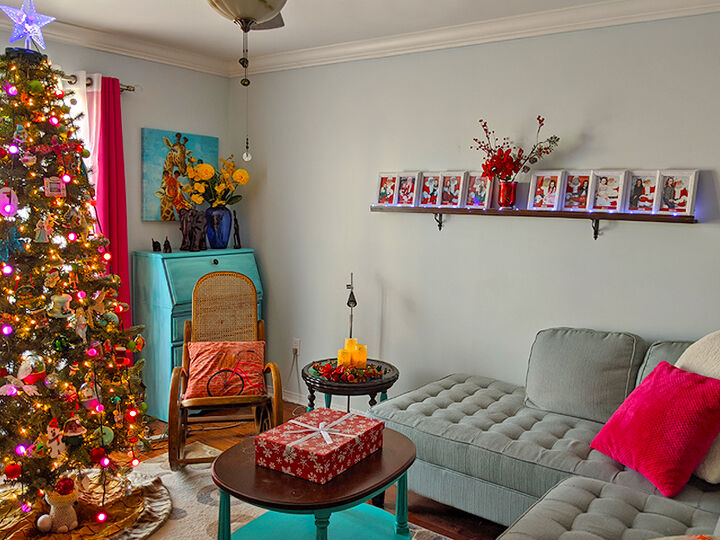
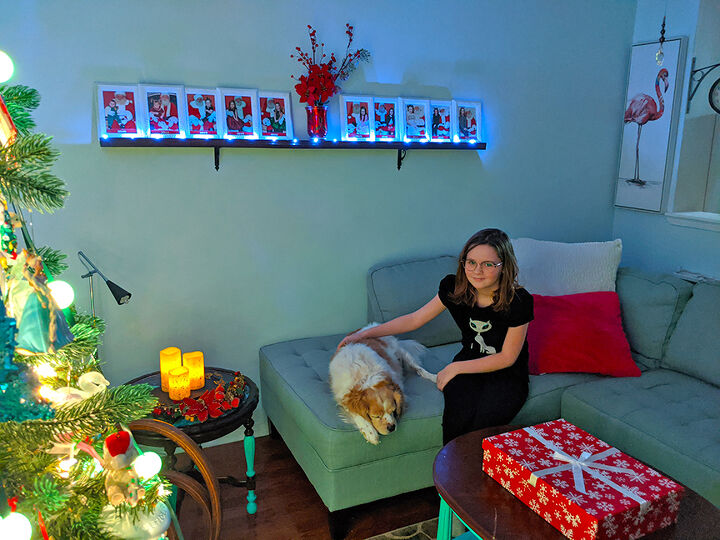
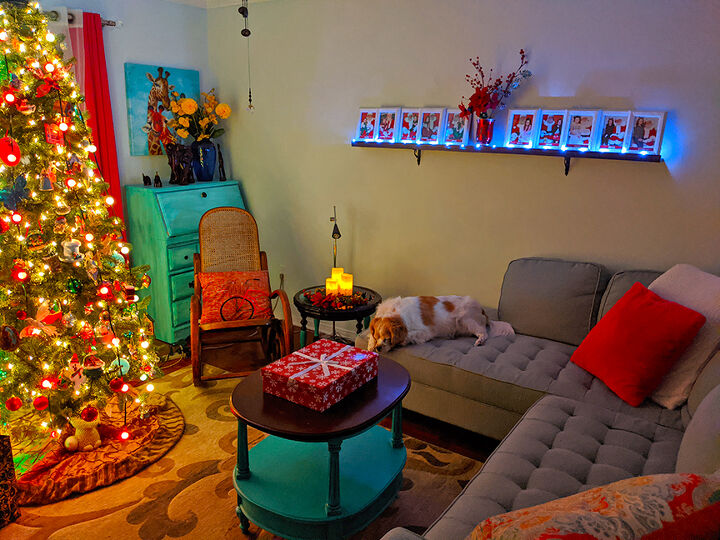
I'm so happy that I finally found a way to display these photos! And that I got it done before my dad arrives in a few days.
I’m sure I’ll do a similar display with the annual Easter bunny photos. And Halloween!! I’ve so been wanting to display this little mommy/daughter Halloween tradition! I’ll be sending these photos off to print for sure! 

If you have been struggling to find space for your special holiday photos, I hope you’re inspired to try this quick, easy and inexpensive solution!
Happy Holidays everyone! 

Resources for this project:
See all materials


Comments
Join the conversation
-
This is so cute!! I love that you shared those adorable photos with us!
-
The shelf is amazing. The lights are perfect. The monkey photos are a great memory. 🐒 You'll need another shelf for future photos 😊 Thanks for sharing.


Frequently asked questions
Have a question about this project?