


Chalk Paint® Furniture Makeover For Beginners

The secret to painting furniture is to DONE IS BETTER THAN PERFECT. The beauty of using a chalk paint to paint furniture is that you don't have to follow the rules and it requires no prep.Even if you've never painted a piece of furniture before, try it out on a piece that doesn't have high stakes.
This was my second chalk paint experience. You can see the first piece I painted here and if I can do it, so can you.
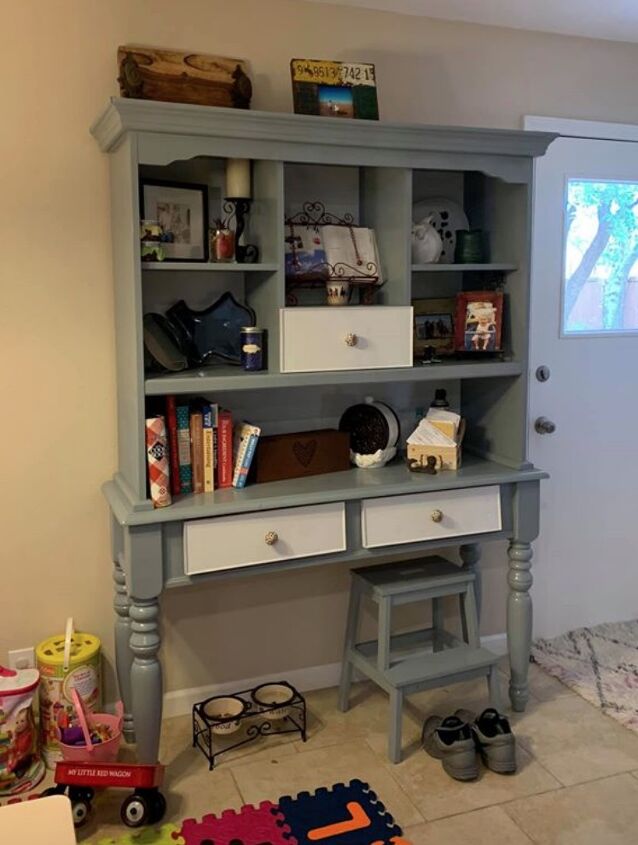
Find something on Facebook or at a garage sale that you like the shape and size, but not the finish.It matters less what condition it's in as long as you like the style. I found a hutch on Facebook that was the right shape for my room.The materials required are:
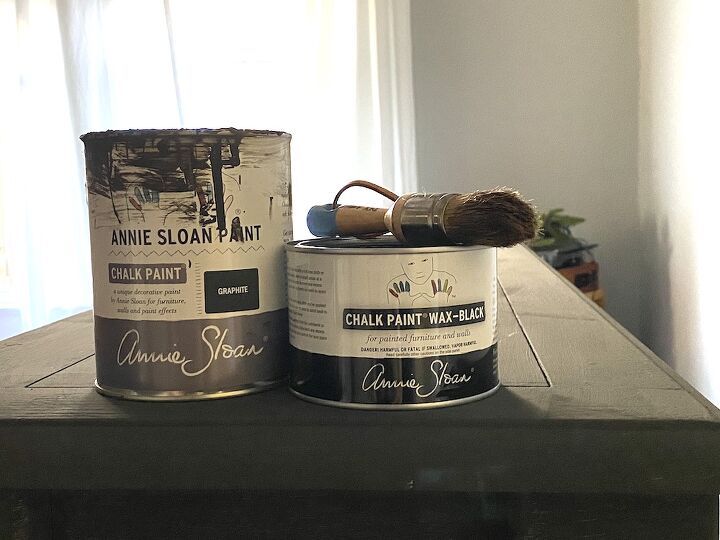
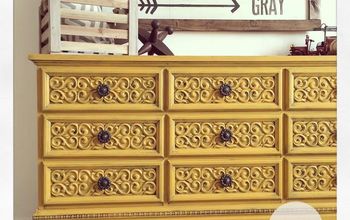
- Chalk Paint - You can make your own or buy it. They sell at Home Depot or at most antique stores. I used Graphite color.
- Chalk Paint Wax - I used the black wax. The wax almost as important as the paint. It really transforms the color and makes it deeper.
- Cloth - You will need two, one to clean the furniture with and one to buff the excess wax off.
- Short Cut paint brush - You don't have to use this type of brush, but it makes the painting easier.
- Wax brush - You can also apply the wax with a cloth, but I find it goes on more evenly and faster with a brush meant for chalk paint.
The steps to paint any furniture with chalk paint.
- Wipe the furniture so that it's free of any dust or grease. Let it dry completely before you paint.
- Shake the chalk paint before you open it. Apply one coat covering thoroughly using a short cut brush.
- Allow the paint to dry.
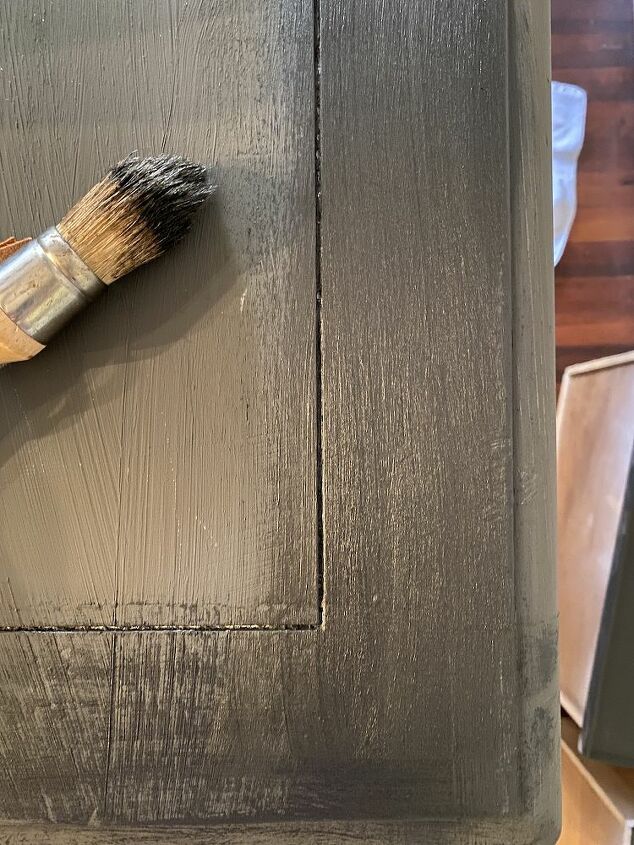
- Even if the paint doesn't look dark enough, apply wax to a small area to see if the wax makes the paint look dark enough. When I first saw my piece covered with paint I thought it needed an extra coat, but once I got the wax on I realized it didn't.
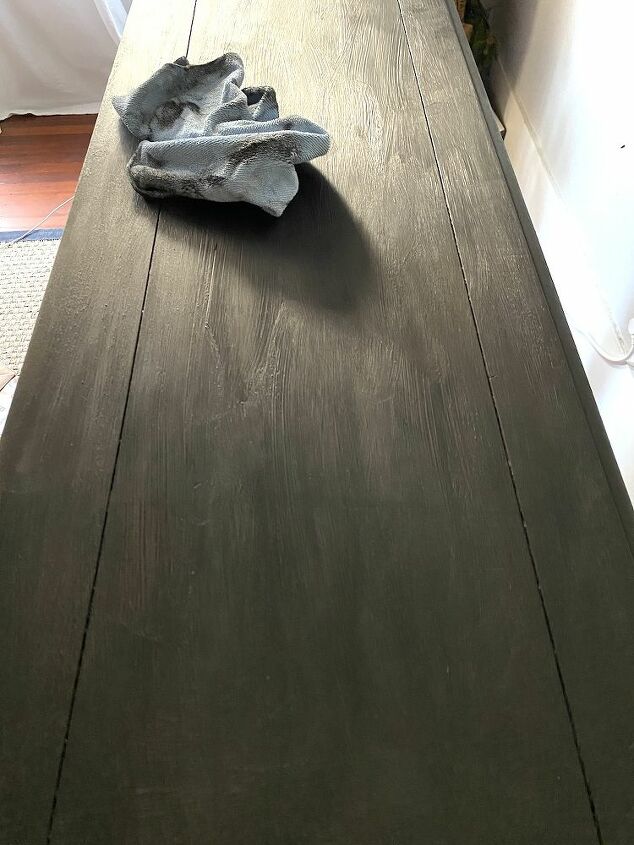
- Apply the wax generously and wipe off any excess. You can do this with a rag or brush. Let cure for 24 hours.
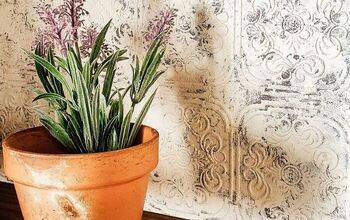
- Optional - I removed the back of the hutch and applied removable wallpaper to the back.

If you want to see more painting projects, come visit my blog for more DIY tutorials.
Resources for this project:
See all materials


Comments
Join the conversation
-
Have the perfect piece to try this project on. Absolutely loved your finished hutch. The colors are beautiful. Thank you for the step by step directions!
-
Great tutorial, thanks for sharing!


Frequently asked questions
Have a question about this project?
How long do you leave the wax on before taking it off?
Can I use that method on my kitchen cabinets?
I want to try this and the instructions are great for a beginner so thank you for that. One quick question..do you need to seal it or use any kind of protection spray or product over the wax or is waxing the last step? I wasn't sure if it's recommended or if it would ruin the finish? Also what about if you did this to an end table or nightstand that glasses get sat on, how does it hold up to condensation and being wet? Or is it better for decorative pieces? I'm excited to try this and to anyone that takes the time to answer my question thanks!