


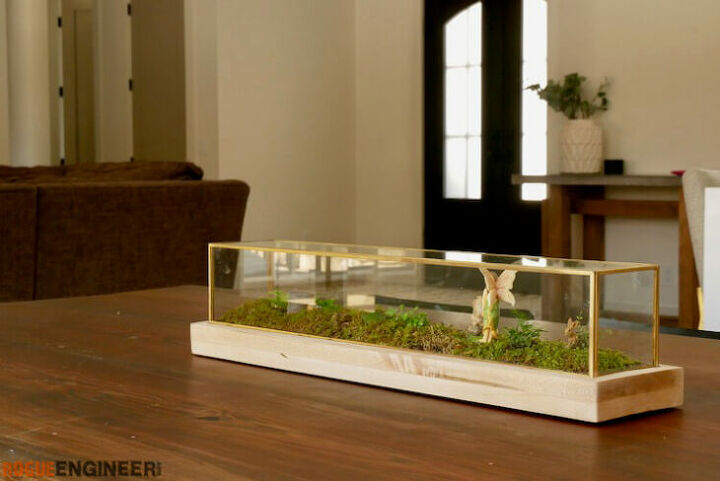
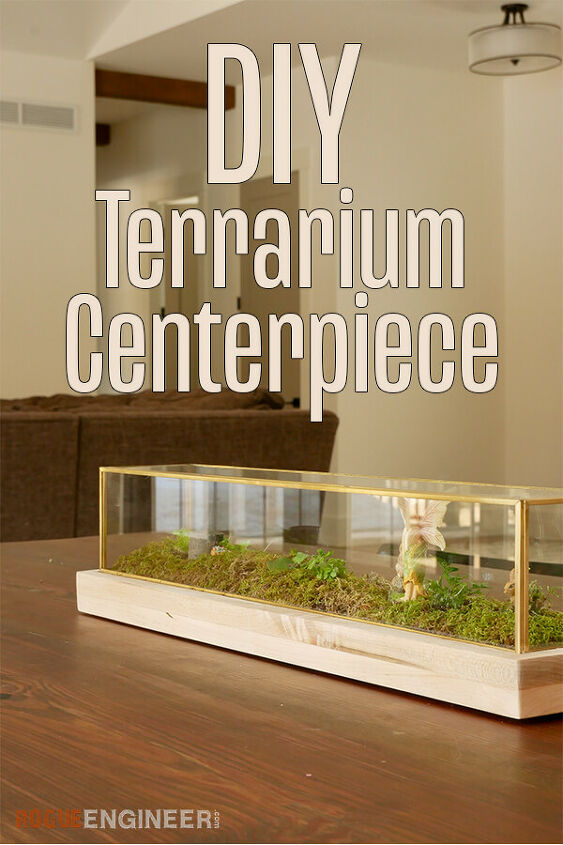
Closed Terrarium From Glass Centerpiece
10 Materials
$100
1 Day
Easy
My wife, Jamie, has always wanted a terrarium in our kitchen however we were a little particular of the size. We wanted it to be more of a centerpiece on the table or island and not too tall. That being said, we ultimately decided to make our own from a glass centerpiece that was actually meant to be a candleholder. It was the perfect size and we could simply build a wood platform, turn it upside down and we would have a true closed terrarium. Read on to see exactly how we did it.If you are unfamiliar with terrariums, it is basically a glass enclosure that is used as a planter. There are open terrariums which in my opinion are not real terrariums. They lack the benefits of a closed glass case, which is that the plants get to form their own humid ecosystem. Essentially, the moisture is recycled, creating a small scale water cycle, which is great for people like us that don’t always remember to water plants. That being said, the plants that go in here should be something that likes a moist environment (not succulents). But enough science for now, let’s get to building this thing.If you love this stuff as much as we do, you might want to consider following us on Instagram where we post sneak peeks and behind the scenes stuff in our stories. Also, did you know you can get tons of projects plans from all around the web when you follow us on Facebook and Pinterest!
{
"id": "6024965",
"alt": "Closed Terrarium from Glass Centerpiece",
"title": "Closed Terrarium from Glass Centerpiece",
"video_link": "https://www.youtube.com/embed/Sy8mJmgMqbc",
"youtube_video_id": "Sy8mJmgMqbc"
}
{
"width": 634,
"height": 357,
"showRelated": true
}
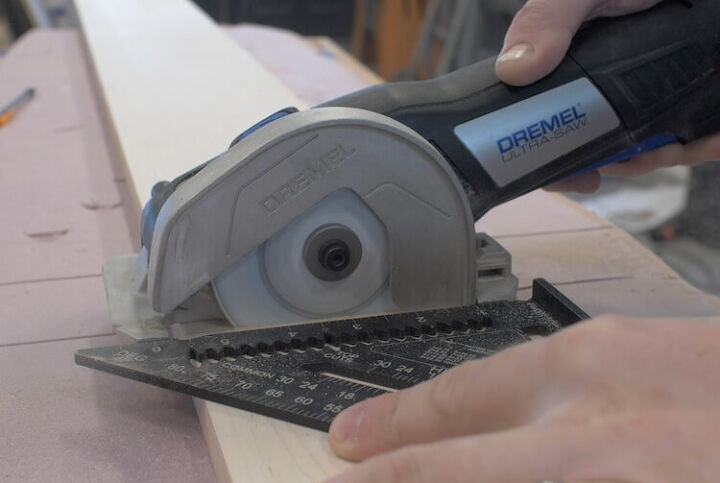
Cutting Boards for Base:
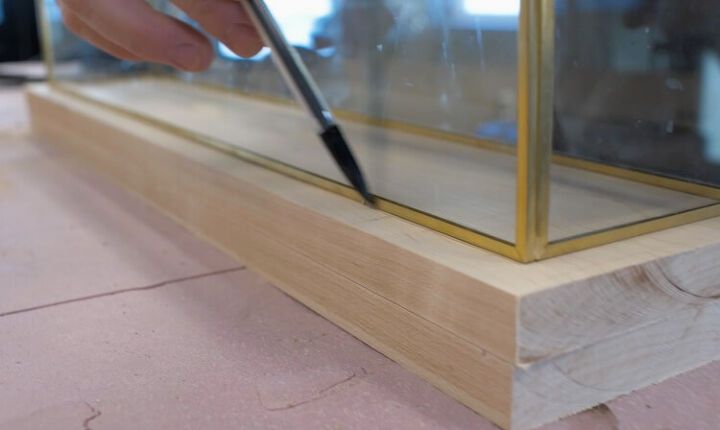
Making Space for Soil:One of the boards will have a hole cut in it to allow for soil. The hole will be on the inside of the container and we will add a lip to allow the container to rest securely in place. To do so, center the container and trace a line around it.
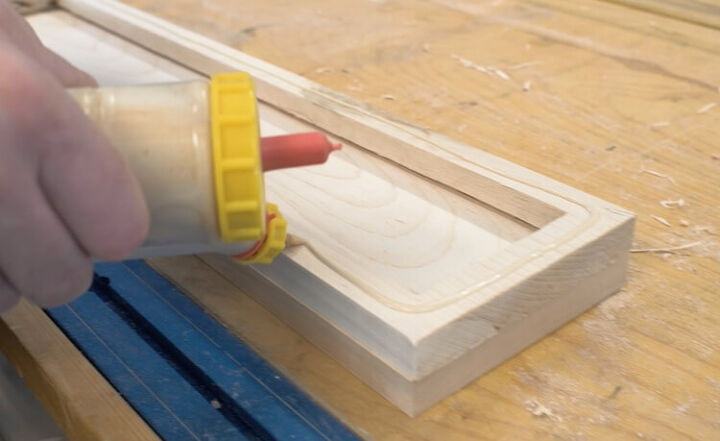
Assembly:Time for the glue up. Flip the top over and apply a bead of glue to the bottom, then spread it out to assure even coverage.
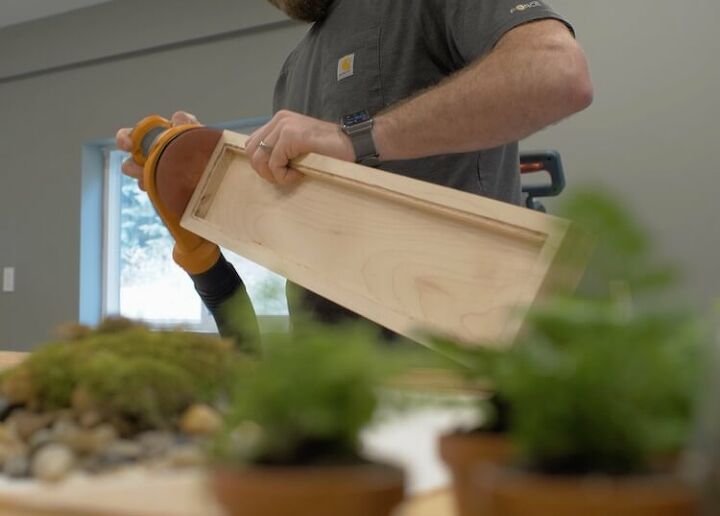
Finishing:Once the glue is cured you can remove the boards from the clamps and sand done the sides and corners.
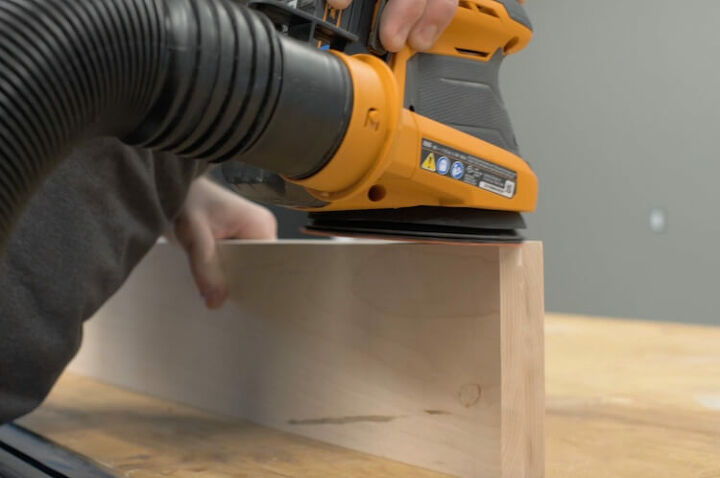
Make sure to take your time with the ends and sides to smooth out the seams.
Planting
Now you can add the drainage layer. A thin layer of stone should be sufficient.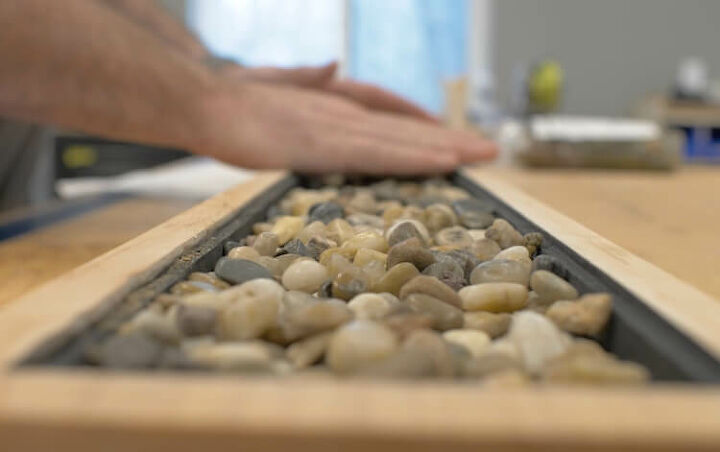
Resources for this project:
See all materials


Any price and availability information displayed on [relevant Amazon Site(s), as applicable] at the time of purchase will apply to the purchase of this product.
Hometalk may collect a small share of sales from the links on this page.More info

Want more details about this and other DIY projects? Check out my blog post!
Comments
Join the conversation
2 of 10 comments
-
Good idea! Looks great!
-
Great job! tfs


Frequently asked questions
Have a question about this project?
Hi Rogue:
Nice! What were your total costs?
I love this! Would an acrylic/plastic container work as well as the glass? Thanks for sharing!
There's a big jump between finishing the construction of the box and the end of the project: how exactly was it filled and with what? But, it looks very nice.