


How To Make A Plate Backsplash
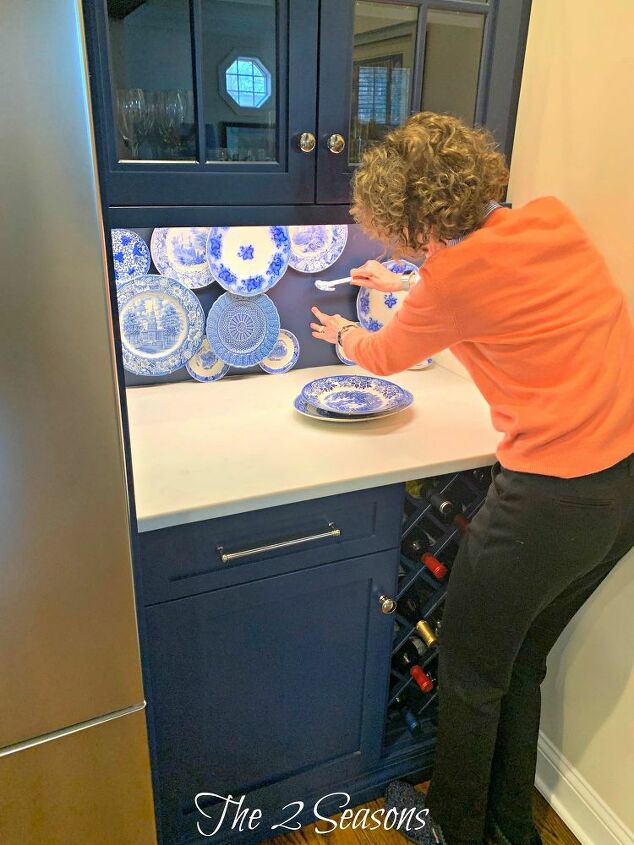
When we changed a family room into our kitchen, I knew that I wanted to do a few things in a different way. We added a bar area, and I decided to create a backsplash made out of my favorite blue and white plates. I am so pleased with how it turned out, and everyone who sees it loves it. To make it interesting, I used plates in different shapes and sizes, and I think that adds to the look.
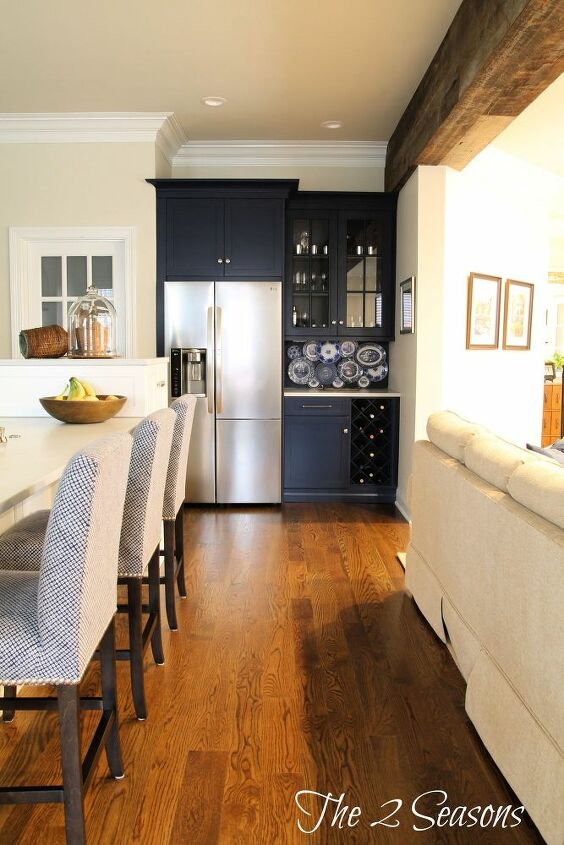
When we remodeled the house that we bought last year, we added a bright and efficient white kitchen to a room that had once been a dark and depressing family room. To make our new kitchen more "me", we put a navy blue bar in the space beside the refrigerator. Instead of having a regular backsplash, I decided to have some fun and make a backsplash out of my favorite blue and white plates. It was a simple project that took less than an hour and used the plates that we had on hand.
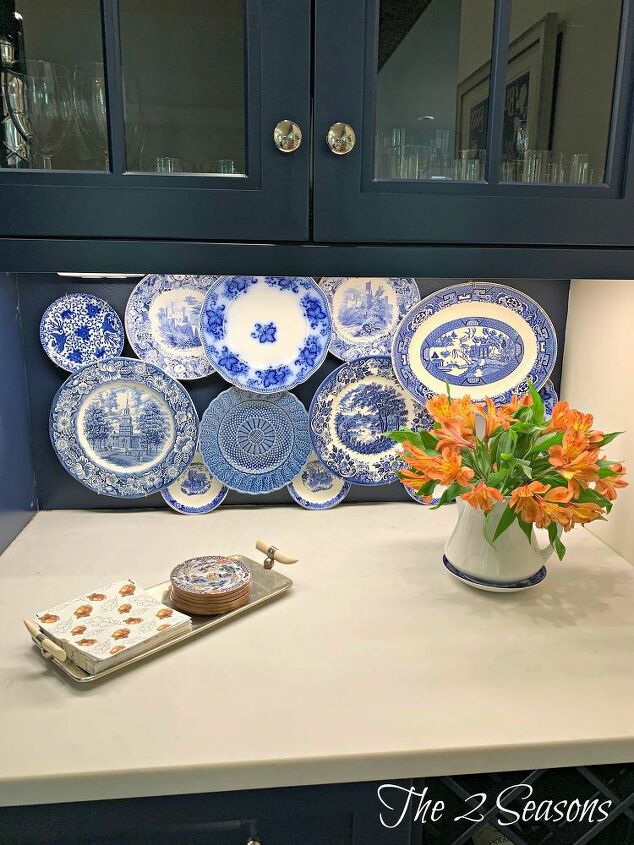
Before we added the plates, I painted the wall behind the plates the same navy as the cabinets. That helped the plates to be seen in a better way. The under counter lighting helps to illuminate the plates, too. In order to add dimension, we used nails that were different lengths. That gave us the opportunity to layer one plate over another.
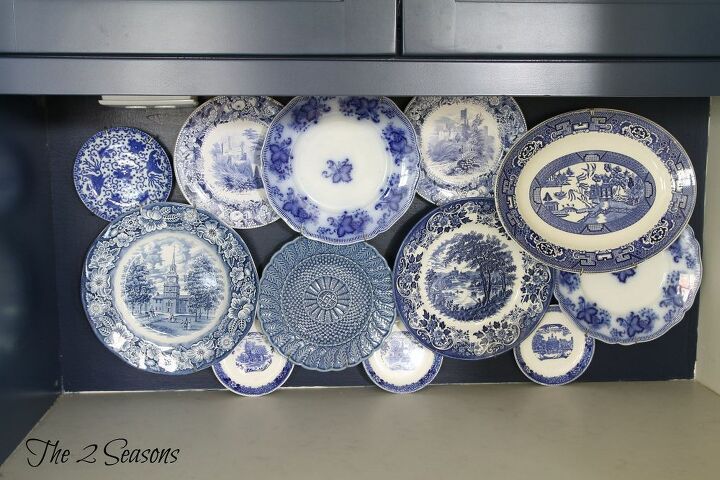
Here is a shot without the under counter lighting. You can see the different sizes and patterns on the plates. We used regular plate racks to hang them, but the sticky tabs would work, too. To see how this all ties in with our white kitchen, please visit our blog (link is below) that has a link to our kitchen tour.
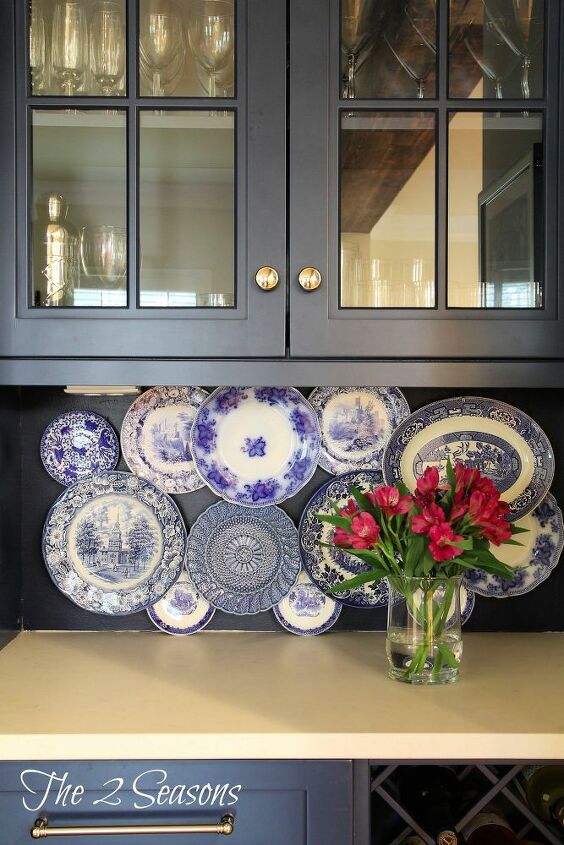
The cabinets and wall are Naval by Sherwin Williams. The nice thing about this project is that it can be personalized according to your tastes. You can choose your favorite plates, and use them.
Here are the steps you need to follow to create a plate backsplash.
- Select the plates. Using plates that are different sizes and shapes will make a more interesting look.
- Put plate hangers on each plate.
- Paint the wall the plates will go on. This is an optional step, but using a paint color that is in the plates will enhance them.
- Lay out the plates on the floor or a countertop to determine how you want them to hang on the wall..
- Using a hammer and nails of different lengths, pound the nails into the wall, and then hang your plates.
- Stand back, and admire your new backsplash.
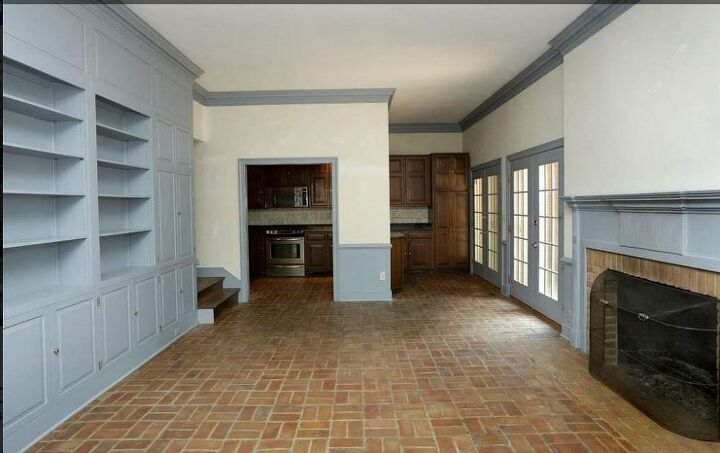
This photo shows the family room before we turned it into a bright and efficient kitchen. The camera angle is the same as the above photos. Please visit our blog (link below) to see a full house tour.


Comments
Join the conversation
-
I have been trying to pass on my dinner ware to grandkids but my taste is not their taste. You have given me a refreshing new use to enjoy my faves in these golden years. Anxious to give it a try! You are so creative.
-
I collect old blue and white plates. This is beautiful but I can see where keeping it clean would not be an easy feat.


Frequently asked questions
Have a question about this project?
This is lovely, but I'm curious why it costs $200 as listed at top of article. Thank you.
Its beautiful, I have a beach villa in florida and would like to do this with beachy plates, What kind of plate holders do you use? Wall plate hangers ? On your plates they dont show up from what I see, so I want to get the right ones
i would like to try this, but the plate holders shown in supplies look like they set on a horizontal surface. How did you attach them to the wall? Thank you for your reply.