


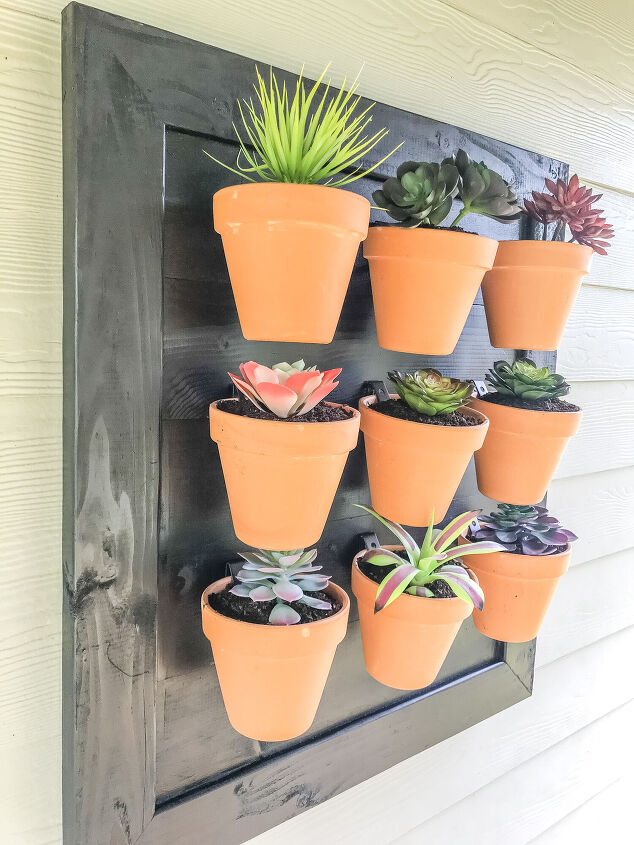
DIY Outdoor Wall Planter
Welcome back to our outdoor series project number.... well I lost count, but that doesn't matter because with every project we complete, I am closer to having the patio oasis of my dreams! When I started working on the patio design board I knew I had to have an outdoor wall planter!
Of course I scoured the usual places but I didn't find anything that was quite right or in my very limited budget, so when in doubt DIY it! Let's get started.

- 1x6 Boards
- 2x4 Boards
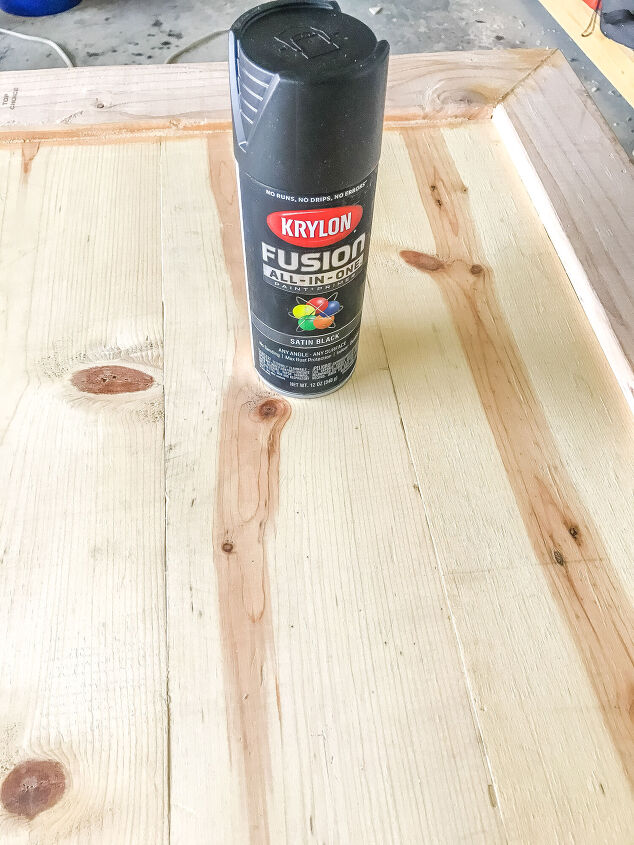
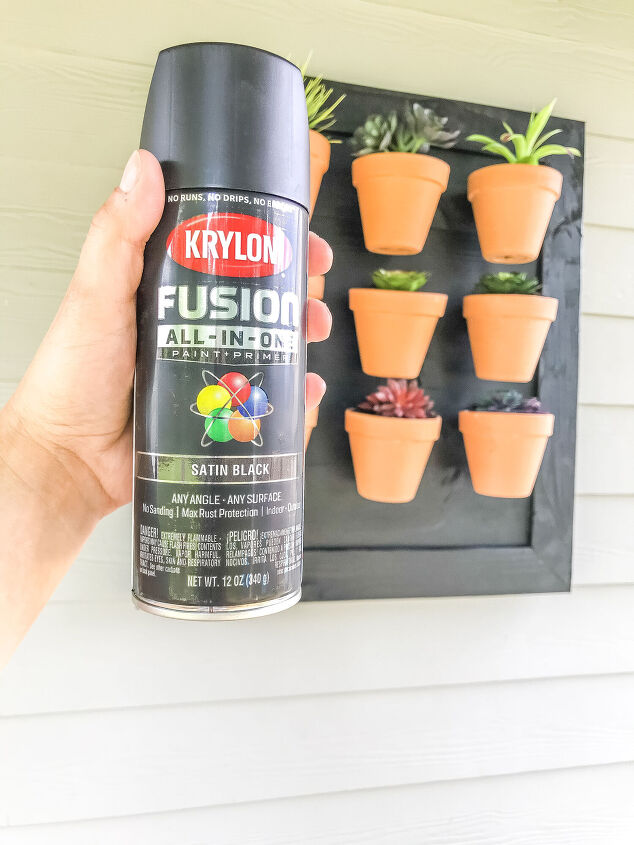
- Krylon All in One Fusion Black Satin Spray Paint
- Terra Cotta Pot Holders
- 6" Terra Cotta Pots
- Sealer
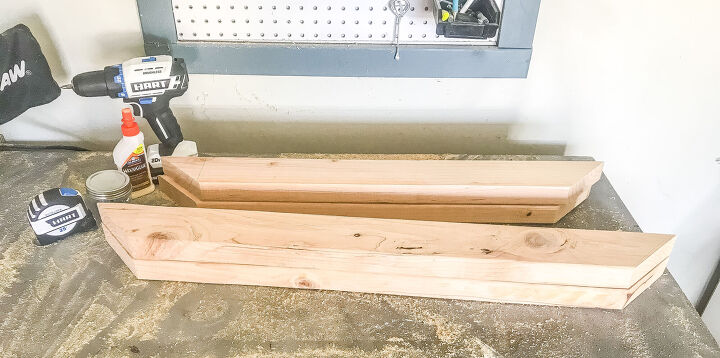
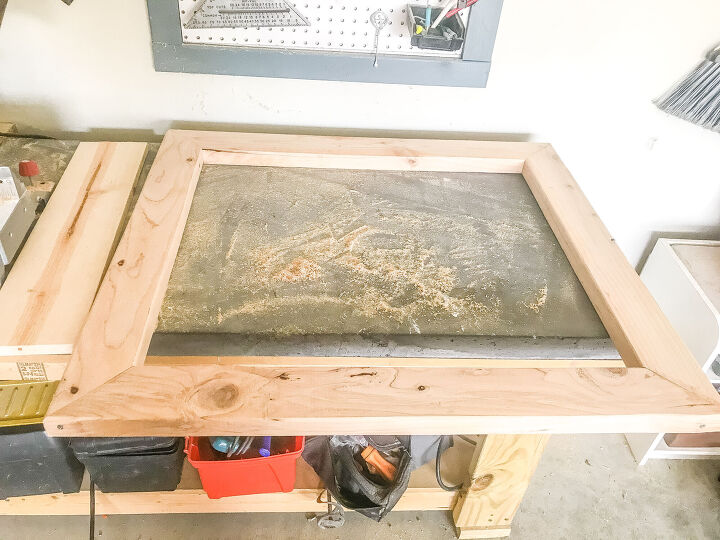
The first step is to build the base for the planter. Decide how tall & wide you want the planter to be. Mine ended up being about 3ft by 3ft.
Once you have the size of the planter figured out, start by cutting the frame first! I recommend doing it this way because for me its easier to cut slats to fit into a frame than it is to cut a frame to fit slats. Cut the sides of the frame the length you want your planter & miter the edges at 45 degrees. Then cut the bottom & top portion of the frame your desired width. These pieces will also need a 45 degree miter
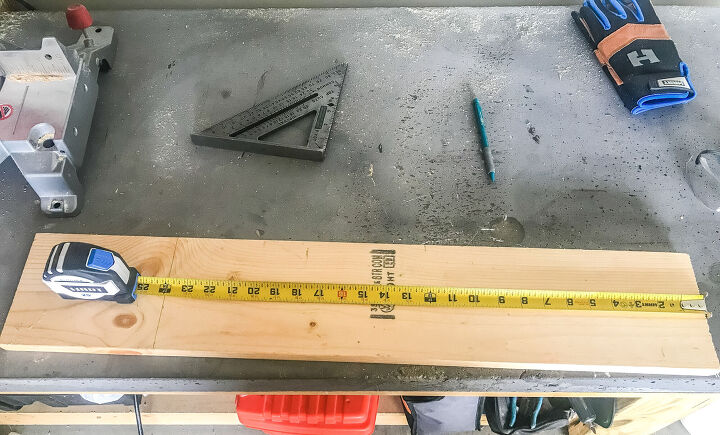
After the frame is cut, dry fit it together & measure the inside length for the slats. Cut the 1x6 pieces to this length. Mine is about 2 feet long.
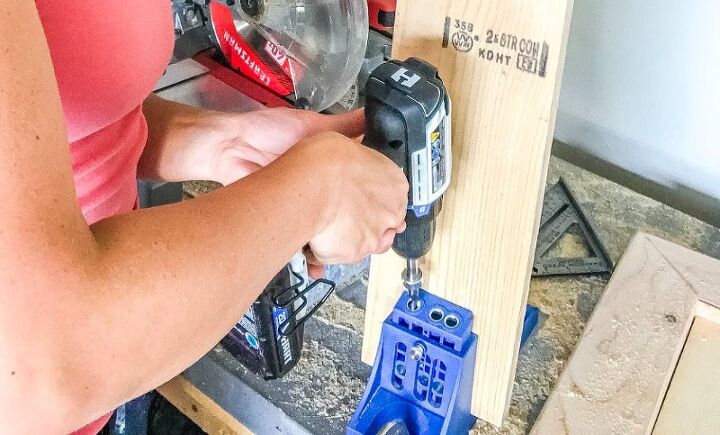
For my planter, I cut (5) 1x6 pieces at 2ft. Once they were all cut it was time to add pocket holes onto each side.

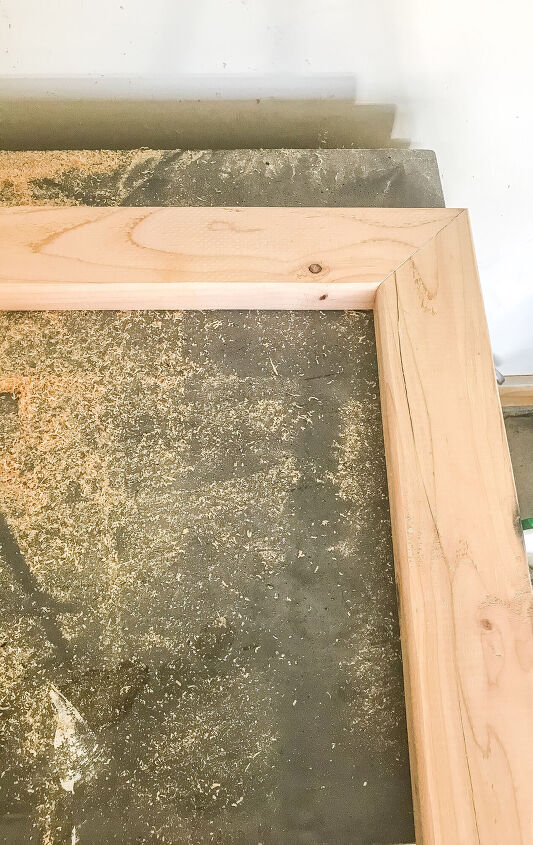
Now its time to secure the frame together. Use a combination of wood glue & 2 1/2" screws to do this. I used two wood screws per corner.
TIP: Using clamps to hold the corners to the table while you are screwing in the corners will be very helpful if you don't have a second pair of hands!
That frame is looking pretty right?! Now its time to add the slats!
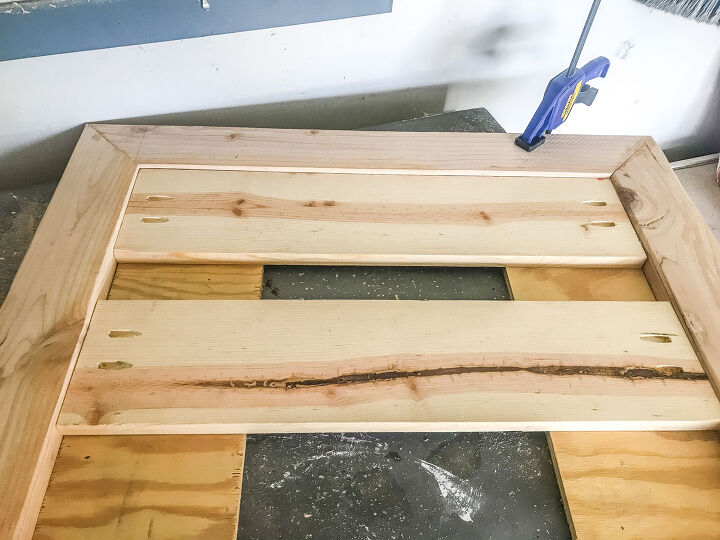
Underneath my frame I placed 3/4" thick scrap plywood for my slats to lay on while I secured them. This will make the slats inset to the frame which is definitely the look I am going for!
Each slat also got wood glue & fitted before I started securing them with the pocket screws. The fit should be tight!
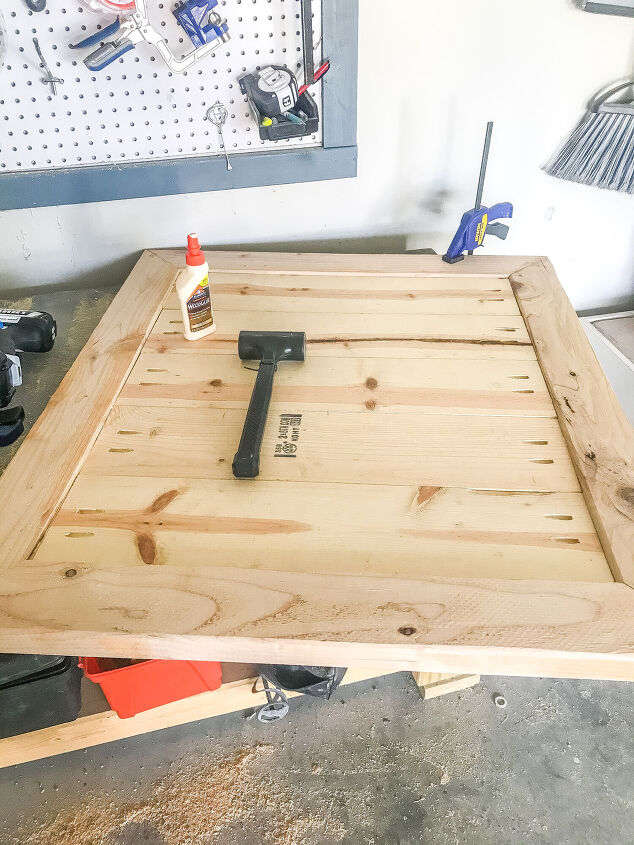
TIP: Use a mallet to gently tap each piece into place.
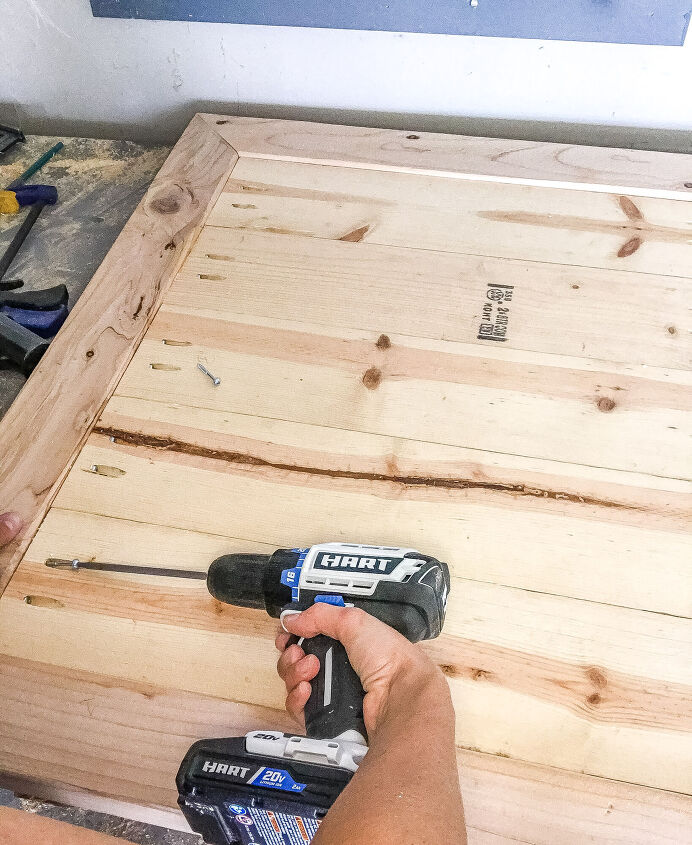
Once they are all in place its time to secure them with the pocket screws!
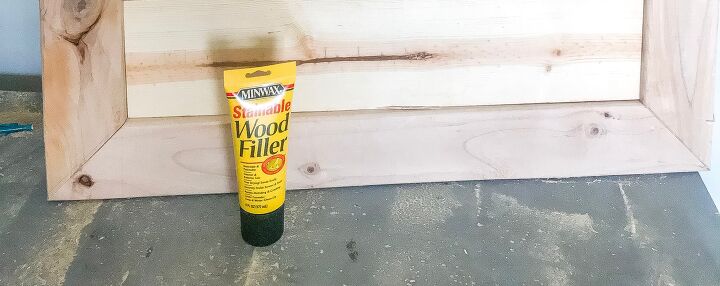
You can fill the pocket holes if you want, but since they won't ever be seen I only filled the front sides imperfections & gaps.
Now that thats all done we can move onto the fun part... Painting!!
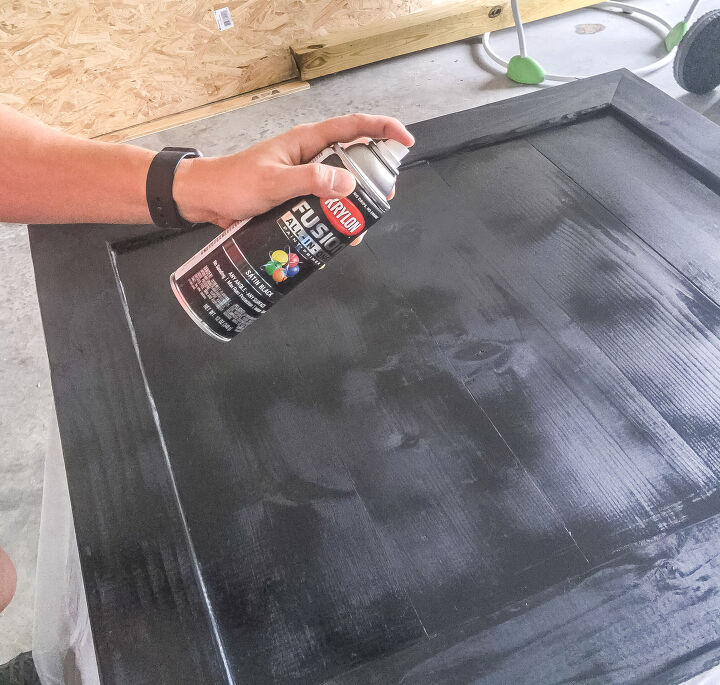
This Krylon All-In-One spray paint is the best for multiple surfaces & goes on super smooth. Give the frame & base two coats in your desired color choice. I went with black satin.
Once the paint is dry you can seal your planter. I have used this brand of Krylon in the past for outdoor projects so I know it holds up really well to the elements but I still recommend sealing. All outdoor decor gets sealed with this same poly because it protects it from sun damage & all the other weather conditions.
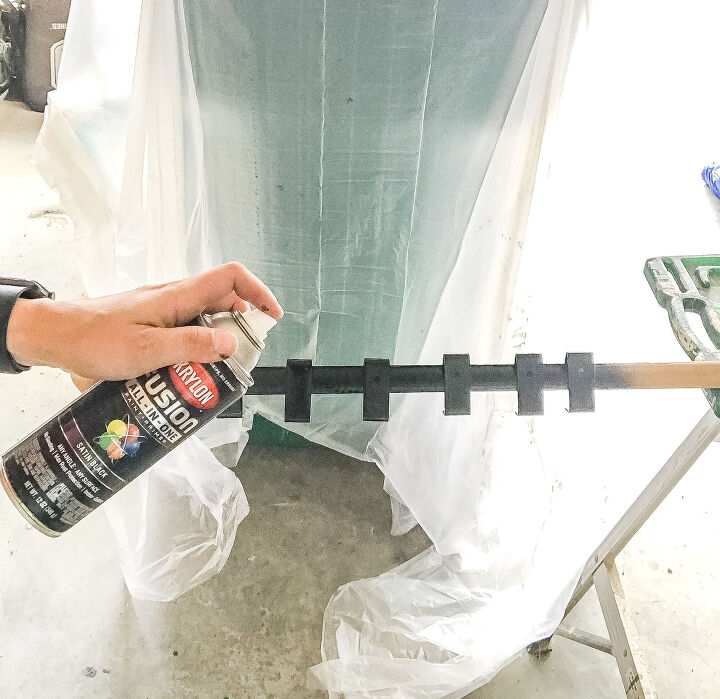
When I ordered these terra cotta pot holders off of Amazon I know I ordered them in black, but I received silver. Luckily the Krylon Fusion All-in-One works great on metal too!
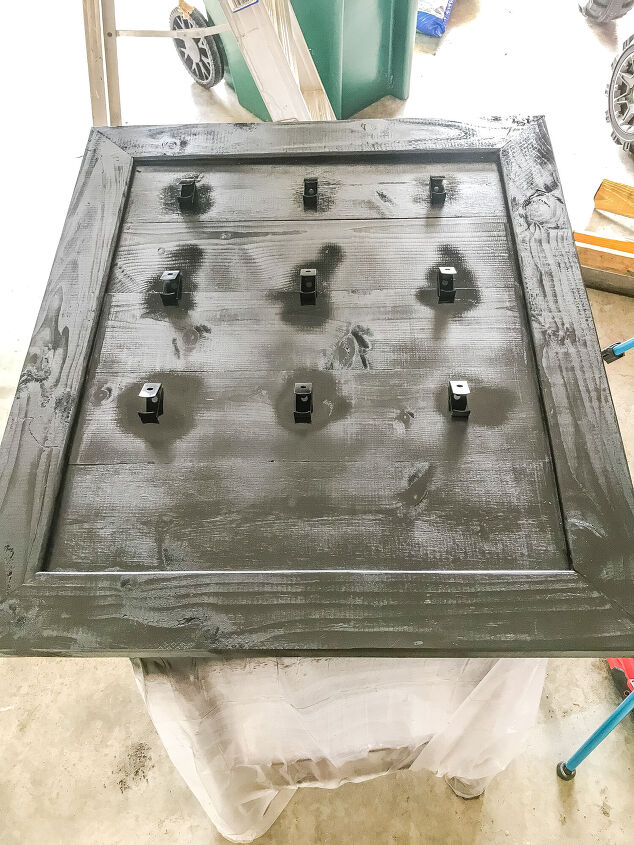
After the holders finished drying I attached them to the 1x6 slats. Mine ended up being 3 per row about 3" in-between each pot.
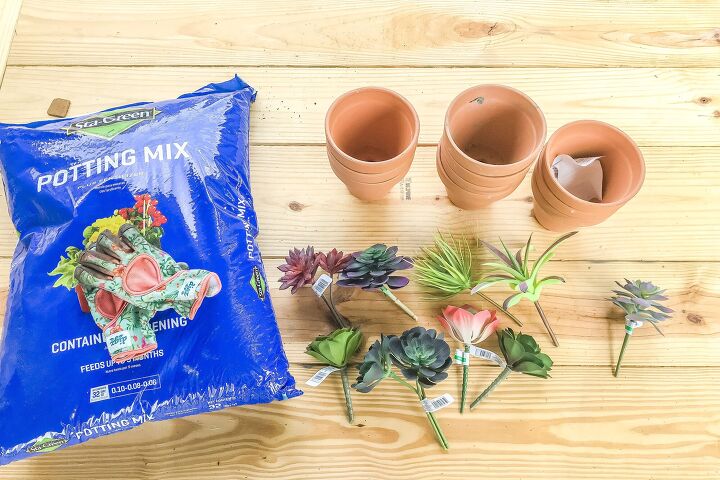
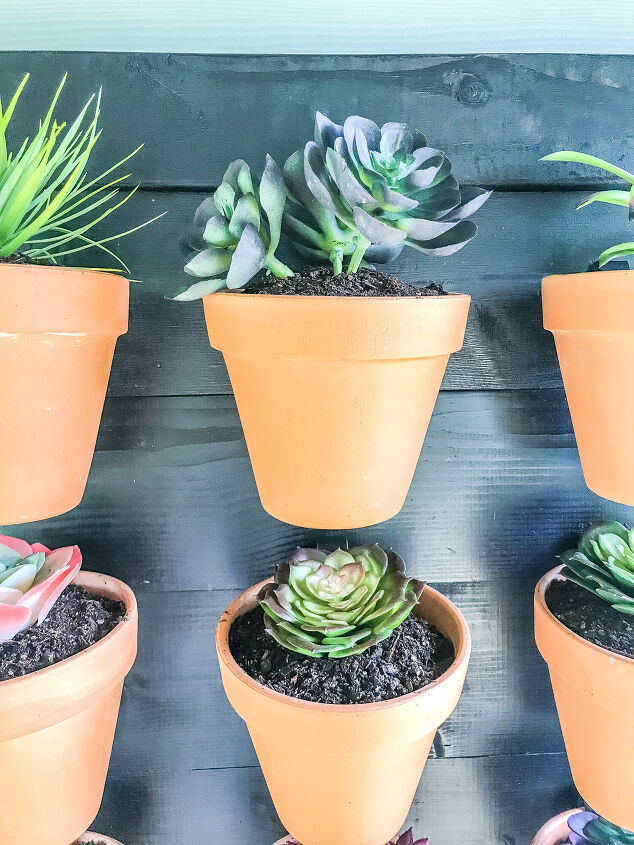
If you have been following along with this little blog or our Instagram for any time at all, you know I am the queen of plant-killing. It's true, I try hard to keep them alive but without fail they always end up breathing their last breath at the Southern Yankee house 😅 So this time I decided to skip the heartbreak & go with faux succulents instead!
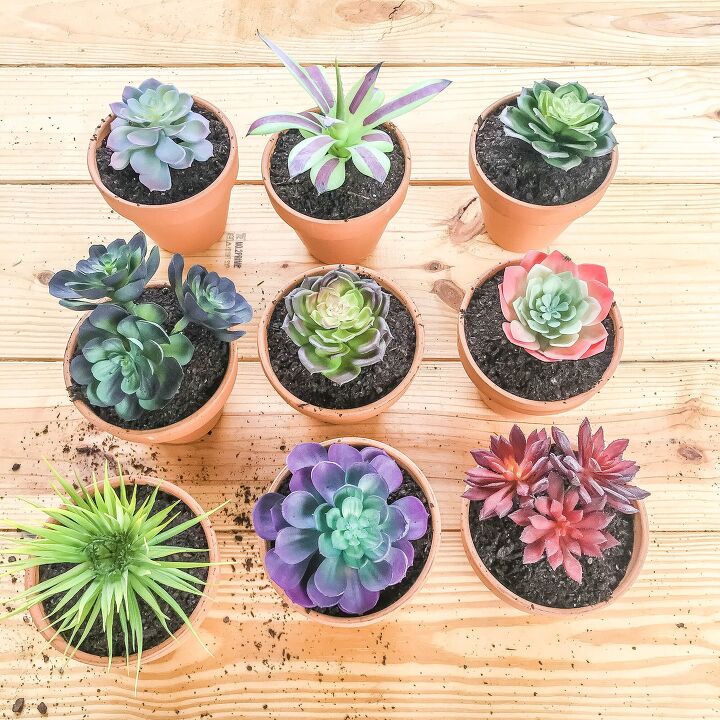
Yes, I did use real potting mix because I wanted them to at least look as real as possible. Maybe I will get brave & add a few real ones, one at a time to make sure I can handle the pressure.
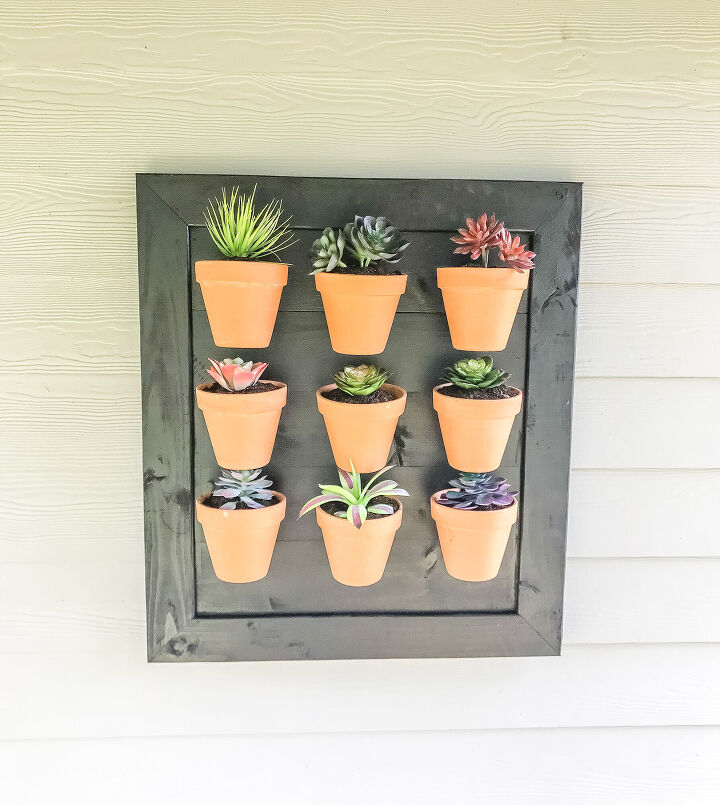
Well, what do y'all think?! Is it growing on you (I can't help myself 😉) or did you never need convincing? I could not be happier with how this DIY outdoor wall planter turned out & I can't wait for this patio to be complete so I can come out here & stare at it! If yall have any suggestions for unkillable, drought-resistant plants let me know!
- Patio Design Board
- Edging In Landscape The Lazy Girl Way
- $15 Planter Box
- Outdoor Bench Makeover
- $3 Outdoor Lanterns
Want to see more of my DIY outdoor projects?! Head this way!
Resources for this project:
See all materials


Frequently asked questions
Have a question about this project?