


Boring and Flat to Cozy and Elegant.

Don’t have a fireplace in your home? Want one but don’t want a major renovation?
This fireplace wall was fairly easy to do and it transformed the space so much. It’s crazy how cozy a fireplace can make a space, even if it’s only and electric one.
Follow along with me and I will show you how I transformed a boring flat wall into a “stone” fireplace.
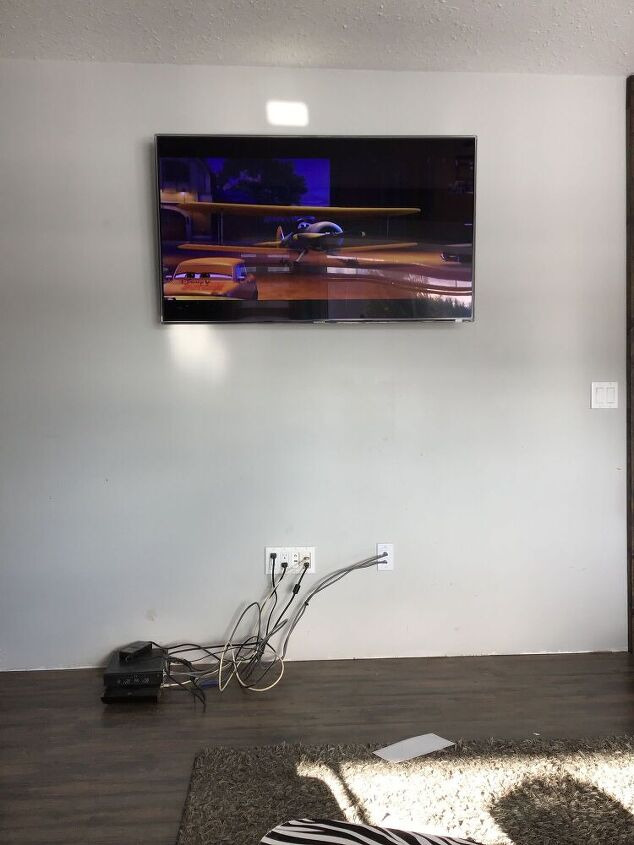
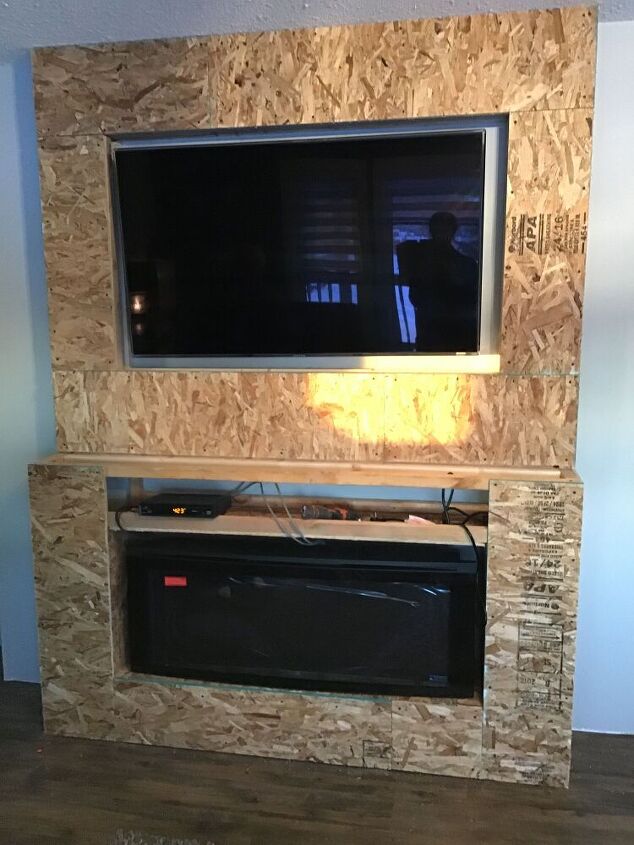
I feel like most would agree with me and think it’s safe to say this space was a bit on the boring side and could use some TLC.
I first decided how big I wanted the fireplace wall to be and now I wanted it to look. My wall was going to be 6’ long, would go floor to ceiling and it would have a mantel. I also decided I was going to have a space for my tv to be inset into the wall so that it didn’t stick paste the stone when it was mounted. I wanted a clean streamline look when you looked at it from the side.
Now that was all decided it was time to get building the frame.
- 2x2 lumber
- one 2x8
- OSB sheeting
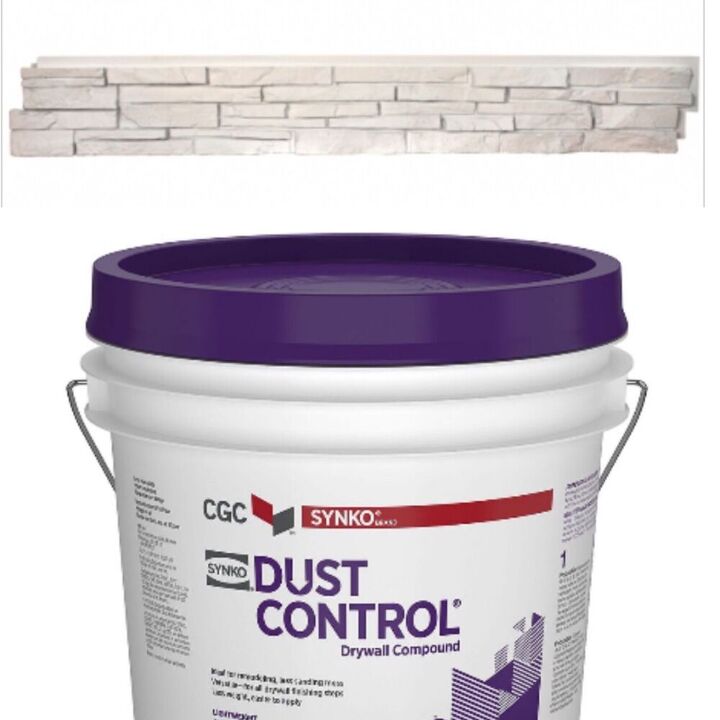
- quality Stone Simply White
- drywall compound
- white paint to match stone(comes with stone)
- drywall screws
- 3/4” pine for mantel
Tools
- mitre saw
- drill
- small trowel
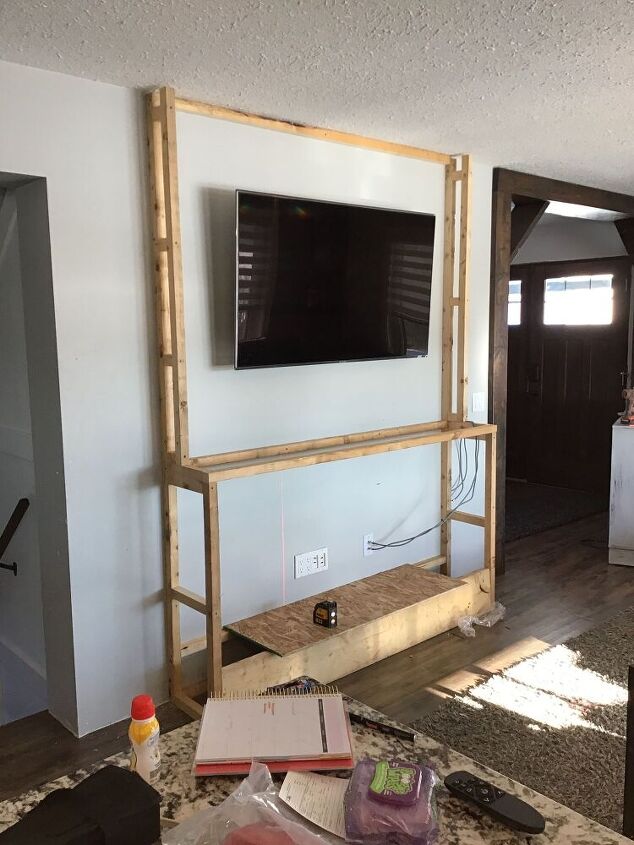
I used 2x2’s to frame out the wall. I did not feel it was necessary to use any heavy set material since it wouldn’t really be supporting any weight and the stone wasn’t heavy at all since it was faux stone.
I did put a 2x8 support along the bottom however to add a bit of stablitly since my fireplace would be sitting in there.
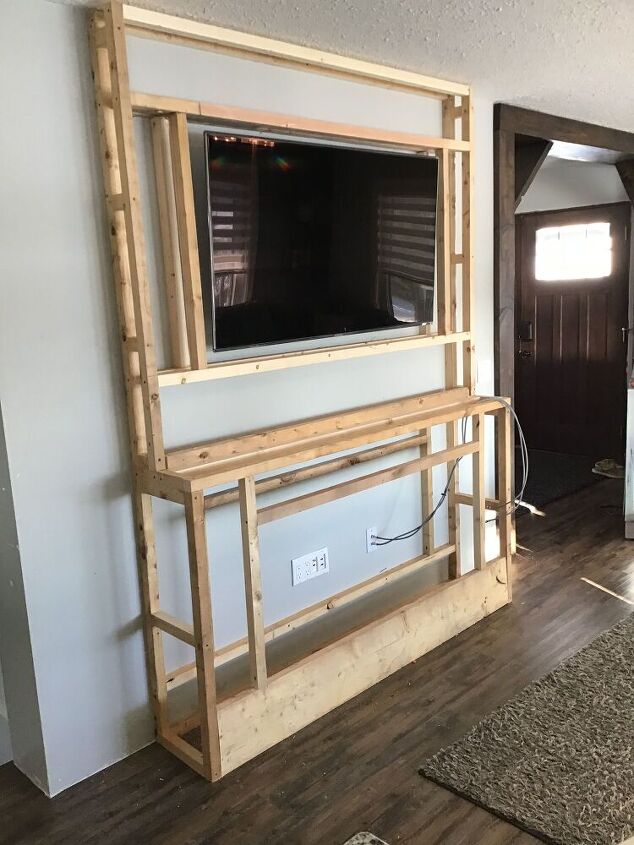
Once I had the shell of it all framed out, I sheeted it in with OSB.
I am the type of person who needs to visualize stuff as I go, so I placed the fire place in to see how it was going to look. I loved it so, it was time to carry on with installing the stone.
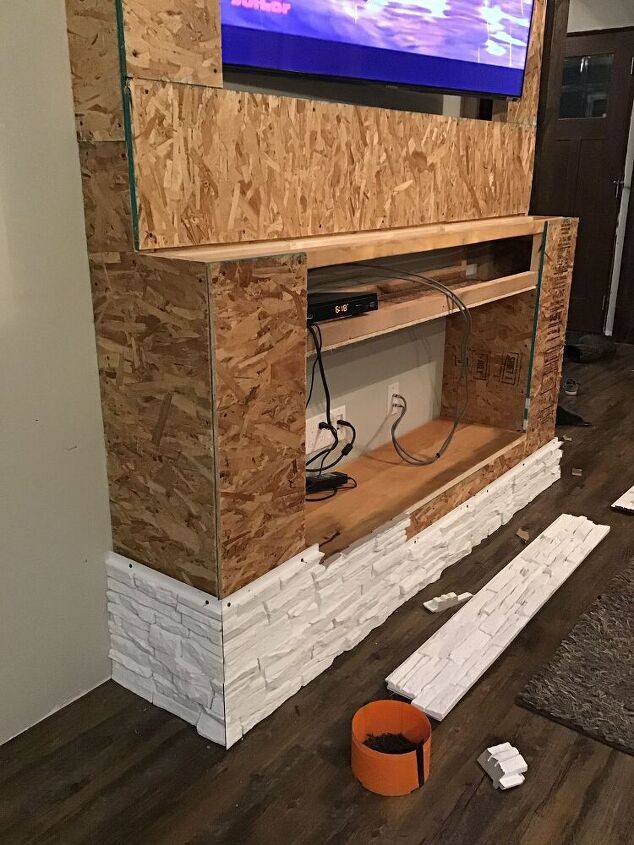
Now onto making it pretty. The faux stone I used was quality stone. It is an amazing product. It not only looks real, but it’s super easy to install.
When installing the first row, be sure it is level. Don’t go with the floor, as most floors are not perfectly level. Use a drill and drywall screws and secure to OSB . Be sure to not over tighten the screws.
Once the first row is install, simply carry on upward until you get to the ledge for the mantel.
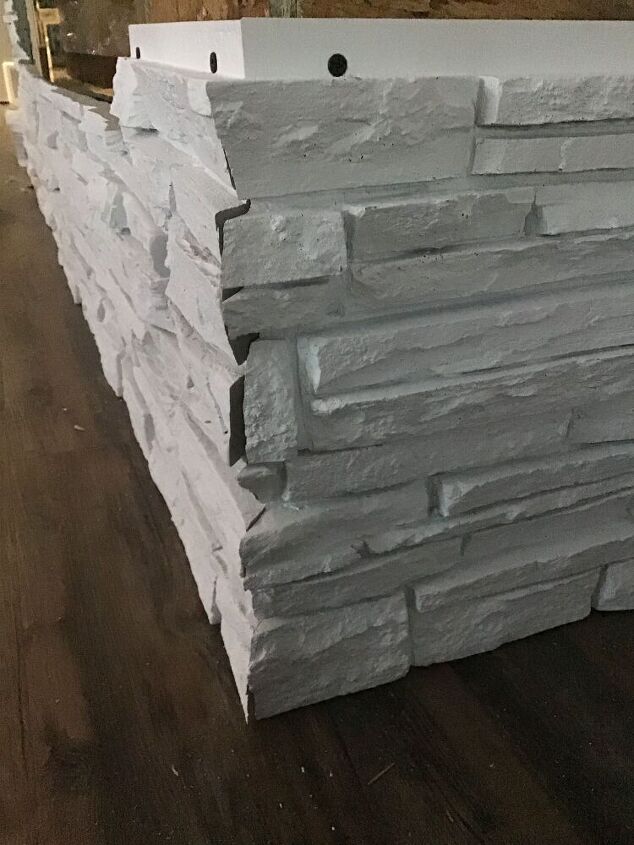
For the corners, to save some money, I did not purchase any corner pieces, I just cut the panels at a 45 degree angle and matched them up as best I could.
Don’t worry if there are spaces like this right now or if you can see the cut.
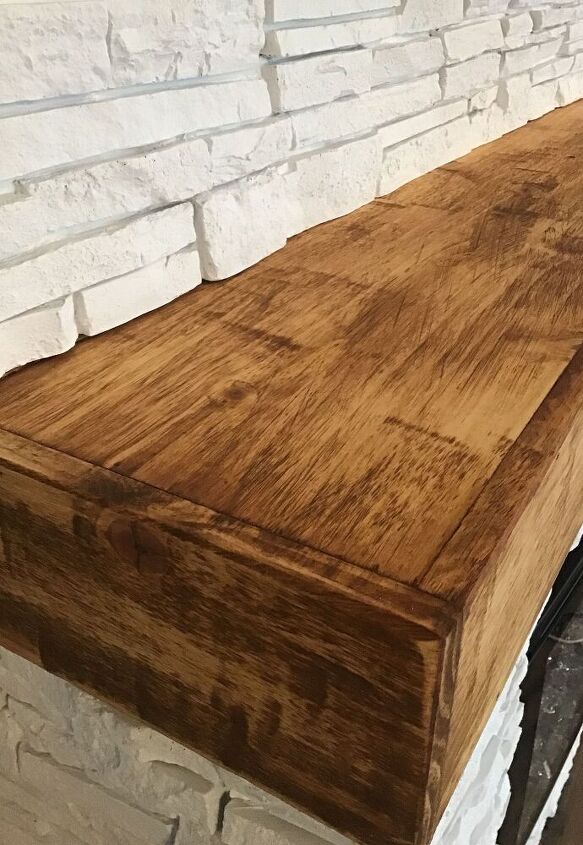
For the mantel, I simply use 3/4” pine panelling and built a hollow box. I used a belt sander to give it a slightly distressed look and stained it in golden oak stain. Once the Mantel is on, you can carry on with the stone since it will sit over top of the back portion of the mantel.
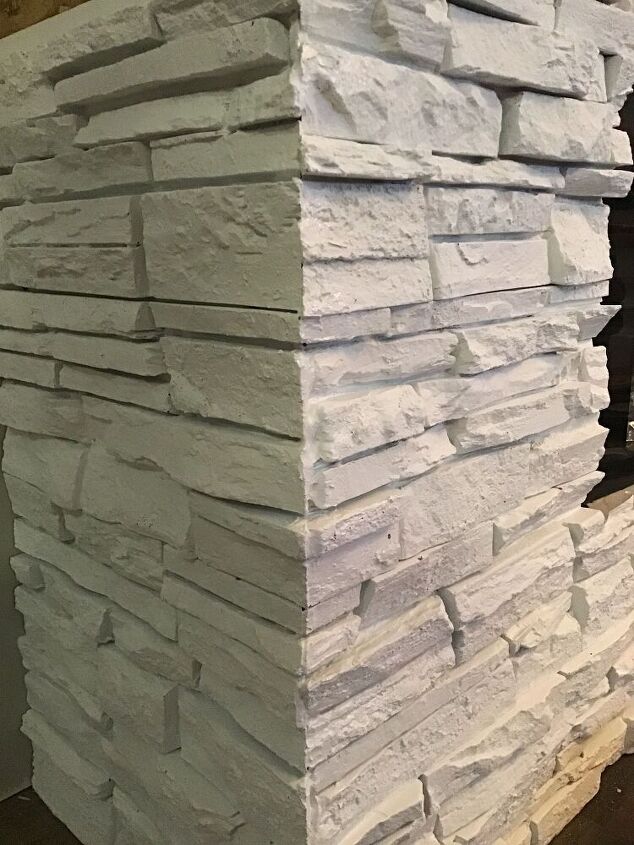
Once you have all the stone up. Now it’s time to finish off those corners. I used drywall plaster to fill in the gaps. It doesn’t have to be perfect since imperfections blend in the with texture of the stone panels.
Once all the corners are filled, allow to fully dry. Then take a small paint brush and use the color matching touch up paint that comes with the stone and paint over the plaster.
Now, the project is almost done. I secured my fireplace and added a few carriage bolts into the ends of the mantel to give it a little detail.

I know this isn’t a super quick project, it did take me a few days to complete. But honestly, I couldn’t be happier with how this turned out.
I know many will be wondering how I will access the outlets if needed, the tv is on a wall mount so can be pulled out easily and you can access the plugs that way, and the fire place can be removed with two screws that’s secured it on the top. So if needed I will be able to pull it out easily to get to the outlets.
It brings so much warmth to my living room.
thanks so much for following along with me. if you have any questions please don’t hesitate to ask.
Dont forgot to follow along with me on here (Hometalk) as well on INSTAGRAM
cannot wait for the next DIY
xo
Amber
Resources for this project:
See all materials


Comments
Join the conversation
-
Mine will be a little different given size and tv components etc but using your project as our inspiration and blueprint!
-
WOW….impressive!!!


Frequently asked questions
Have a question about this project?
Hi
can you please post your measurements for the fire place project. Length width dept height etc and also post where you bought fireplace and the exact model for measurements. I want to duplicate your exact project. This would fit perfect in my space. Your fireplace is beautiful!! Please help a sister out!
Just wondering if the panels are available in something like a brick pattern or just stone? thanks.😸🐈️🙂
Did you have to remove your tv? Snd also do you have a numbered step by step