


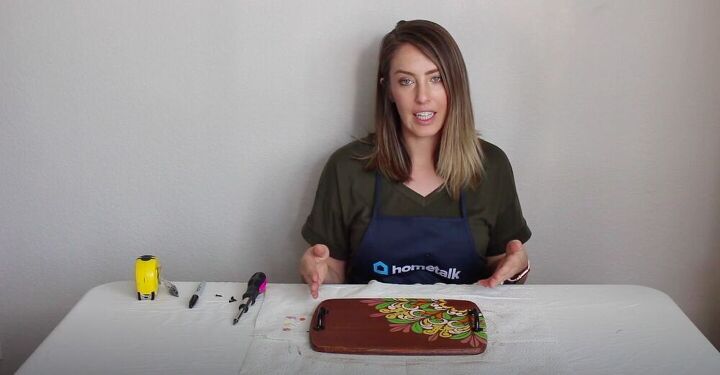
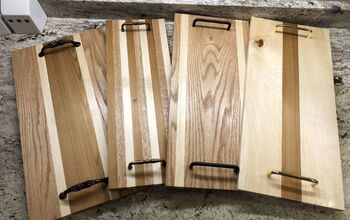
Upcycle a Thrift Store Cutting Board Into a Beverage Tray
I love easy projects with impressive finished products, and this project is no exception! I picked up a cheap, used wooden cutting board from my local thrift store and upcycled it into a fun, colorful beverage tray perfect for my next dinner party. This project is easily customizable to fit your vibe and aesthetic, and is so cheap that you can make a bunch to give as gifts! Follow my step-by-step tutorial below to create your own and upgrade your hostess game!
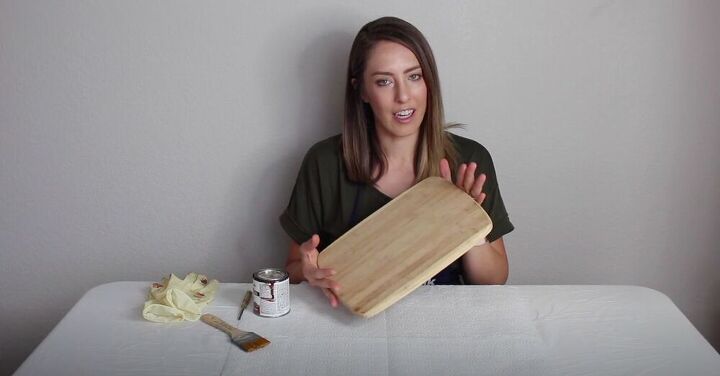
Tools and Materials:
- Wooden cutting board
- Wood stain
- Gloves
- Paint brush
- Polycrylic clear finish
- Stencil
- Spray adhesive
- Acrylic paint
- Stenciling brushes
- Artist brushes
- Cotton buds
- Handles
- Drill
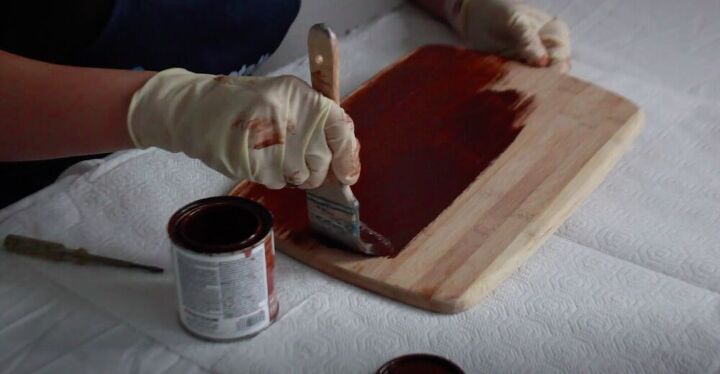
I was going for a bit of a rustic farmhouse look, so I went with a bit of a darker wood stain. If you’re using a newer cutting board, make sure to sand the surface first. I found mine at the thrift store, and it was already quite beaten up, so I didn’t need to sand it first.
Tip:
When staining something always wear gloves to avoid staining your hands as well.
I brushed a layer of the stain onto the cutting board in long strokes. Once I had applied the stain to the entire cutting board, I let it dry for an hour before moving on to the next step. Dry time varies according to brand, so make sure to read the instructions on your stain when you do it.
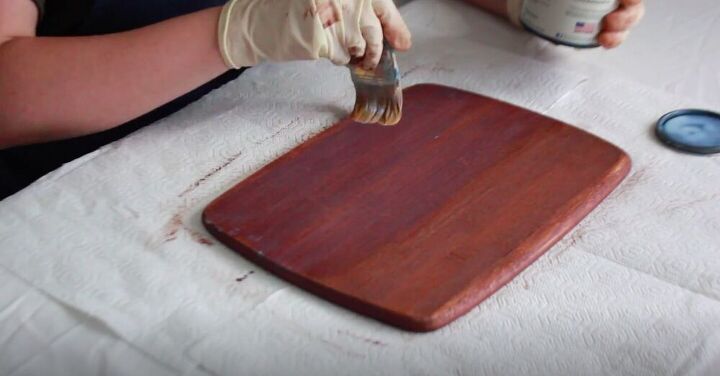
Once my stain had dried I applied a coat of polycrylic clear finish to seal it and left it to dry completely.
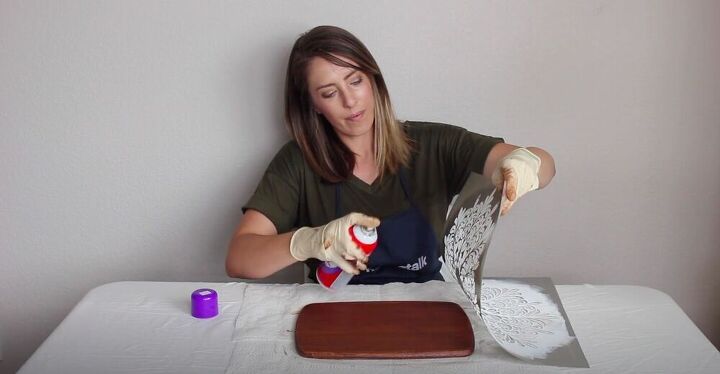
In order to hold the stencil in place, I lightly misted the back of it and then stuck it down onto the cutting board. This will prevent paint from bleeding under the stencil.
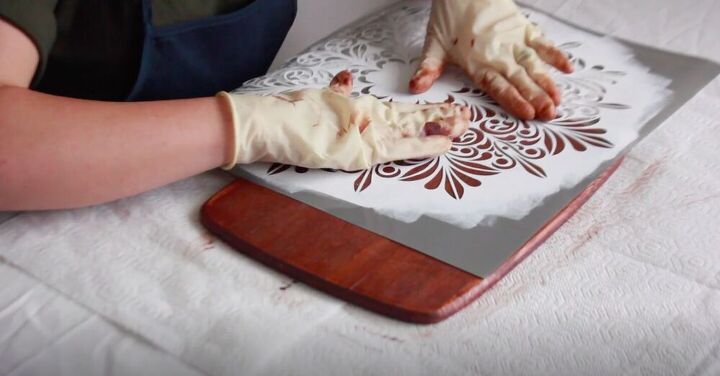
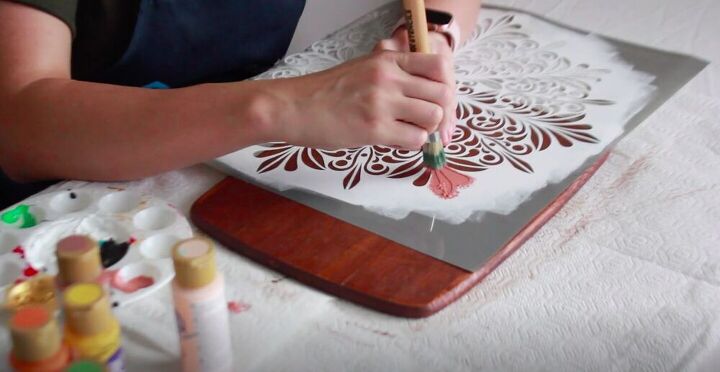
Using stenciling brushes, and artist brushes for the smaller sections, I added acrylic paint over the stencil. Stencil brushes work best when you tap the paint on with them. Always start with less paint than you need and build on it.
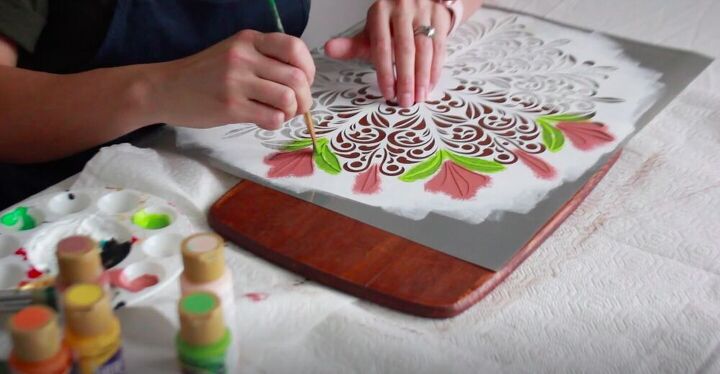
For the smaller sections, I used an artist brush but with the tapping method from the stencil brush to apply the paint. I wanted it to be a bit more controlled, and this allowed me to do it.
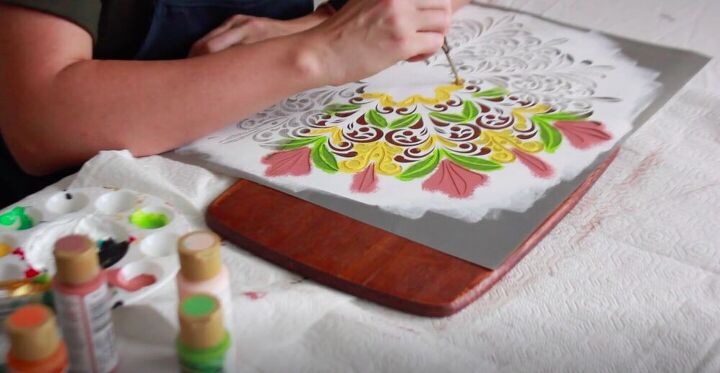
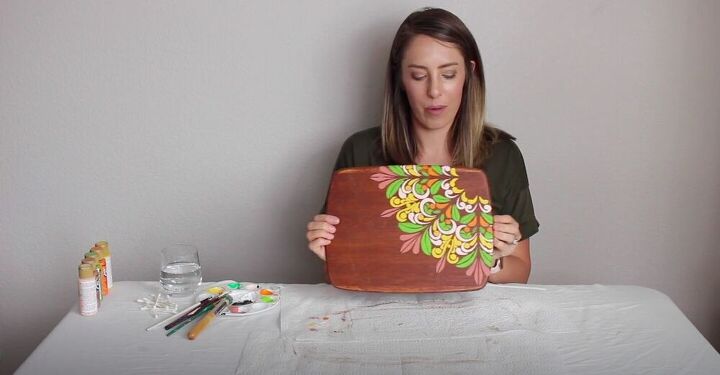
I continued painting with various colors until I was happy with the outcome.
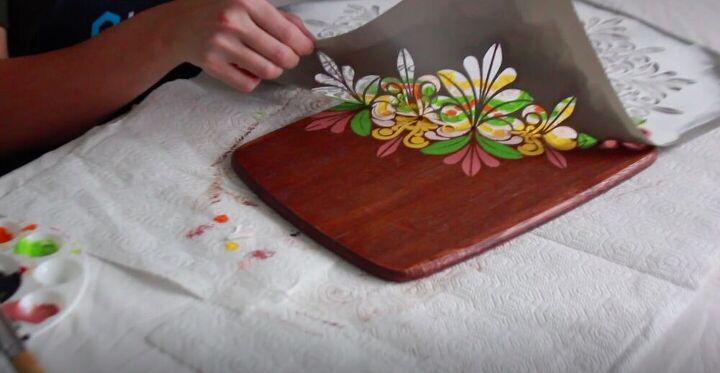
Once I had painted the entire stencil, I removed it and checked for any bleeding.
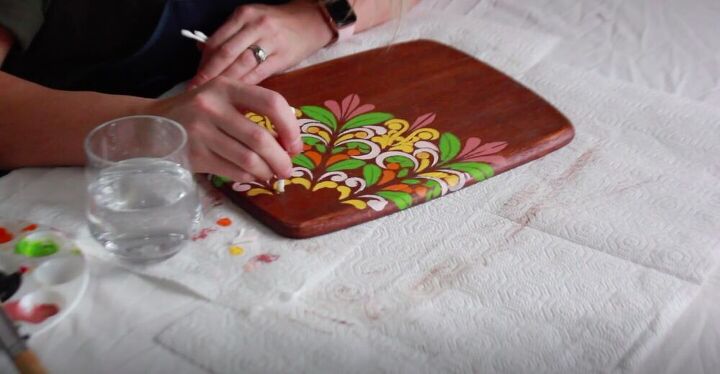
I went in with a cotton bud and warm water to clean up any edges that needed it. As the paint is water-based and not completely dry, it should lift up quite easily.
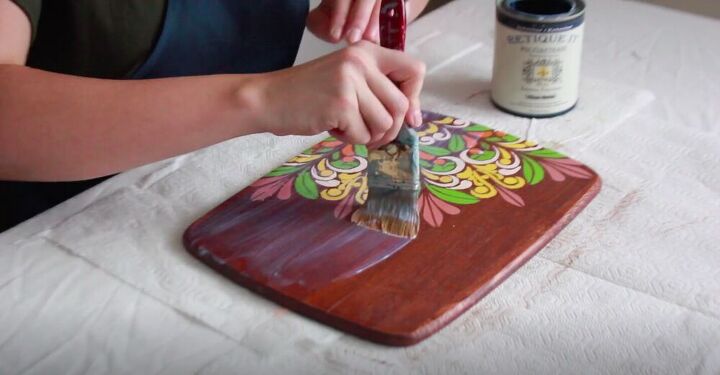
I added another layer of polycrylic to protect the tray from any water or damage that it might incur from regular use. I let it dry for another fifteen minutes or so before moving on to the next step.
I placed my handles where I wanted them and marked where the screws would be with a marker.
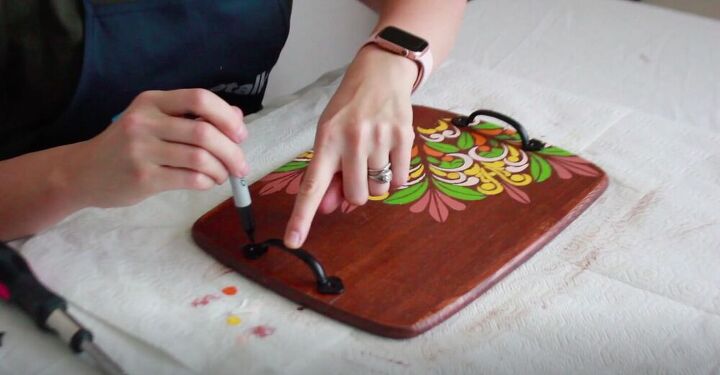
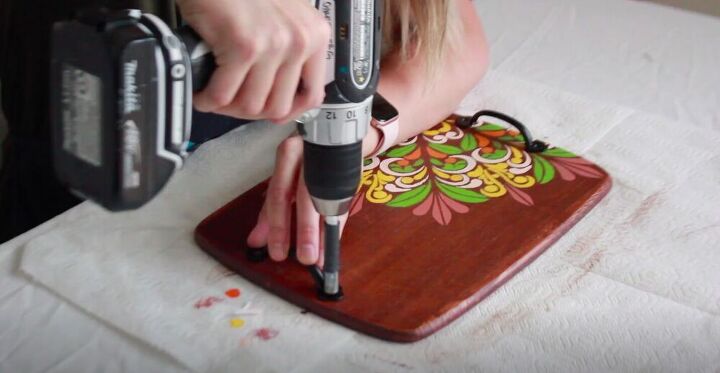
Then I drilled the handles onto the cutting board, turning it into a beverage tray!
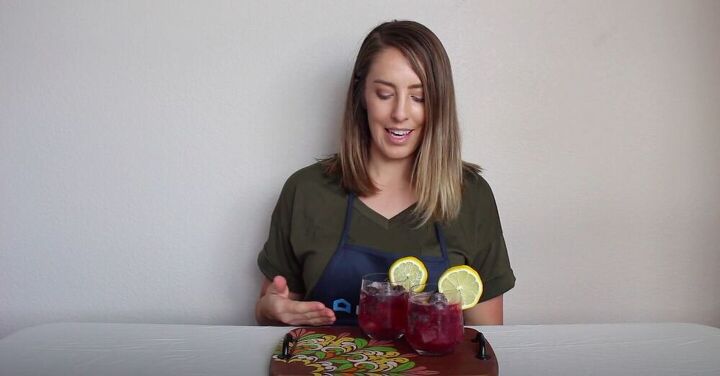
How festive! This project was super cheap and brings me so much joy! It’s bright and colorful, and perfect for a dinner party! How would you customize your own upcycled beverage tray? Let me know in the comments below!


Frequently asked questions
Have a question about this project?