


How to Upcycle a Picture Frame Without the Glass- Sunrise Makeover

I get bored looking at the same old decor plus I like to challenge myself and explore what I can recycle, as was the case with this wooden frame that didn't have any glass. With a little imagination, a little paint and a desire for change this older posted project became new once more. Here's the link to where it all started https://www.hometalk.com/diy/decorate/rooms/wood-scraps-wind-chimes-32603927
I know some of you are saying, "Why is she changing it?" Yet there will be others saying, "What was she thinking to make that?" There are all kinds of tastes and opinions out there but maybe one of these will spark an idea for you, that makes it all worth sharing!
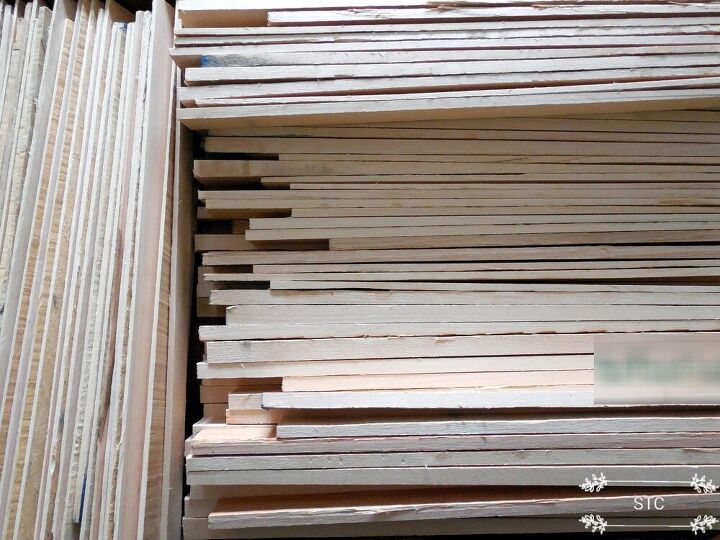
I had access to all of these oak wood strips from a local, cabinet making shop, however I realize that's not an option for everyone but I have a substitute! You could use paint stir sticks, narrow flat trims, beadboard, panelboard or even pallet boards! The goal is to fit whatever wood you have within the picture frame to give you a blank slate to create your artwork onto.
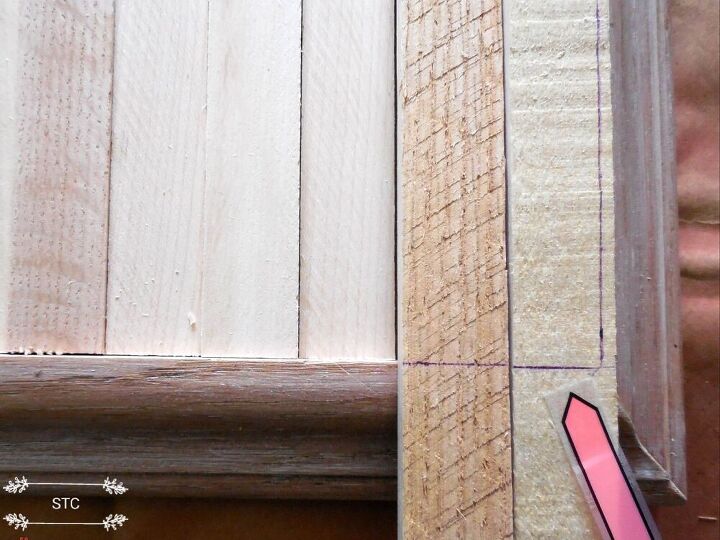
The strips I was using all got cut to fit within the dimensions of my frame as seen in the original post, I dream it up and my husband cuts it up. I dont operate the power tools because I've kinda of grown an attachment to having of all of my fingers and I'd like to keep it that way.😀
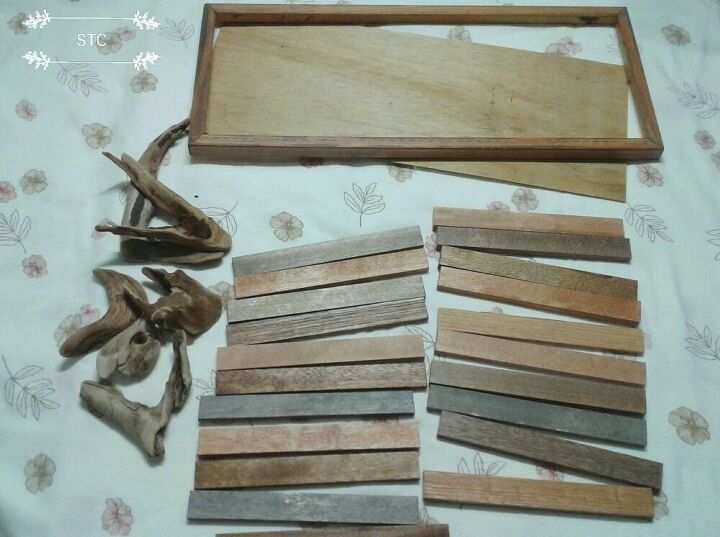
So once your boards are cut to fit within your frame remove them to prep them for painting.
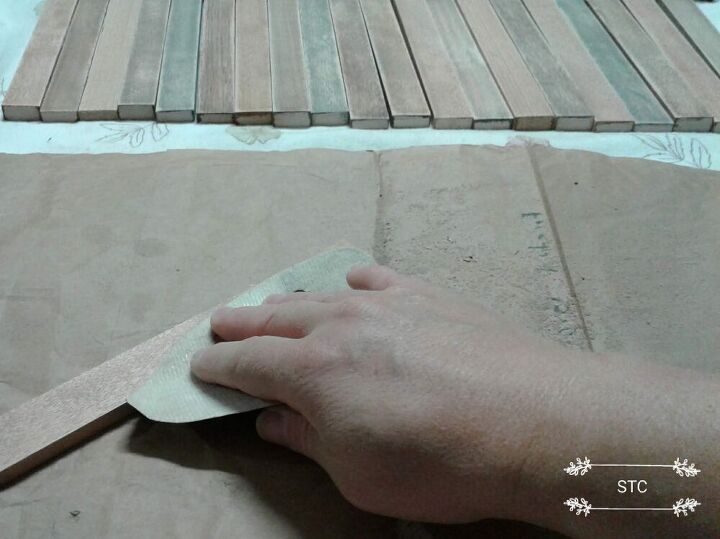
Just to remind you, in my prior post the boards were individually stained with oil based products therefore they now needed a thorough sanding to remove most of that. However, if you are using new wood you may sand lightly to remove any roughness to create a silky smooth surface with maybe a 180 grit sandpaper.
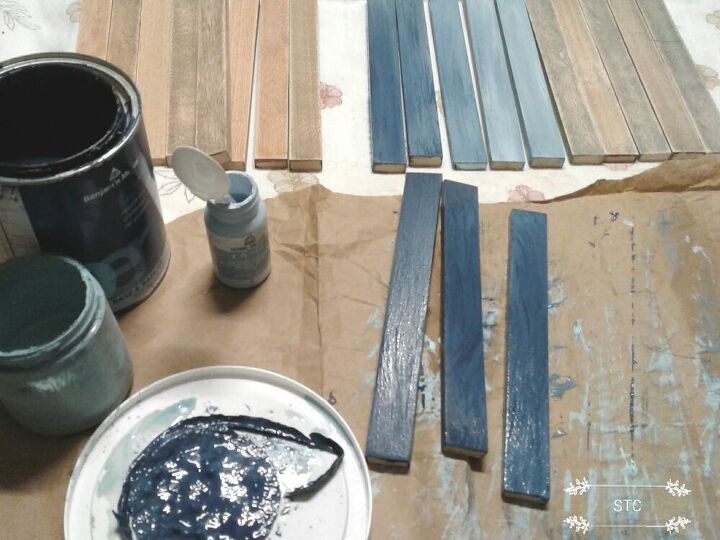
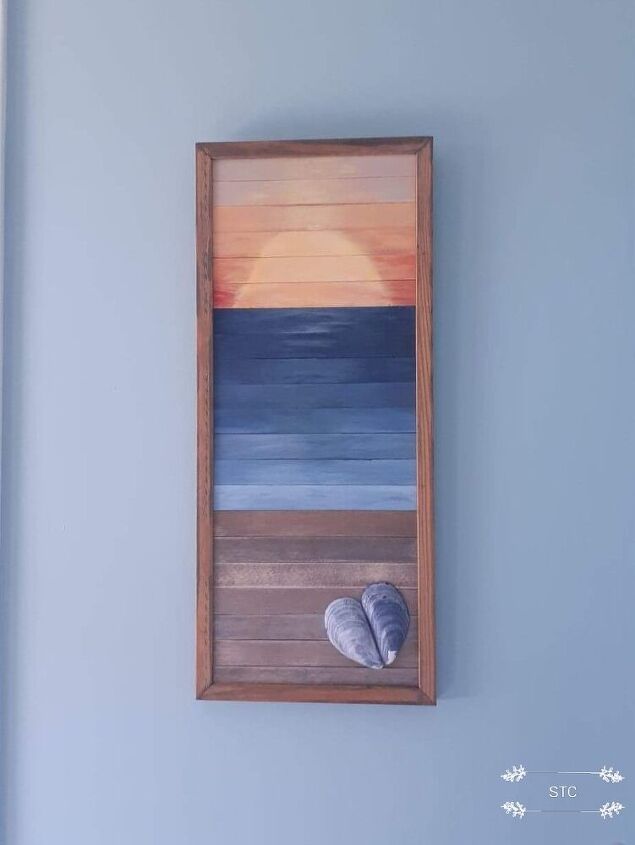
I had a vision of creating a sunrise on the ocean so the bottom strips would represent my sandy beach, the next set of strips would be graduated colors of blue for the ocean.
Here are some tips:
- I used a variety of paints so use whatever you have either chalk, craft or household paints just use some dark and light shades to blend and give the graduated depth of blue.
- I used a plastic lid to do some mixing, use the same brush and have fun with it! If its too light when you spread it on add a touch of the navy and just the opposite if its too dark, add lighter blues.
- Blend, blend, blend until you see the graduation of light blue at the seashore deepening to the navy blue of the deep water on the horizon.

Yes, I have a lot of recycled lids in use they come in quite handy so save a stash for your art projects as well. I wanted to create the outline of the sun so the half circle was simply half of a lid lightly penciled onto the wood.
Google a sunrise or a sunset that you like and pull colors from it as your inspiration, I take a lot of photos so I drew from them. Yellows, pinks, mauves even hints of red and orange depending on the cloud cover and incoming weather.
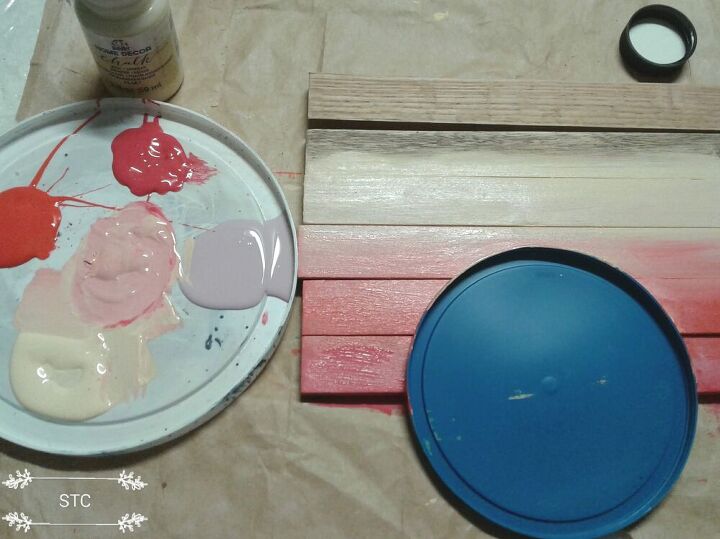
I'm once more using whatever paints I have to blend and mix up to create my skyline, I used my lid as my guideline while I painted the shades of my sky. You'll see in the center of my palette I mixed red and yellow to give me a light coral, your shades and tones are endless once you start mixing paints. The sun was created with strictly yellow and tiny hints of orange blended in at the nearest point to the horizon.
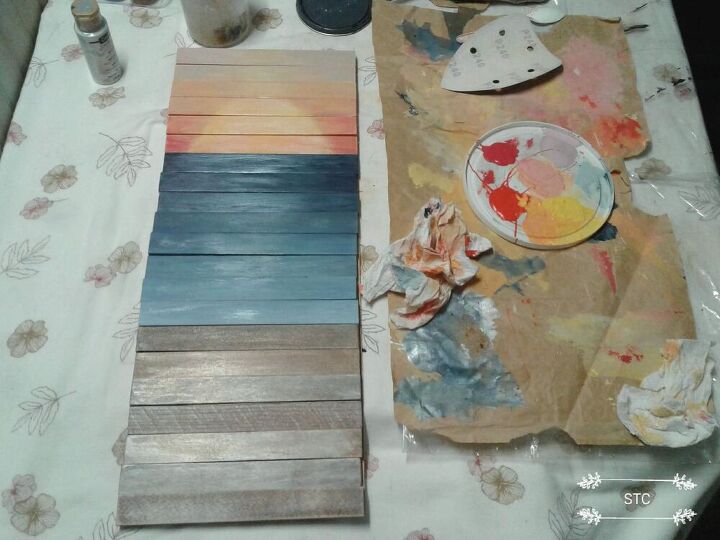
I cannot stress enough...."play" with your paints on a lid, paper plate or scrap paper until you achieve the color you are looking to create! As you can tell from the sidelines here I had a lot of fun creating this sunrise! The beach I did end up adding some shimmer onto with metallic craft paints in pearl and champagne. I used the pearl one to give a subtle shimmer on my ocean and my sun to highlight the sparkle that comes with a sunrise on the water. * For the highlights I used the dry brush technique, I hardly had any paint on my brush to create just a hint of the shade I was using.
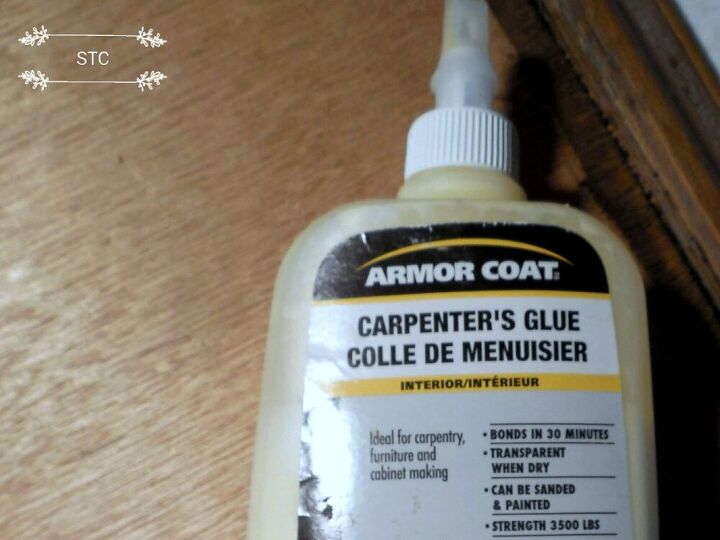
To keep the slats held firmly into my frame I used a tiny amount on the edge of each slat and they were put into place. The panel back was glued into place as well, I laid some weight on the back as it dried to keep it all flattened evenly into the frame.
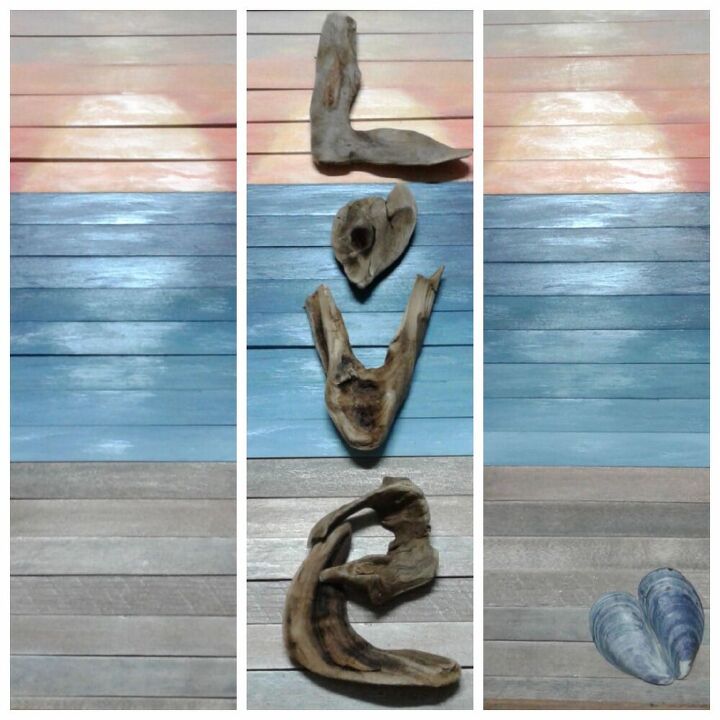
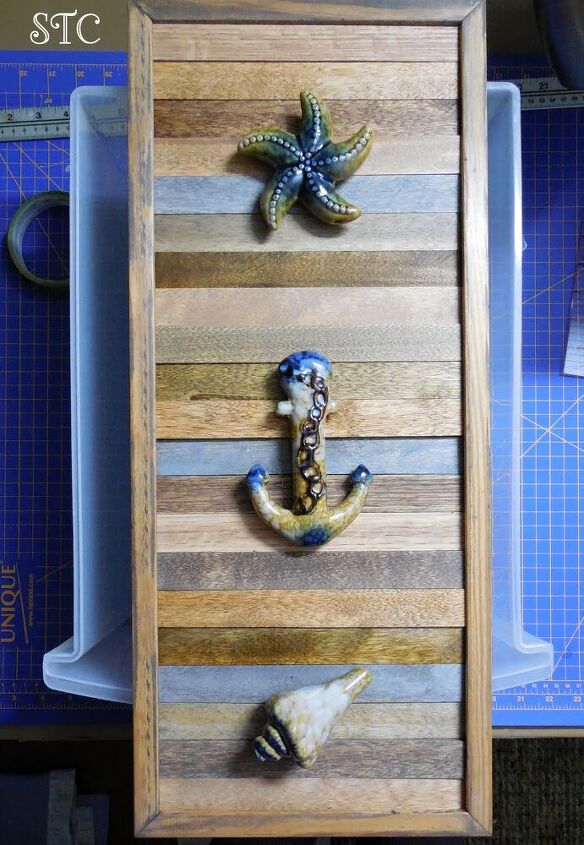
Decision, decision, decision... I was having to comtemplate on three options for the final look. It was something like the tale of Goldilocks and the three bears, not enough, too much and just right! The first look was too bare, the second with driftwood letters was too much, the mussel shell heart...just right!! I'm so pleased with the transformation, do you remember how it looked at first?
It's still within the same color scheme but the corals and yellows add warmth to the blues. The added mussel shells together form a heart to show my love for the sunrises I long to wake up and see every morning!
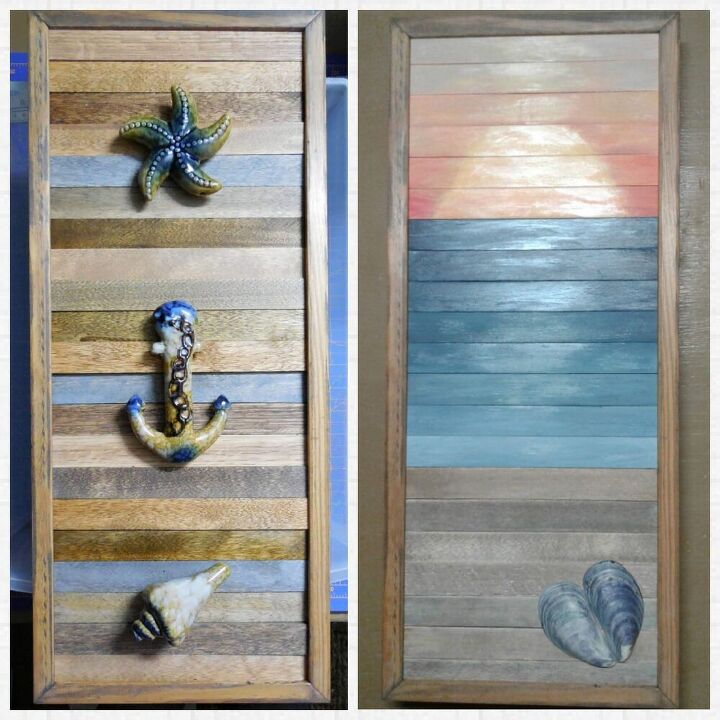
Ain't that a picture? Well it's a start and no it's not perfect but we don't live in a perfect world either. I had fun creating it, I'd like to think I improved upon the prior look and I once more recycled the picture frame that had no glass! I'm a contented adult who paints like a pre-schooler because afterall we all know that adulting isn't fun!
Resources for this project:
See all materials


Comments
Join the conversation
-
LOVE that so much!!! My mother's bathroom is beach themed. She even has the walls painted sand color on the bottom and a beautiful blue water color above it. Looks great. I'd like to do something like this for her bathroom. Awesome job
-
I love it. I have been looking for something to cover up my electrical panel box in the laundry room. This is it. Thank you for sharing!


Frequently asked questions
Have a question about this project?
Beautiful!
I just found a picture frame about 18" x 18" in grays and no glass and had no particular project in mind, thanks for your timely inspiration. All I have is acrylic paints, would they work?
I'm curious about the driftwood letters, did you find them or did you buy them?