


How to Make Stained Glass Window Decor the Easy Way
Are you a DIY enthusiast looking for a new project to tackle? If so, why not try your hand at this stained glass craft?
In this step-by-step guide, you'll learn how to make stained glass window decor that will add a beautiful and unique touch to any room in your home.
This post was transcribed by a member of the Hometalk editorial team from the original HometalkTV episode.
Tools and Materials
- Picture frame
- Painter's tape
- Simulated liquid leading
- Clear glue
- Paint
- Small artist's brush
- A printed flower bouquet
- Optional:
- Other colors of paint
- Additional printed designs
Whether you're a seasoned crafter or just starting out, indulge in the pleasure of creating this stunning piece of art.
With my tips and tricks at your fingertips, you'll have all the guidance you need on how to make faux stained glass with a frame, clear glue, liquid lead, and paint!
So, gather your supplies, and let's fashion a beautiful decorative piece to showcase in your home.
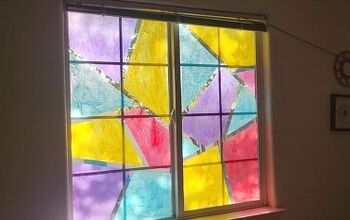
1. Paint the Frame
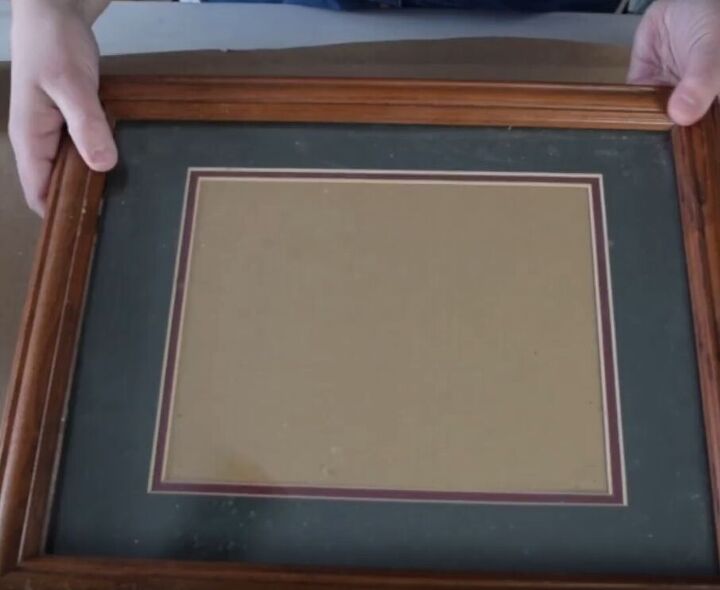
First, gather an old picture frame and remove the paper mat and glass.
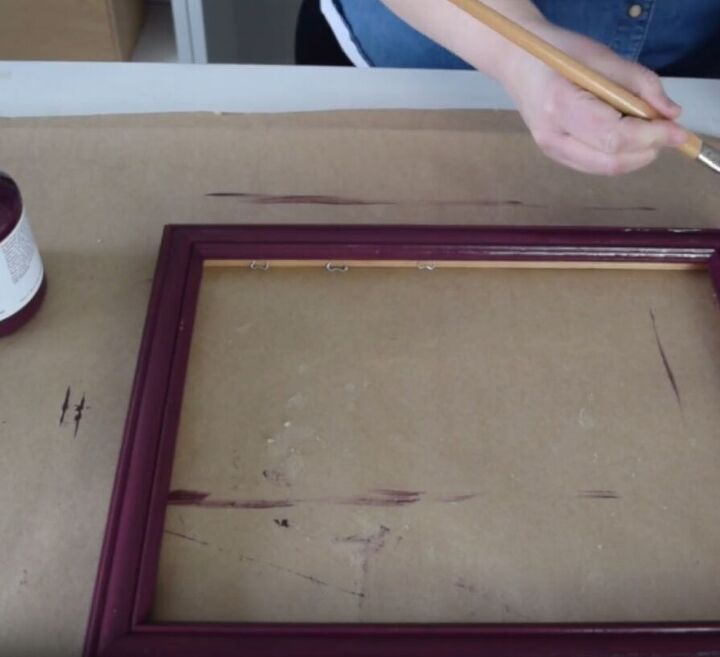
Paint the frame with a bright color of your choice to give it a fresh makeover. I chose to use berry-colored acrylic paint.
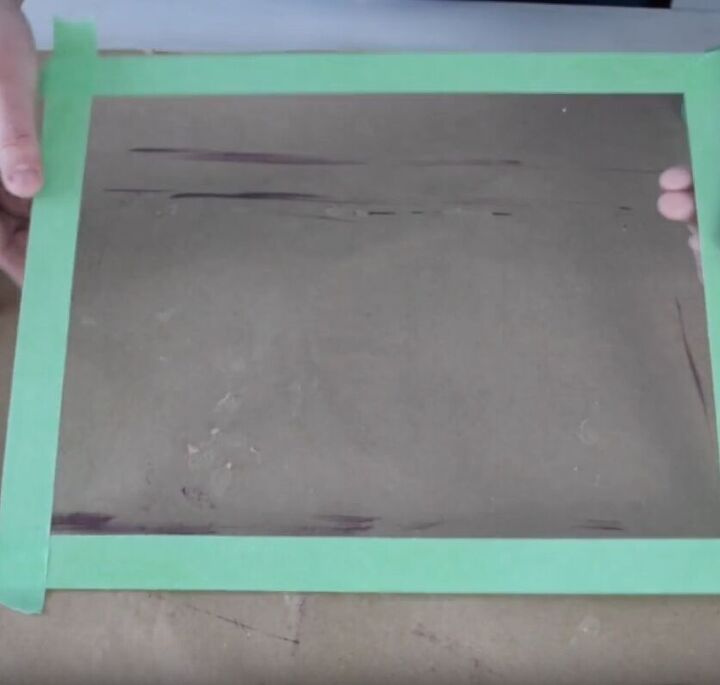
2. Prepare the Glass
It's important to prepare your piece of glass properly for this DIY stained glass project.
Begin by cleaning your glass thoroughly.
Then take the painter's tape and line it up with the edge of the glass and tape off all four sides to create a frame for the picture we will add to the middle of the glass.
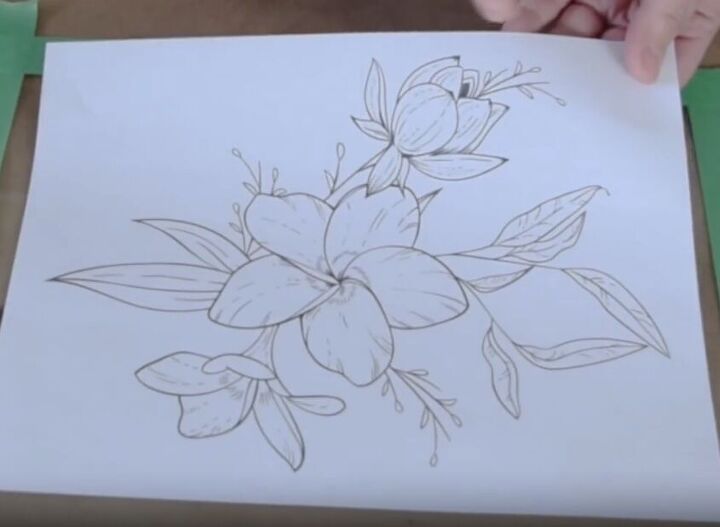
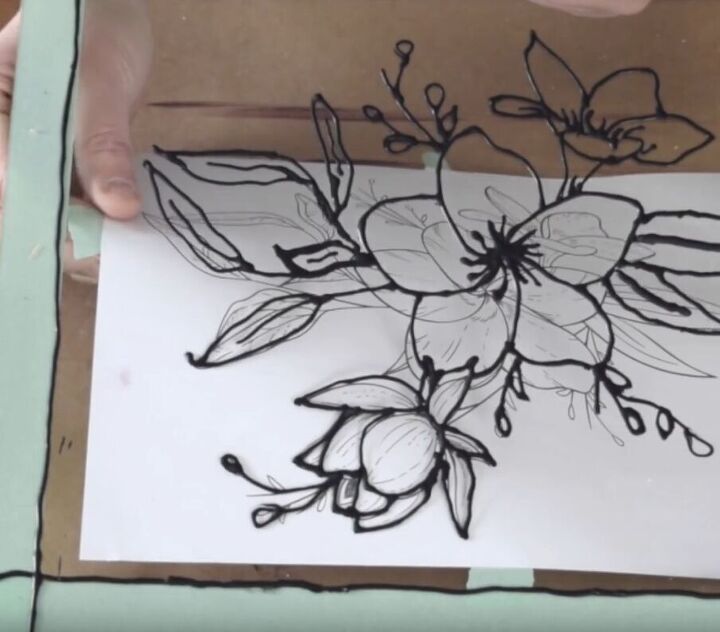
Next, print out a simple flower bouquet design (or another design of your choice).
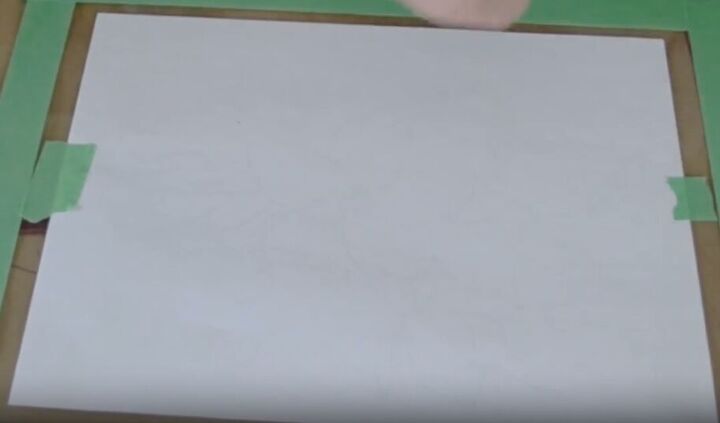
Attach it to the back of the glass so that you can see the flower through to the front.
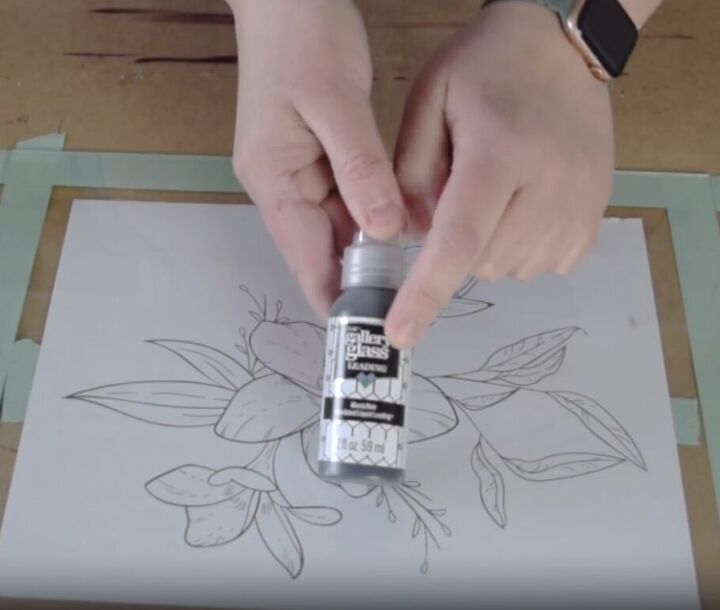
3. Create the leaded design
We will be using a simulated liquid leading for glass painting for this project. My product of choice is Gallery Glass Liquid Leading.
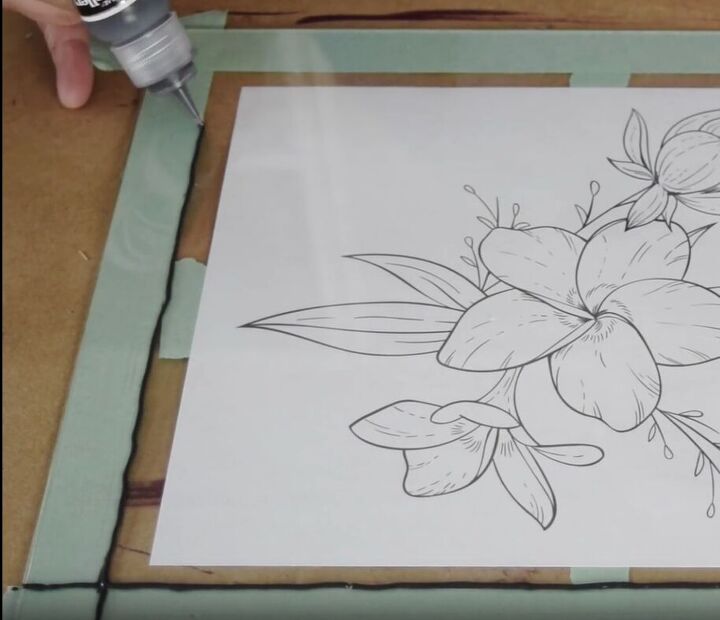
Start by applying the product to the edges around the tape, making sure to create a solid outline, this will give the piece a really authentic look.
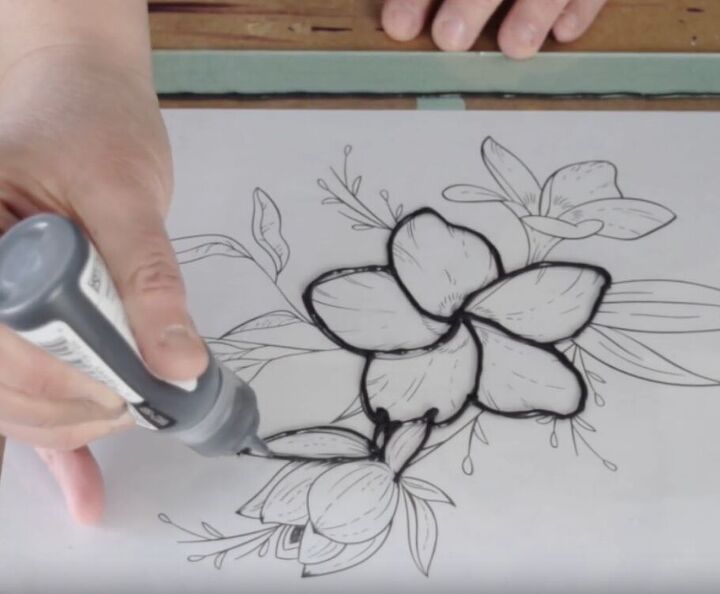
Then, move on to the major details of the flowers and leaves. I'm not going to worry about the little details inside them, I just want the big picture. Carefully trace their outlines with the lead.
4. Let the Leading Lines Dry
Leave the lead to dry completely overnight, then remove the paper from the back and the tape from the edges.
5. Fill in the Design
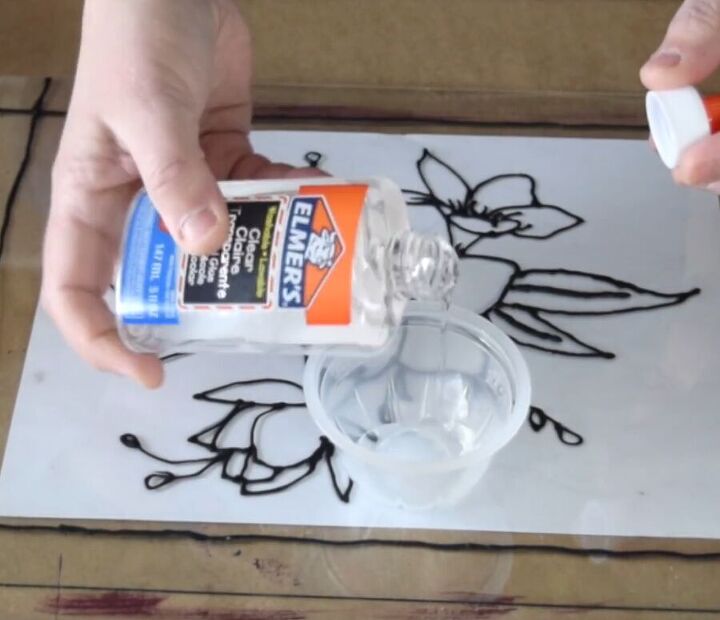
Now, that you have the perfect outline to fill in, you're ready to start creating that faux stained glass effect inside the design.
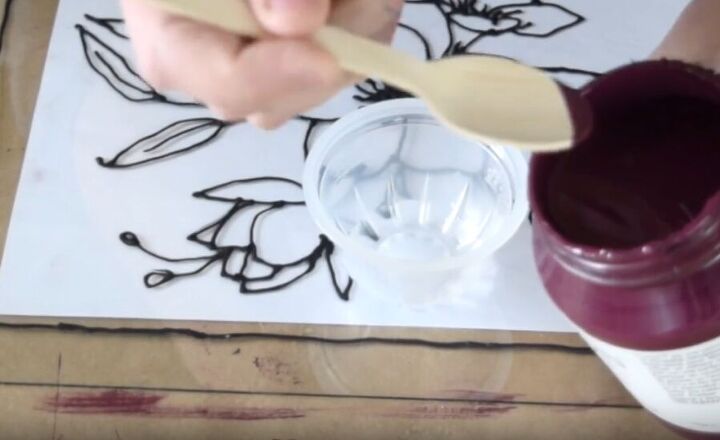
Just squeeze some clear glue into a small cup and add a little bit of paint, you can do this in whatever color you'd like, the paint's going to add a beautiful tint to the glue.
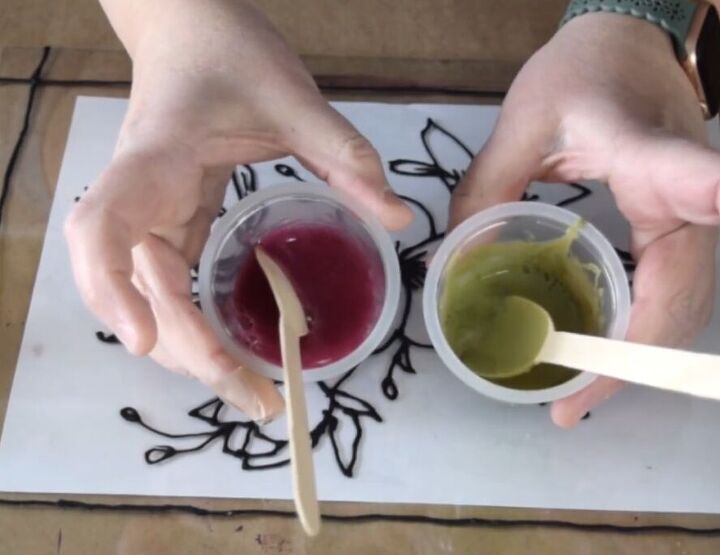
Go ahead and premix other colors that you know you'll want to use.

Next, it's time to fill in the design. Use a small little artist's brush to color in the sections with the glue and paint mixture.
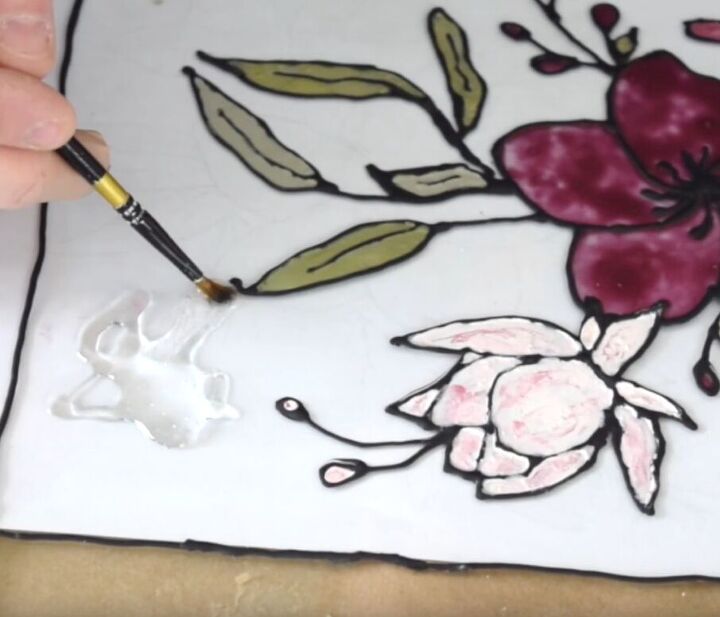
After painting all the colored areas, it's time to fill the blank space around the pattern with clear glue. This technique will give your artwork that genuine stained-glass appearance.
Once you have filled the clear space, let the glue dry to achieve a ripple effect.
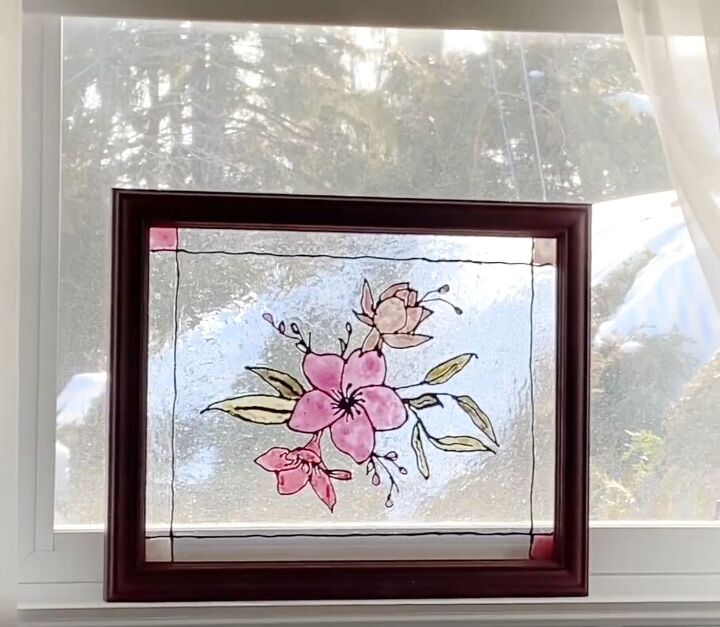
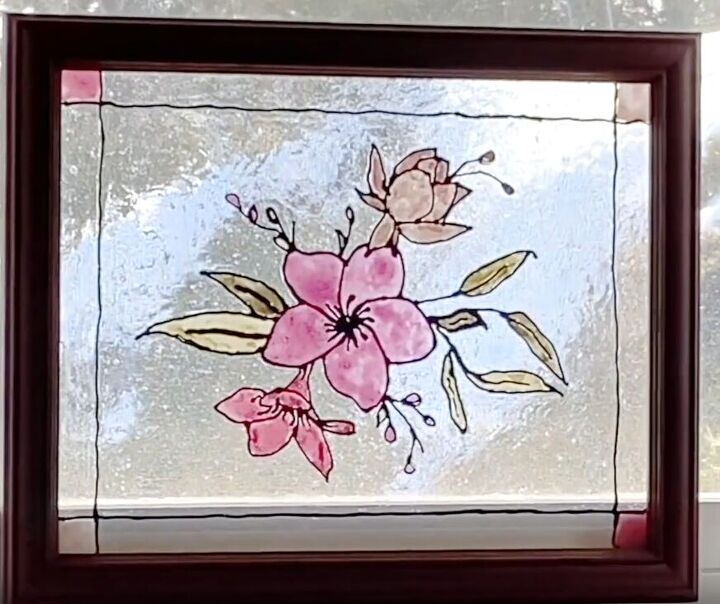
6. Finish and Display
Once everything is dry, place the glass back in the frame and display it in your window. Admire your beautiful faux stained glass creation and enjoy the colorful ambiance it adds to your space!
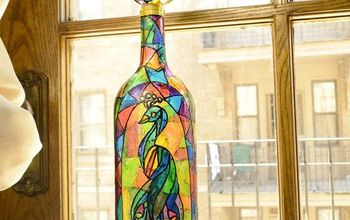
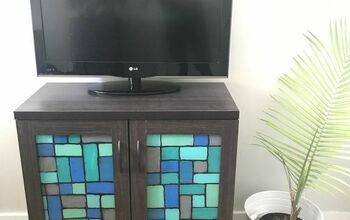
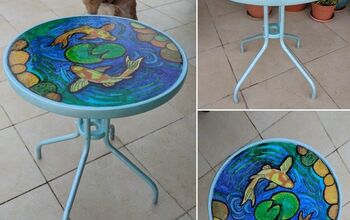
Looking for more creative and inspiring ways to add some color and beauty to your home?
How to make stained glass window decor
This easy stained glass project for beginners is a fantastic way to elevate any window in your house. This is an affordable and fun project, and a great opportunity to unleash your creativity and make something unique.
Follow these simple tips for creating a stained glass window at home and bring color and light into your living space. Don't be afraid to experiment with different designs and shades, to make it your own.
I'd love to hear your thoughts, so please leave a comment and share your DIY experiences with me.
Happy crafting, everyone!

Comments
Join the conversation
-
It’s beautiful. This is something I want to try. Thank you for the inspiration. Have a wonderful day and stay safe.
-
I love this and so simple..I'd love to try it on my full glass storm door just wondering if it would stay up to the weather .. I'll deal try this out but was just wondering about the storm door..thank you for this inspiration ❤️


Frequently asked questions
Have a question about this project?