


DIY Plaster Wall Art

A completely original piece of wall art with salvaged table leaves and plaster.
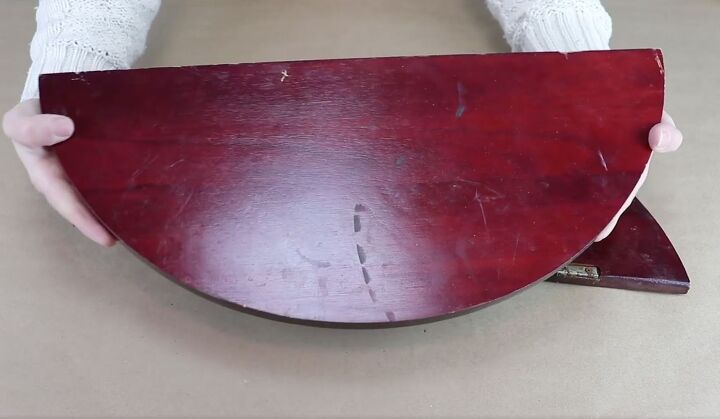
I had these two half-circle pieces that were leftover from a little side table that I made over and I saved them because I knew I could do something with them. So, now I am going to use them for some DIY plaster wall art.
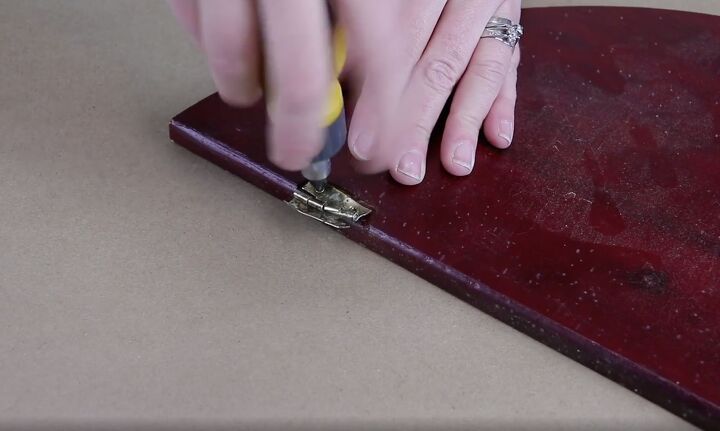
To start, I went ahead and removed the hinges from where they were attached to the table.
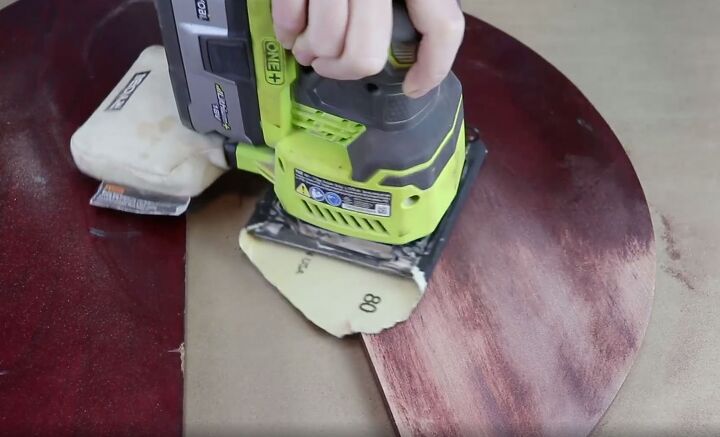
Then I took my sander with some 80 grit sandpaper and sanded off the Cherry finish. The finish has a shiny sheen to it and I want to make sure that my plaster was going to stick.
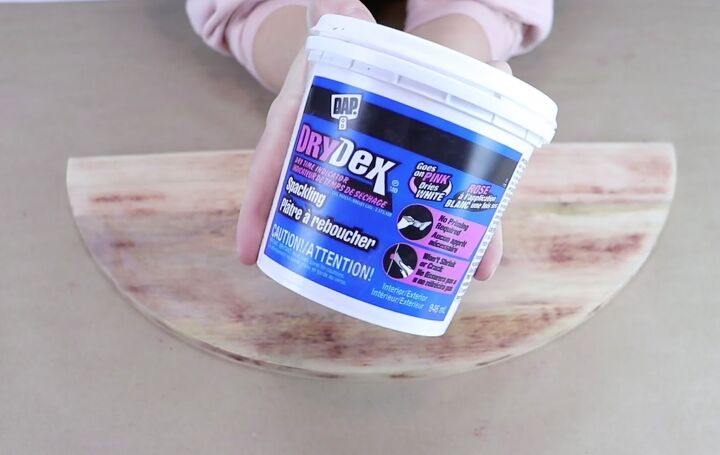
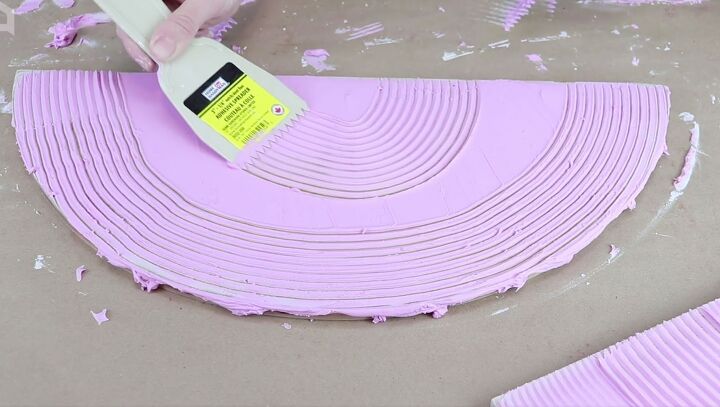
Once I have it all sanded down, I went ahead and took some lightweight spackling putty and smoothed it out. I like using this product because it goes on pink and dries white super fast.
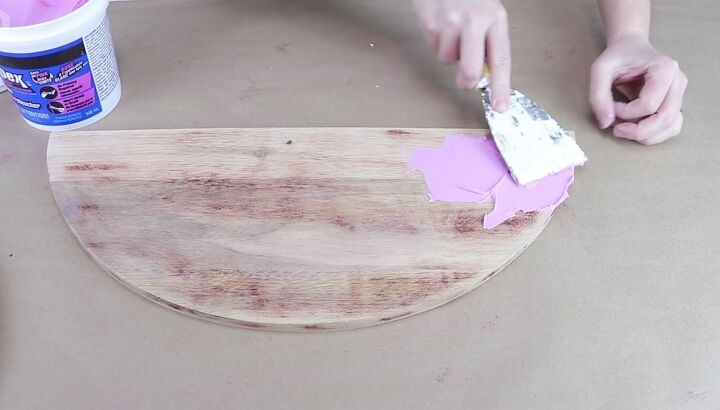
I applied it all over my half circle and made it smooth in a nice thin layer.
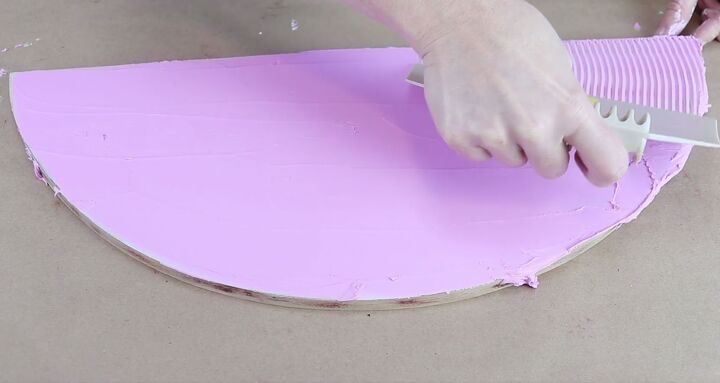
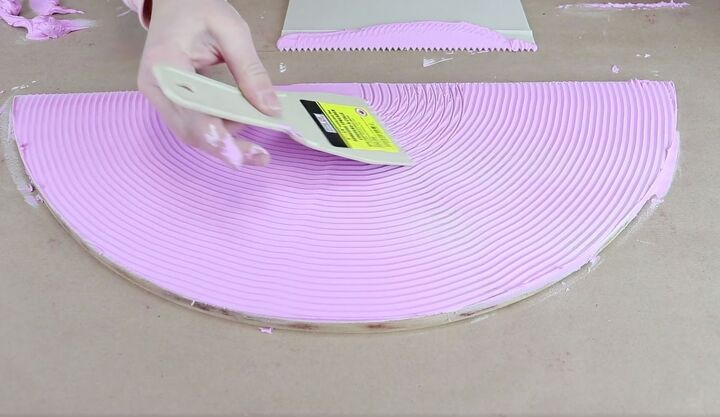
While the putty was still wet, I took a large textured putty knife and pressed it into the putty. I moved it in a semi-circle from one side to the other. I made sure to apply heavy pressure so that it created grooves in the putty.
Then I took a smaller putty knife and made a smaller semicircle down near the bottom of the wood.
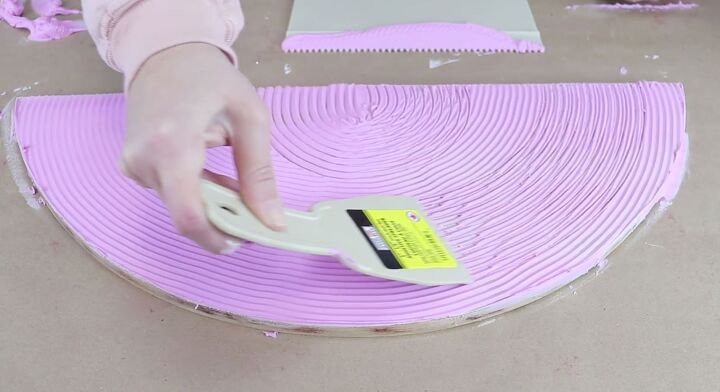
I continued working with my putty knives until I had a design on my plaster wall art that I was happy with. I played around with a couple of different techniques.
Once I finished the first piece, I moved on to the other semi-circle. I did that one a little differently so that they looked similar but different. When I was happy with my designs, I let them set. They took between two and three hours for the putty to fully harden.
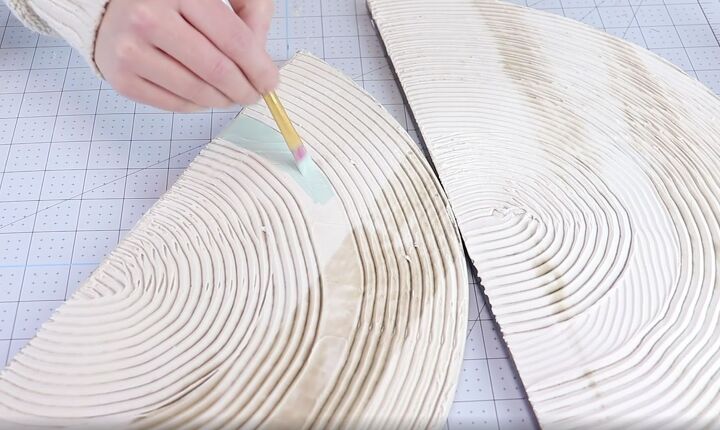
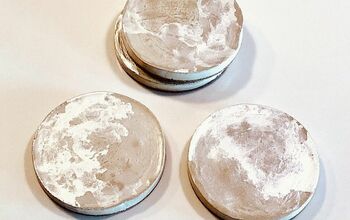
To finish off my pieces, I used some acrylic paint to add a bit of color to the plaster.
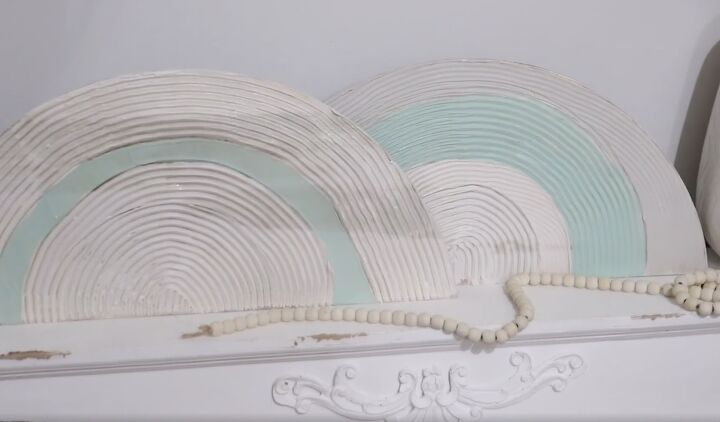
After the paint was dry I went ahead and set them up in my home. I could have hung them on the wall but I liked my new DIY plaster wall art just sitting on a shelf for a little bit of geometric art.
Resources for this project:
See all materials


Comments
Join the conversation
-
I love this project! I’d like to try it putting the flat edges together to make a sphere. Thank you for the idea.
-
Definately hang these on the wall!
Great for a child's room or think bigger for a headboard!
Endless variations, thanks for the inspiration.


Frequently asked questions
Have a question about this project?
I love this! Could cardboard be used instead of wood? Would the spackle work with cardboard? I am trying to keep the weight down.
Just curious if it's very heavy? You did a nice job
i have a side table that needs redoing, do you think this would work? It’s going to be used as a nightstand.