


Dinosaur Beanbag Chair

I transformed a basic beanbag chair into a dinosaur without using a sewing machine. I think this method/ concept would work for other animals you have in mind too.
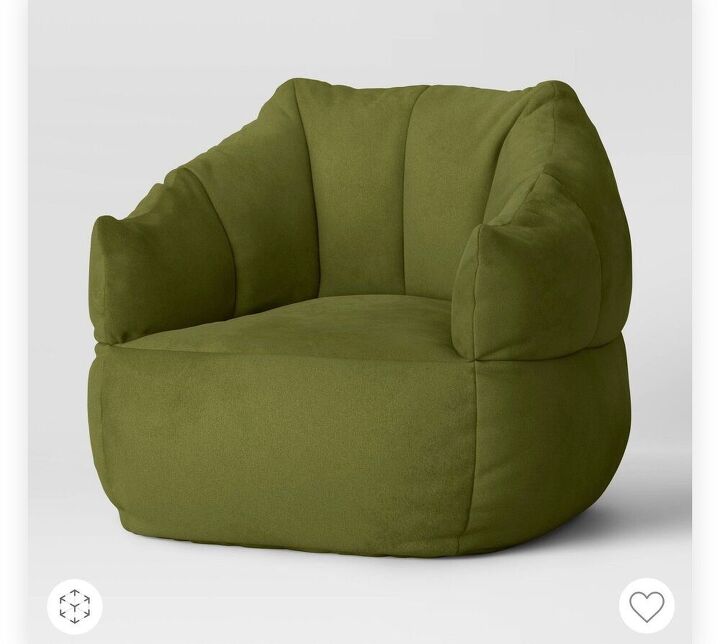
I found this specific one for a great price on Target’s website but any beanbag will work
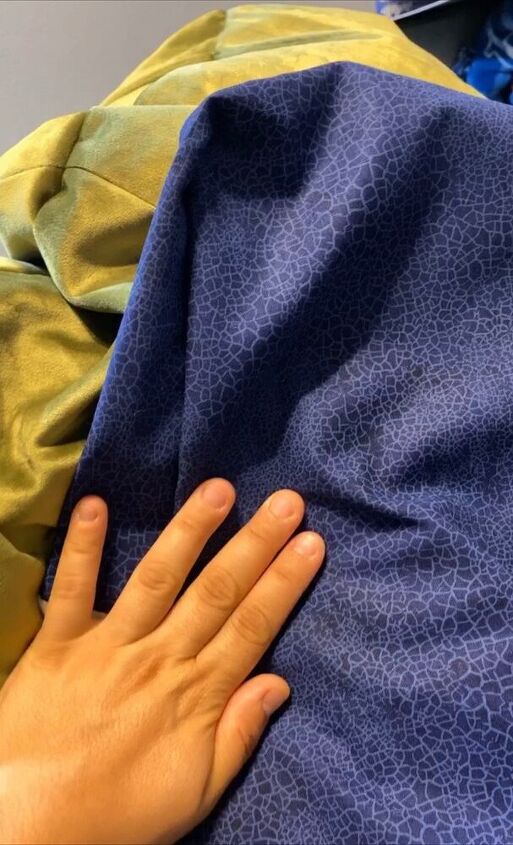
I highly recommend a cotton fabric if you aren’t using a sewing machine and especially since it will be attached to the chair by hand.
I cut out the shape I wanted for the spikes: triangles. Then I placed glue along 2 edges of the triangle (side that would show) and attached two triangles together. At this point, the non-printed side of the fabric should be showing. Wait for glue to completely dry to move onto the next part.
Once the glue is dry, gently pull the fabric right side out. (This is why you have only glued two edges so far). Stuff with filler and then seal the remaining side with glue.
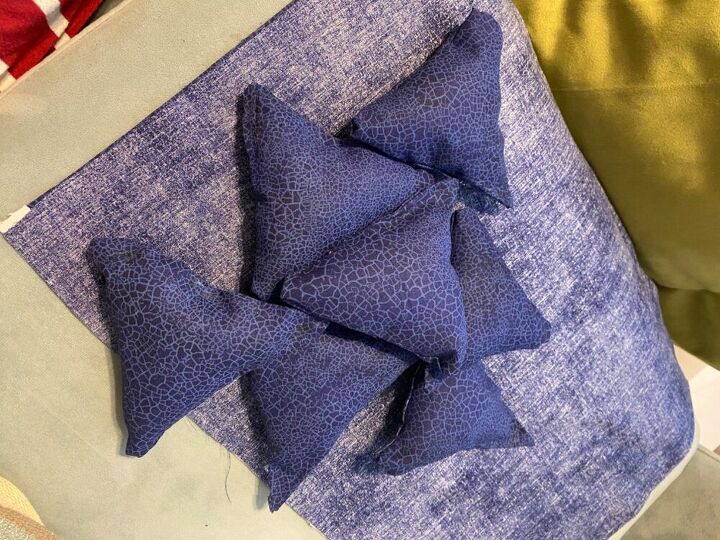
This is what my spikes looked like after I finished gluing. Again, before moving on, make sure glue dries completely.
Next I took a needle and thread to see each spike onto the beanbag by hand. (Highly recommend a thimble because the beanbag material was so thick)
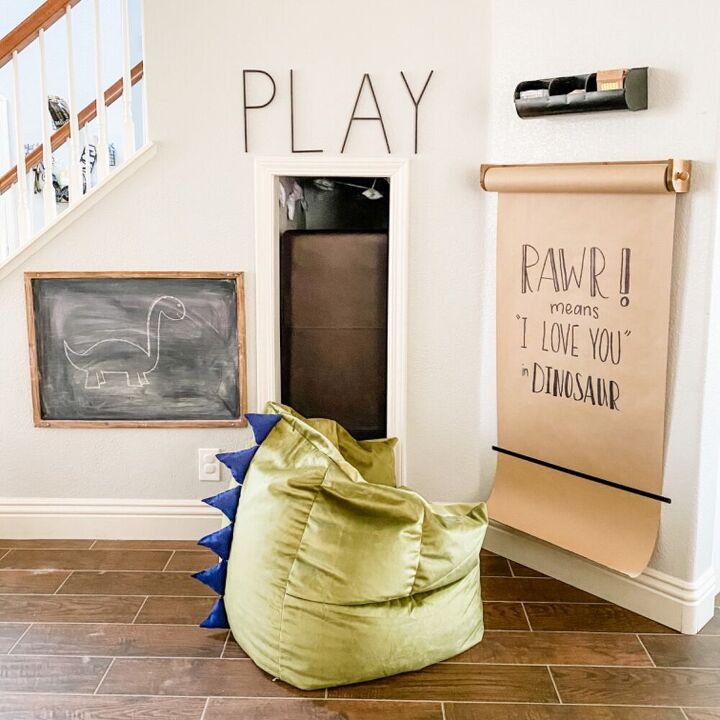
Hand sewing the spikes on made this dinosaur pretty sturdy. Making the spikes with a sewing machine would add more security but overall our dinosaur is still going strong!
Resources for this project:
See all materials


Comments
Join the conversation
-
LOVE this ~ so clever and special. Great way to re-purpose and who wouldn't like having a comfortable and friendly dinosaur in the house? Cute, cute, cute!!
Thank you for sharing!

-
observation: a few pieces of fabric cut, sewn or glued into a giant triangle and attached to the back of the bean bag, could turn the kid into "the" dinosaur.


Frequently asked questions
Have a question about this project?
Did you undo any of the chair or just attached the spikes
Where are you finding the chair
Am I correct the only part you added were the spikes? The chair was left just as is?