


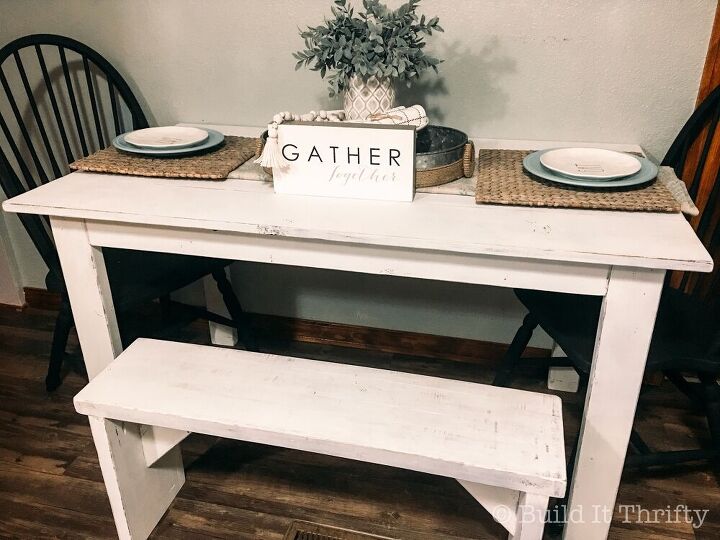
Small Farmhouse Table

When you hear the words "farmhouse table", a long spacious table usually comes to mind. Unfortunately, not everyone has the space for a huge dining table. This was the case when a friend asked me to build her one. She loved the look of a farmhouse table but didn't really have the space. We determined the custom dimensions she needed then only spent about $40 in lumber to build the table. This would be a great beginner woodworking project! Here's what you need to build your own...
Materials:
- 4-2×4@8′ (pine)
- 4-1×8@6′ (pine)
- 2 1/2″ pocket hole screws
- 1 1/4″ pocket hole screws
- Paint or stain
- Wood glue
Cut List:
- 2-2×4@22″
- 2-2×4@41 3/4″
- 4-2×4@28″ (table legs)
- 1-2×4@22 1/4″
- 4-1×8@53″
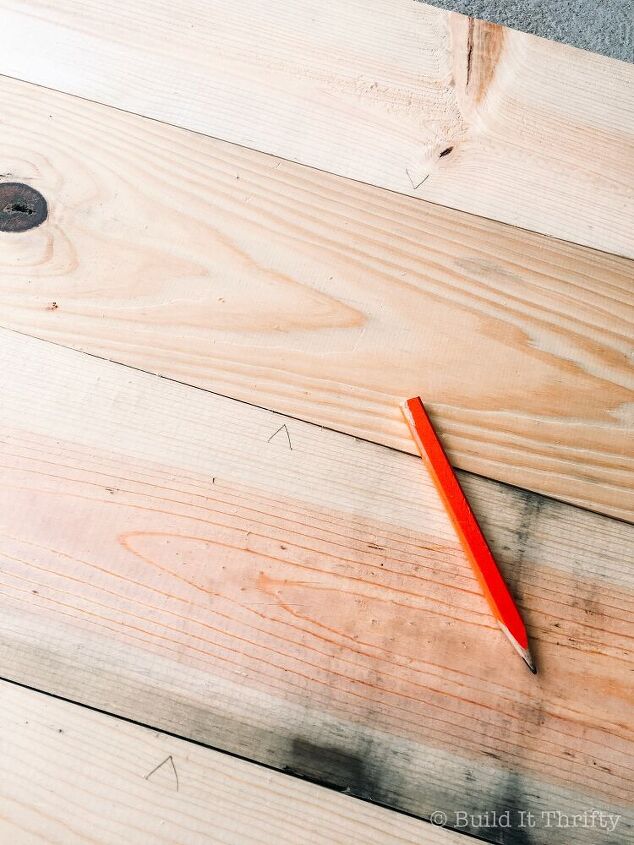
First I laid out all the 1x8 boards for the tabletop then marked the spots for the pocket holes then drilled them.
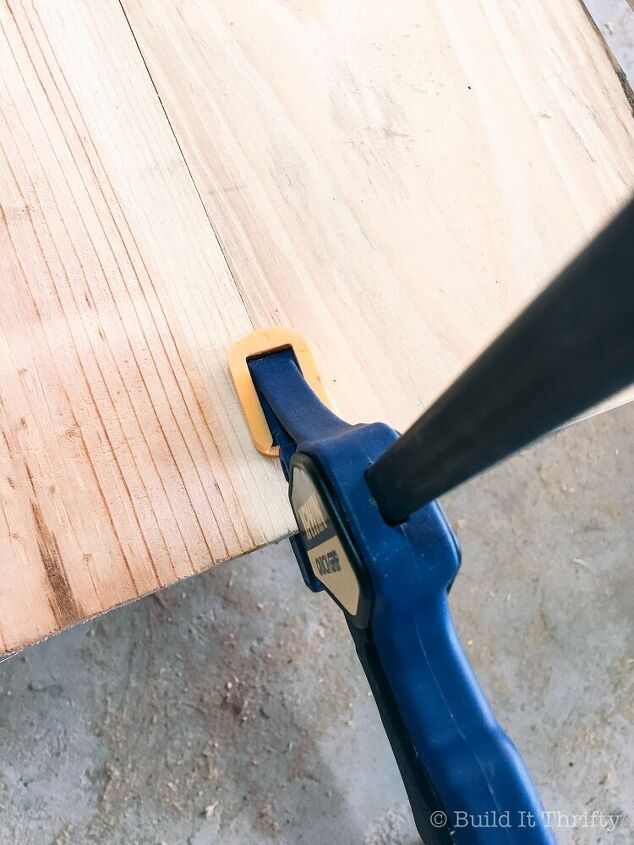
Next, I connected all the 1x8 boards with 3/4" pocket hole screws. Clamping the boards together helped them stay flush with each other.
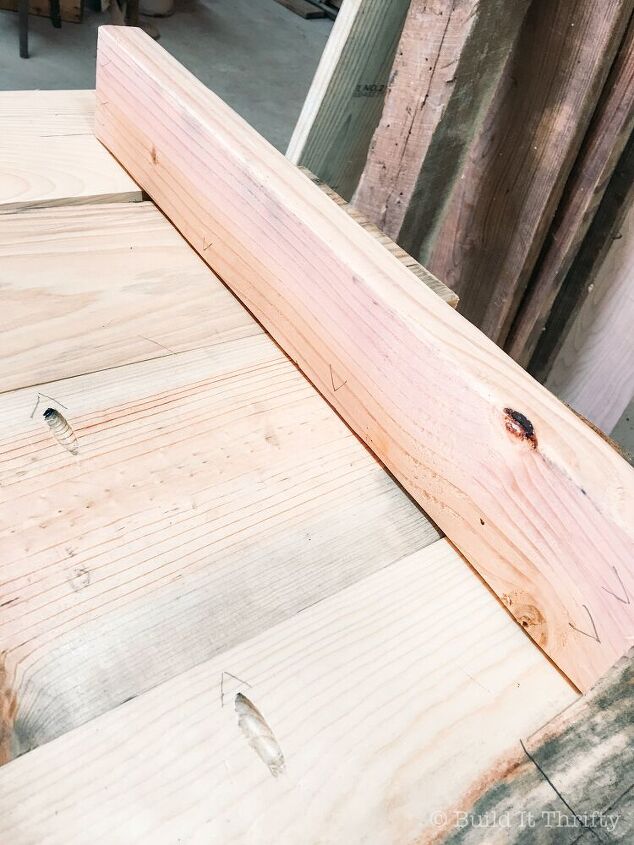
The arrows pointing down are for 3/4" pocket holes. This will be for later when you attach the base to the top. All other pocket holes for assembling the 2x4 base will be 1 1/2" depth.
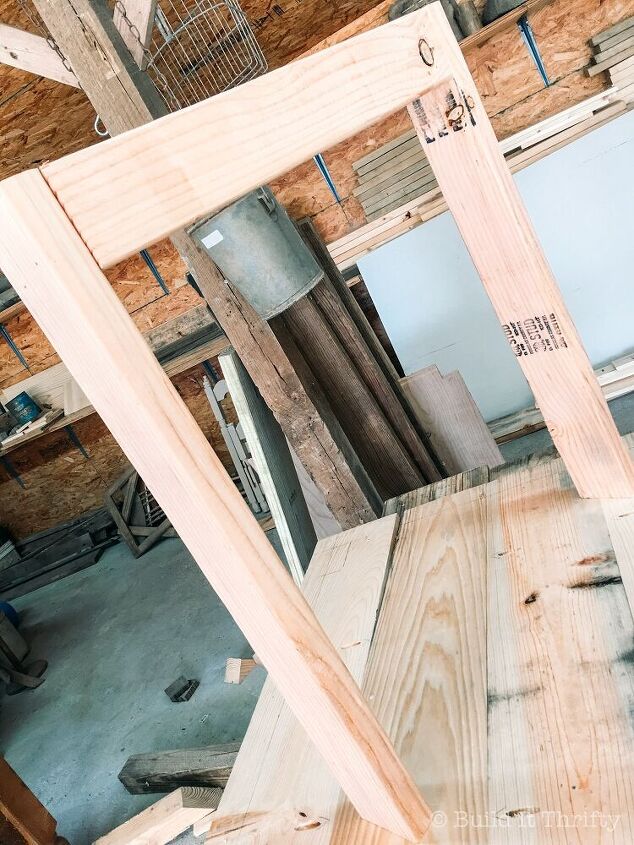
Start by assembling the two short ends of the table base. Bring the 22″ 2×4 flush with the outside of the legs and attach with 2 1/2″ pocket hole screws and repeat for the other short end.

Attach the two 41 3/4″ 2x4s to the assembled short ends. Also attach your support board in the center of the frame base as pictured below. The base is complete! Now we need to attach the top.
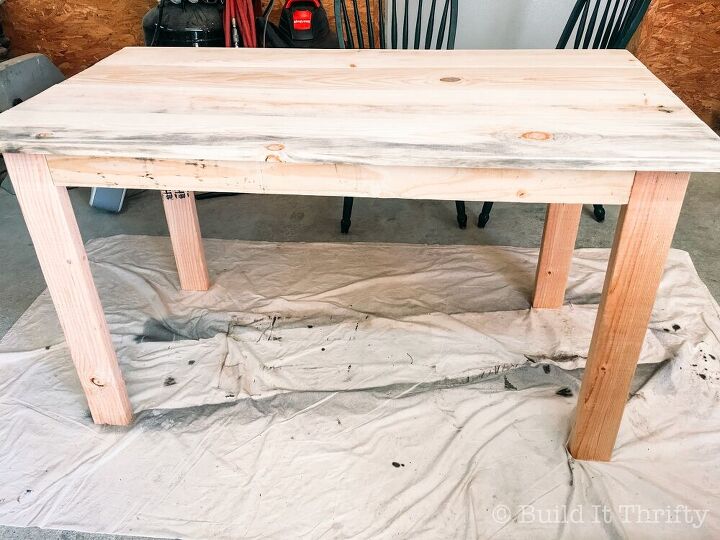
Lay the top face down and flip the base over and set on the table top. Measure and make sure the overhang is the same all around the table then attach the base to the top with 1 1/4″ pocket hole screws.
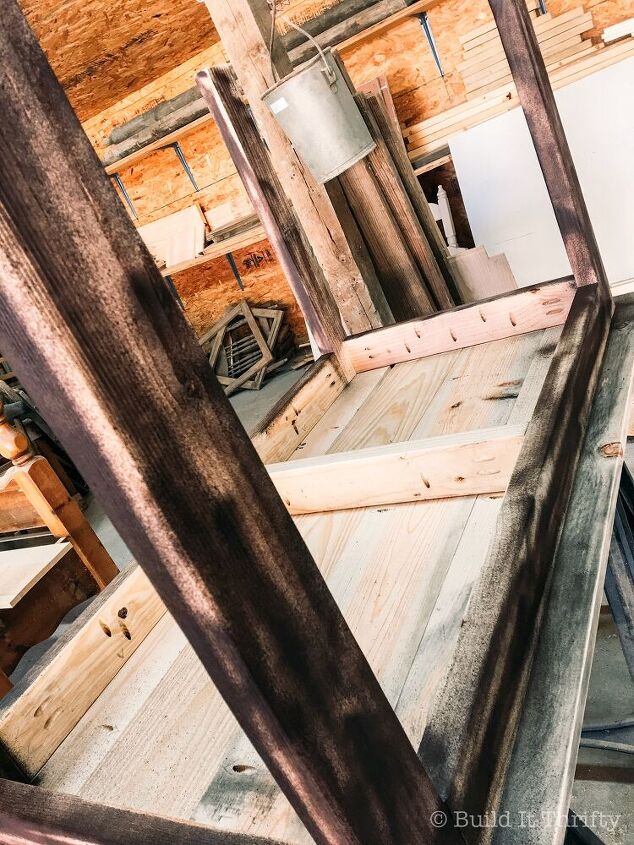
You can choose to either stain or paint your table. I was going for the distressed look so I first sprayed with dark brown spray paint focusing on the edges and seams. This will give more contrast when you distress later.
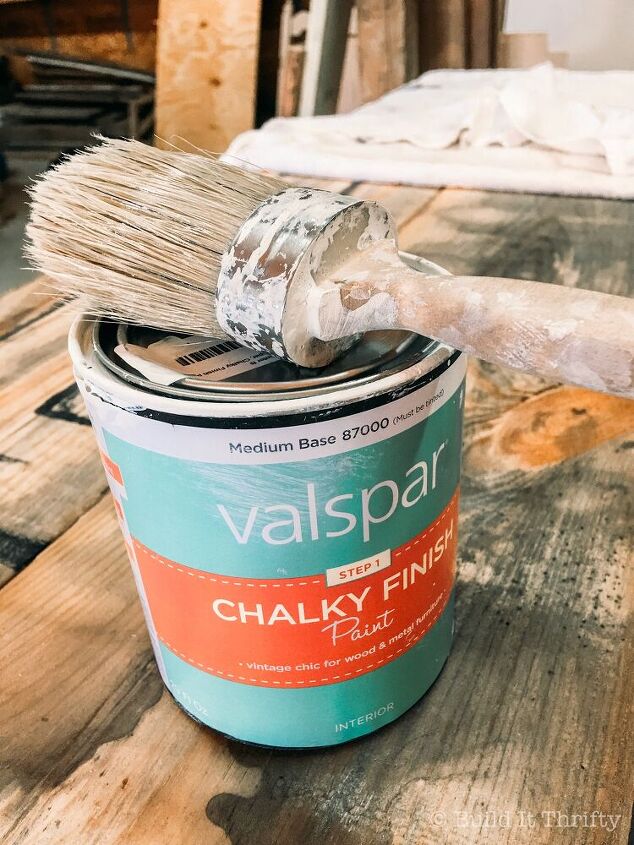
After the spray paint was dry, I went over everything with white chalk paint then distressed. The last step is to seal with wax or poly. I prefer Minwax polycrylic because it doesn't yellow over time and will keep your table looking bright white!
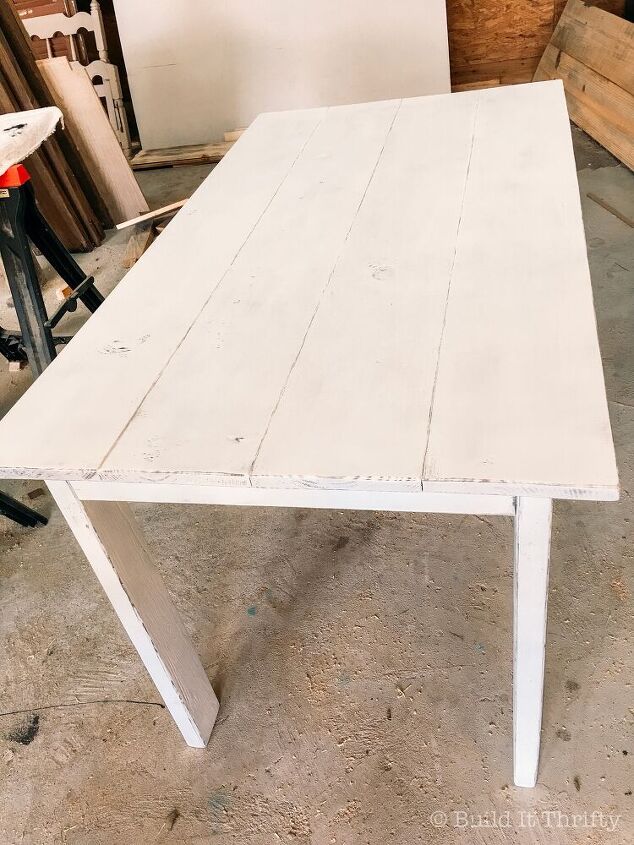
That’s it! Enjoy your new small farmhouse table!


Comments
Join the conversation
-
Well done!
-
I love, love, love it!!!!! So beautiful & I also love the simplicity of the design. To me it looks like a real farmhouse table. Great work.


Frequently asked questions
Have a question about this project?