


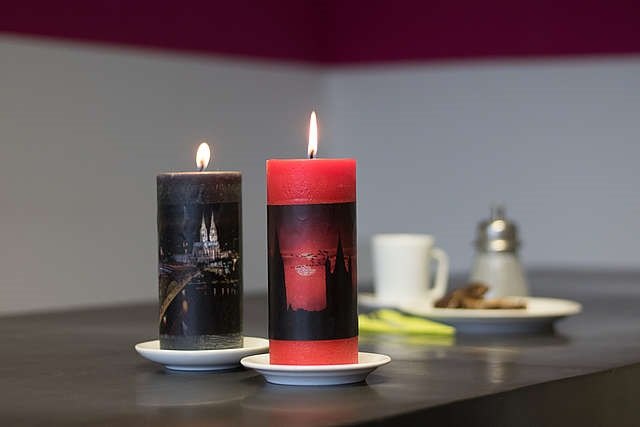
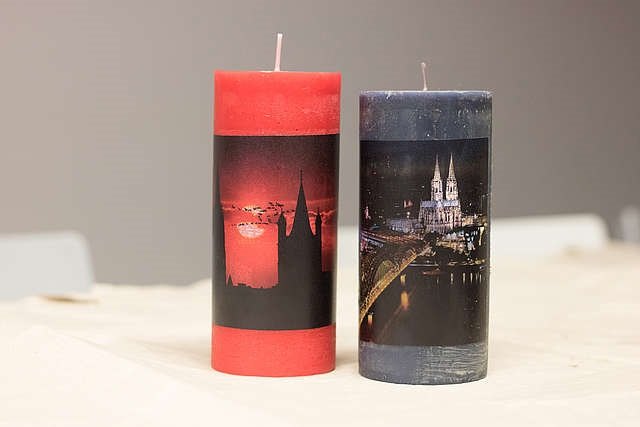
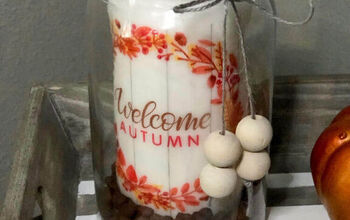
Photo Candle: Souvenirs With a Personal Touch
Candles are indispensable during Advent and Christmas. They spread a cozy atmosphere when it is dark and cold outside. A personally designed candle with a favorite photo is sure to go down well, be it the silhouette of your hometown or a picture of grandchildren for grandma and grandpa.
Browse through your photo album on your mobile phone for the most beautiful motifs and print them out. We arranged the files in Word and printed them out several times in different sizes with a color laser printer. We did not test it with an inkjet printer!
When choosing the right candles, you should make sure that they are of good quality. They naturally suffer when blow-drying – inferior specimens usually show ugly areas if they are not colored through. Colorful candles often only have one coating, which can also rub off. The candles should also be big enough so you can see the picture better and they are also easier to handle.
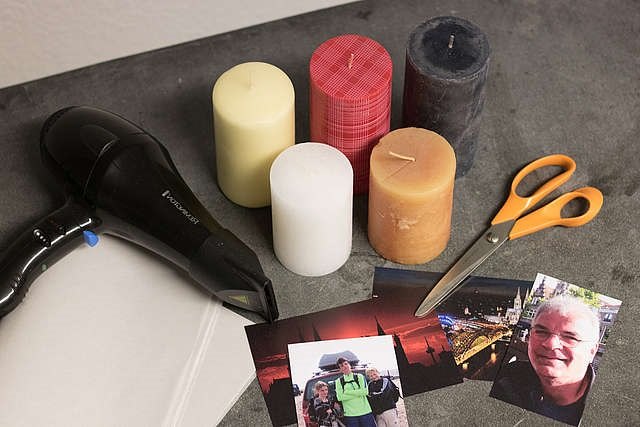
You need this:
Material list:
- One or more pillar candles (not too small, preferably light colors and of good quality!)
- printed photo templates
- Wax paper
Tool list:
- Hair dryer
- scissors
- Ovenglove
Select and print out photo motifs
Select photos and print them out on paper – ideally in different sizes to try out.
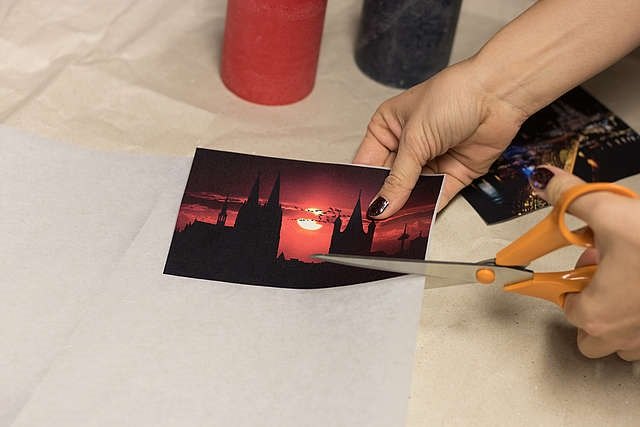
Cut the wax paper
Now cut the wax paper a little larger than the photo motif.
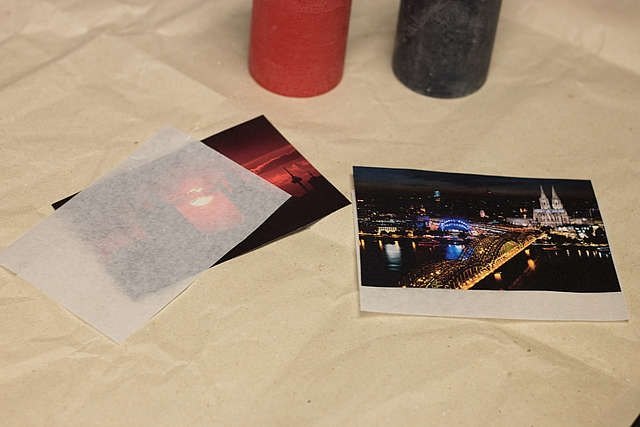
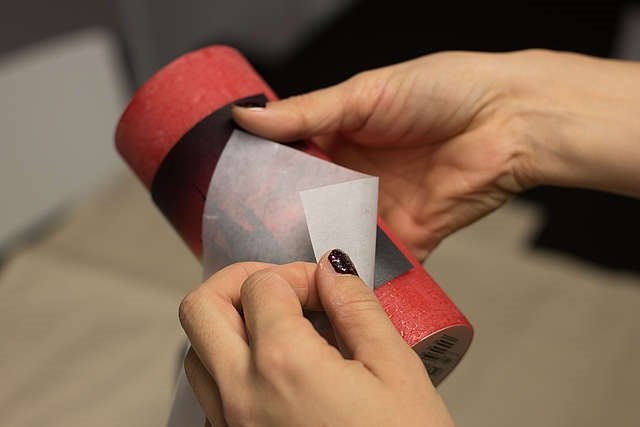
Place the motif and wax paper on top
Place the photo on the candle with the printed side facing out. Now place the waxed paper with the waxed (!) Side down on the photo so that all edges are well covered.


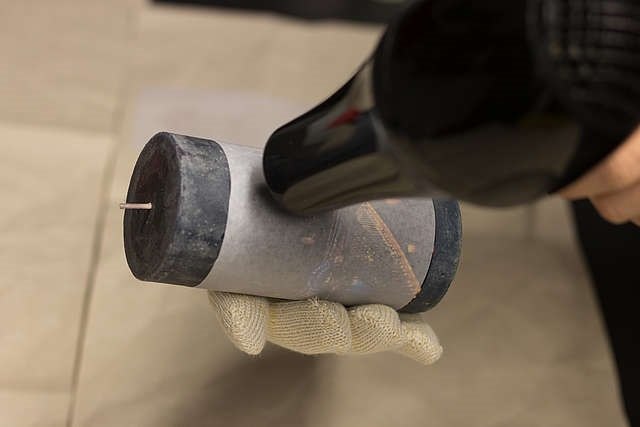
Blow dry
Now put on the oven or heat glove and set the blow dryer to as hot as possible, but only with medium air intensity. Hold the wax paper and blow dry. This is where it gets a bit tricky: The hot hair dryer is supposed to melt the wax layer of the paper and transfer it to the picture. To do this, it must be guided relatively close and also longer over the motif. You have to be careful not to stay too long in one place and not to direct the air too long at the “unprotected” wax of the candle, otherwise there will be unsightly holes.
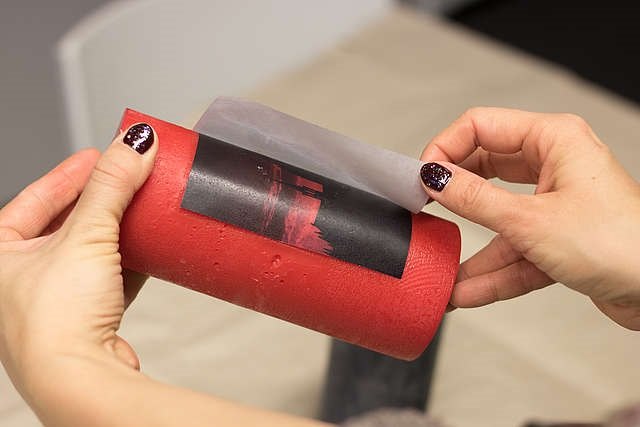
Peel off the wax paper
Once the wax has melted from the paper, you can simply peel off the backing paper. The personalized photo candle is ready!
Resources for this project:


Comments
Join the conversation
-
I’m going to try this for a gift for a friend whose mom is sick. Great idea, and step-by-step instructions are appreciated, thank you.
-
I live this concept! Does this have to be a laser jet copy or will ink jet work too?


Frequently asked questions
Have a question about this project?
What kind of paper do you use to print the picture on? Is it photo paper or copy paper? Does the thickness matter?