


How to Make a Flower Pot Out of a Tire

Do you want a special place to put your favorite plant? Watch out for this tutorial! This is how you can create a round pot with a tire, wood, and some string.
WHAT DO YOU NEED?
Tools- Brush
- Masking tape
- Cutter
- Stapler
- Pencil
- Pallet
- Heat glue gun
- Rule
- Marker pen
- keyhole saw
- Drill
- Scissors
- Washers
- Rope
- Square wooden slat
- Tire
- Painting
- Plant
- Wooden board
- Metric Screws
- Nuts
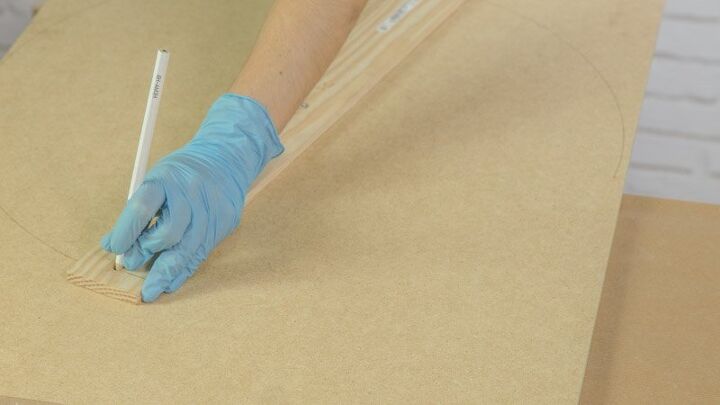
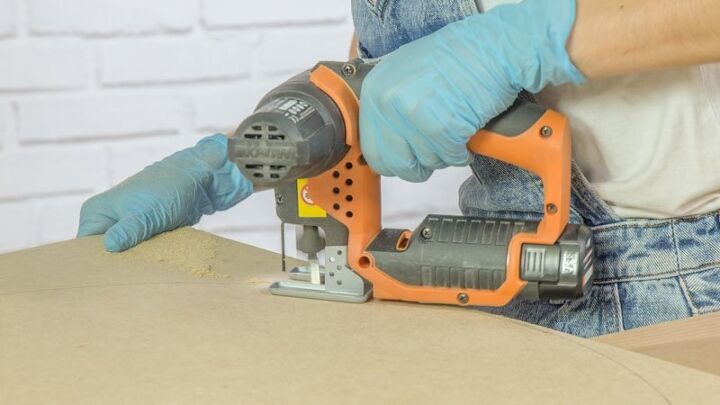
1. Cut the circular wooden base
This round pot is made up of a tire, which is where the plant will go, a wooden base and four legs made of square slats. To start creating it, cut the wooden base with a jigsaw, which will have to have the same diameter as the tire you use.
To create a circumference easily, use a strip as a compass: screw it to the wooden board and drill a hole at a distance from the center equal to the radius of the circle you want to draw. Pass a pencil through that hole and turn the ribbon on itself, tracing the circumference.
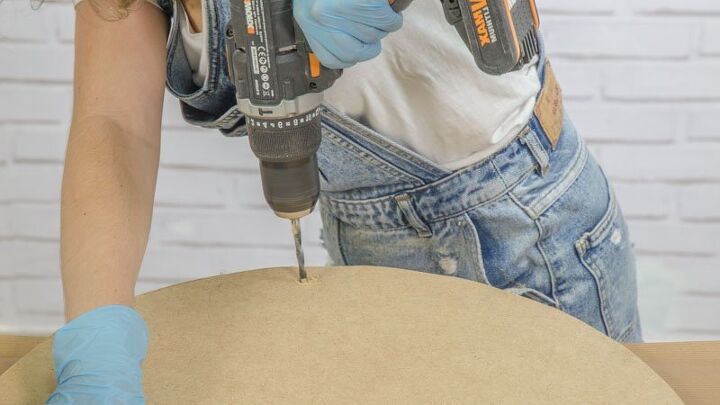
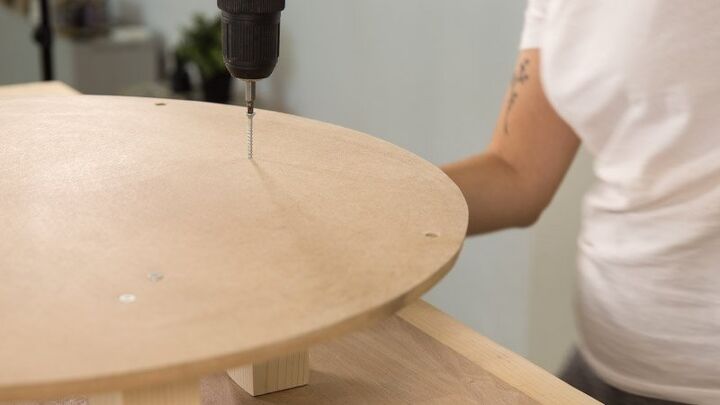
2. Drill four holes in the wooden base
Base prepared? It is time to open the holes that will allow you to screw it to the tire. Mark four equidistant holes in the wood surface, glued to the edge of the piece, and use a drill to drill them.
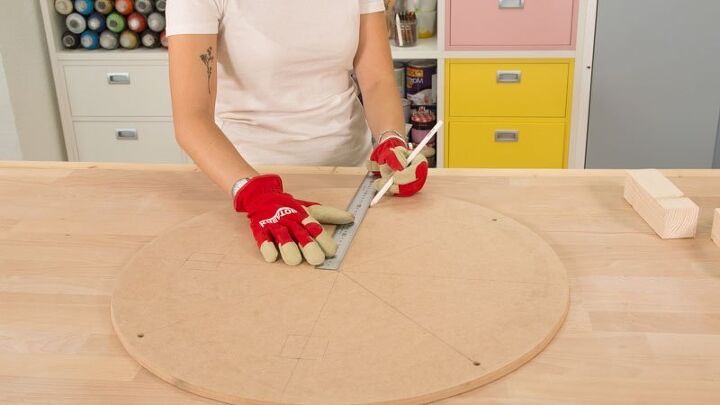
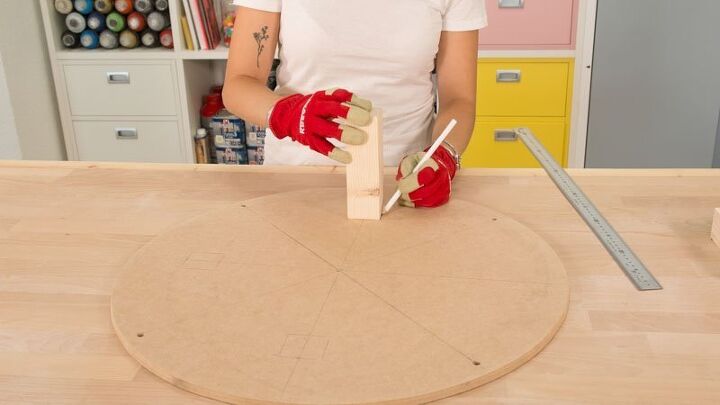
3. Screw the legs to the circular base
Create four equal wooden legs from a square slat and attach them to the underside of the base. Mark four equidistant points, located between the holes you made in the previous step, and screw the four legs into them, using a pair of screws per leg.
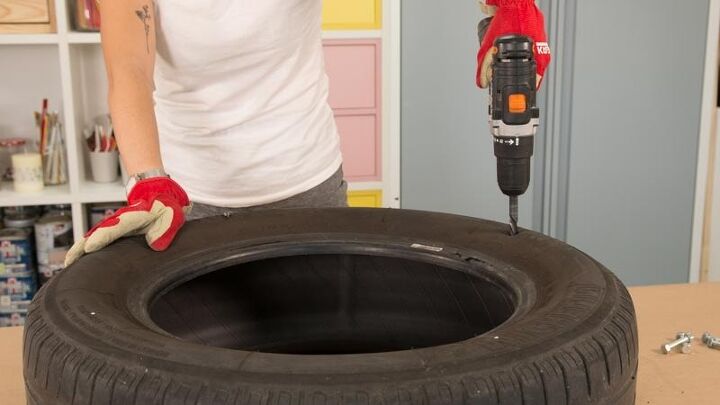
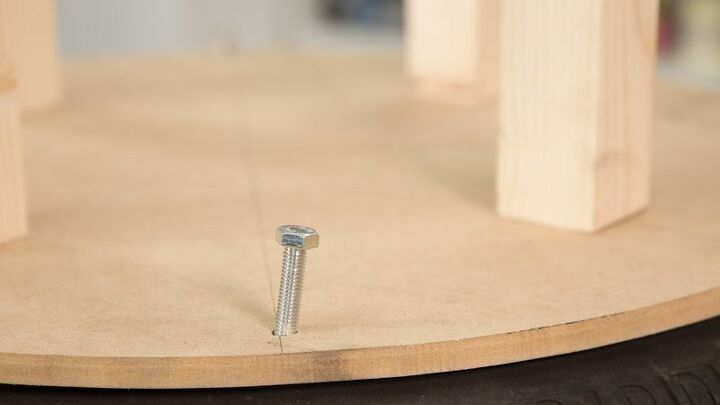
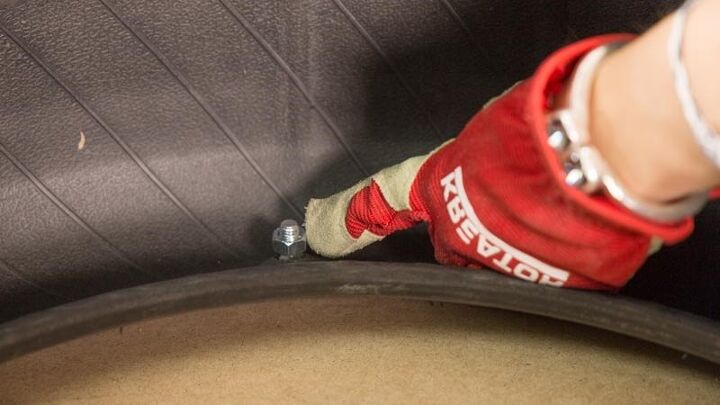
4. Screw the base to the tire
Punch four holes in the tire that match the four you made in the wood circumference. To do this, place the base on the rubber and use its holes as a guide, using a marker. Drill the holes with a drill and a bit of a size compatible with the screws you will be using.
When all the holes are done, secure the wooden base to the tire with metric bolts, nuts, and washers. Structure ready!
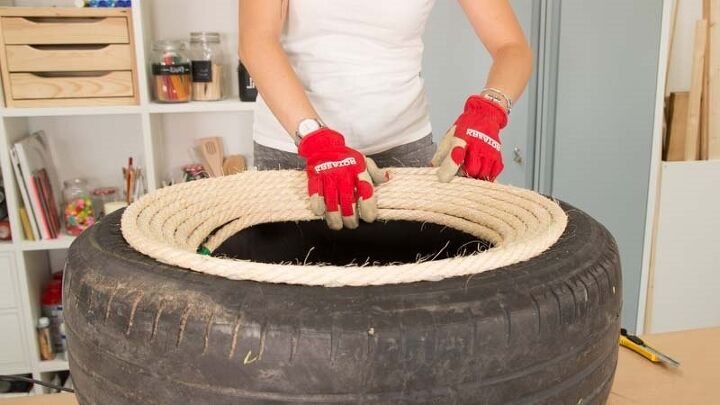
5. Glue the rope
Arm yourself with patience: it is time to glue rope across the entire surface of the tire until all the rubber is covered. You can do it, use some hot glue and a heat glue gun.
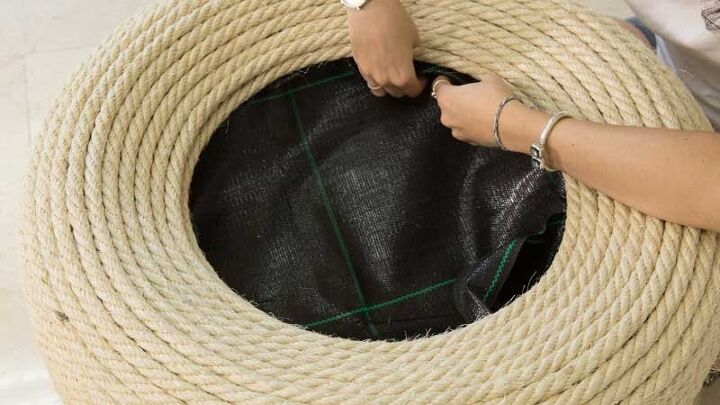
6. Staple the geotextile fabric
Find scissors and cut a large piece of geotextile fabric, covering the entire inside of the tire. It will be the place where you plant what you want to put in the pot. It is about creating a bag inside the wheel in which you then pour the substrate. Secure the fabric to the rubber with the help of a manual stapler.
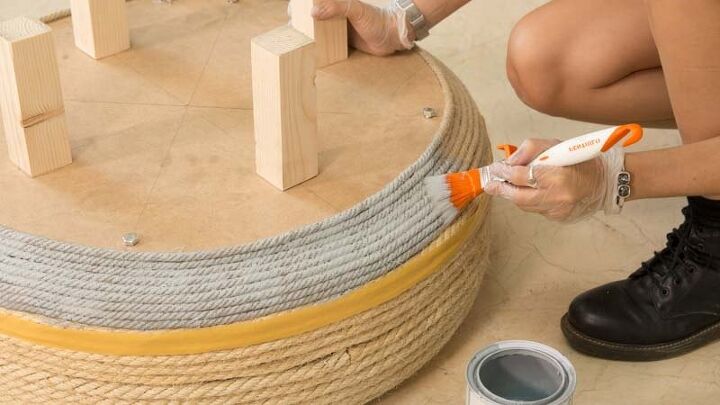
7. Decorate the pot
If the color of the rope does not convince you or you want to personalize the pot a bit more, you can paint its exterior. We have painted the underside of the wheel gray, which we cover with a rope a little thinner than the rest of the rubber, creating a two-color design. To do this, we have used a bit of water-based enamel and a special nail polish pad.
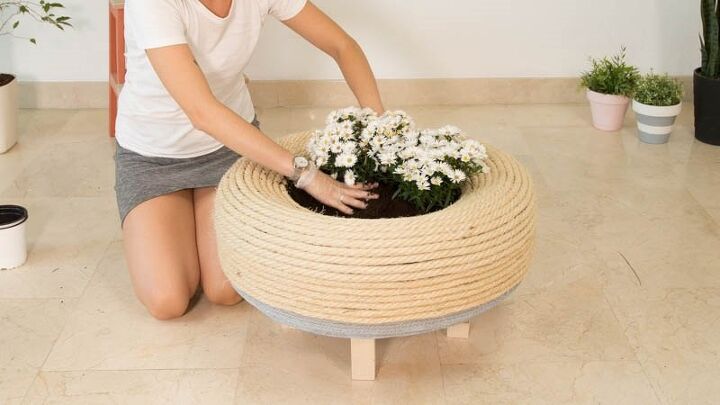
8. Place your plant
Pour substrate into the geotextile fabric bag inside the tire and place the plant you have chosen to brand your new pot. Ready!
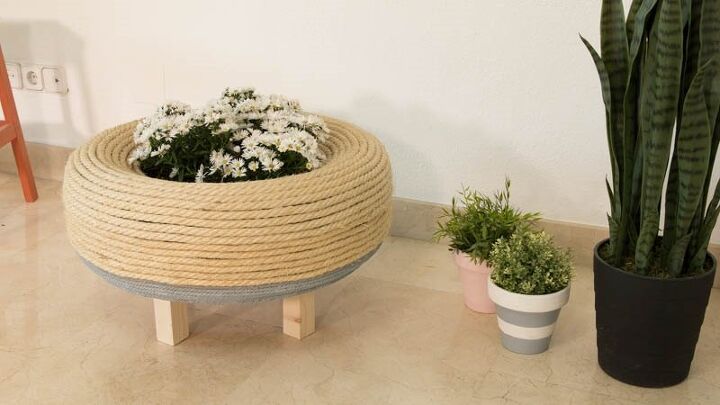
Do you like how this homemade pot has turned out? Where in the house would you put it? Let us know in the comments!


Comments
Join the conversation
-
What an awesome recycle!
-
Very, very cool idea!


Frequently asked questions
Have a question about this project?
Hi Succie, very nicely done but I have one concern. What happens to the overflow of water that will go through the garden fabric and into the wheel well or just sit on top of the wooden round? I think I would have cut a doughnut instead of a solid round of wood to accommodate the possibility of sealed in water.
Where is the drainage system