


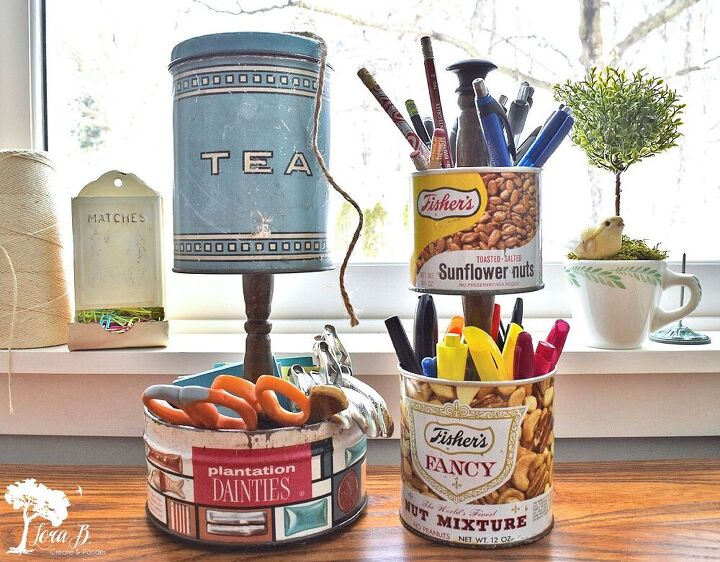
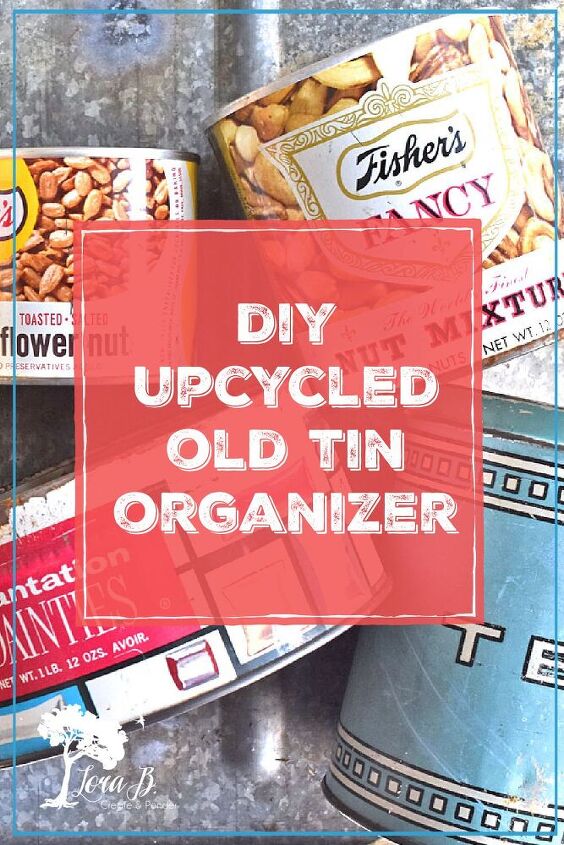
Upcycled Old Tin Organizer DIY
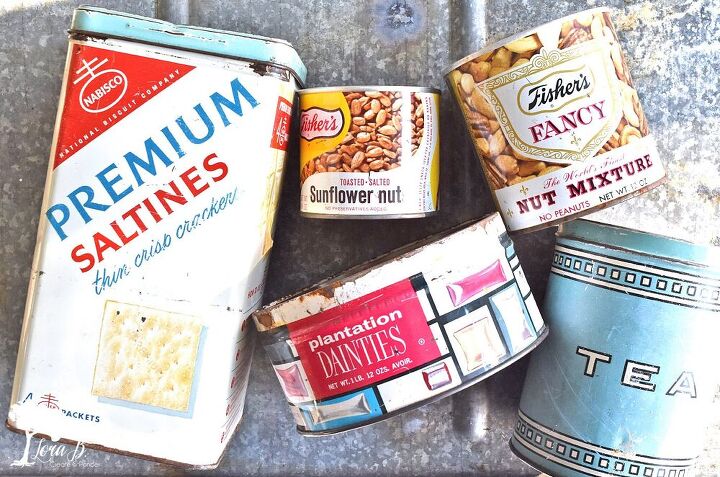
Old food tins with fun vintage graphics can easily be found filled with nails and screws in old handymen's basement or garage shops (their original repuspose;) Sometimes they can be found at flea markets and antique stores, too. Give them a fun upcycle by pairing them up to create a handy desk organizer. Here's how.
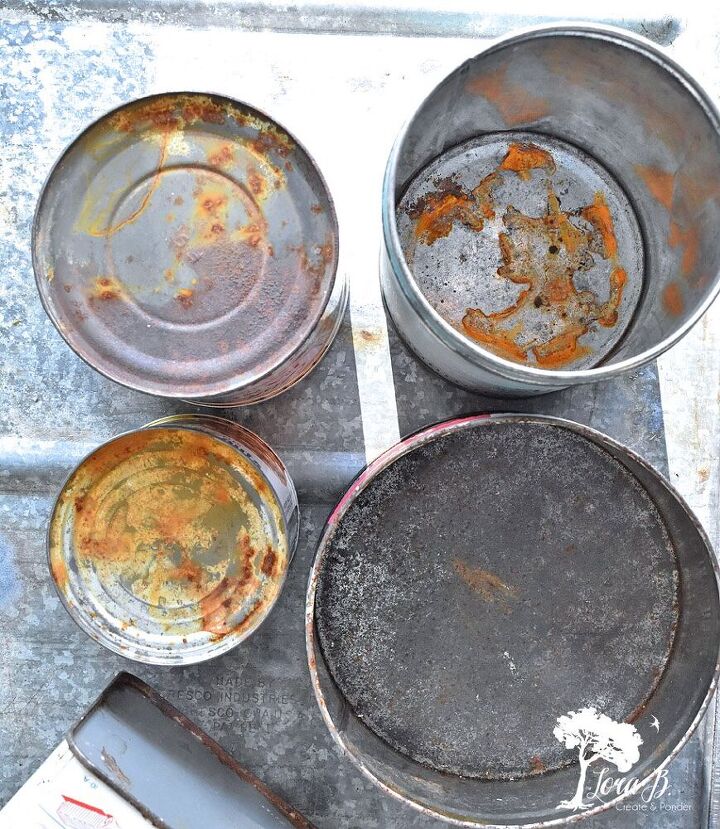
First, clean them up with a degreasing cleaner. Let dry thoroughly and seal with poly. Mine were rusty on the bottoms, so I made sure to seal.
Pair up your tins by color and style. I put the 2 nut ones together because their graphics were similar and put the tea and mints tins together because of the aqua accent color.
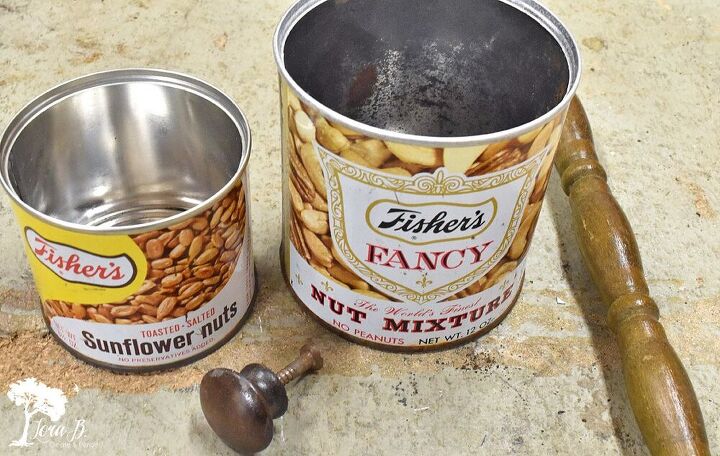
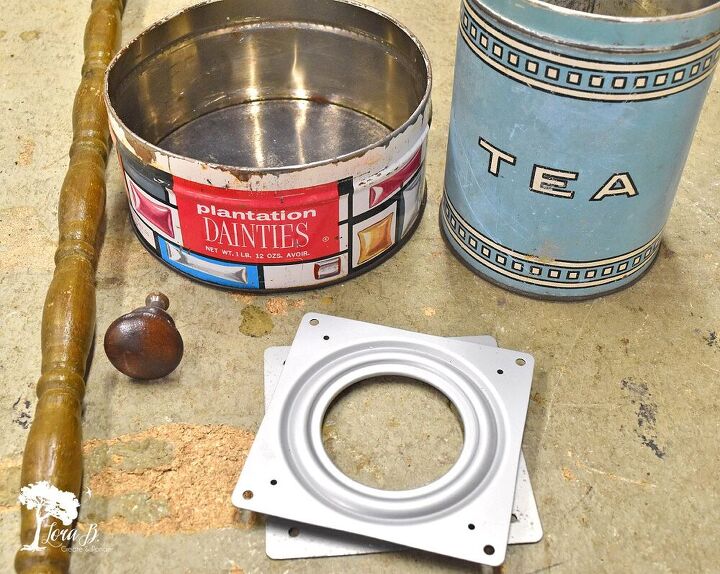
You'll also need an old spindle from a crib or a chair to attach them together. Cut spindle sections to place between the tins. The size will depend on your particular tins; we did about 5" sections. We also cut a section for the top of the nut tin, to be topped off by an old wooden knob.
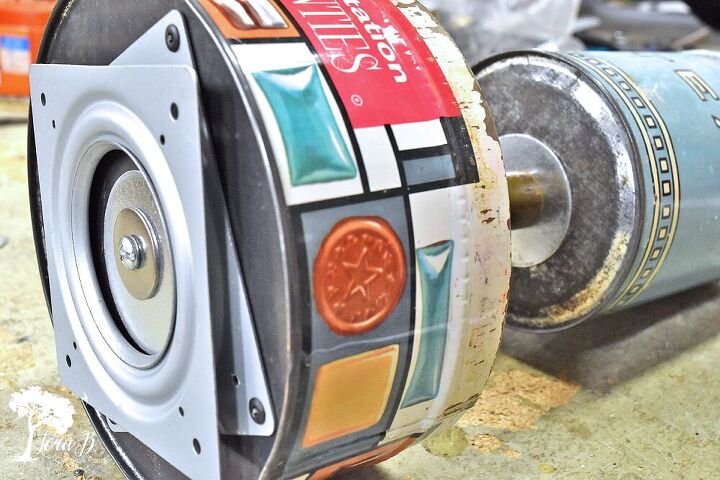
Also, if the bottom diameter of your tin is large enough (at least 5"), you may want to place a lazy susan device on the bottom so your organizer can spin.
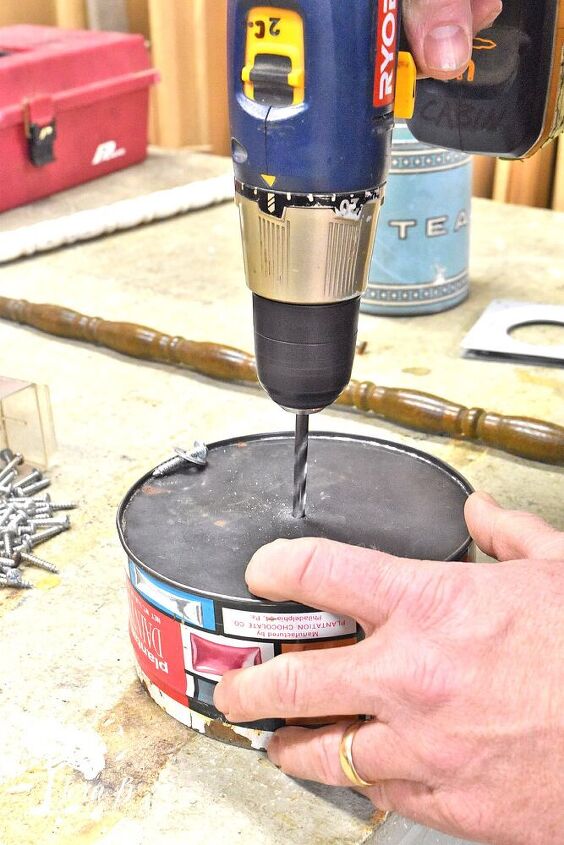

Drill holes in the tins and the spindles. I also decided to keep the lid of the tea tin on and drill a hole in the top, so twine could come out.
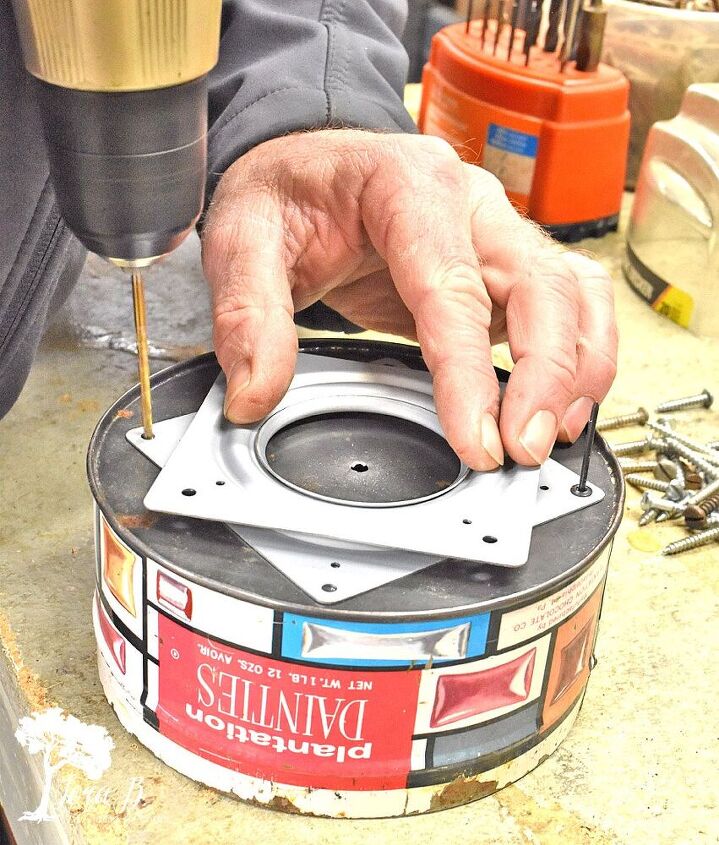
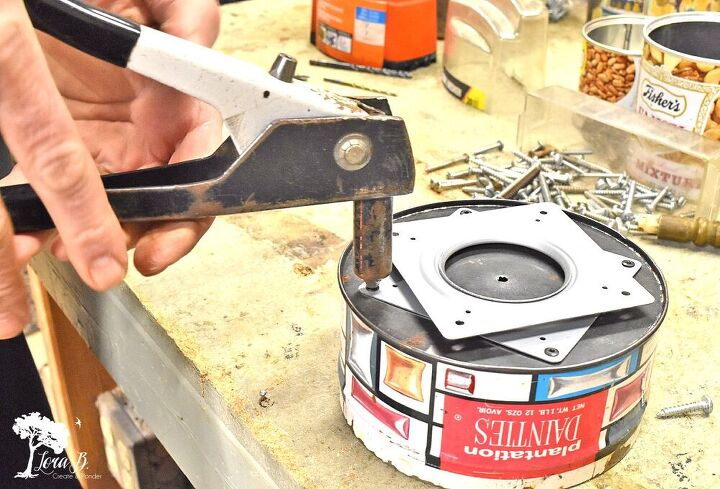
Attach lazy susan device to the bottom, if desired. We used a pop rivet gun which worked nicely. You could also just glue it with a strong adhesive for metal.
Then assemble the pieces using double ended screws and fender washers for strength.
The whimsical organizers are perfect for desk organization! Pens, pencils, hole punches & scissors can all be at the ready, yet contained.
For more vintage-inspired upcycled and repurposed project ideas, see HERE.
And make sure to FOLLOW ME on Hometalk!
Resources for this project:
See all materials


Comments
Join the conversation
-
Glad you enjoyed it!
-
This one is great! Creative and I will try this one.


Frequently asked questions
Have a question about this project?
Love love this!! I have some favorite tins that I can use now !! Thank you!!!