


DIY Cutting Boards
Hey Friends,
I love cutting boards. I have many of them.
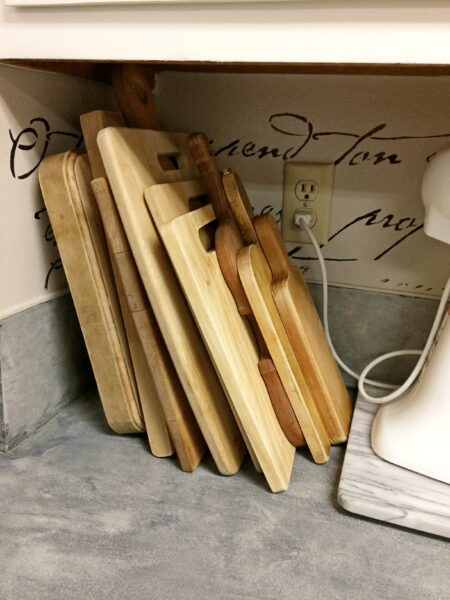
And now… I have made more. I can’t wait to show you.

I’m so excited to say that I made my first two cutting boards and love them. They will be used for decoration only.
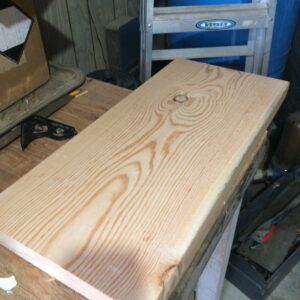
I started by buying an 8-foot board, 2 inches thick, and had Home Depot cut it in half. I took it home and cut each 4-foot board in half. Now I have 4, 2-foot boards. Don’t mind my small workshop. It is a mess.
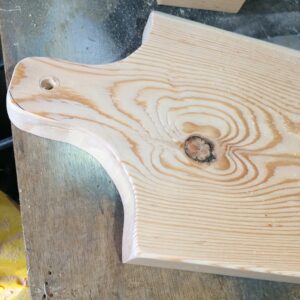
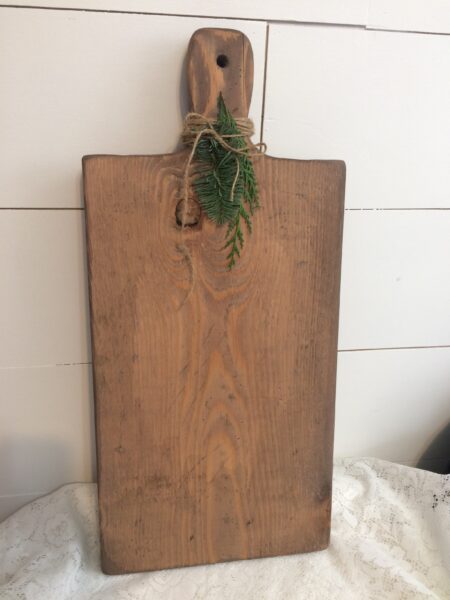
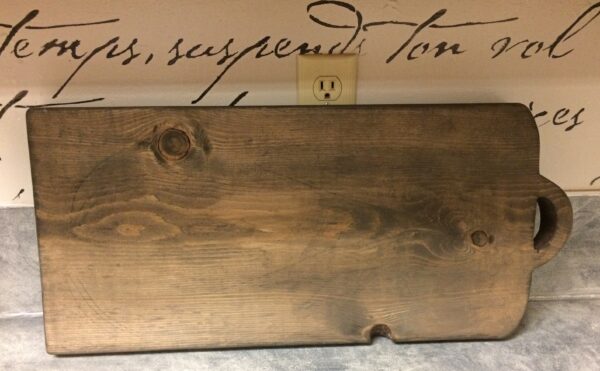
The first one I made is kind of traditional as far as the shape.
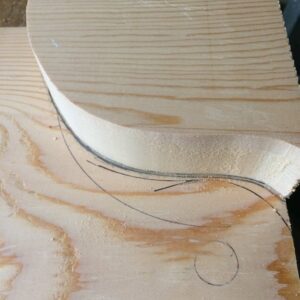
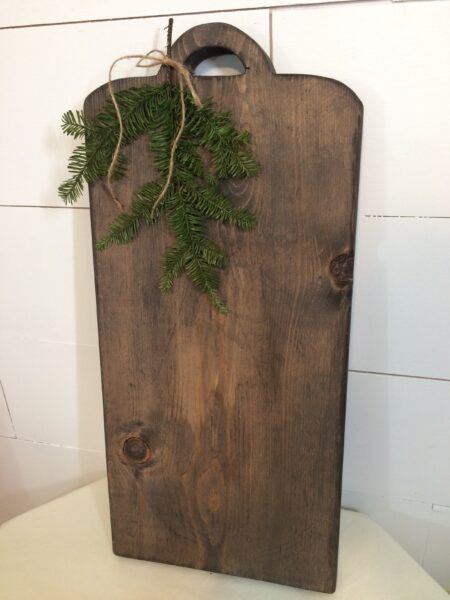
The second one I thought would be easy but I thought wrong, lol. I’m still learning how to use a jigsaw, so they are a little ‘rustic’ shall we say.
At the time of this post, I only have two done.
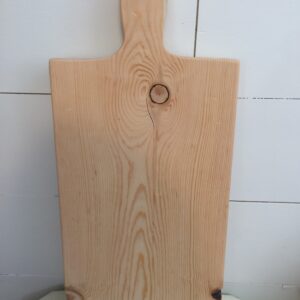
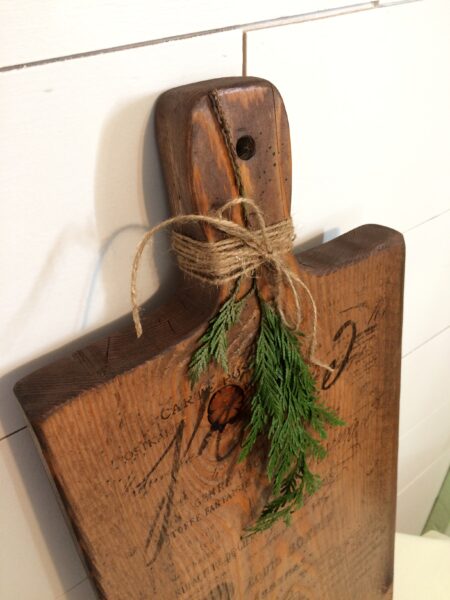
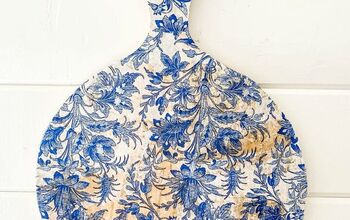
First Board
I drew an outline of how I wanted the handle. I then cut it out with the jigsaw. If you want the exact shape of the handle, cut one side out and lay it on the opposite side and trace it onto the cutting board.
This will give you the exact same shape as the one you just cut.
That is exactly what I did but my handle was too wide and hard to hang on to. I had to make a few adjustments until I was happy and could fit my hand around it comfortably.
Drill a hole into the handle.
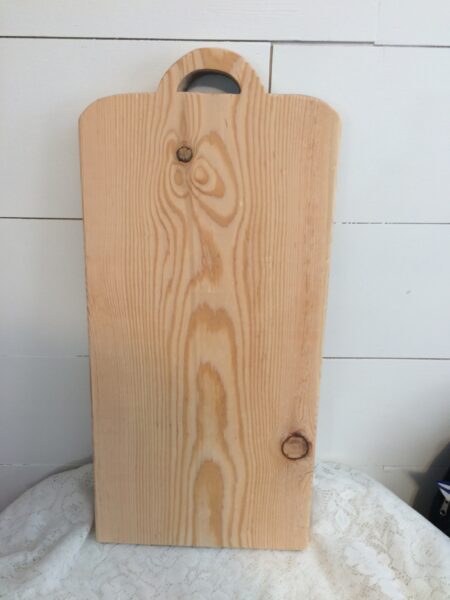
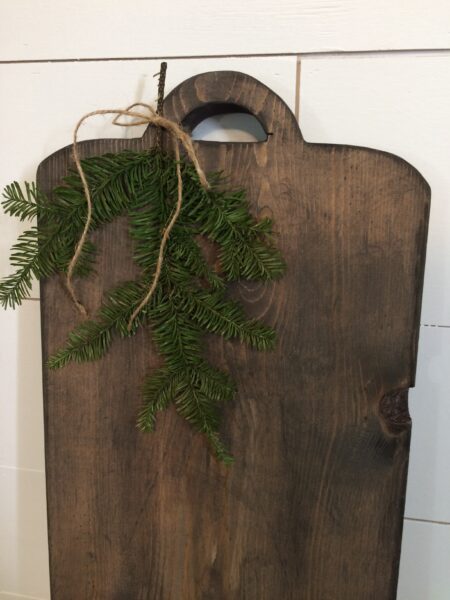
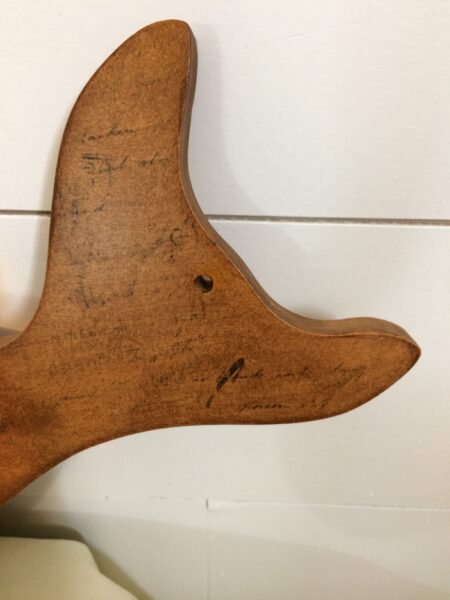
Second Board
I wanted to create a different handle. This proved more challenging! My skills with the jigsaw are not the best as I had mentioned. I drew out a pattern of sorts of how I wanted this one. Drilled a hole in the middle of where the handle would go so I could maneuver around the inside of the hole with the jigsaw. I think I went too fast on the jigsaw because it wasn’t an up-and-down cut, more slanted. However, a little sanding, ok, a lot of sanding and it is better. Chunky, but I like it now.
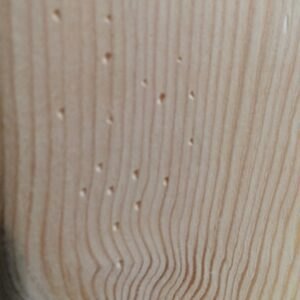
For both boards, I sanded all the edges and then took a hammer and screwdriver to them. I just banged them around until I got the look I wanted. You can’t mess this part up. When doing this, the stain or paint you use will get down into the holes and cracks and look so awesome!
Here is what I did for the stain.
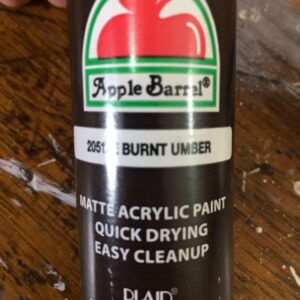
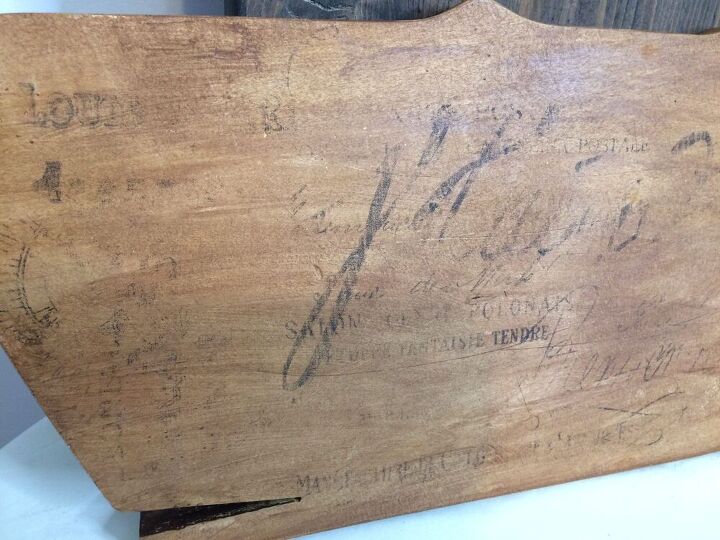
The nice part, you don’t have to have stain. On the first board, I started out with Apple Barrel Burnt Umber and added quite a bit of water to it, tried it out on my cutting board for the right consistency. I also used a paper towel to wipe off the excess. I ended up doing this twice and wasn’t happy with the color so I used folkArt Licorice enamels because that is what I had on hand. Did the same thing, watered it down, applied it to the board. I liked the depth it gave so I left it alone.
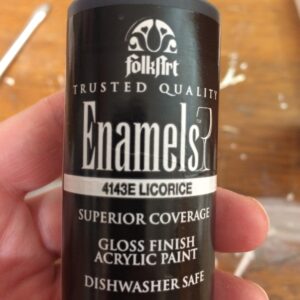
For the second cutting board, I opted out of the Burnt Umber and just used the Licorice. I like it. It gives it a different look than the first board.
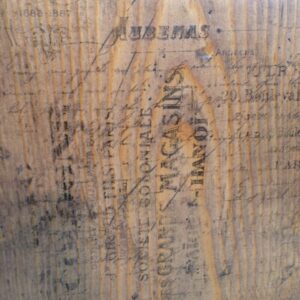
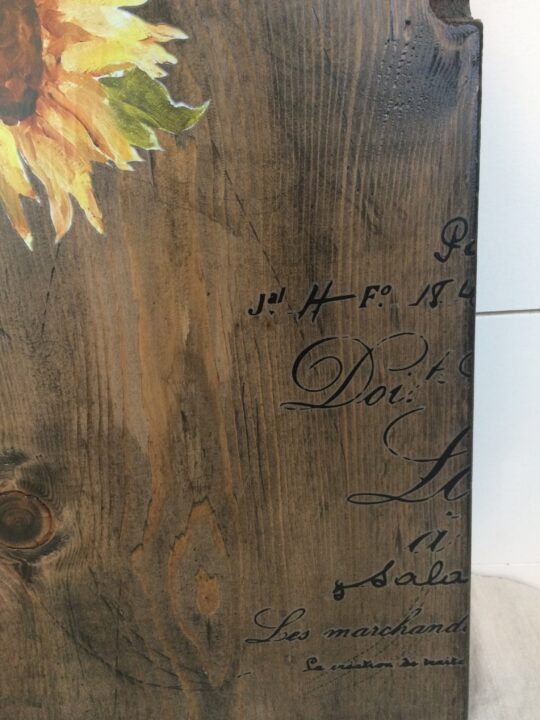
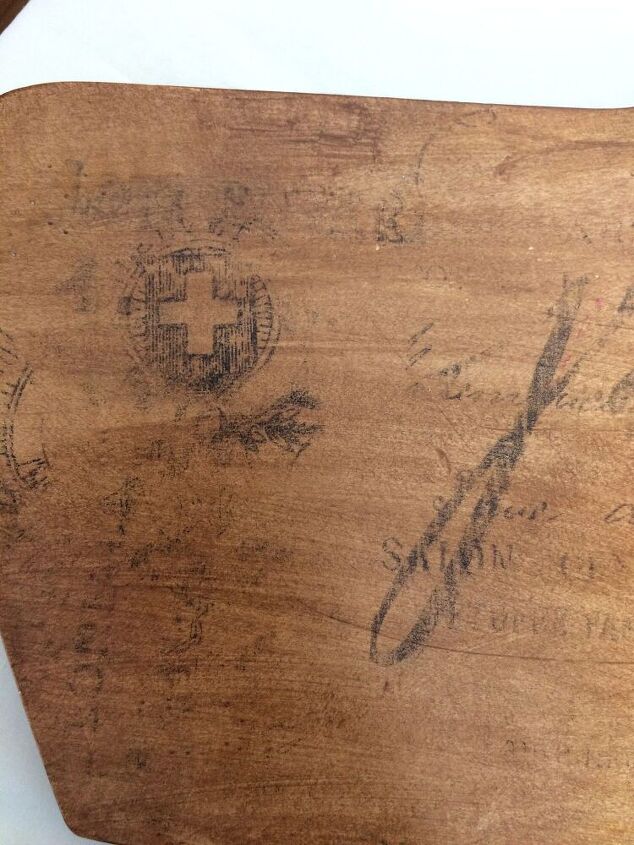
You know I love me some transfers and since these cutting boards are just decorative, I wanted to figure out how to add them. Looking on Pinterest, I found ink transfers. I have never used or heard of these before. I ordered mine from Etsy.
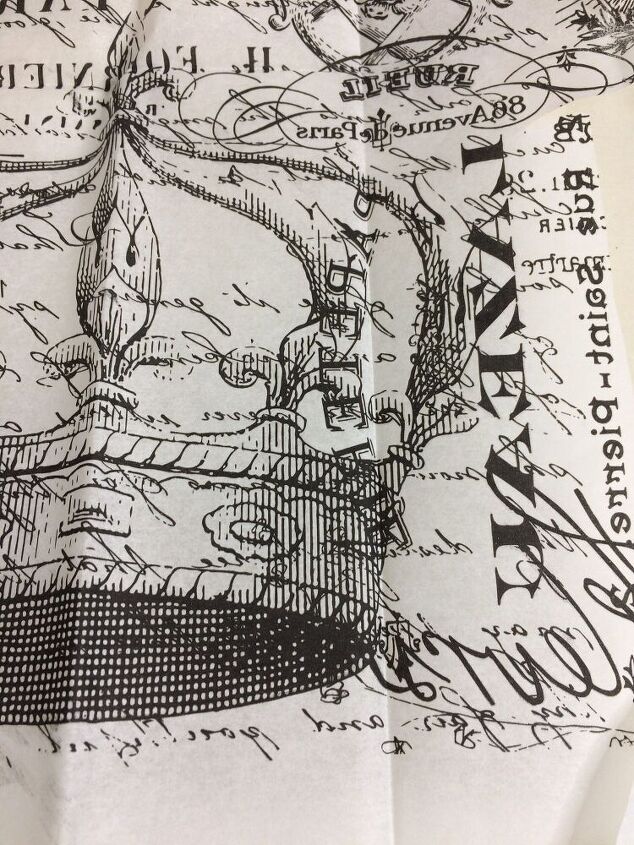
They are a little different than the IOD transfers I usually get. A little harder to use in my opinion but I think they add such dimension to the boards, plus they look worn. I don’t know if it is because of the wood grain or not but the ink did not transfer all the way off the paper. I still love the look. Very worn.
If you would like to see other projects using IOD Transfers, just click on the links below.
Painted Clock
Grandfather Clock
First Board
Second Board

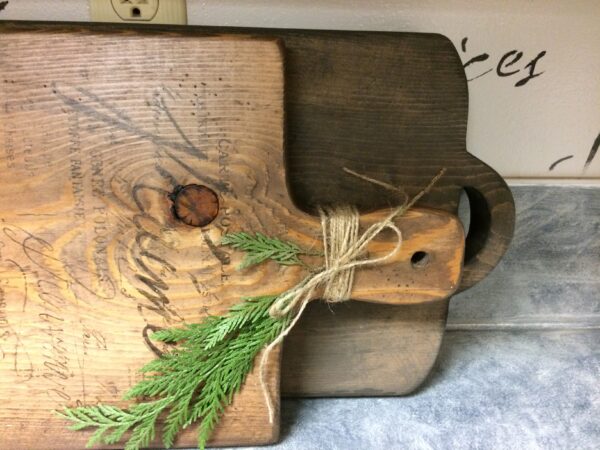
*UPDATE*
I also added a Sunflower transfer to this board.
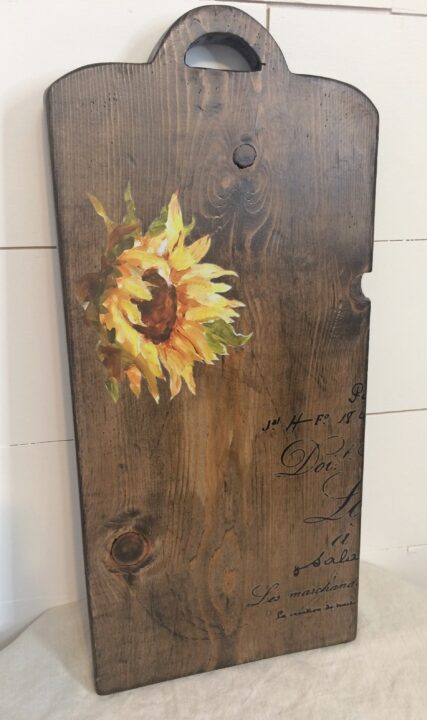
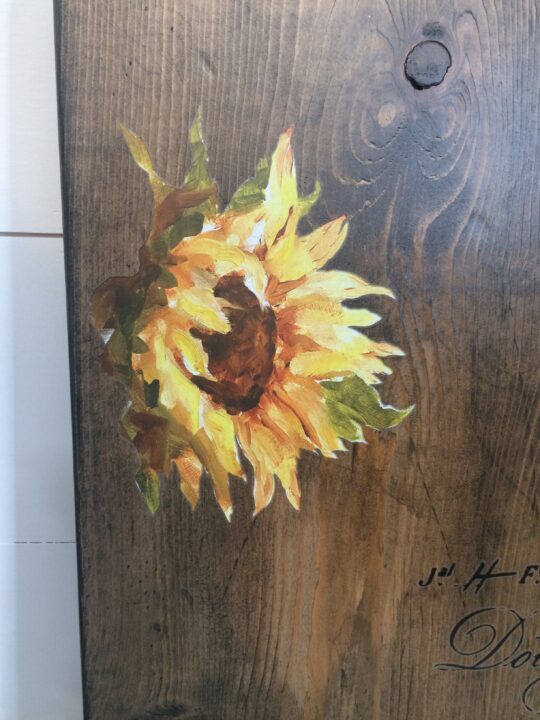
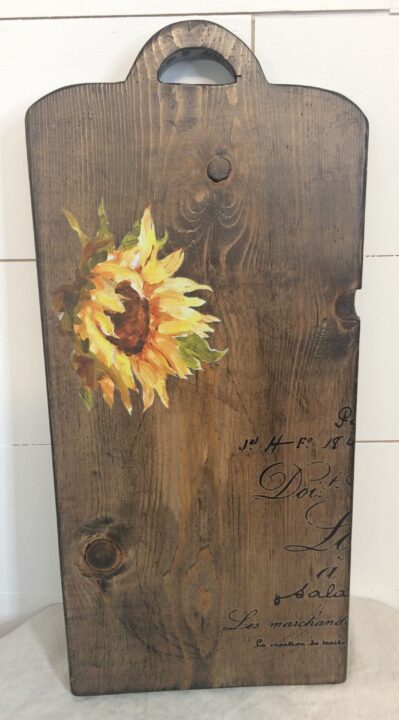
I just love it!! What do you think?
If you want to buy it, you can see it here.
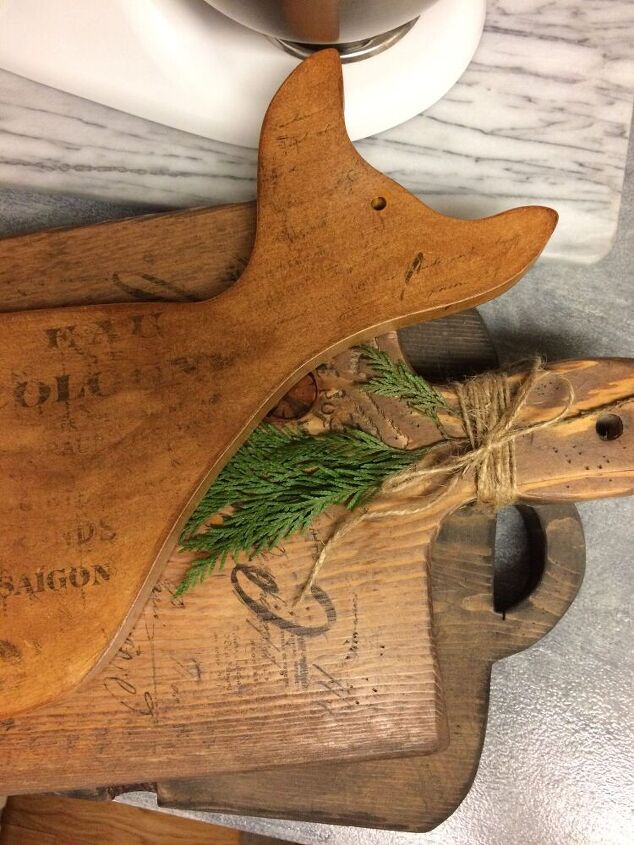
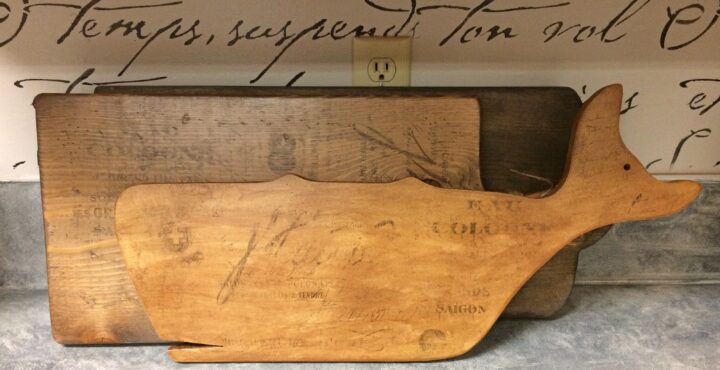
The last board I have had in my stash for quite some time. It is a whale, lol. I picked it up at Goodwill. I paid $6.99 for it. The picture below shows that it had some kind of siding/laminate? on it along with a leather handle. These both came off as soon as I got it home.
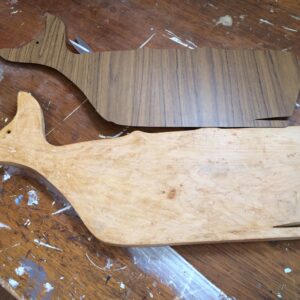
While I was working on the other two boards, I decided to do this one also. I sanded it down on both sides and the edges. I took the Apple Barrel Burnt Umber and added the water, lots of water. I applied it the same as before. I went over it a couple of times until I got the look I wanted and dabbing off the paint with a paper towel.
Funny how the boards are all different when the color is applied.
I really loved the color on the whale. I did the same thing with the ink transfer. I used the leftover paper from the first board and applied it in different spots onto the whale. I LOVE IT!! It has a time-worn look to it! How cool is it!!
I finished the whale and first board with a Rustoleum clear matt finish. If you try to use a paste or something that you need to wipe on, the ink transfer will come off. Ask how I know!
I’m still working on the second board because I’m not sure what to do with it yet! I think I am going to try my regular transfers to see how it might look!
Want to see them all together, finished?

The two on the bottom are big mama jamas and the one on the bottom is a grayish color. I haven’t added a finish until I decide what to do with it!
Do you love cutting boards?
Do you use them to decorate?
What do you think I should do with the 3rd board?
Let me know in the comments.
Linking up with:
Farmhouse Friday Here
and Here


Comments
Join the conversation
-
Thank you! You're correct, the more you use them the easier it gets! What a great experience to have with your dad!
-
I love all of them❤️❤️❤️! The transfer is exquisite 😻


Frequently asked questions
Have a question about this project?
Do you know of food grade finishes?
Maybe decorate with photo transfers?
Your boards are beautiful‼️ May I ask if your backsplash in the first pic is wallpaper? Love it 👍