


Turn a Broken Old Window Into Charming Decor

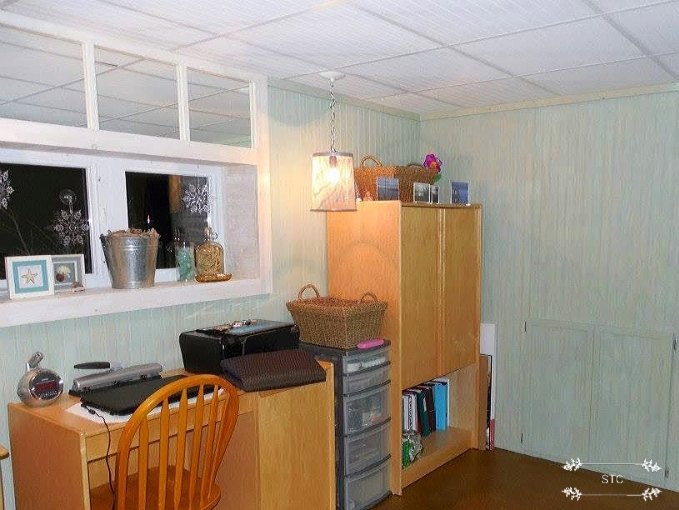
So this has been a marathon makeover for us here, we've been renovating my craft room. I shared the initial build here with you here first on Hometalk way back in 2013 would you believe? The link is at the bottom of this post.
Feeling inspired?
It needed an update, extra storage, new flooring (brown paper floor originally) and some new, unique decor.
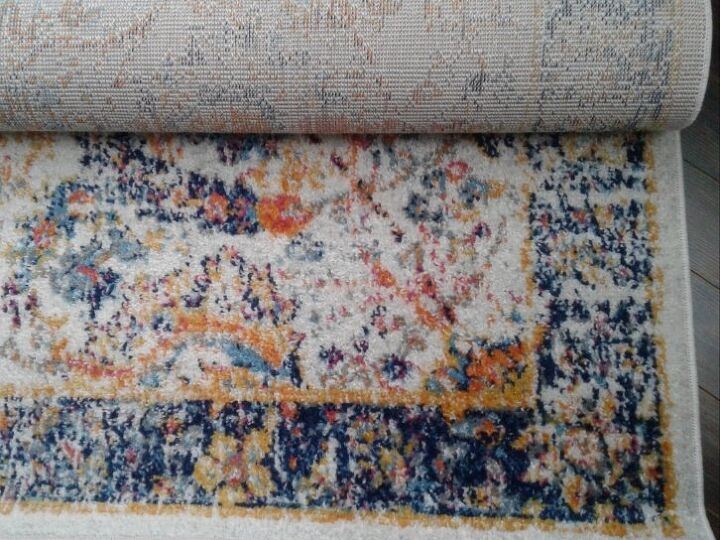
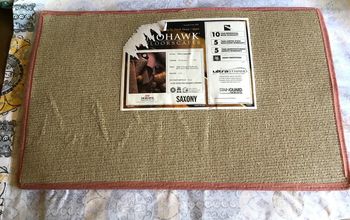
I first was inspired by the colors in this rug so when it came to decor I wanted accents to tie in with this color scheme.
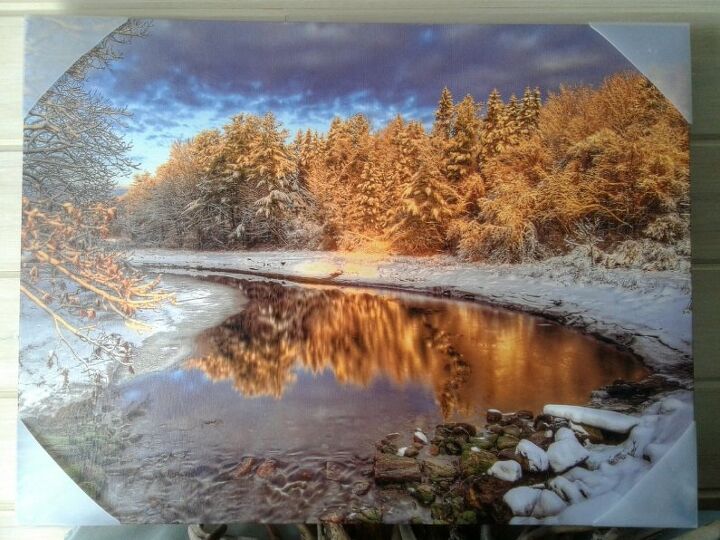
It was a wintry scene printed on a canvas that got the cogs and wheels in my head turning, hmmm that would match perfectly but I didn't want a plain canvas hung in my room.

I bet the wheels are turning in your head now right? That old window has that little added bit of rustic charm I was looking to add to the canvas, now to merge the two together.
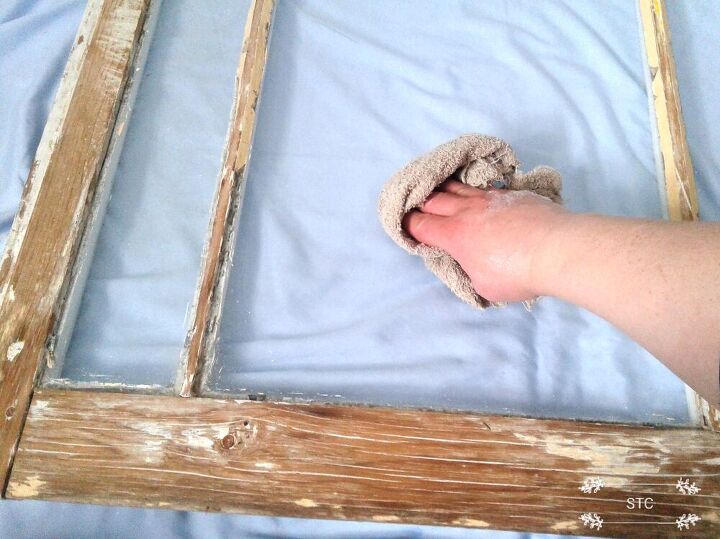
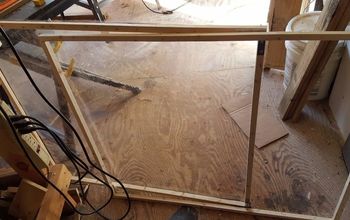
The window was in storage for a bit so it needed a little cleaning first, just some soapy water and a rag...nothing special. Everything was looking easy peasy for this project until....
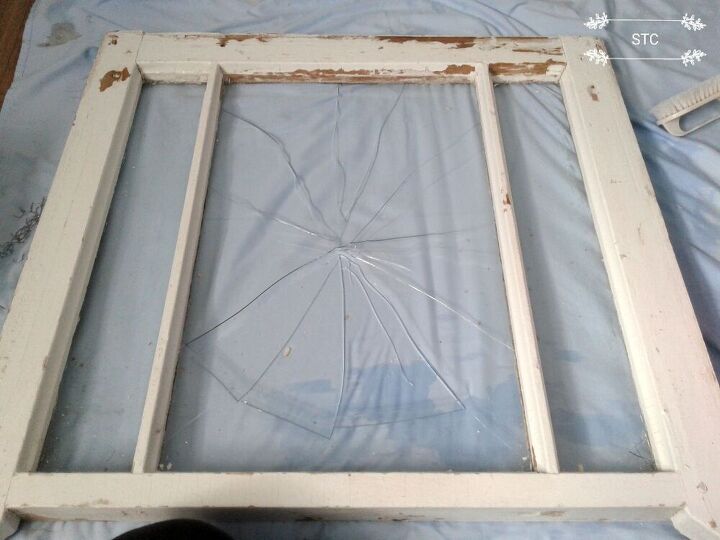
Pop! There goes the glass, nope I didn't cut myself but I was still in pain knowing I had my window ruined! You see I had big plans for this to replicate a real window with faux shutters and everything but I broke one of them just as I started! To make matters worse now I had broken the window...I will just go with a plan B which happens a lot when crafting. I took the hammer and in my frustration I smashed out the other two panes!! Yep, I did and with no regrets...they'll never get the chance to break on me because I broke them first!

The things we say to console ourselves...moving on because I'm stubborn! Carefully and tediously wearing safety glasses and gloves I removed all of the glass and old caulking, it only took me an hour!!! See no more worry about my hand popping through the glass....it's all gone! 😂
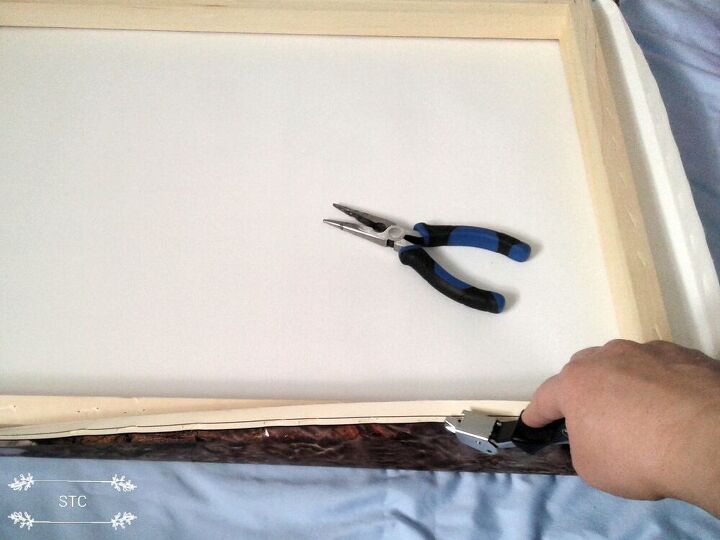
Using my staple remover and some pliers I pulled out all of the staples that attached the canvas to the wooden frame.

I trimmed off some of the width to match up with my window frame size.
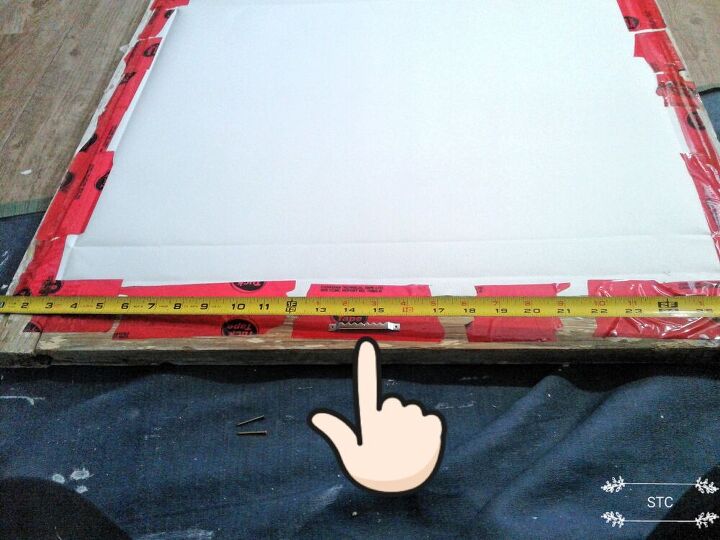
Since it was a seasonal image I wanted it to be just temporarily adhered to the window frame therefore I just used some strong tuc tape used in construction to secure it. I want to keep the option open to swap it out with the seasons or as I tire out of the same old view! I next added some picture hanging hardware at the center point of the window width, it was afterall much lighter now without the glass.
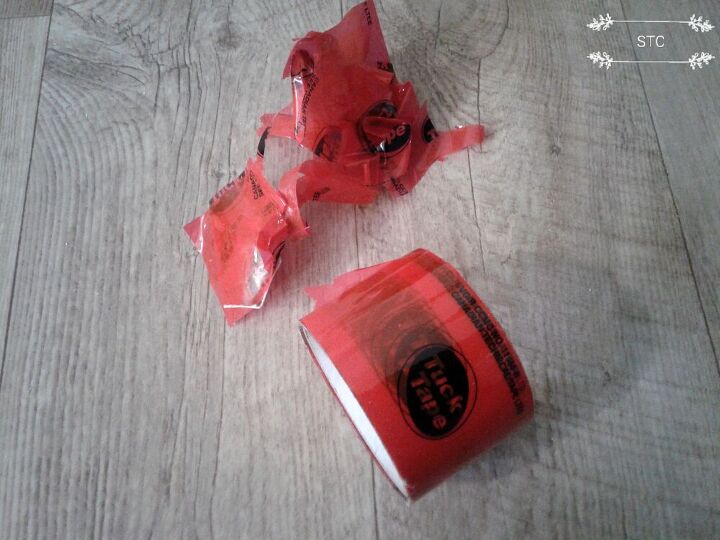
My day ended as it started...everything that could go wrong went wrong, I couldn't even cut the tape right! As I said this was towards the end of the reno when you just want to get it all over with! I'm so glad I pushed through all of my blunders because the reward was worth the work!
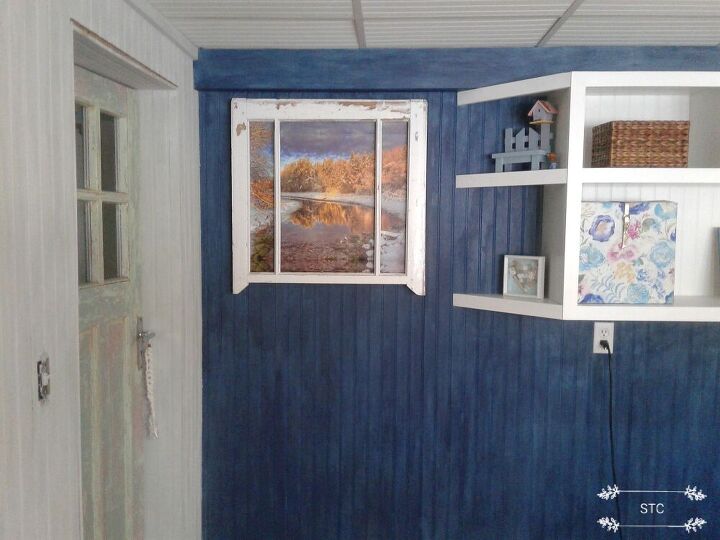
Here is "the view" I now have added in my craft room, I really like how the old frame pops against the navy colored wall. It's also a nice companion to hang out with my vintage door. My walls are stained, my storage cabinets are built and painted, etc. but the trims and flooring are next in line to complete my room.
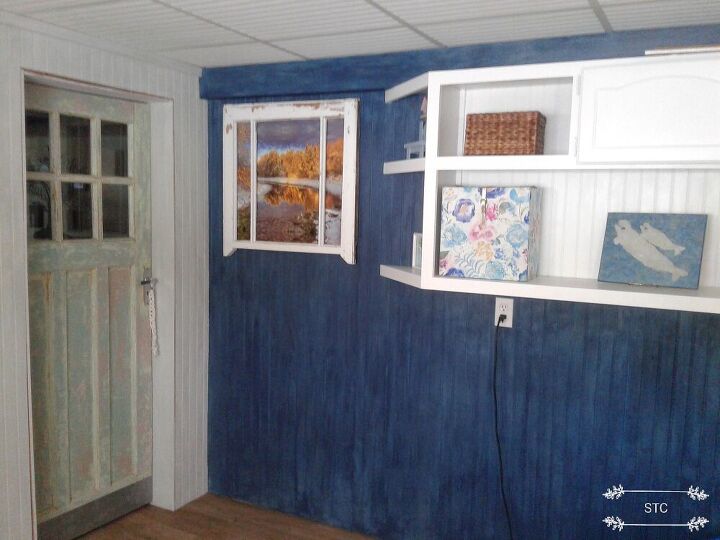
I also like how the window frame ties in with my white cabinetry and it certainly adds more character than either the canvas or the window being hung by themselves. The best part ? A canvas doesn't need the glass to protect it anyhow so I really never did "need" the glass...there I feel better! I hope this has inspired you to try adding something unique to your old windows, perhaps a beautiful puzzle or one of your own photos. If you'd like to see more of my craft room makeover be sure to follow along, thanks for stopping by.
Resources for this project:
See all materials


Comments
Join the conversation
-
Great Idea! I love the look, on your wall, and creative way, to make it changeable! Cool looking window, as well, I've not seen many, like yours, and I scoured the Face Book Sales on line...
I've purchased, or got free, several styles of old windows, and just love the old, rustic, country charm, they bring.
Many thoughts, looking at ideas on here, and Pinterest, flood my saved craft ideas, albums.....Endless.
-
Nice way of repurposing an old window. Very nice picture depicting a Fall/Winter scene. Another way of filling this window would be with a pretty floral piece of wallpaper. Great job.


Frequently asked questions
Have a question about this project?
What happened to the bottom piece of wood for the frame?