


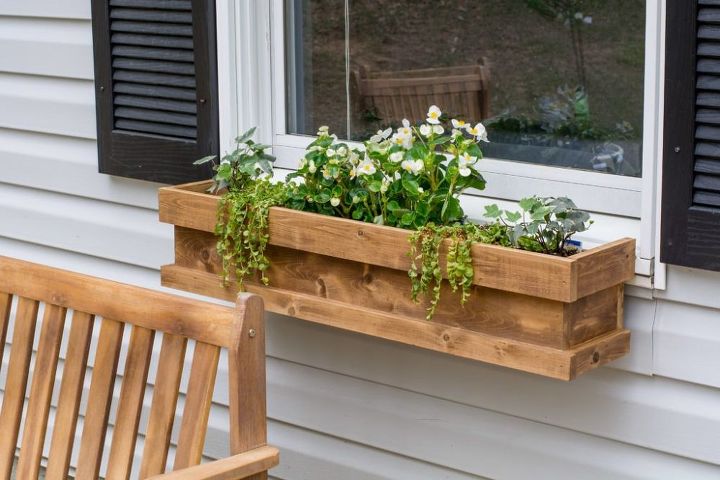
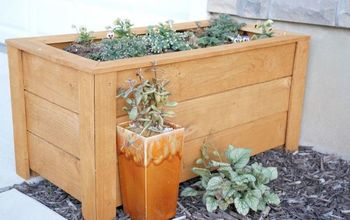
DIY Cedar Window Boxes

I don’t know what it is lately, but for some reason every single project I’ve been attempting to tackle lately has turned out to either be more costly, more time consuming, or both than originally planned.
These here diy window boxes are one of those projects.
But the story does end well, they turned out pretty nice if I do say so myself.
So I’m slowly but surely improving on our landscape situation.
One of the projects I’ve been wanting to do the last couple years is to add some window boxes to the front two windows of our house. I knew buying a nice cedar box would be pretty pricey so I searched for some diy ideas on Pinterest and found this window box tutorial from the Shanty to Chic ladies.
I’m reading through the tutorial and I’m like, “I can totally do this”. And, she said each box was made for under $20 in wood!
Um, that’s awesome. Sign me up!
I go to Home Depot with my bestie Angie to get the necessary supplies. Of course, the Home Depot we go to doesn’t have cedar fence panels. So I’m forced to buy cedar boards. According to Shanty to Chic, cedar fence panels cost under $2. The cedar boards I bought were like $12 each I think? So, there goes the whole $20 each for a window box. Once I’m done getting all the stuff I need, we head out and I started building the next day.
As I’m putting my first box together I realized I didn’t take into account the fact that window boxes need a bottom. I also realized I was literally inches short on my trim pieces, so I still needed more wood for those as well. So Angie and I drive to Lowes, they have a cedar board, but no trim pieces. We go to Home Depot, they have one size of cedar trim, but not the other size I need. So one side of trim on these window boxes is pine instead of cedar because I was just done at that point.
Moral of this story is; basically anything that could’ve gone wrong, went wrong in making these damn things. But, the lesson here is that I persevered, finished them and they look pretty dang awesome.
If after reading this you’re still interested in making your own, here’s some tips that should help you avoid the mistakes I made.
Tips to Help You Not Screw Up
- Make sure you measure before going to get your materials, and write it down. I obviously measured the window length so I could make sure I got the right window box liner but I’m talking measure out the total amount of wood you’ll need. Write it down and bring that to the store with you.
- I don’t think they mentioned this in their tutorial but I used clamps to hold my boards/trim in place after glueing and while I nailed them together. If you don’t use clamps to hold the wood together after glueing they just flop around everywhere, so make sure you have those.
- If you’re a real building newbie, when picking out your wood boards, make sure they’re as straight as possible. This will ensure your boxes come out right.
- Make your box based off a window box liner. They mentioned this in their tutorial, and I did the same thing. You can buy a plastic liner to insert into your window box to protect the wood and it’ll be easy to switch the plants out for each season. I used a plastic liner from Home Depot.
- Last but not least, make sure you have the right tools. All projects are easier when you’re working with the right equipment. This is everything I used: Nailer, Brad Nails, Clamps, Miter Saw, Sawhorses (optional), Wood Glue.
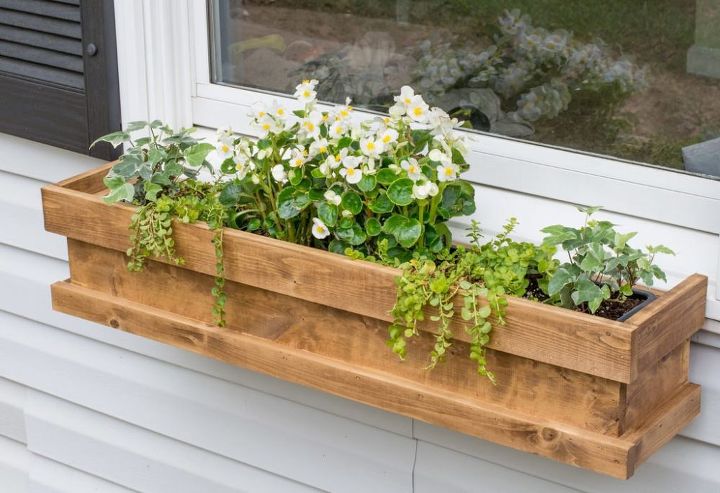
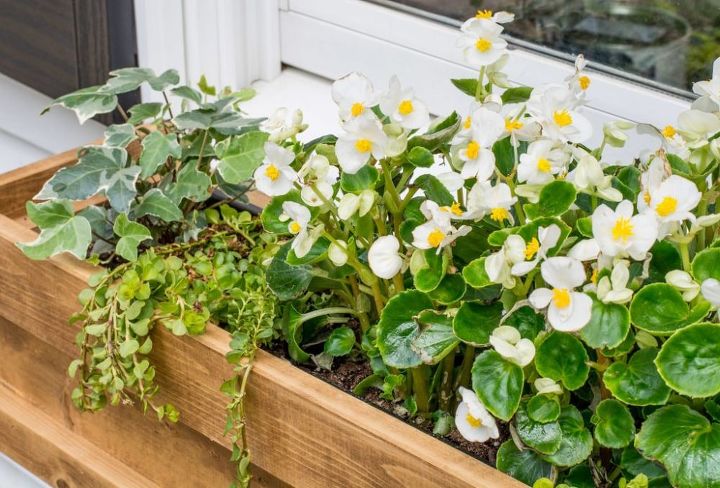
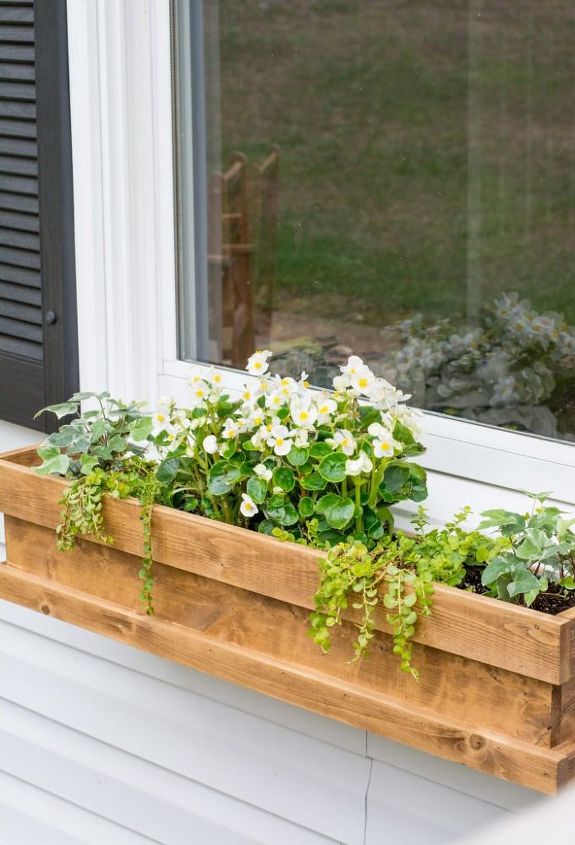
Once my boxes were all built I stained them using Minwax Early American. After the stain dried, it was time to fill those bad boys with some flowers!
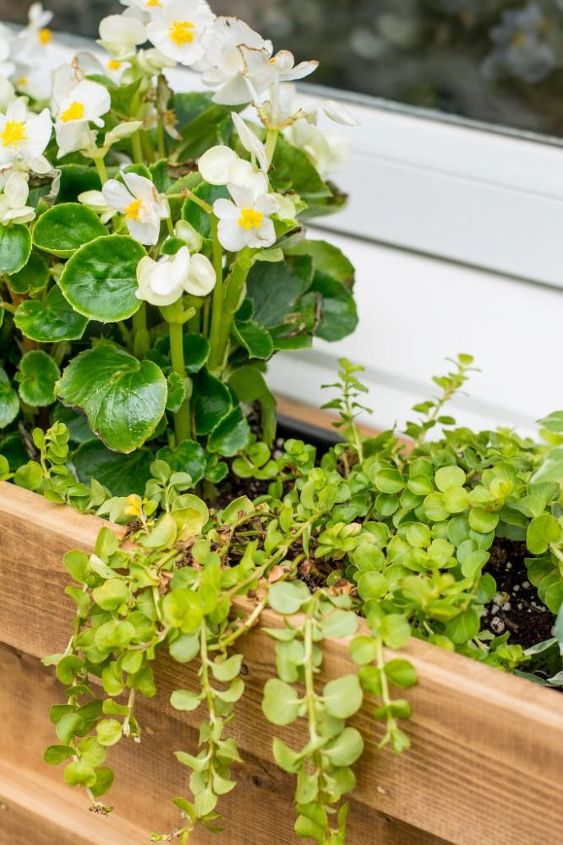
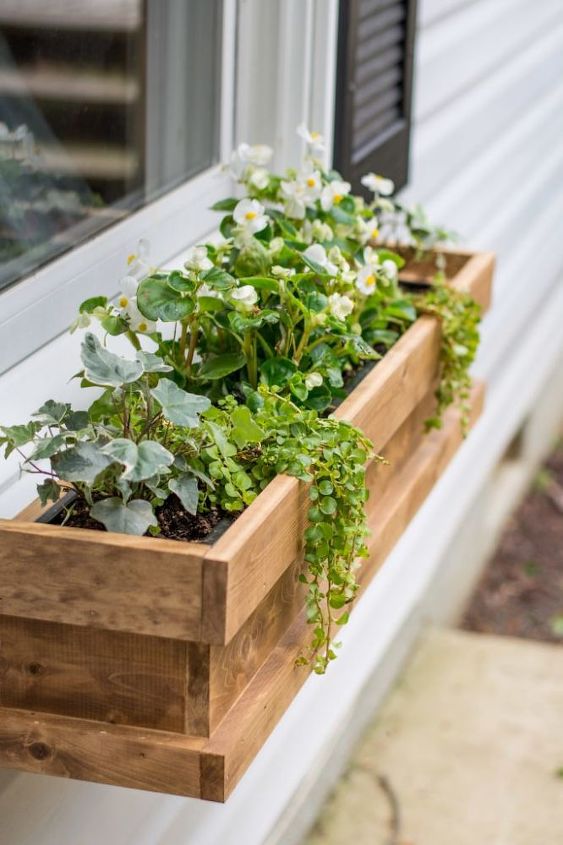
This may be obvious, but make sure you scope out how much shade/sun the area where your window boxes will be get. Mine mainly just get shade, but they do get a little bit of sun in the early evening. I personally think window boxes with some greenery draping down is really pretty so I picked out some English Ivy and some Creeping Jenny. Begonias are a shady flower (I crack myself up) so I stuck two of those in the middle.
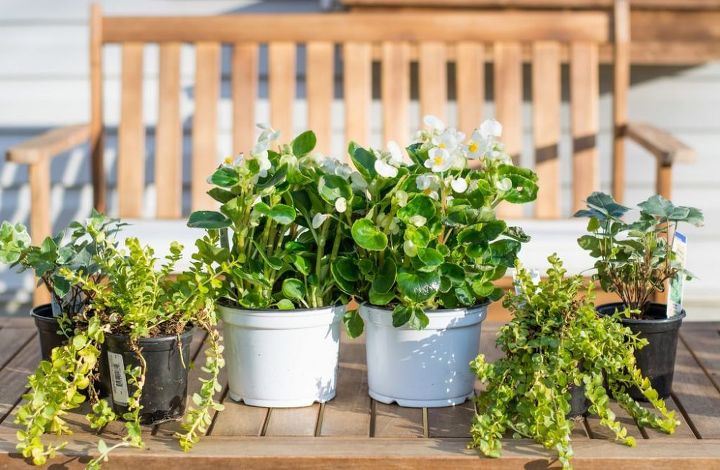
Here’s Another Tip
Lay your flowers/greenery out before actually planting them. See how I have them arranged on the table? I did this before planting so I knew how I wanted them to look.
That’s all for today folks! Have you ever gone over budget on a project you thought would be simple before?
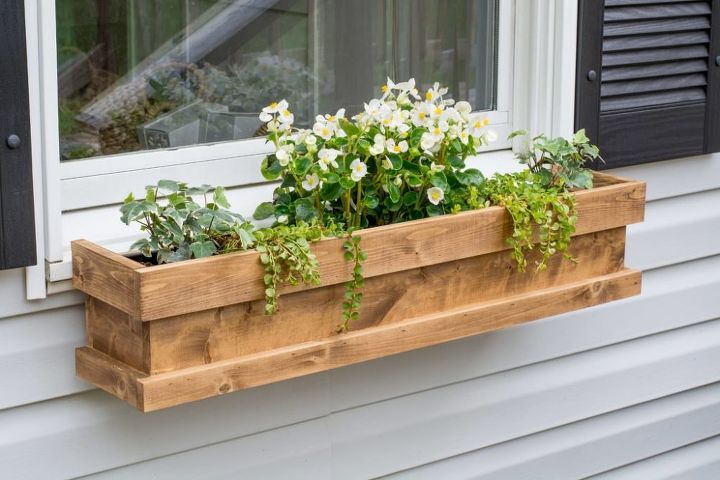
DIY Window Boxes
Comments
Join the conversation
-
I love it, thanks! I like things draped as well & love my Ivy's too! You can train them to go just about any wear and every wear :)
-
Great looking project Maggie! I'm doing something similar with an AC/Pool filter cover made of fence posts and fencing. Using all the cedar scraps I'm going to make some planter boxes to go up the cover using a french cleat system. Thanks for the upload!


Frequently asked questions
Have a question about this project?
how are they attached???
Kudos to you!!! Very nice addition and your narrative cracked me up too. 😄 I also would like to know what you used to attach the boxes to the window wall.
Very pretty window boxes👏👏👏. OOne ? ?, how and what did you use t attach them to the window?