


How to Make an Elegant DIY Christmas Centerpiece With a Hula Hoop
Today, I'm going to show you how to make an elegant DIY Christmas centerpiece using - of all things - a hula hoop! This DIY project is easy to recreate and the result is really effective. Here's how to to it, step by step:
This post was transcribed by a member of the Hometalk editorial team from the original HometalkTV episode.
Hometalk may receive a small affiliate commission from purchases made via Amazon links in this article but at no cost to you.
Tools and materials
- Hula hoop
- Spray paint (optional)
- Crate
- Zip ties
- Burlap ribbon
- Floral foam
- Mini Christmas trees
- Fairy lights
- Greenery
- Flowers and berries
How to make a hula hoop centerpiece
1. Prep your hula hoop
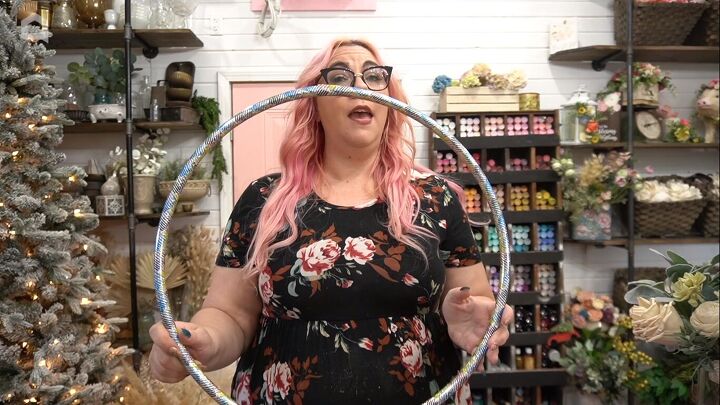
The first thing that we're going to need to do to create this centerpiece is a hoop and for this, we're going to use a hula hoop. You can find these at the dollar store.
You can take the cover sticker right off. If beads are shaking in there, you can open the connector pieces and dump out all of the little beads.
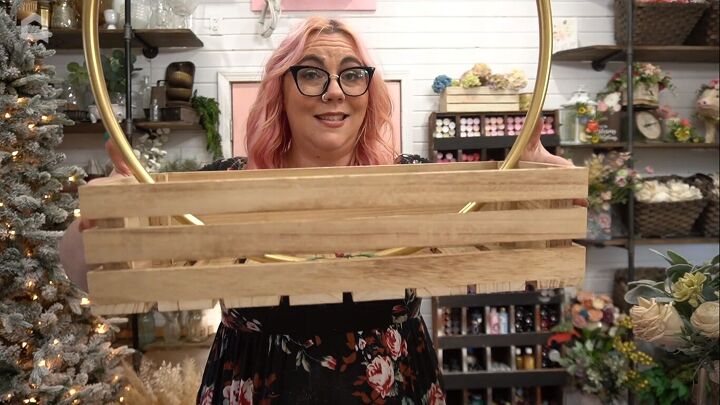
2. Attach the hoop to the crate
This particular hula hoop is black. If that works for your scheme, perfect, but I wanted it gold. So I've already spray-painted my hoop, ready to attach it to my centerpiece.
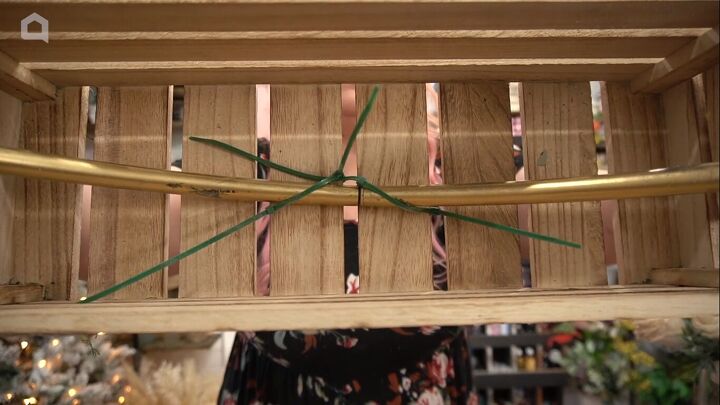
I have attached it with zip ties.
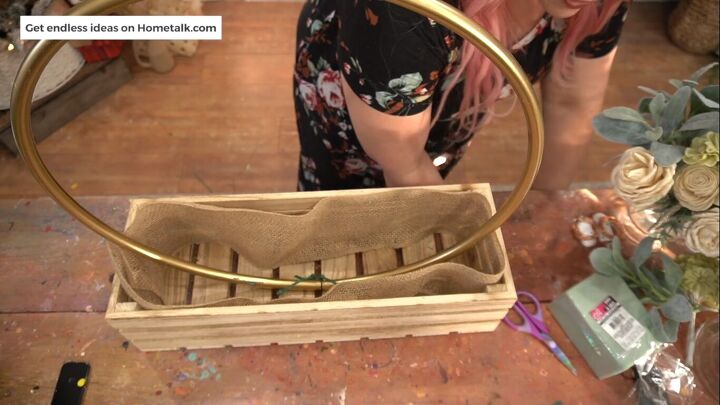
3. Place burlap ribbon to cover the slats
Because my container has slats, I am going to use a burlap ribbon and wrap it around the perimeter.

4. Place floral foam inside the crate
I have a bunch of floral foam. How much you need depends on how much stuff you want to put in here. I want some larger bricks to hold my hoop in place.
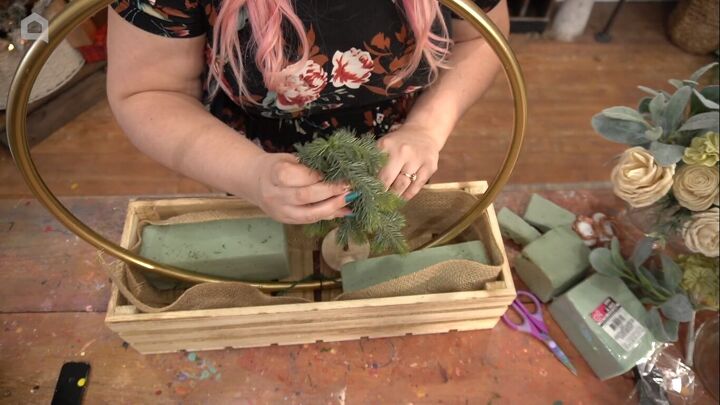
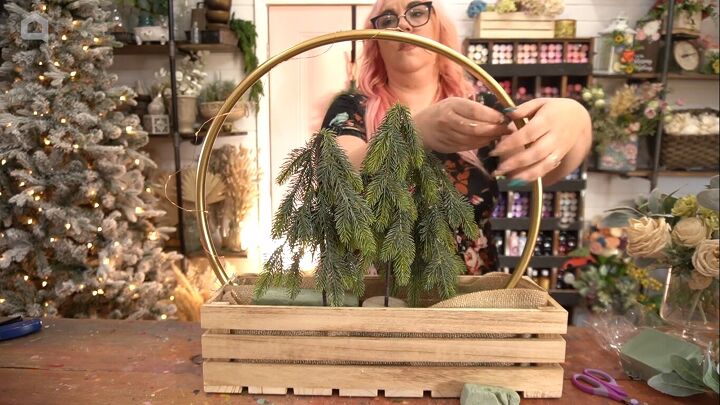
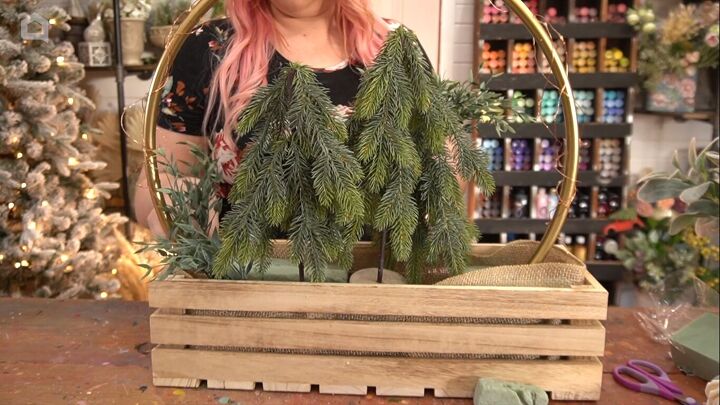
5. Add mini Christmas trees
Then we're going to figure out the placement of our trees. These are also going to keep that hoop in place.
6. Add fairy lights
Now the next thing I want to do before we start adding in our greenery and flowers is I do want some little sparkly twinkle lights. So I've got these that have a tiny little battery pack.
7. Add greenery
Now the next thing we need to do is fill in the rest of our container with greenery and our flowers. I usually like to start with my greenery first and then add in my flowers.
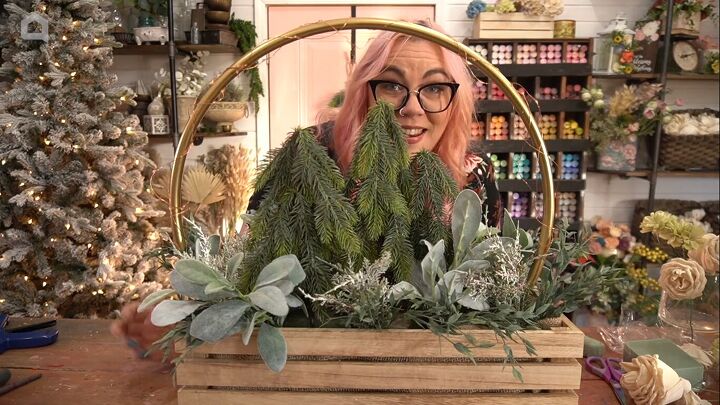
You can put some moss on top of your green floral foam if you want to hide the green floral foam. I know that I'm going to have enough stuff in here that I am not going to need that to hide any of the floral foam but it is an option that you can do to fill in the space.
You can lay it down and then as you're putting in your greenery it's going to hold that moss in place. You can also put little clips in there or little staples to put it into place. It's really up to you.
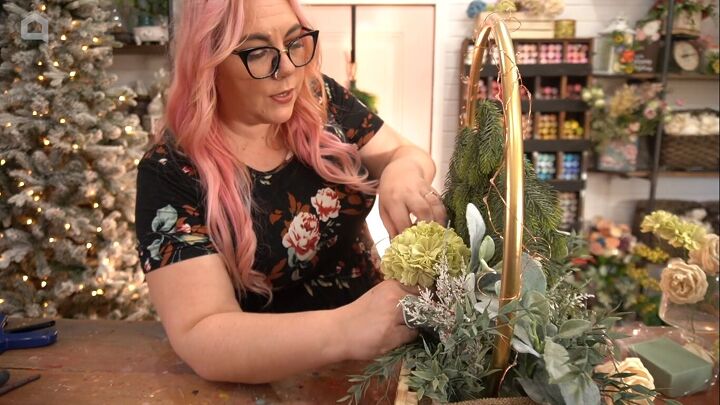
8. Add flowers
Now I think it's time for us to add some flowers. So I am going to go with more neutral tones since we've got a lot going on, but I'm going to be using cream solo with flowers in various styles, as well as hydrangeas.
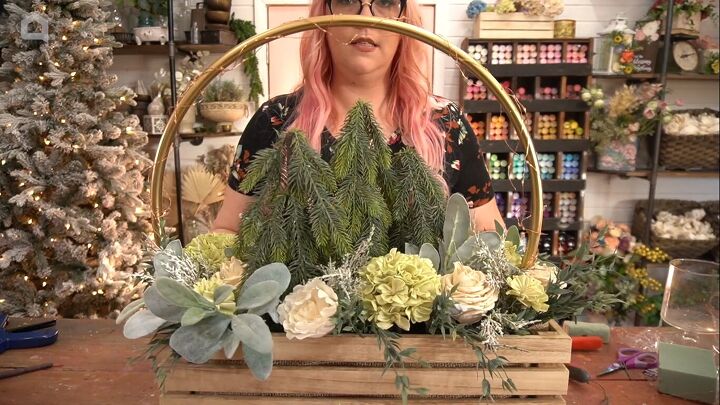
The hydrangeas are light green. These are going to take a ton of space. These are also going to help us keep those lovely winter trees from falling over. The rest are all cream flowers.
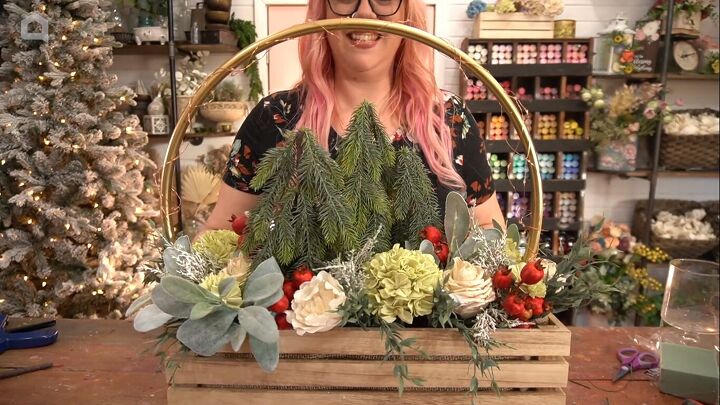
9. Add berries
Finally, we're going to finish with a touch of red. I cut up some berry picks and added those in too.
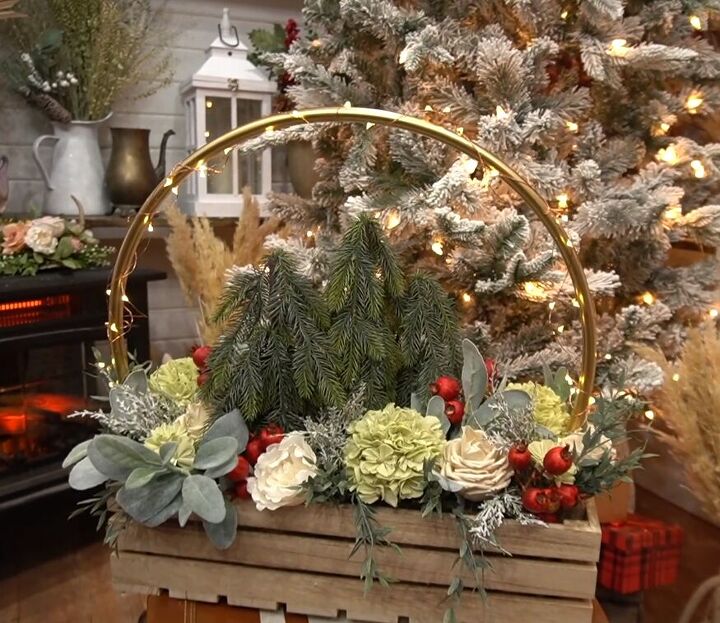
Elegant DIY Christmas centerpiece with a hula hoop
I am so excited about how this elegant centerpiece turned out. The twinkle lights just add a little extra something to it. I am going to display this on my fireplace for years to come, for sure.
The great thing about this project is that everything can be taken apart and used again for another holiday or season. I hope you enjoyed the tutorial; let me know what you think in the comments below.

Comments
Join the conversation
-
Lovely❣️ The lights really make it pop❣️
-
Having worked in the Floral industry and at Michael's.... I would recommend using STYROFOAM instead of FLORAL Foam...especially if you want to use it again in the future. Floral foam will break apart/down really quickly especially if using heavier flowers like the hydrangeas. For extra longevity... dip the ends of the floral stems or any picks in a white glue, such as Aleene's Tacky glue... this will keep the stems from popping out or rotating due to the weight of the floral item..Another "tip" ... when using floral foam (or styrofoam) and tying it down in a basket or container and you want to use floral wire.... place a small piece of floral stem or a cut piece of a skewer on the edges of the foam where the wire will cross the foam. This prevents the wire from cutting into the foam when you pull the wire tight to secure the foam in the basket.


Frequently asked questions
Have a question about this project?