


Laminated Photo Garden Stakes

3 Materials
$10
1 Hour
Easy
Having fallen in love with the many beautiful iris available from private growers on Ebay, I ended up with over 50 rhizomes, and while they arrived well marked with their names on their existing leaves, I knew the winter would destroy the markings and I would not be able to tell them apart come Spring. So, what to do? I was lucky enough to have on hand some wooden fencing from Dollarama (a Canadian dollar store) and decided to use these as my stake. Now the hard part, how to mark them in a way to survive the elements of northern Maine.
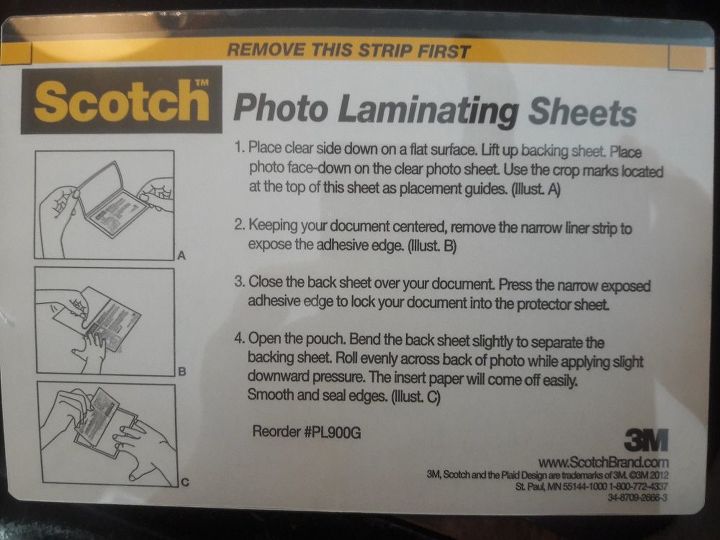
After much thought I decided to sandwich a photo and description of each plant between self-adhesive laminating sheets. These were available at my local Walmart. I chose the 4 x 6 (roughly) sheets that would hold 4 name tags nicely. Once the labels were laminated, I cut the sheet into 4 strips allowing ample room around each label to assure good adhesion of the lamination.
Now for the fun part!! I took apart the fencing and realized I could repurpose the wire that held the individual stakes together and use it to secure my laminated tags to the stakes. I drilled a 1/8-inch hole in each stake and each label (believe me, those laminating sheets are tough!!) and secured with the wire I had left over from disassembling the fencing. Voila!! I now have individual stakes labeled with a photo and description for each of my 50+ irises and will probably continue to label the rest of the plants in my garden. This is a super easy, rainy day project with a long-lasting benefit.
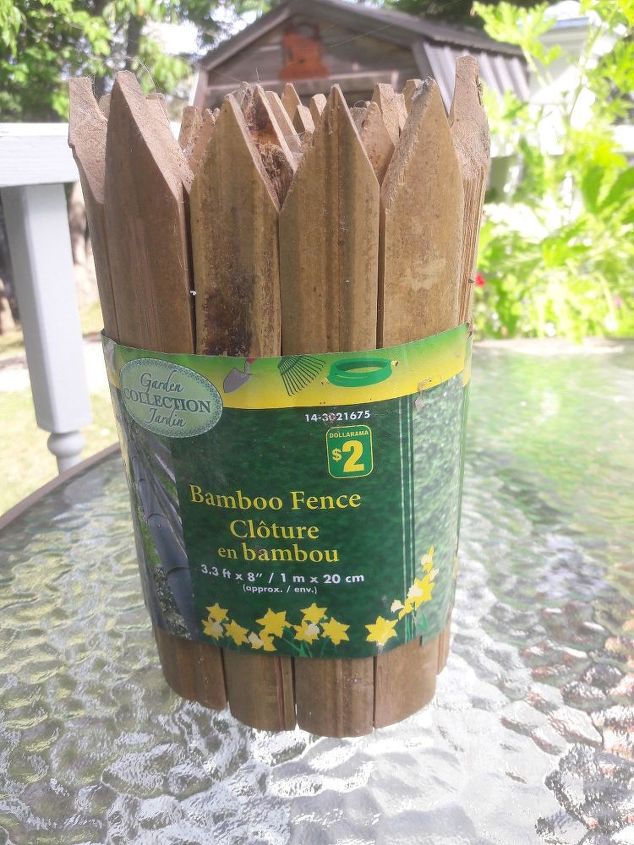
Found this fencing in Dollarama (a Canadian dollar store).
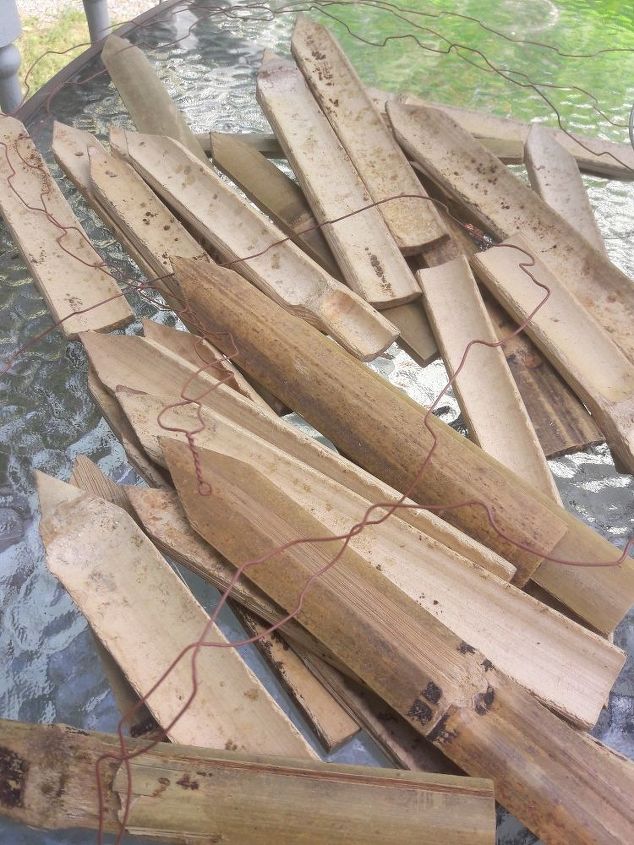
Disassembled the fencing by unwrapping the wire. Saved the wire to use later in the project.
Printed color images and descriptions of each of the plants I wanted to tag in my garden. Purchased self-adhesive laminating sheets in Walmart, roughly 4 x 6 inches and about 2.50 for a pack of 5. Each sheet did 4 labels. Larger size sheets are available for different size labels and layouts.
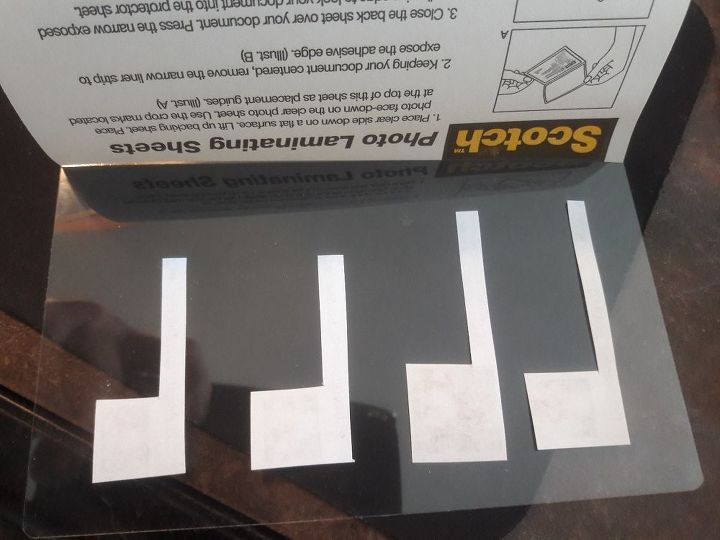
Placed labels on non-adhesive side of laminating sheets. You have to be careful when removing the adhesive backing and applying as there is quite a bit of static electricity that can rearrange your labels if you are not careful. One must proceed slowly and kind of roll the adhesive backing onto the labels.
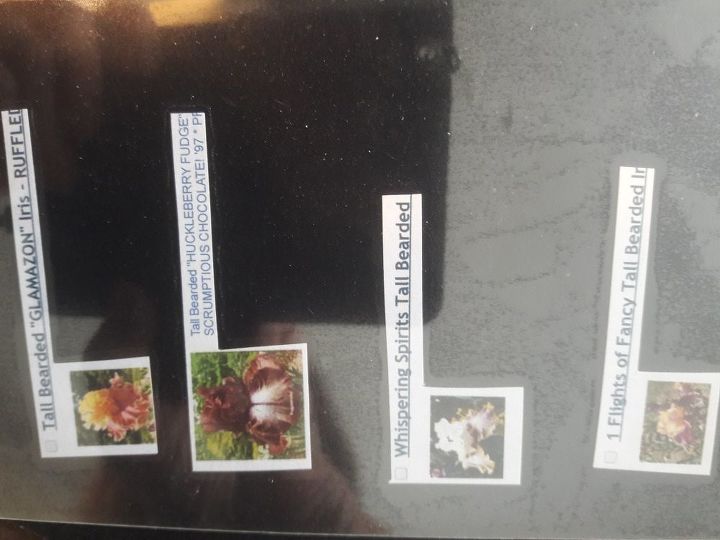
Press the sheets together to remove any air bubbles. Practice makes perfect. Labels are now ready to cut and mount.
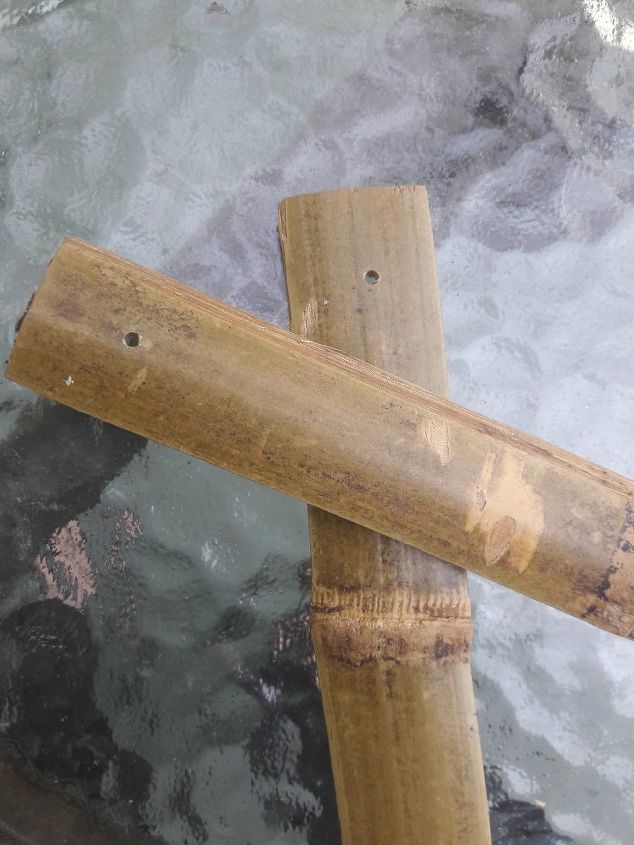
Drill 1/8-inch hole in each of the individual stakes that made up the original fencing.
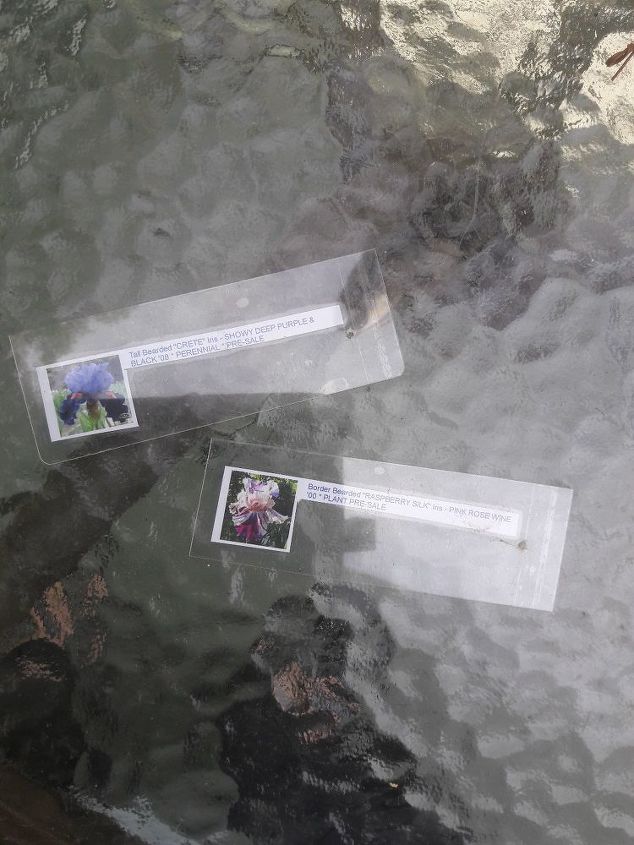
Drilled holes in each of the laminated labels about 1/2 inch from the border t assure good adhesion of the lamination.

Used the wire left over from the fencing to attach each of the labels to the stakes. Now I am ready to go planting, knowing that next Spring I will know which plant is which. With so many color variations in iris plants it was useful to document each label with a photo.
Happy gardening!!
Comments
Join the conversation
2 of 25 comments
-
I used old slats from mini blinds
-
How about usin g popsicle sticks.


Frequently asked questions
Have a question about this project?
You bought iris off eBay? I love iris! I did not know this was a "thing". Did they arrive alive and in good condition? Did they comeback up in the spring? Do you have a reputable seller that you can plug?
Why dont you just use a sharpie permanent marker and write on the stake?