


Make Your Own Dress Form or Mannequin

by
Sarah Brown
$50-75
10 Hours
Medium
I wanted a dress form for making aprons and other things. It didn't have to be any exact size just average woman's size, so my completed form is about a size 8/10. One can be more exact with this.
The stand is optional, I made it and found that I prefer standing my form on a table top, since the stand is harder to place in a small room.
For Form You will need:
Plywood, a small 2”x4”, wood for base, jigsaw, drill, screw drivers, screws, and glue. Also shipping foam, hot glue gun, scissors, Xacto knife, quilt batting and a stretchy fabric for cover, matching thread.
For Stand:
Wood (I suggest solid hardwood like Oak for strength) enough to make feet and box. Thick solid oak dowel.Straight plate, and long screw to match.

Don't Buy a Foreign made dress form or pay the high cost for a adjustable form, you can build your own for a fraction of the price.
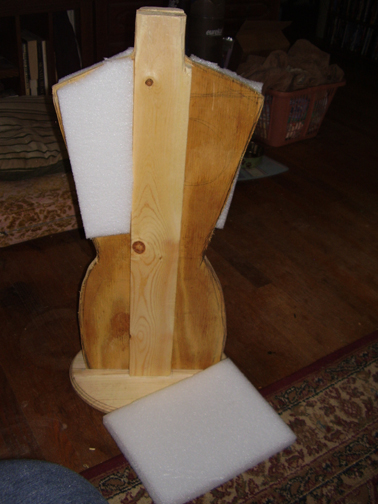
Firstly I purchased a wood Oval plaque from the Craft store large enough in diameter to be the circumference of the hips. This could also be cut out of 1 inch thick MDF or solid wood. I built a “skeleton” template from piece of plywood with a generalized form shape, narrower than the finished form will be and attached it using a 2”x4” to the bottom plate with screws.
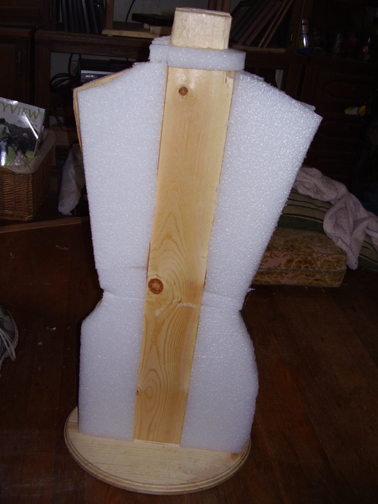
I then started covering the form with a shipping foam I got used from my work. Don’t use typical green craft/floral foam it will deteriorate. Cover the plywood frame in the foam making sure to hide all edges, I used a glue gun to attach foam.
Build up layer of foam to sculpt the form’s shape and later with a pen knife you can more eloquently shape the form to give it appropriate shape.
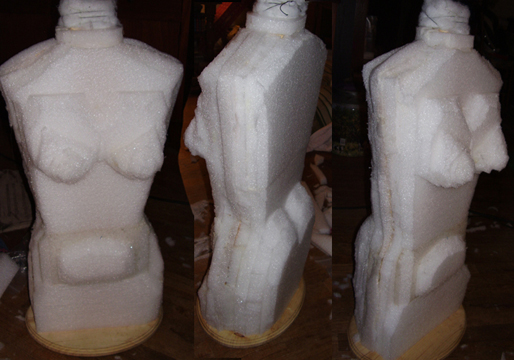
three sided view of roughed in form shape.
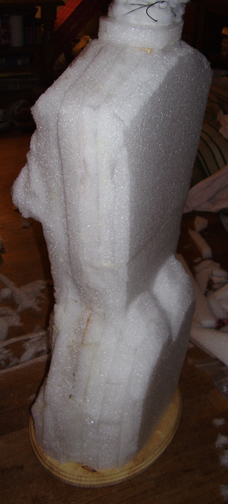
Tip: Don't get hung up on shaping nice breasts, these disappeared once I covered it in the final layer of cloth, unless you want to spend the extra time to make a 'bra' effect in the cover.
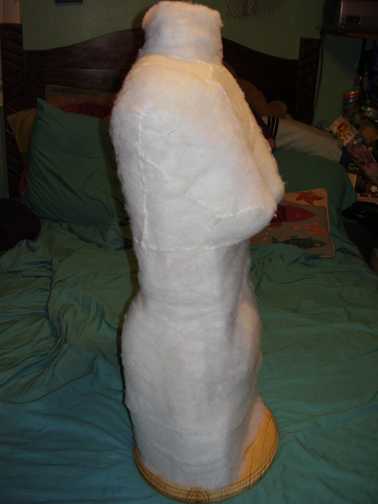
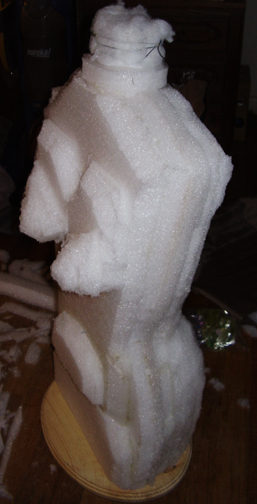
Once you have the shape desired, cover the form with a layer of quilting batting. The batting will make your form softer and easier to put pins into. I used scrap pieces of batting from quilt making. The batting for a lap quilt or baby blanket should be adequate to cover a dress form.
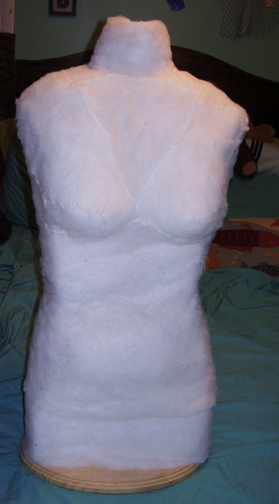
front view
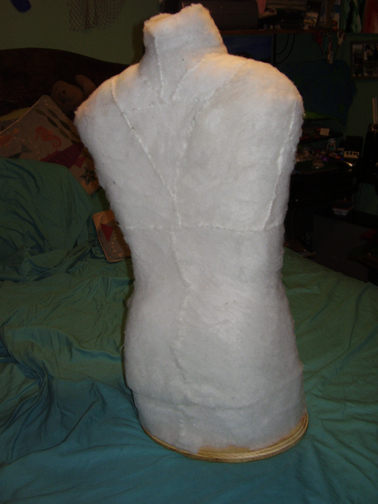
rear view, It has a lot of seams but those are covered once you add the final fabric cover.
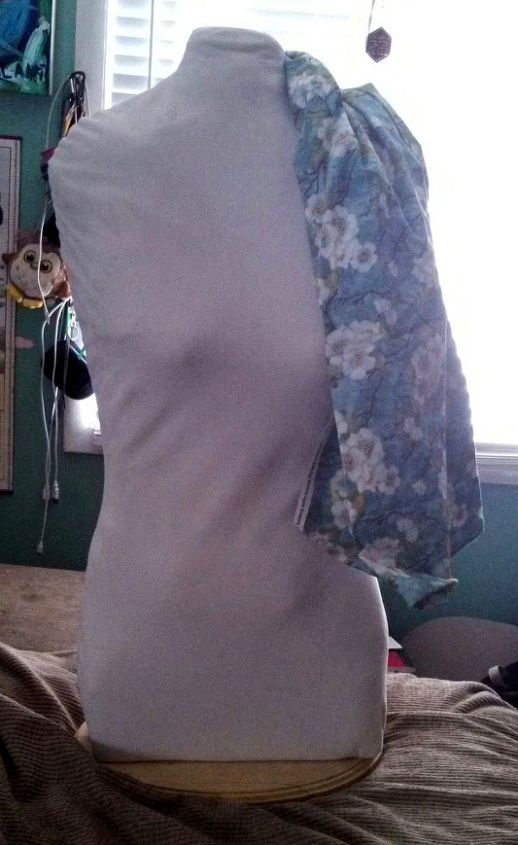
Final Dress form. I'm ready to make something
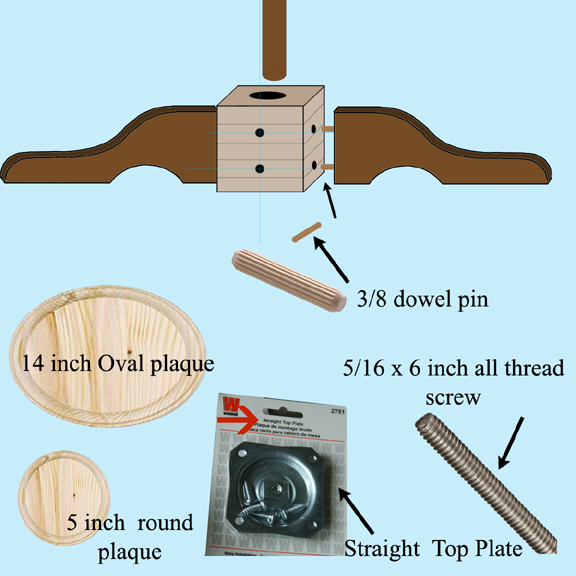
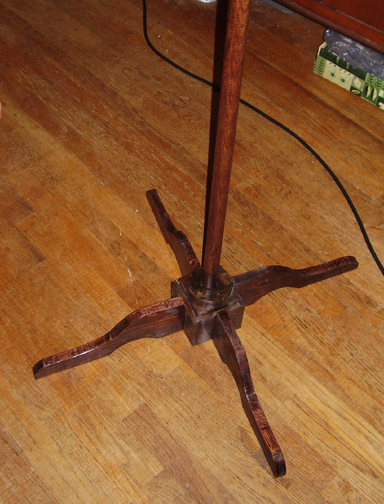
Building the stand:
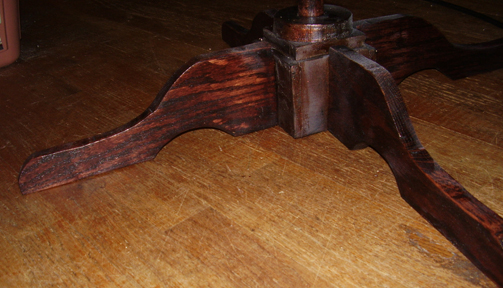
I built mine buy building a solid block of wood 5”x5” and then drilling the holes for my center dowel and the four supporting feet. It is very important to make the holes even and make sure the feet touch the ground flat or your stand will wobble. I used dowels to attach my feet.
To adjust the plan, look at how the feet on coat racks and other dress form stands are made.
Drill a centered hole in the solid hardwood dowel, very long so that the long screw will fit half way in and then drill a matching hole up through the center of the form so that the form is resting on the screw. The straight plate is attached
Comments
Join the conversation
3 comments
-
Very cleaver! I've always wanted one, now I can make my own!
-
Fantastic - thanks for sharing!


Frequently asked questions
Have a question about this project?