


Gnome Home Tree Stump & Oak Tree Fairy Door, Part 2

by
Pdudley
6 Materials
$13
3 Days
Medium
I will apologize right up front for making a two-part project BUT I did not know I would be limited in the amount of pictures I could post. The last project I posted I forgot to take very many pictures so I know this time I wanted to share plenty of pictures. So that being said you will need to view both parts to see them all.
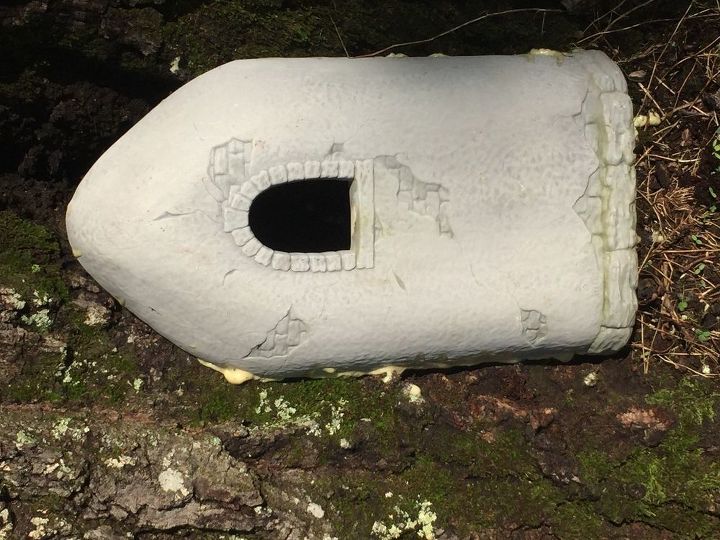
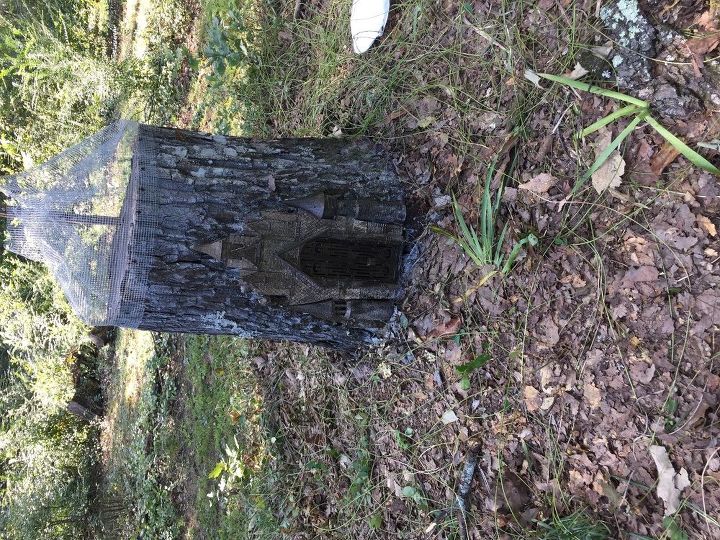
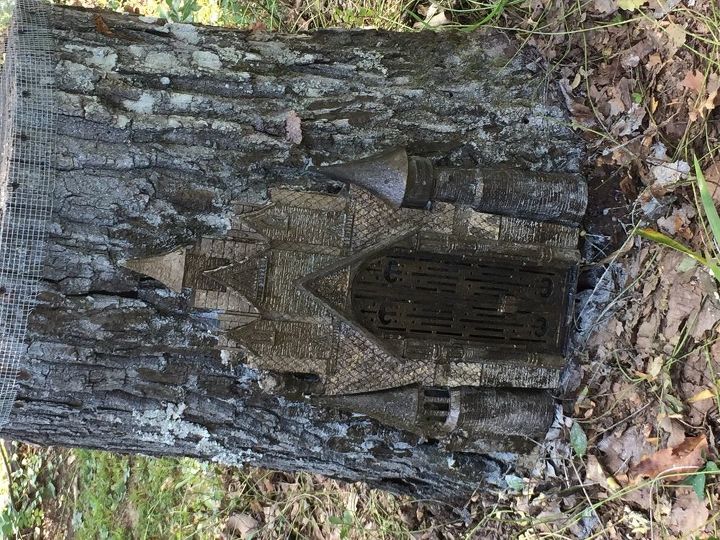
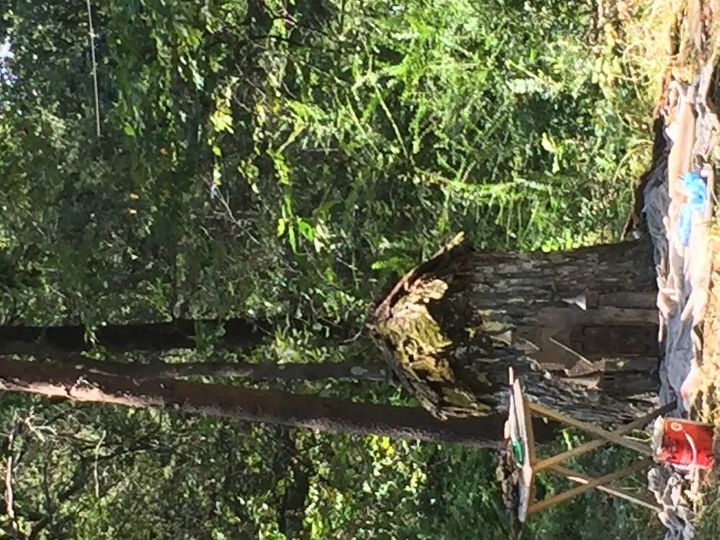
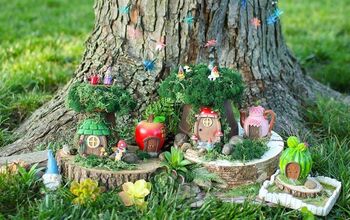
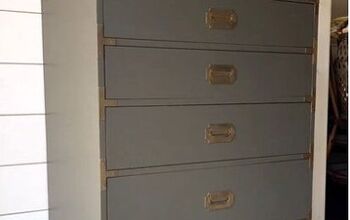
After having a tree cut down we were left with an ugly, large Stump in our front side yard. I have always wanted a Gnome Home so after looking at this stump for a year I decided to dive in. Since we also have a great huge oak tree in the front yard it seemed appropriate to make the Gnome's a neighbor in the Oak tree. So I decided to attach a fairy door. Now the hard part....waiting and looking to find just the right items for the job.... Imagine my surprise one day when I walked into a thrift store and found a Fairy Castle for what I assumed to be a Disney Doll. Knowing I only wanted the front door area I examined the dollhouse to make sure I could break it apart or disassemble the front.
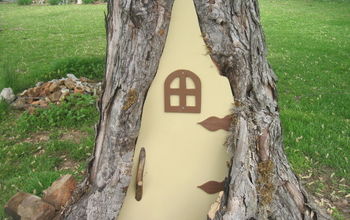
Then as I walked down another aisle I found the perfect DOOR to attach to the front Oak Tree to become my Fairy door for the Gnome Home neighbors. I knew in my heart it was meant to be and time to start this project.
I attached the fairy door to the front base of our Oak tree using plenty of Gorilla Glue. Remember to spread water on both areas that you want to glue together Before you spread on your glue as water is the activator to make the gorilla glue work. Don't worry about the glue showing around the edges as you will cover that up later.
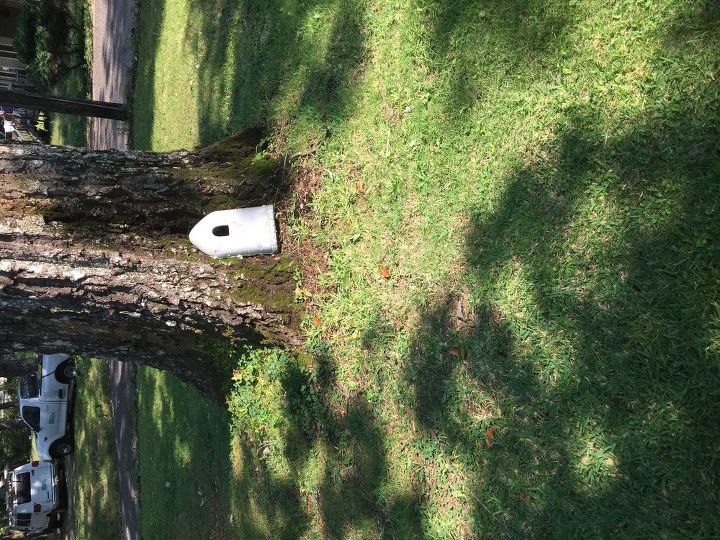
Once you glue the door give it plenty of time to set up so you don't have it slipping and sliding around. I was lucky that there was a hallow indentation right where I wanted to place this door so I did not have to bungee cord it while it dried.
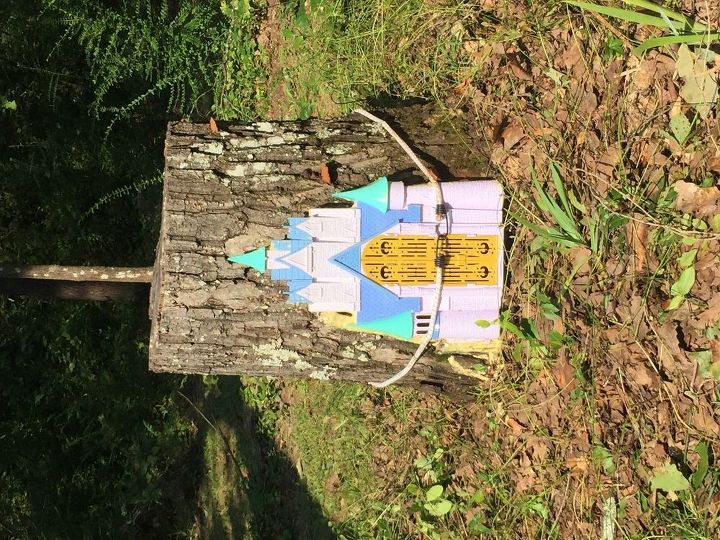
While waiting on the Fairy door to set up I decided I would glue on the Gnome Tree Stump Door. Ignore the bright plastic colors used in the castle as it will have a primer coat of plastic Rustoleum spray paint used to cover all this once it has attached.
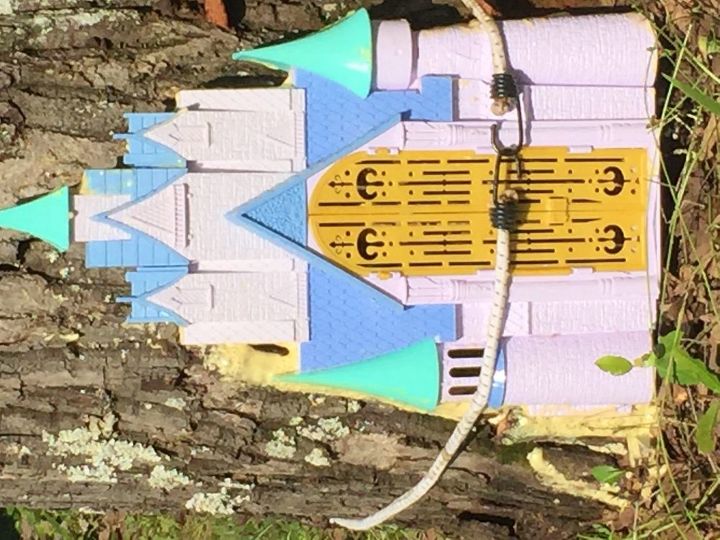
Some branches were used to fill in some of the side gaps around the edges of the fairy castle and LOTS of gorilla glue was used. My wonderful husband was kind enough to pull the bungee cord snug for me and then I just had to let it set...
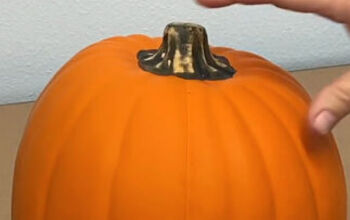
The two base coats of spray paint attached to the door after it set up well and I held the wire while my husband used screws to attach it to the top of the tree. I did have to 'sew' two pieces of the wire together to make it long enough by cutting the width in half then using piece of wire to weave in and out the loops to 'sew' the pieces together then using the same technique to sew the top after bunching it up with my hands into the gnome shape that I wanted.
Close up view showing the screws spaces around the tree stump top.

Another view of the wire ready to attach the roof bark

I used two different versions of the same 'Bull' roofing glue. I bought the first can from Lowes for about $10.00 then my husband told me he had a can in the garage and I did use it also. It was not a full can and I realized I would need to et the first layer of bark dry for a day or two then apply the next top layer. How did I realize this? Well, when the bark started slipping off as fast as I glued it on was my first clue LOL. Use SMALL pieces of bark from downed trees in your yard and build them up. The larger pieces are TOO heavy until you build up a base.

This is the one I bought at Lowes but they both are great.
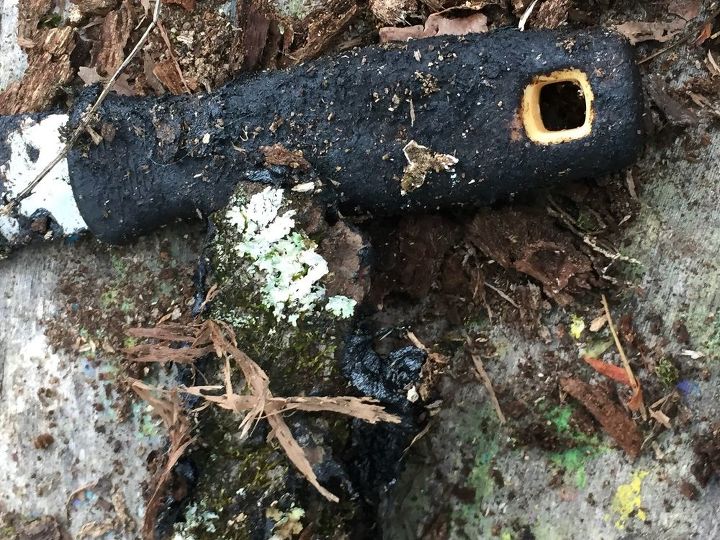
Wear Gloves and bring out extra disposable gloves as this stuff gets EVERYWHERE. I did find out, thanks to my sweet hubby that WD40 spray will make it an easy removal from the skin. This is the spatula that I used to spread the Bull into the back of the bark. Be VERY generous with the Bull (what my husband called the roofing cement)
This is a piece of the bark getting the roofing adhesive (Bull) applied thickly to the back then being placed on the Gnome Home Roof area
Putting on the First Layer
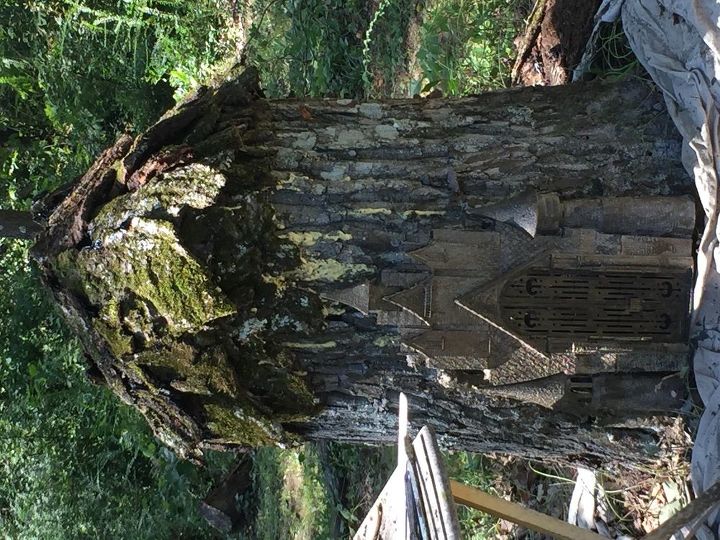
It is a slow process but you can relax and take your time. Remember there will be another layer to cover what you miss
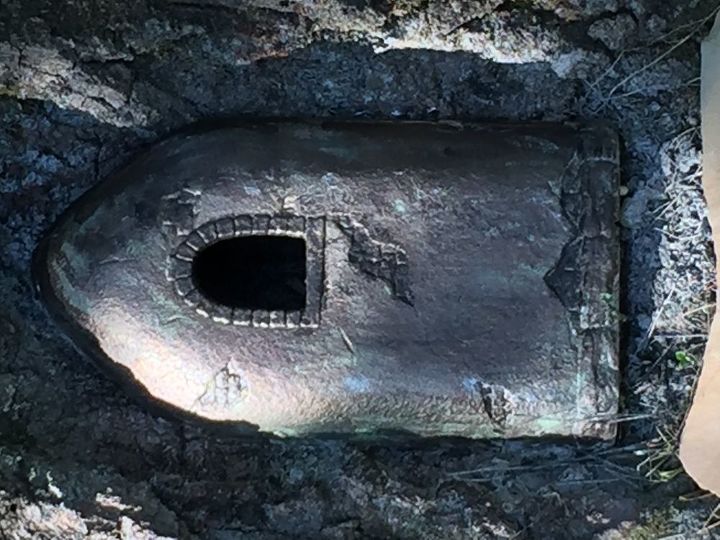
While waiting on the tree bark roof to set up and not slide off it was a good time to give a little detail work to the Fairy door that was now also glued on tight.
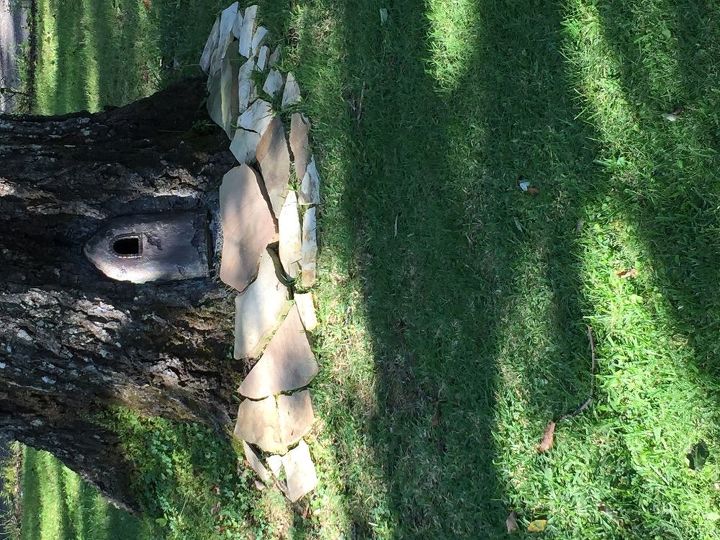
I intend to lay some slate all around the tree
Comments
Join the conversation
4 of 6 comments
-
This is so unique! Thank you for sharing it with us!
-
Just love your fairy house ! To cute!


Frequently asked questions
Have a question about this project?