


DIY Serving Tray With Rattan

This DIY wooden serving tray is one pretty extreme makeover! If you scroll down you’ll see this started as a classic serving tray. The kind you can find anywhere, you probably even have one in your home already.
If you have an old tray in need of a serious makeover, read on or view the detailed step-by-step on Very Liv!
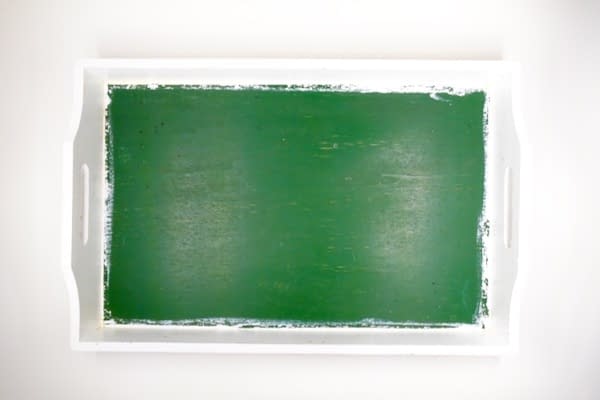
This is the tray I started with. What a beauty… Mine was unfortunately painted all over. If you manage to salvage a plain wooden tray, you’ll save yourself the sanding effort!
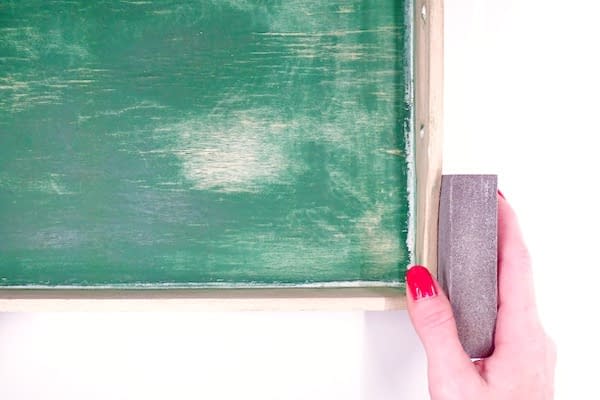
Give the tray a light sanding to smooth the surface but also to remove grime.
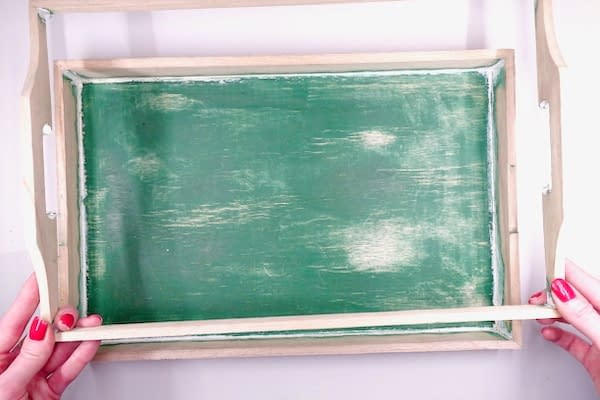
Use a saw to cut the top off. I drew a line all around the tray and used that as a guide. This will remove the handle hole part and give the tray a much more modern shape.
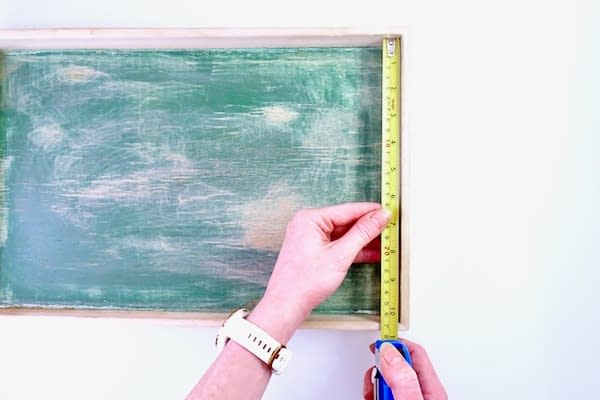
Measure the inside of the tray: that’s the distance between the 2 long sides of the tray.
Cut one length with the dimension you have just measured. Use this as a guide to cut the other reeds. In total, I cut a large handful of reeds in about 10 minutes (the bunch was about 3″ (7 to 8cm) in diameter) and I didn’t need to cut anymore after that.
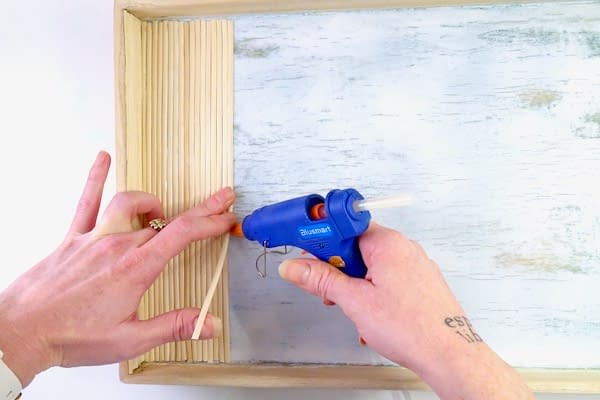
Here comes the fun part. This is very absorbing, relaxing work! Glue the rattan reeds to the bottom of the tray with your glue gun. Try to make sure your rattan reeds are well aligned.
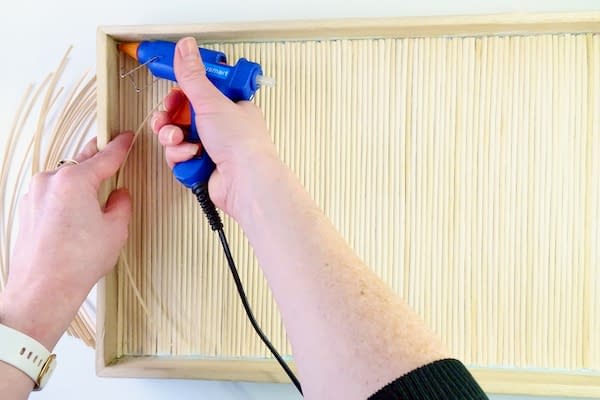
Now, work your way up the short sides of the tray (where you would normally grab the tray with your hands). Continue gluing reeds vertically, all the way to the top of the tray.
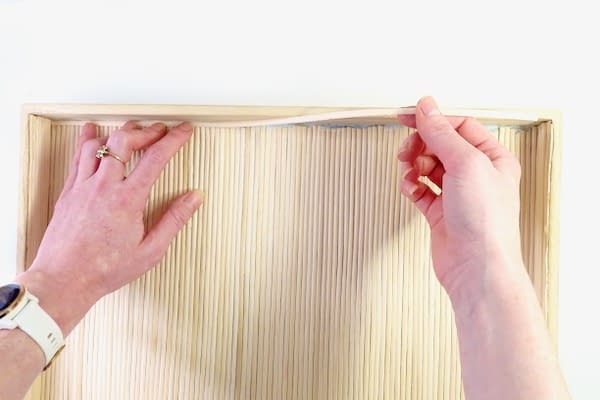
Next, measure the distance between the 2 short sides so you know how long the tray is. Cut a small bunch of reeds with those measurements.
Glue a single reed on the bottom of the tray to hide the uneven ends of the reeds you glued to the bottom.
Then, work your way up the sides, gluing reeds horizontally.
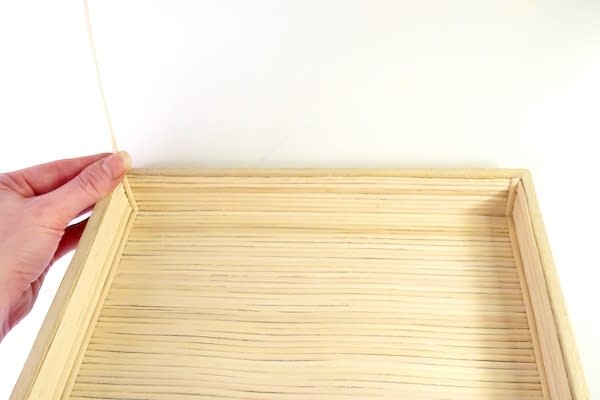
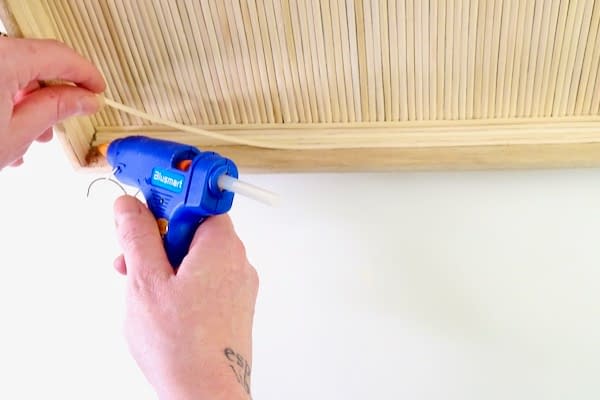
Finally, glue a small bit of rattan reed in the corner to hide any even ends where the other reeds meet. Use a craft knife to cut the top off once the glue has cooled down.
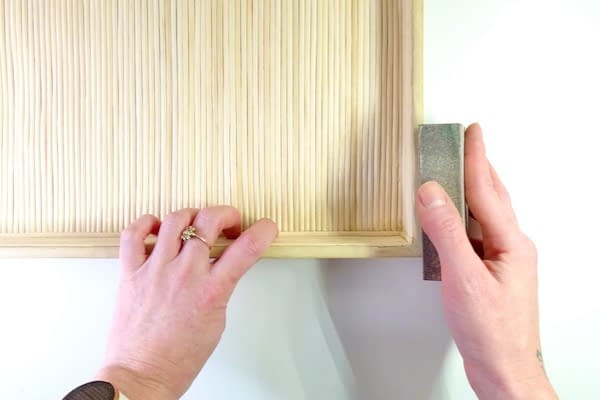
To finish off, give the top of the tray a light sanding to round out the edges.
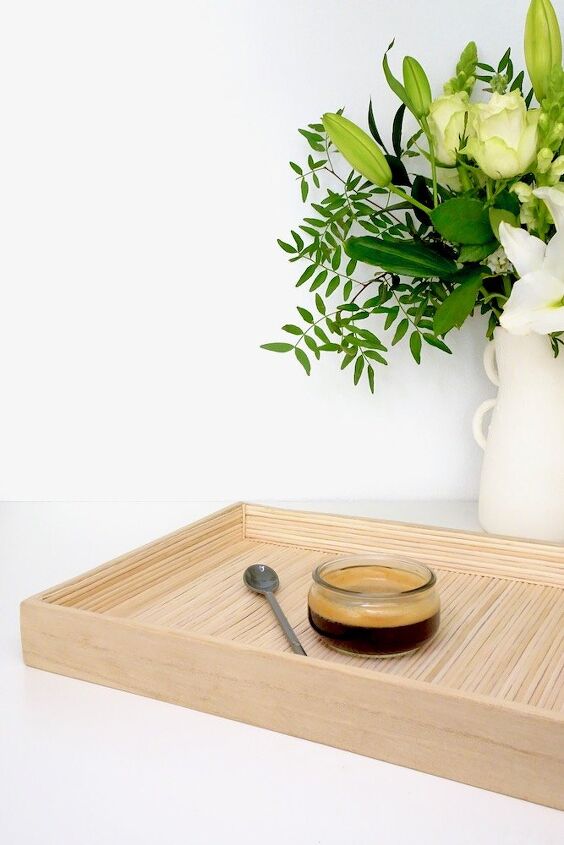
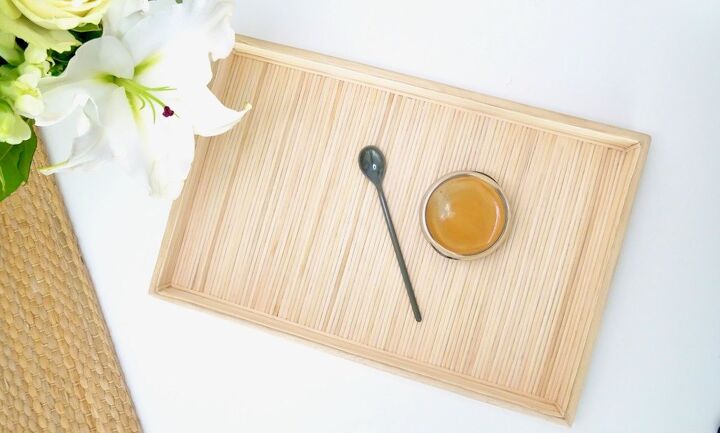
And voila! A brand new tray for almost free. Who knew you could make such a modern design out of a classic item like your everyday serving tray?

Resources for this project:
See all materials


Comments
Join the conversation
-
Awesome job!
-
Love this. You can also do it to a tray and leave the "handles" which would be my preference.
Great inspiration!!


![Don't Throw Away Old Picture Frame[Turn Into Serving Tray] !](https://cdn-fastly.hometalk.com/media/2015/01/11/2054742/don-t-throw-away-old-picture-frame-turn-into-serving-tray.JPG?size=350x220)


Frequently asked questions
Have a question about this project?
There are so many size choices of rattan reeds can you tell me what size is the one you used (the width of the reed)?