


Lingerie Chest Makeover
This old lingerie chest has been sitting in my house for years now and I finally got around to giving it some love!
I'm not sure quite how old it is, but it was given to us by my husband's grandfather.
I would have done it a long time ago if I had thought about how quick this was!
All it took was some new hardware and a bit of chalk paint.
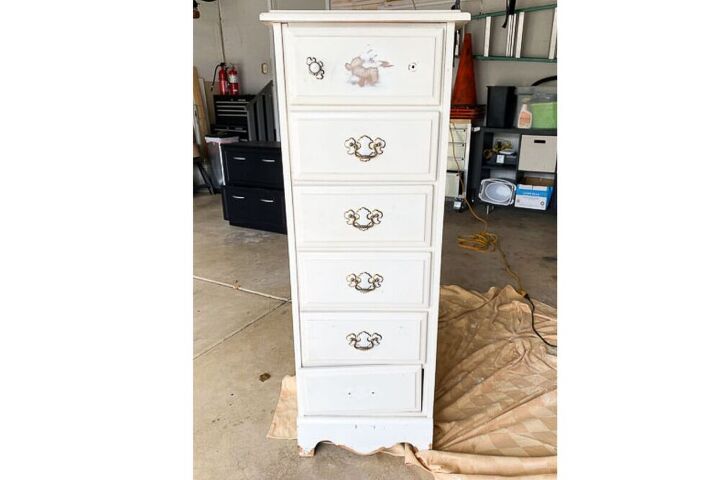
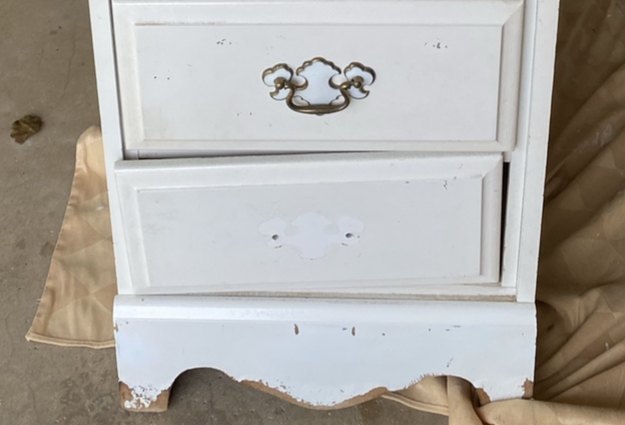
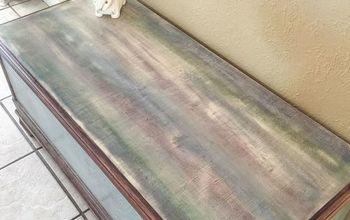
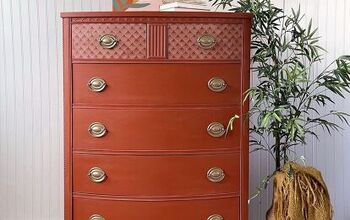
Here is what the dresser looked like before.
STEP 1 - SAND CHEST
The first thing I did was give it a good sanding around the areas that needed it. The bottom was very warped, but it didn't need much more sanding than that.
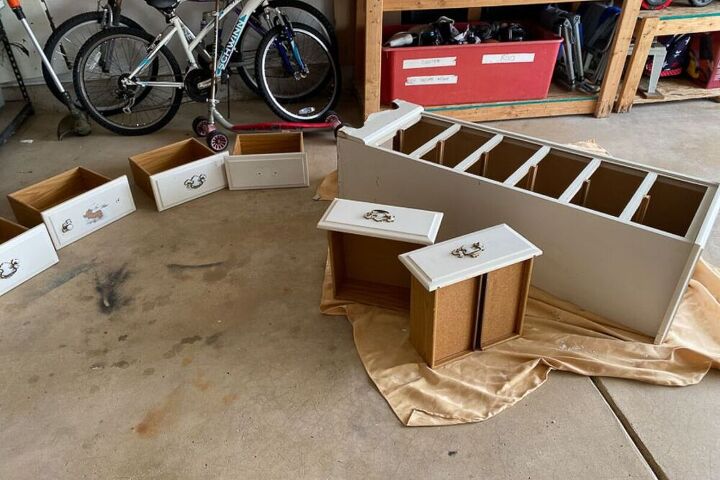
STEP 2 - REMOVE DRAWERS & HARDWARE
Once I had sanded, I removed all the drawers and laid the lingerie chest on the ground.
Next, I used a screwdriver to remove all of the hardware.
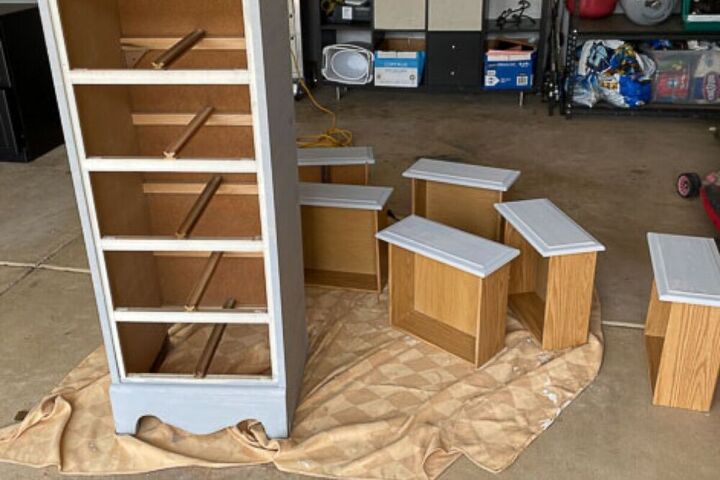
STEP 3 - PAINT
I went with Annie Sloan Aged Grey Chalk Paint.
I used a small roller along with a brush to get in the crevices.
I waited roughly an hour for it to dry and then gave it a second coat.
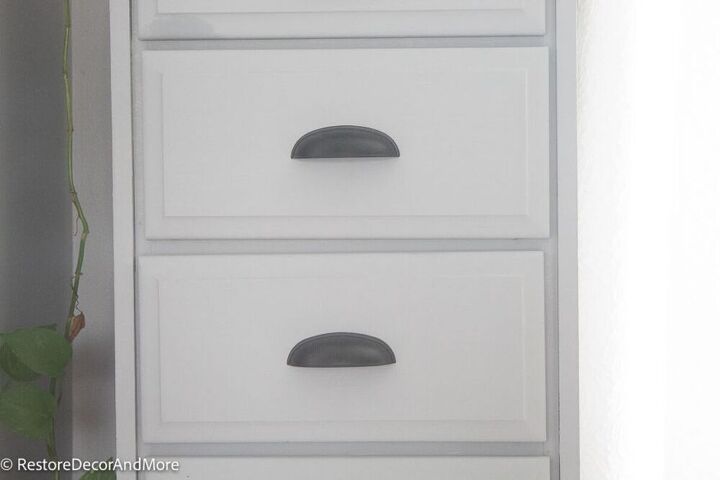
STEP 4 - ADD NEW HARDWARE
Finally, I added the new hardware I purchased. Then put the drawers back in.

I'm very happy with the way it turned out! Now I just have to decide where to put it!

What do you think about how it turned out?
THE ULTIMATE GUIDE TO DECORATING ON A BUDGET

Comments
Join the conversation
-
Your redo was simple and sensational! I love the grey and especially the hardware changes you made. Sometimes the hardest part of a project is just getting started, isn't it?
-
Amazing what a little paint and fresh hardware can do. Looks great and a great job.


Frequently asked questions
Have a question about this project?