


Storage Room Project- Japanese Cedar Ceiling!

Who has a cluttered storage room? C'mon, I know I'm not the only one. I just finished flipping this room and in this post, I'll show you how I changed the ceiling, by putting up Japanese cedar wood planks.
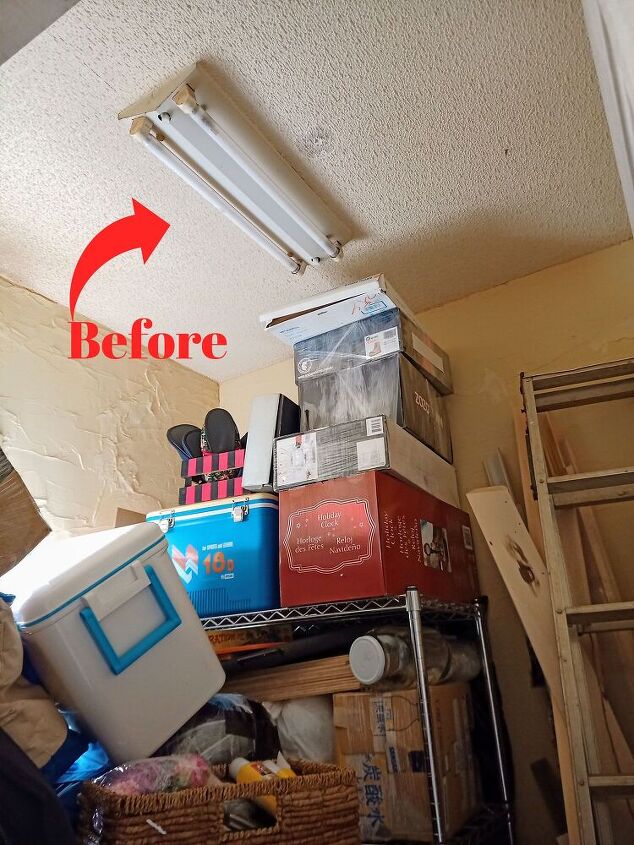
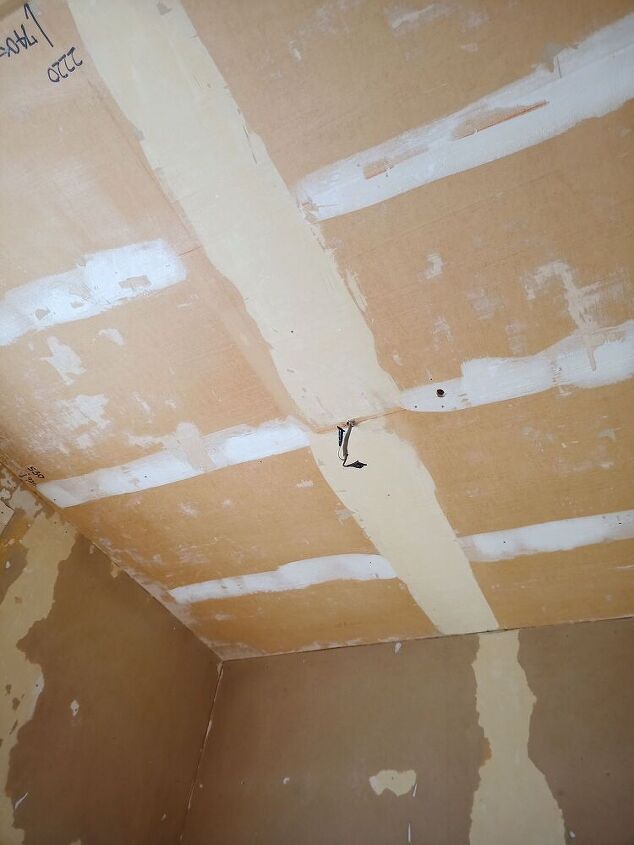
Pretty terrible right?! It's like Monica's closet out of Friends!
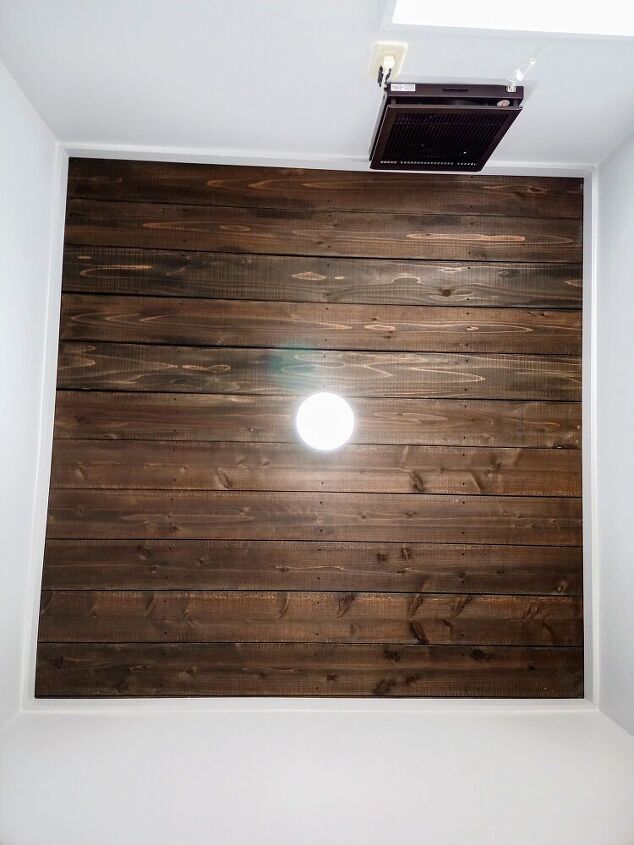
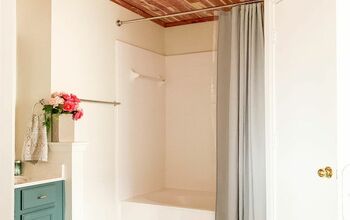
This is the finished ceiling!
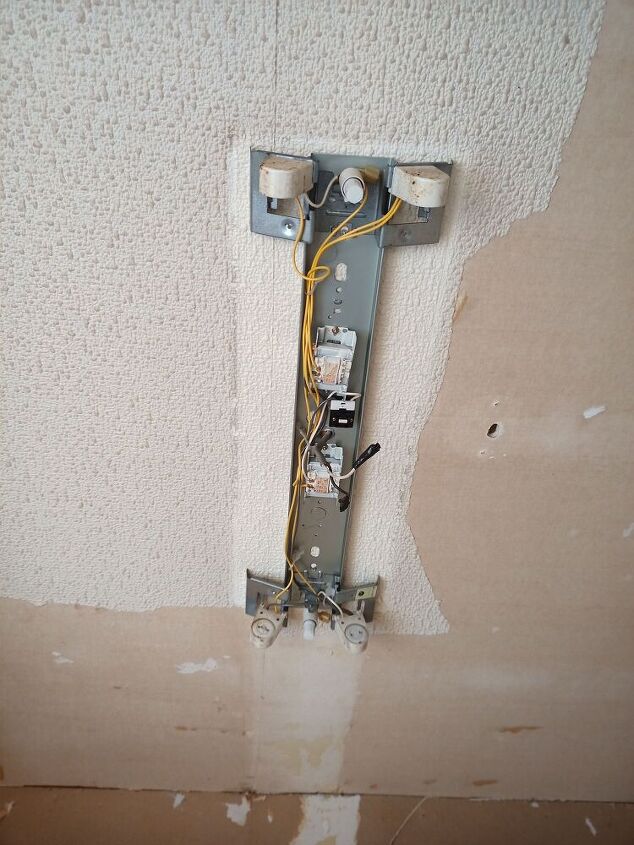
First I removed the wallpaper and light fixture. I know it goes without being said, but be careful working with electricity.
Wallpaper usually has a backing paper and if the area was primed first, removing the wallpaper is easy. This ceiling wasn't primed, so what you see in the picture is the wallpaper facing peeling off, leaving the backing. Wallpaper backing is a nightmare to remove!
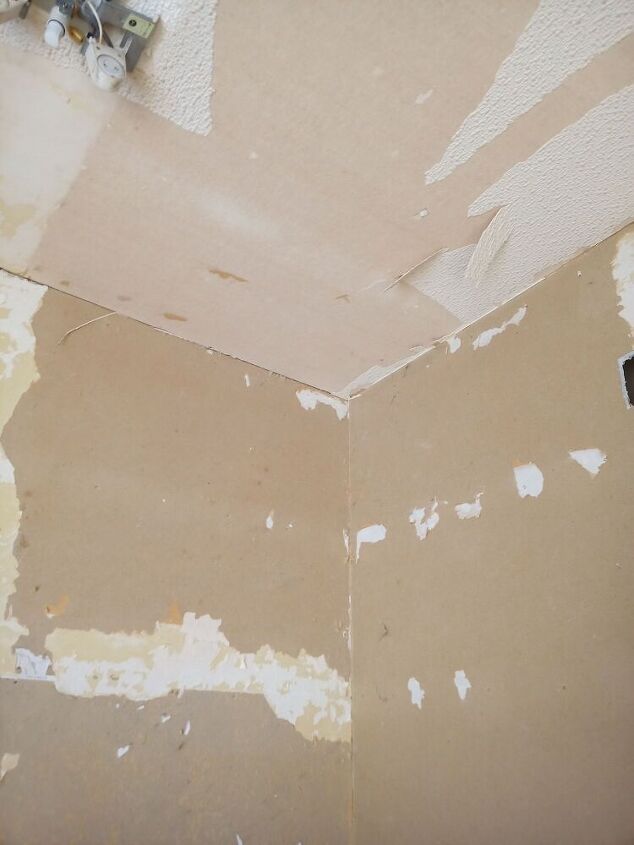
I like using a 50/50 solution of warm water and vinegar to remove wallpaper backing. Just spray, wait a minute and scrape off with a scraper. I don't like using razor scapers, because they can potentially damage the area you're working on.
The solution works well, but will stink up your house for a couple days. No joke, your house will smell like a pickle factory. I've read about non-stinky vinegar, but I live in Japan and cant find it anywhere.
Before installing the Japanese cedar wood; I painted on a clear waterproofing sealer. You can find both oil- and latex-based waterproofing sealers, primers and sealer/primers made by most paint manufacturers. These products are created specifically to prevent mold and mildew on the surface to which they are applied.
That little hole in the ceiling is where I was thinking about moving the light. I filled it in before sealing.
Mark the ceiling joists on the walls, so you know where to fasten the planks.
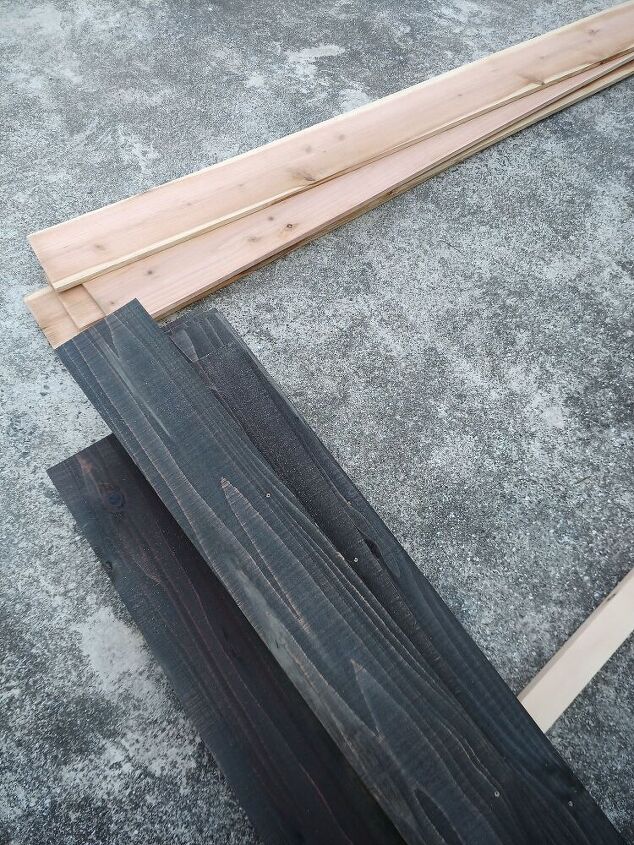
I cut the cedar and stained it with Watco Oil Stain. I love Watco, but it is the strongest smelling stain on Earth. My house was smelling like pickles and burning tires for a week!
Water based stain and paint will raise wood grain, so you'll need to lightly sand it down and paint another coat. I recommend oil!
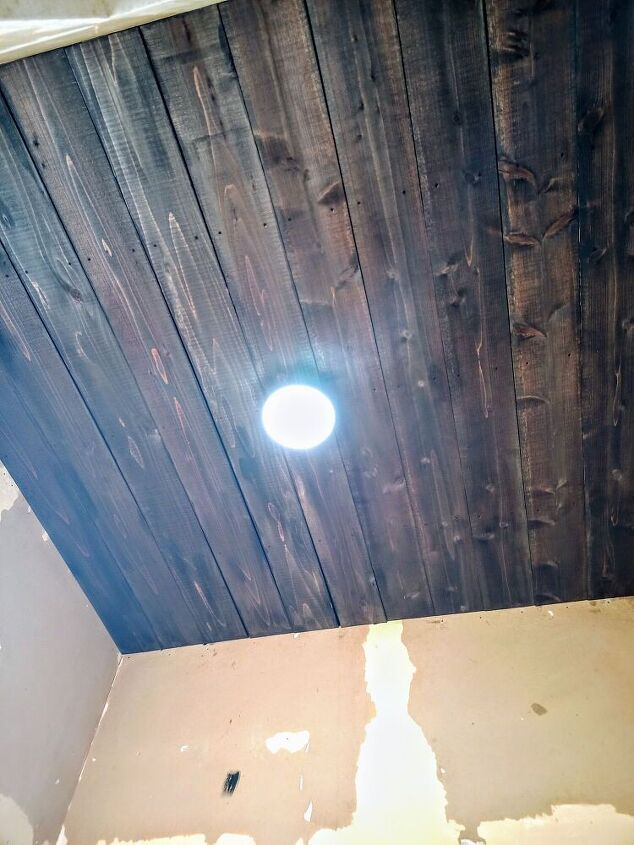
I used black screws and love the look of the screw heads. The planks are attached to the ceiling joists. You fan fill in the screw holes with a stainable filler if you're not a fan. Also, if you have gaps big enough to where you can see the ceiling, paint the areas on the ceiling with black paint.
I have couple more posts for this project so stay tuned! You can also check me out on Facebook, Instagram and Pinterest.
Resources for this project:
See all materials


Comments
Join the conversation
-
Beautiful work. I’m sure the finished project is going to be stunning. I always enjoy your posts and projects.
-
You're doing a great job of repairing your room yourself. You even change the electronics yourself -- for me, doing that would be a nightmare. I once tried to change the wiring and was hit hard by an electric shock. Since then, I've hated it all. However, I skillfully create cool room designs, and I think I will soon hire workers and do repairs in my house. I've read How to sell your mezzanine, and when I sell it, I will have the means to create genuine beauty at home :)


Frequently asked questions
Have a question about this project?
It's nice, but why the change?
Very pretty wood. Question: does staining cedar seal its natural oils in so it is no longer moth repellant? I use cedar blocks in my closet to protect woolens. Not sure about stained cedar. Thanks
Were you putting sealer on the ceiling or on the boards?