


DIY Woven Headboard
I wanted a showstopper for a headboard so decided to do something different!
After picking up some vinyl from the fabric store and some wood from the hardware store, we got started!
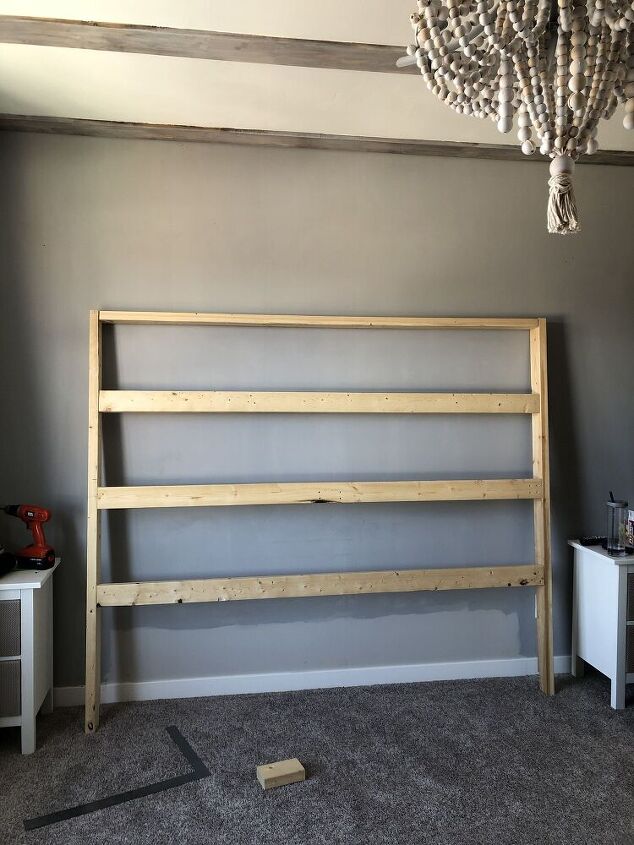
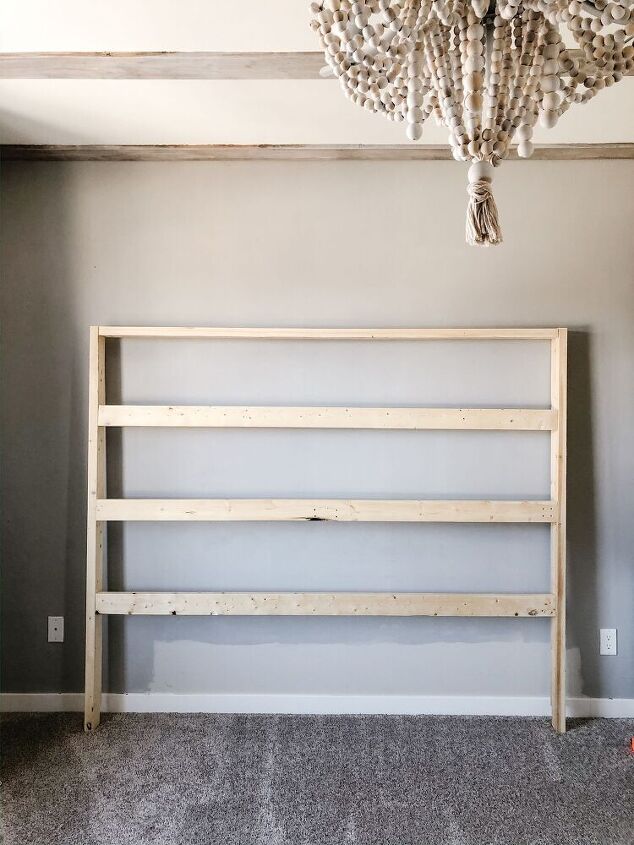
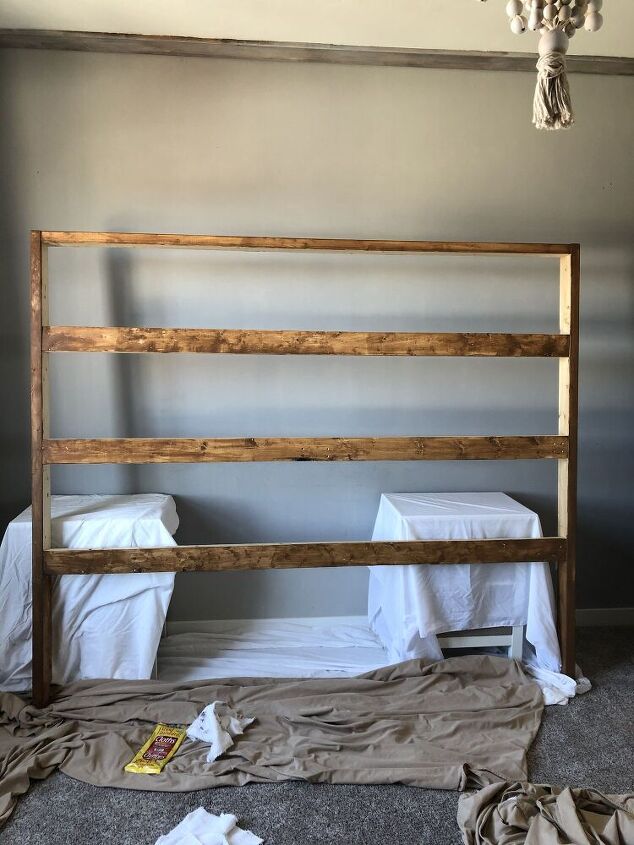
First we laid out the wood and cut the pieces to size. This way we would know how many straps we would need.
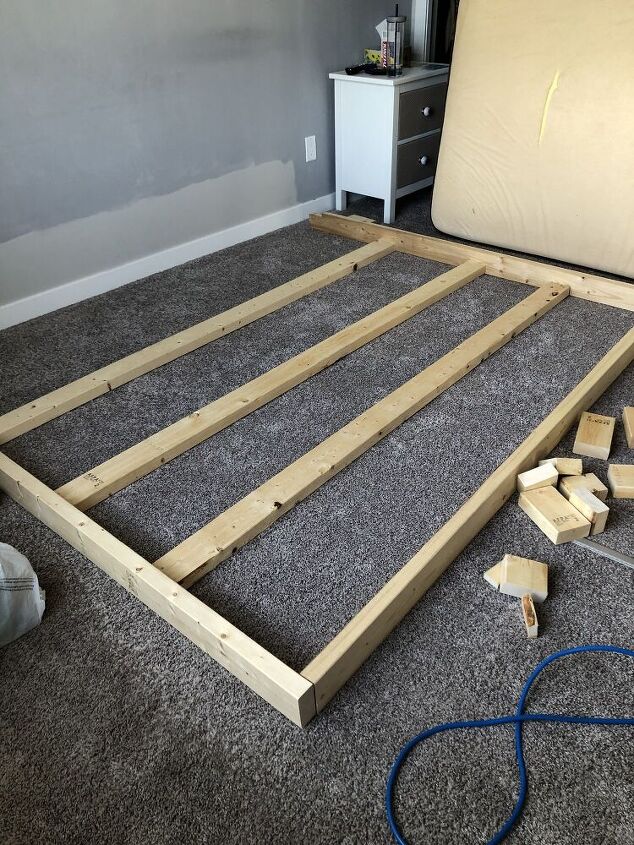
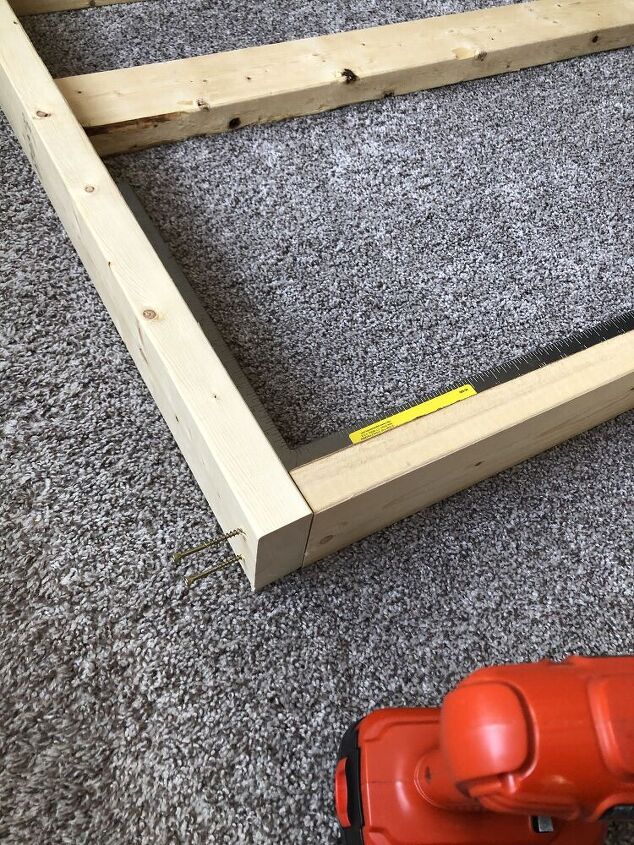
Using a square is helpful for both measurements and making sure corners are square.
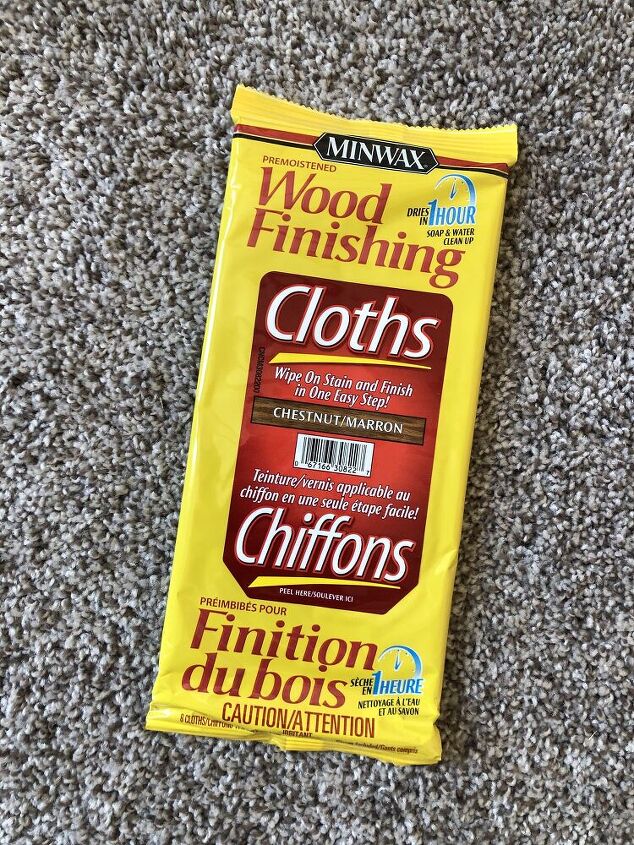
I was looking at stain at the hardware store and came upon these pre-moistened stain wipes. Let me just say that they’re a total game changer when it comes to staining. No drips and it dries within an hour.
Next up was to measure and cut the straps. The square was the perfect width to use to get a straight and consistent edge. Using a fabric cutter was definitely the way to go instead of scissors.

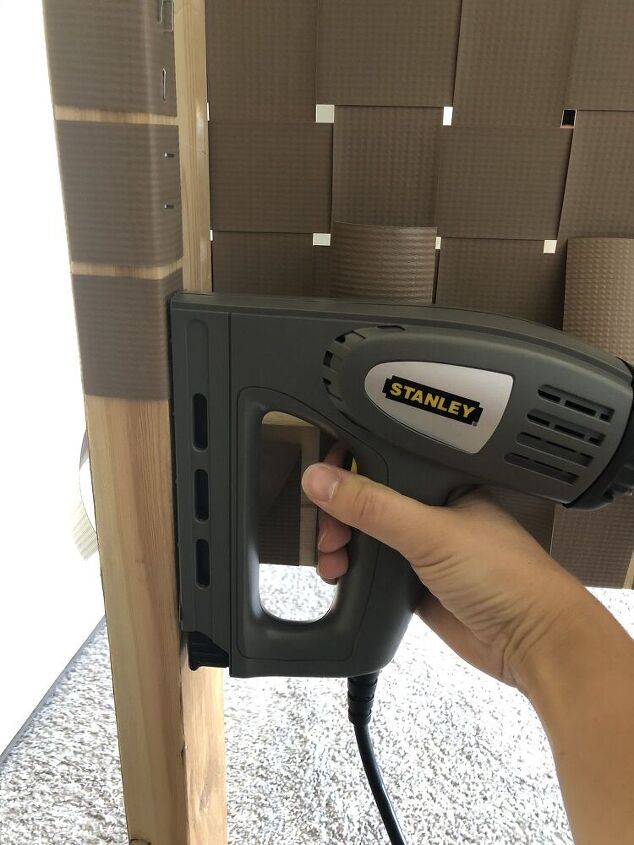
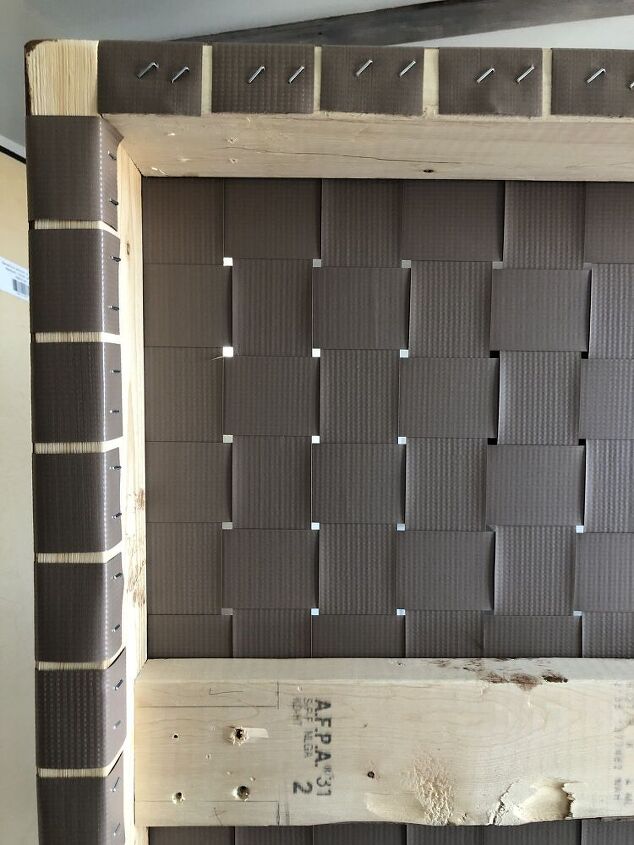
Once we had all the vertical straps cut, we began attaching them with a staple gun. Attached the top then pulling tightly as we went along and attached the bottom.
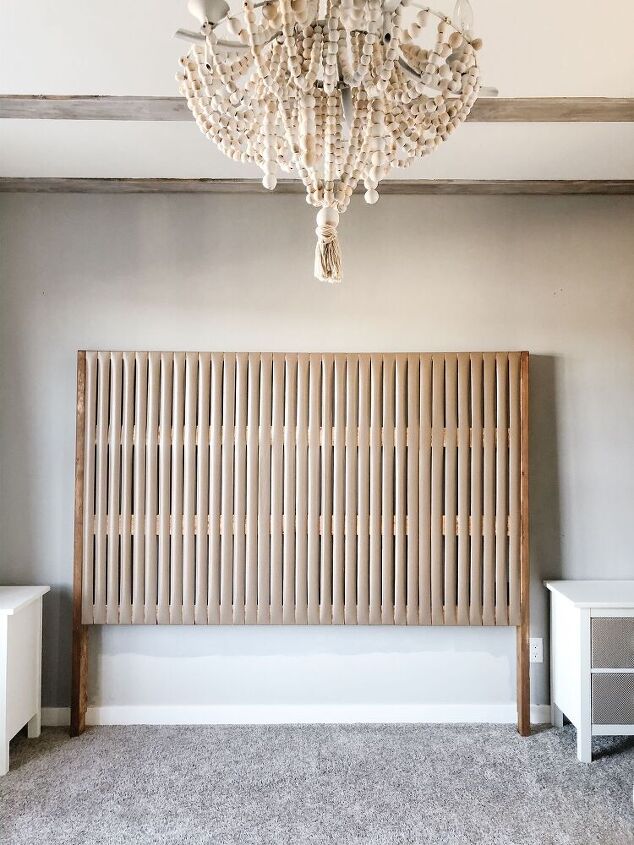
The vertical looked so good that we couldn’t wait to get started on the horizontal straps. With a weaving pattern, it turned out great.
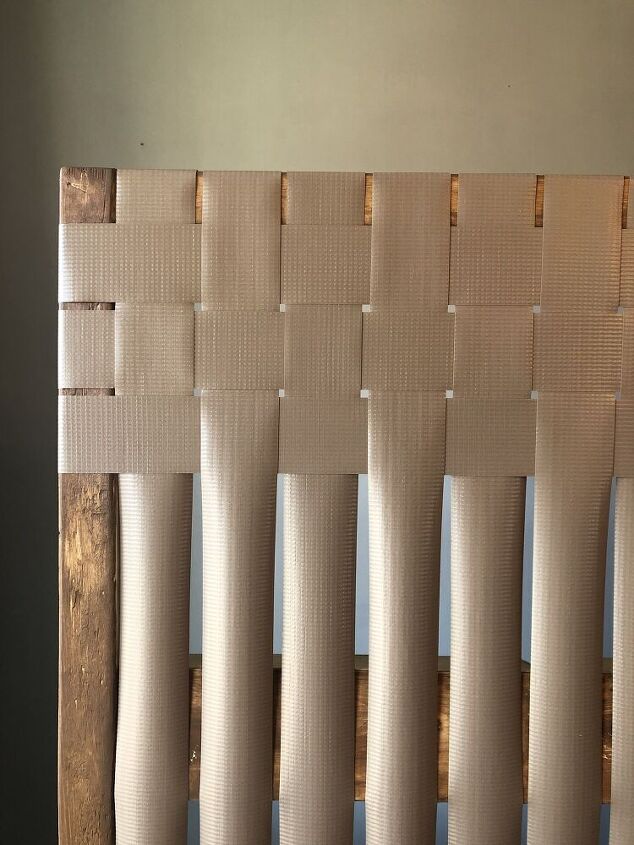
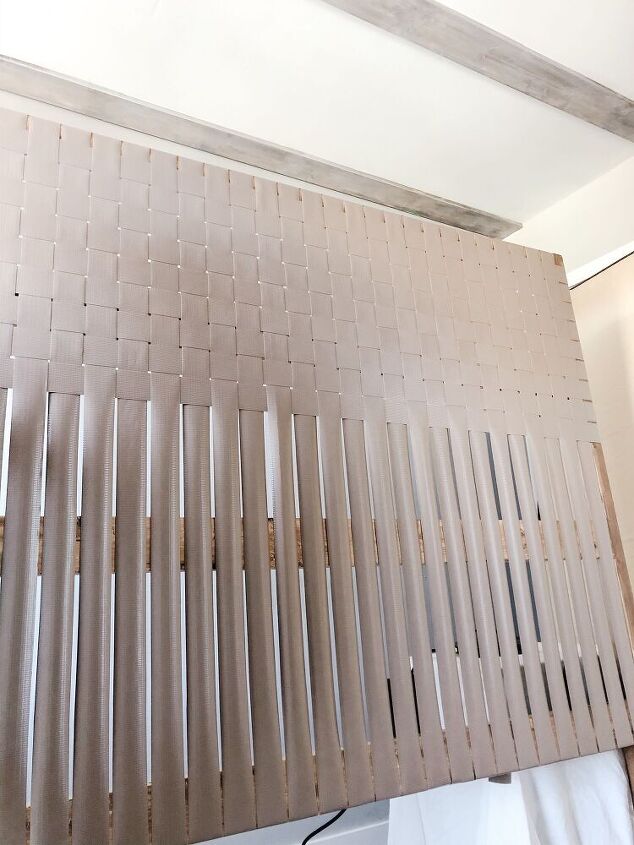
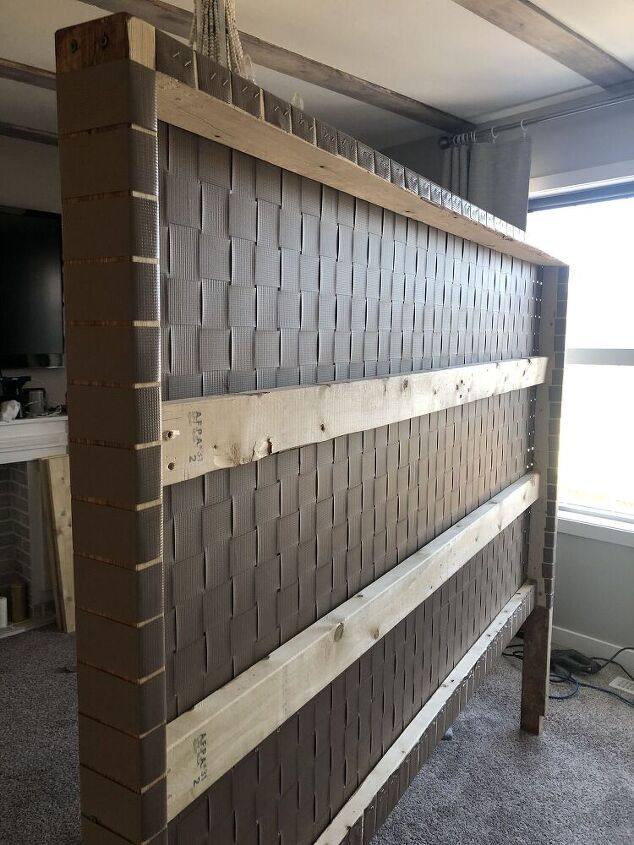
It was important to keep the back neat and tidy, as well as keep the straps tight.
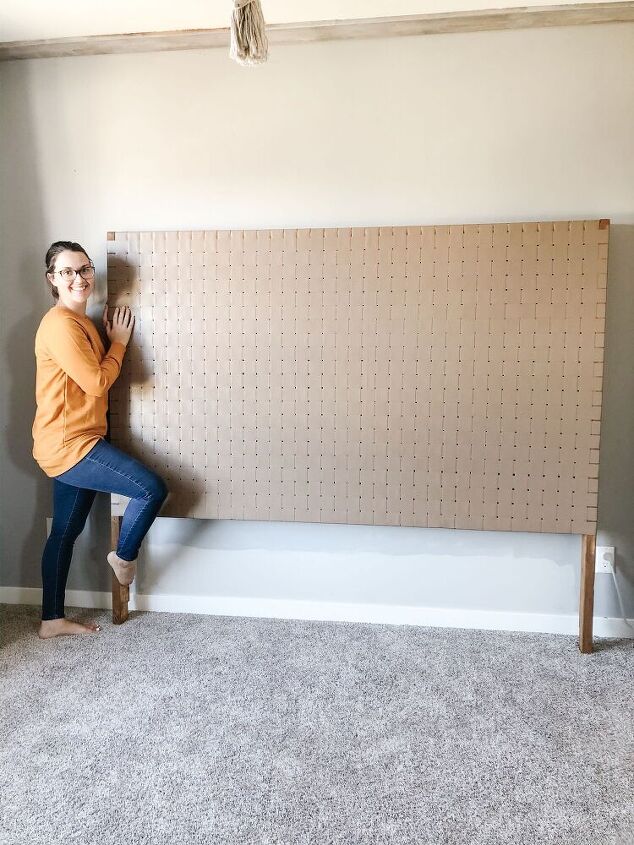
I absolutely love how it turned out!


Comments
Join the conversation
-
Lovely! So many possibilities!
-
Wow!!!! Stunning, how many vynl strips would one need for a double bed, and where can yiu buy these vynl strips. Thank you


Frequently asked questions
Have a question about this project?
How many yards of ribbon did you use? Is this for a Queen size bed?