


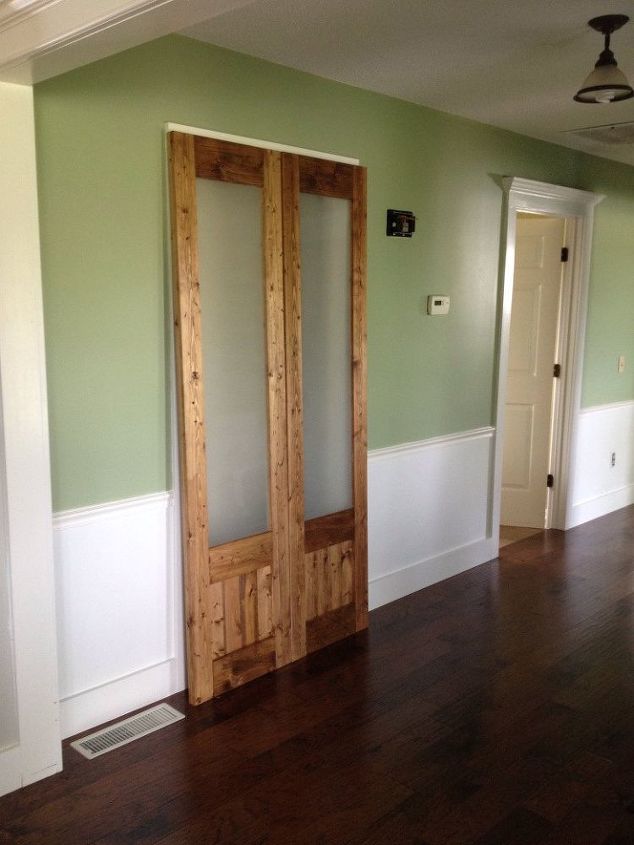
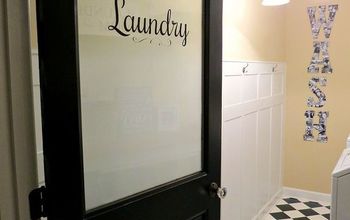
Dress Up the Mess--Sliding Doors to Laundry Room
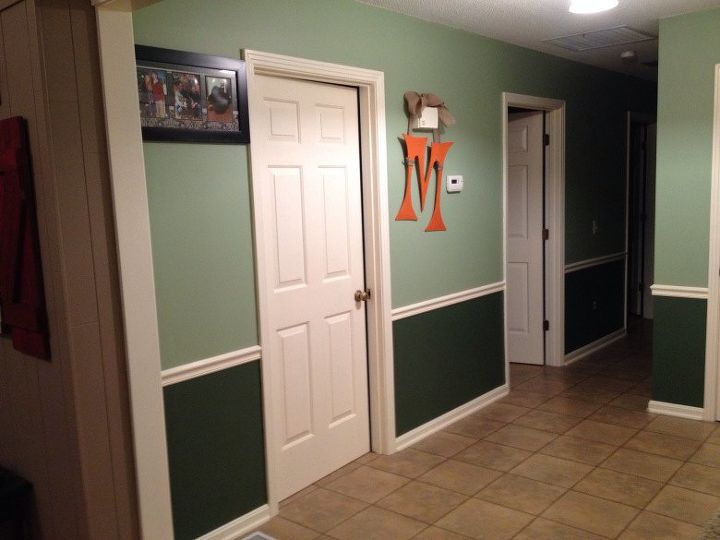
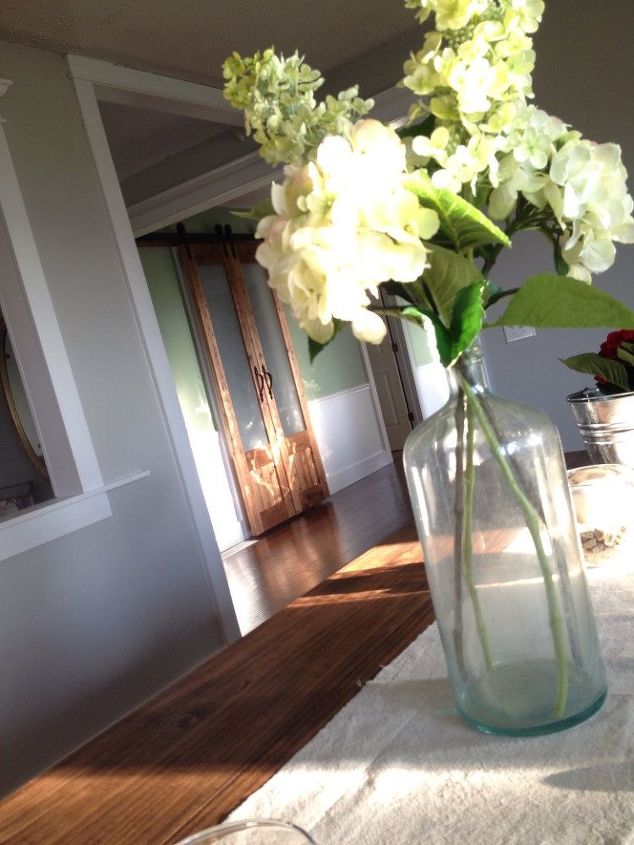
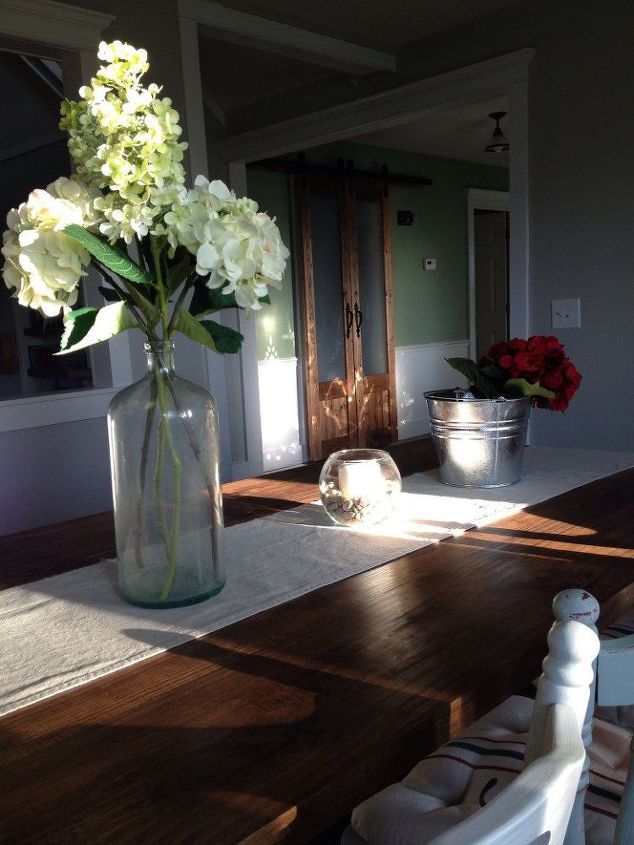
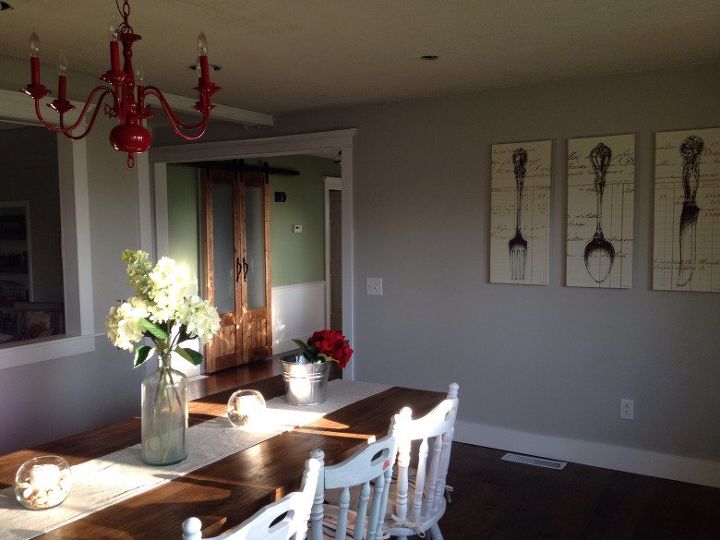
Wouldn't it be a dream come true to walk in your front door and the first thing you see is this?
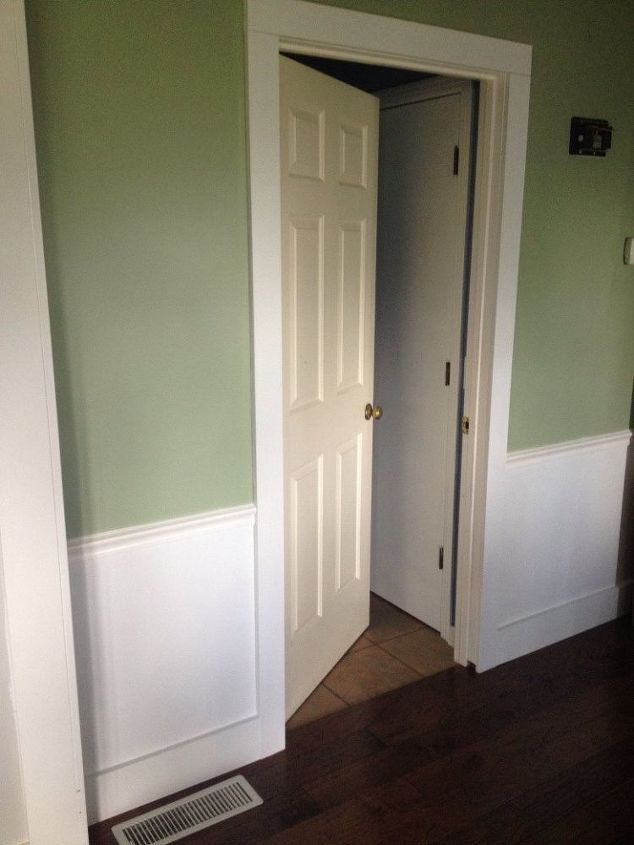
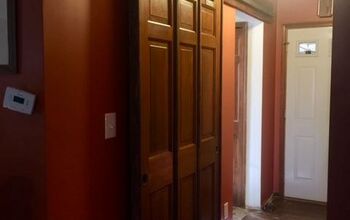
Who doesn't love poor lighting, and hollow core doors that don't match the trim paint? Oh and did I mention that's the laundry room? I've been on a "let's-take-all-the-doors-off-because-they're-ugly" kind of mood for a while, but considering our laundry room is atrocious.umm, I'd rather you just see a ugly discolored hollow core door. That's saying a lot.
I know, right? Let's just not talk about that
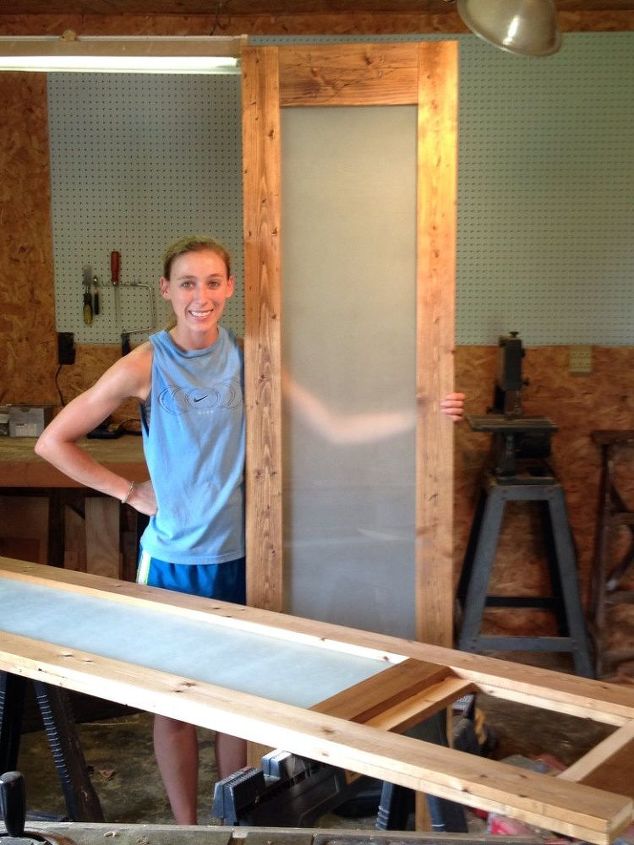
I bought two long narrow glass panes from a local glass shop and spray painted them with "frost" spray paint, and routed out the back of the door frame so they would fit snug. I never take all the pictures I plan to.sorry no picture of that.
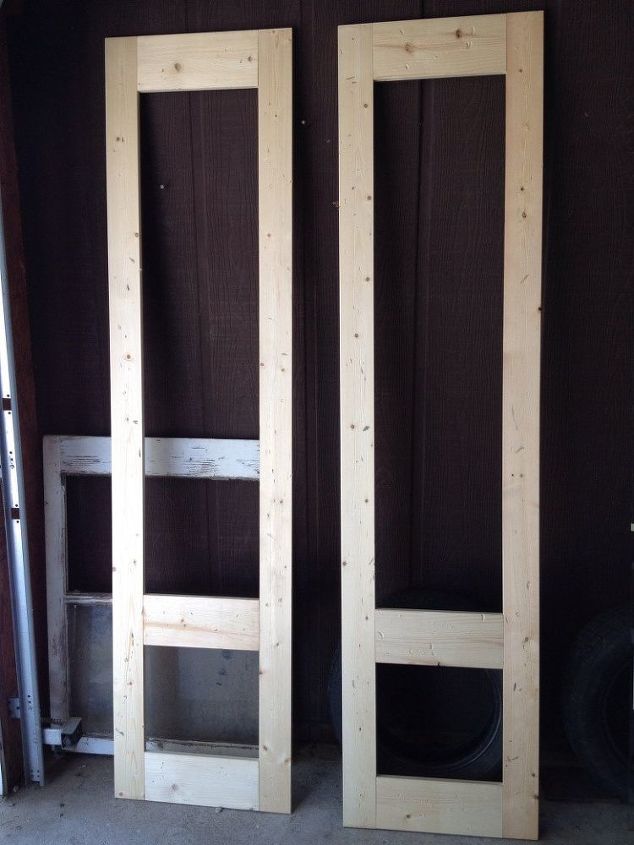
I cut a 16 and stained it and glued it to the top of the back side, but for the middle and bottom sections, I did 1x4s, so I could glue 1x4s vertically on the bottom. You can see this in the pic above. Once everything was glued and dry, I brought them inside and waited three weeks before hanging themno seriously.
I waited a while because I wasn't sure what to do about our doorbell. It was right in the way, stuck out 2 1/2 from the wall, and Danny wasn't going to move it without a fight. Soooooo, I waited because I didn't know what I was doing (I do this a lot.)
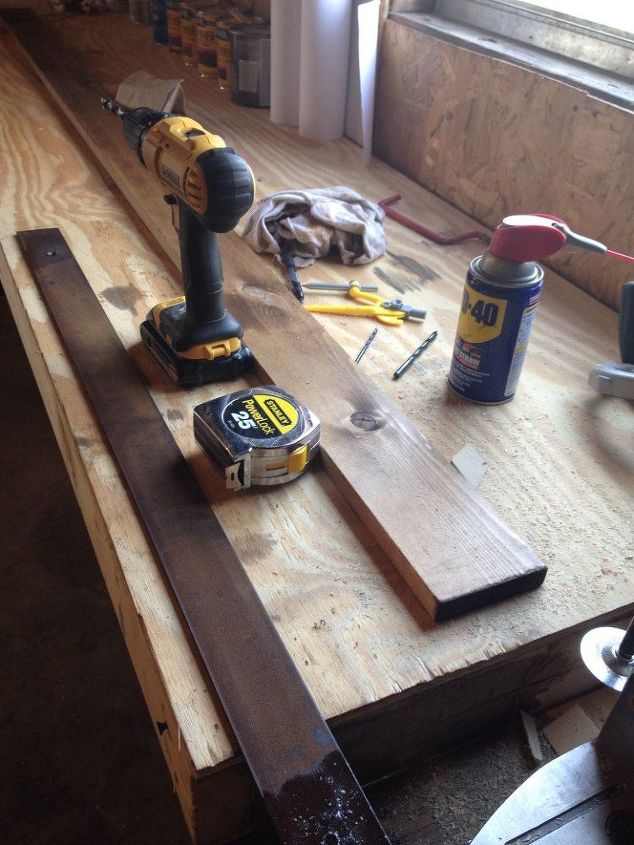
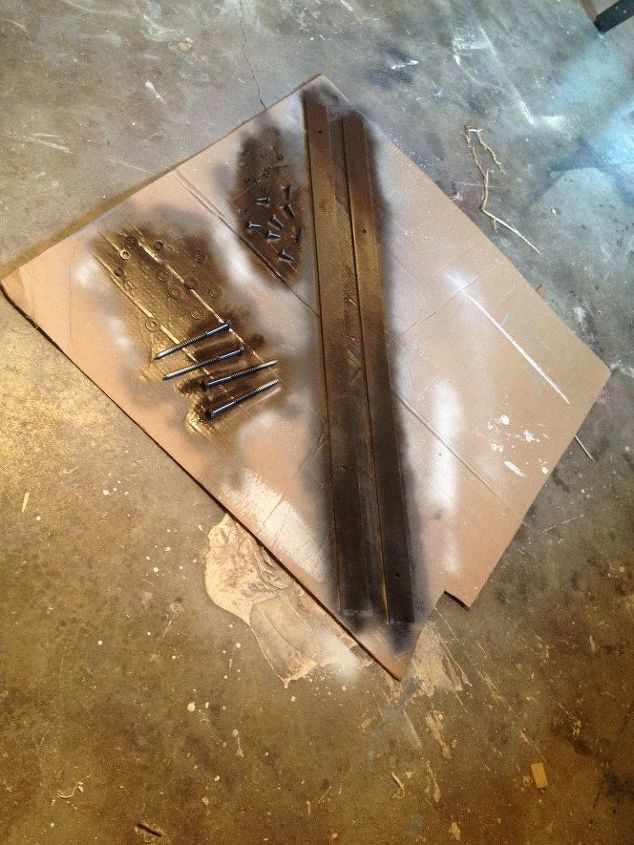
Once the holes are drilled, I spray painted the bolts and bar black.
While those were drying, I predrilled holes in the 7 14 I cut earlier where the studs would be and I predrilled holes in he studs themselves. We were using LONG lag bolts so our door will hang out far enough to miss the door bell, so we wanted the bolts to go into the studs pretty far. Predrilling helps prevent the studs from cracking from such a large bolt.
Another washer, flat bar, washer, lock washer, 3/8 lag bolt. I had the lag bolts in four places across the board (where studs were) and I tightened them down into the 14 with a ratchet so everything would stay in place while I transported it. Then I took it inside, lined it up, and screwed them into the wall.
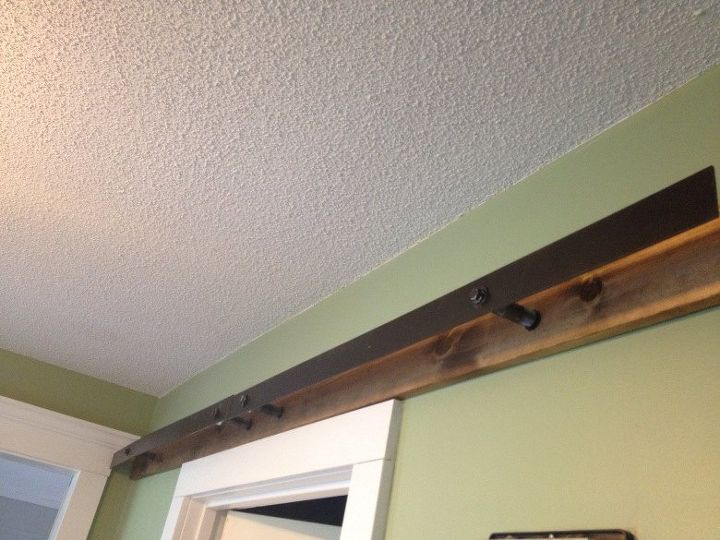
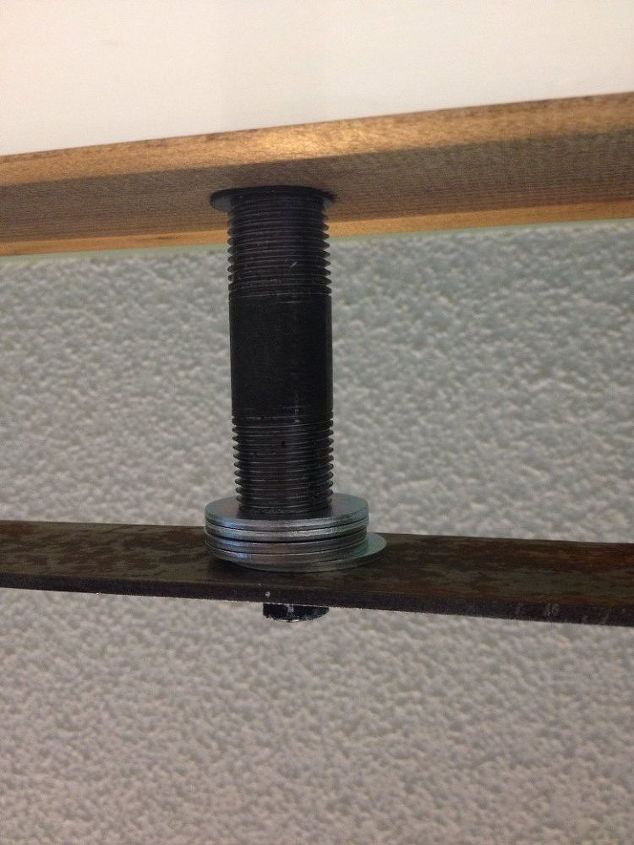
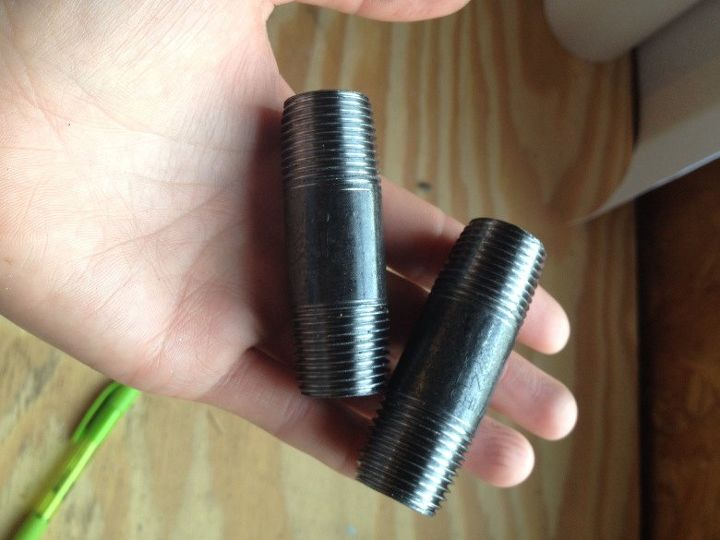
You can see I added several washers before the flat bar to make sure it was out far enough to miss the doorbell. I actually would have been fine without those, but hindsight is 20/20. Maybe some day I will take them out and fix it, but not today because it's like a bazillion degrees out and if I sweat any more I'll become a raisin. TMI I'm sure. Moving on.
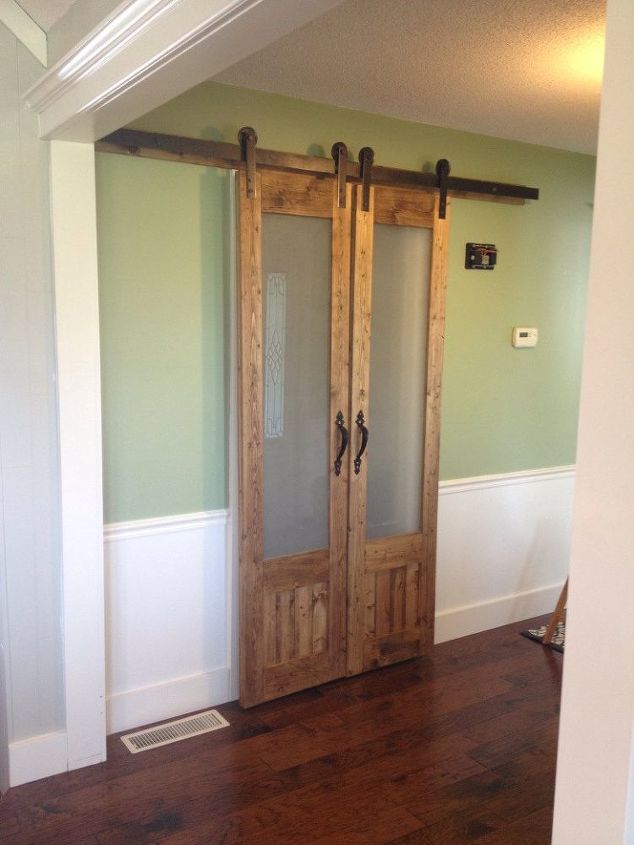
And there they are sliding doors!! Don't you love them?! I still have to add stops on each side so the doors don't slide off the end or run into things.

Want more details about this and other DIY projects? Check out my blog post!
Comments
Join the conversation
2 of 199 comments
-
P.S. Before I read I was thinking about what to do with the louvered doors in front of my washer and dryer which also "share" a half-bath space...now I am really pondering....

-
a friend of mine just did this at the end of his family room. Shelves then TV then shelves. Both doors cover the TV when needed then the shelves on each side when watching it. They too are beautiful as these. Wish I were as talented as either of you


Frequently asked questions
Have a question about this project?