


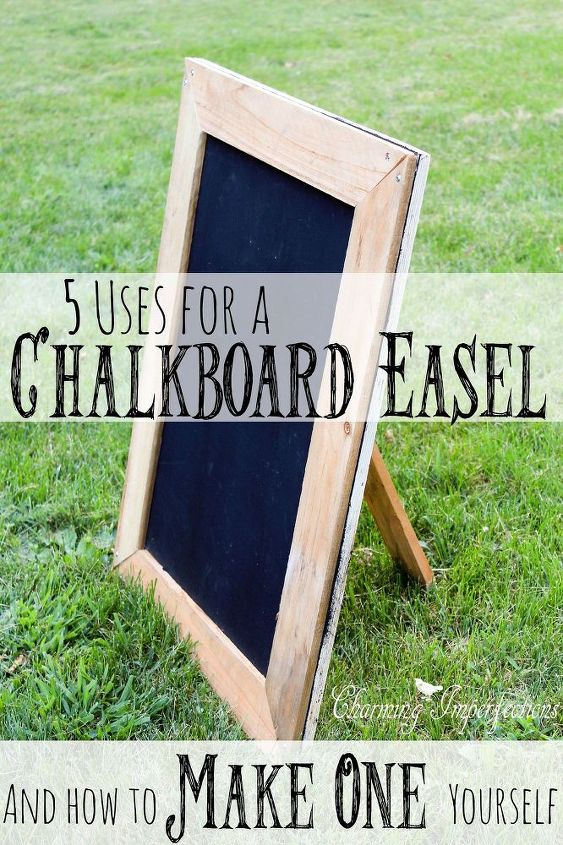
Easy Chalkboard Easel Tutorial
2
Easy
Chalkboards are super trendy for a reason: their functionality and look. They can be used for so many things, and this Easel one that I made recently has some specific uses that I am loving. For instance:
-an art platform for our toddler
-a sign for events like weddings and showers
-decoration for the house that can be changed with the season
-an organizational tool
-a photo backdrop
The list could go on! It took about 2 hours (not counting drying time) to complete this little project with items I had on hand.
Could you use a multi functional tool like this? I mean, who doesn’t need a big chalkboard easel in their lives? Well, if you are nodding your head “yes”, then stick around and I’ll show you how to make it!
This is just a summary of the steps it takes to make this project. For the full tutorial, please visit my blog: http://www.charmingimperfections.com. See you there!
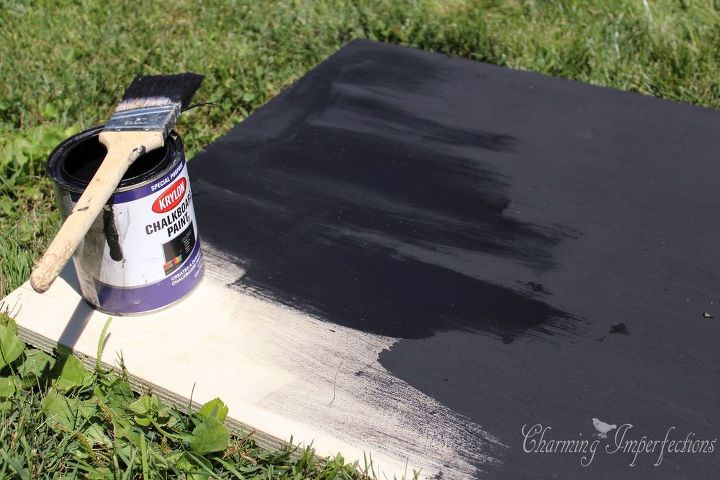
Find and cut a piece of plywood to the desired size. Make sure it is smooth and finished on at least one side. The smoother the better for chalkboard writing!
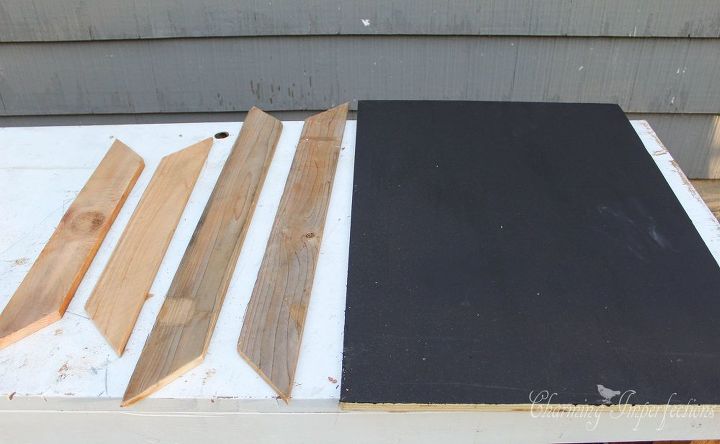
While the paint is drying, cut four boards based on the lengths of the sides with forty five degree angles for the corners. Use the picture above to help with the angles.
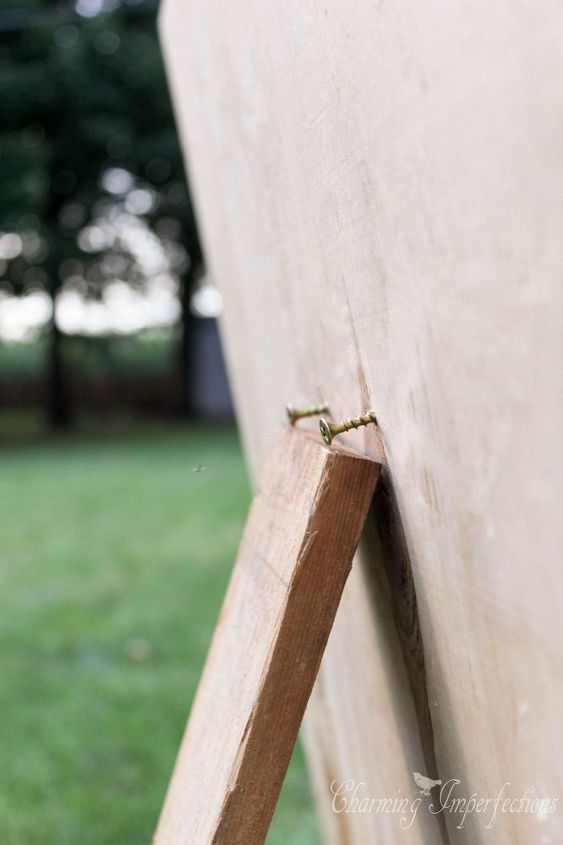
To make an extremely simple yet effective stand, simply drive two screws into the back of the plywood about halfway. Use an scrap board to prop the stand up on and you have a perfect chalkboard easel!
Jordan (our toddler) loves to scribble on a surface that is just the right height. On a side note: chalkboards are great for kids with vision as colors on black are easier to focus on.

So, are you ready to get your DIY on and make this multi functional chalkboard easel with supplies you probably have on hand? You now know why it would be so useful. You also know how to go about making one.

Want more details about this and other DIY projects? Check out my blog post!
Comments
Join the conversation
2 comments
-
A great piece to have! Also, a must at weddings.
-
Real cool. I like. Going to make one. I m Have one on my door painted blue


Frequently asked questions
Have a question about this project?