


48-hour Flip for a Dingy Bedroom
It is amazing what you can do in 48 hours to a dark and dingy bedroom.
This post is sponsored by 84 Lumber.
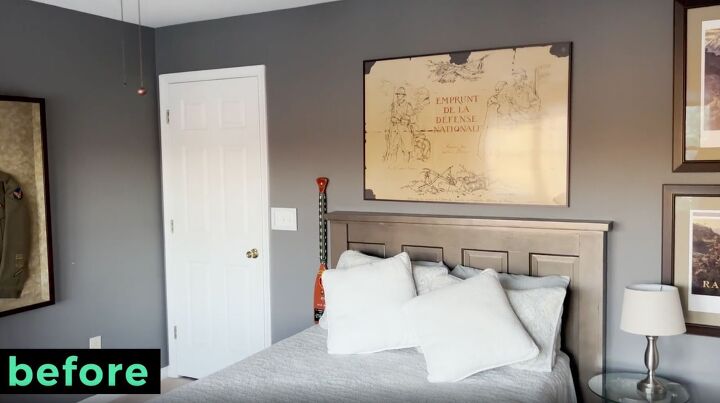
Today I'm excited to show you how I completely transformed my bedroom from a military man cave to a coastal oasis.

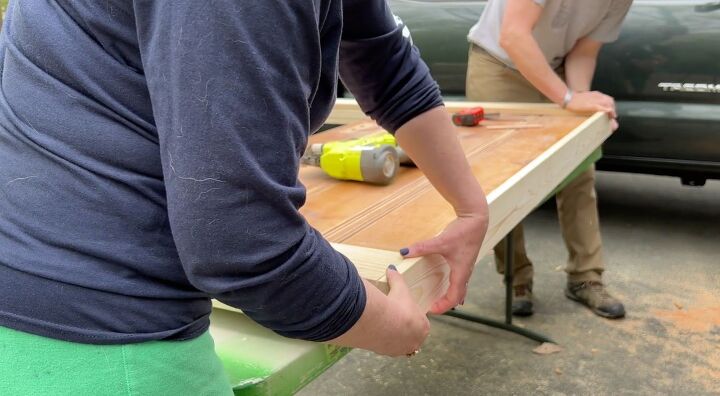
We love the look of shiplap, so when we found this old door at an architectural salvage store, we knew it would be perfect for our headboard.
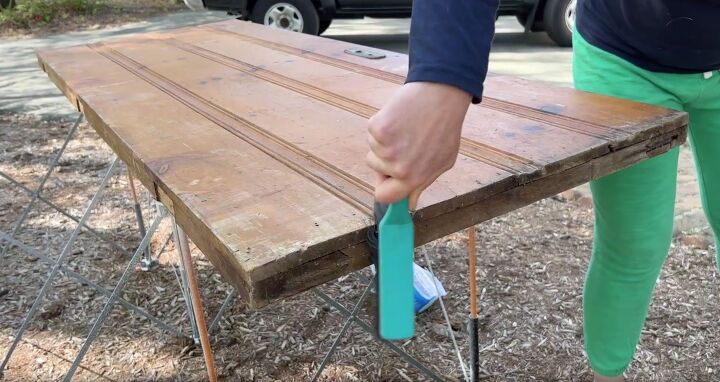
First, we had to get it clean.
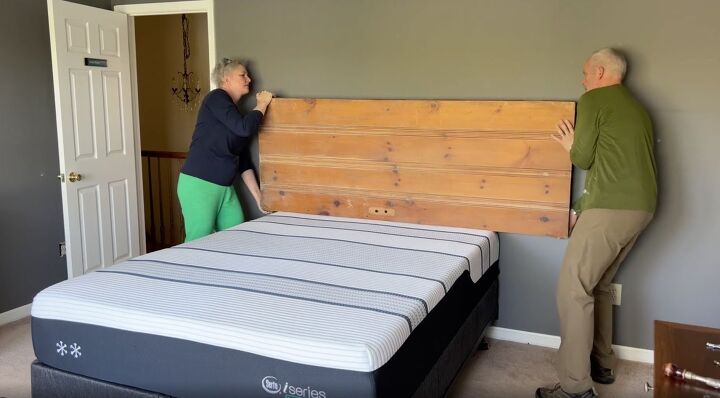
Then, we took it inside to get some basic measurements about how high we wanted it off the ground and how wide it would be.

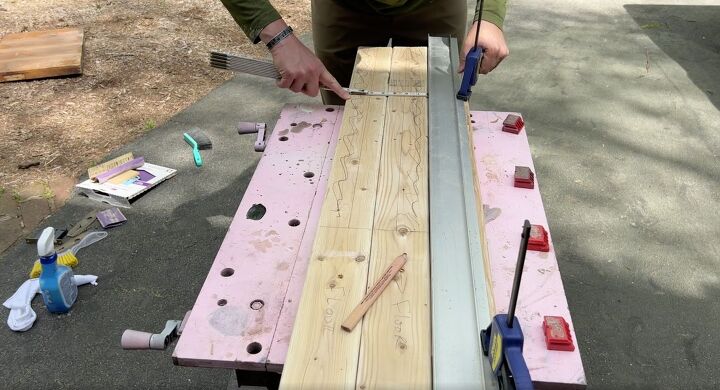
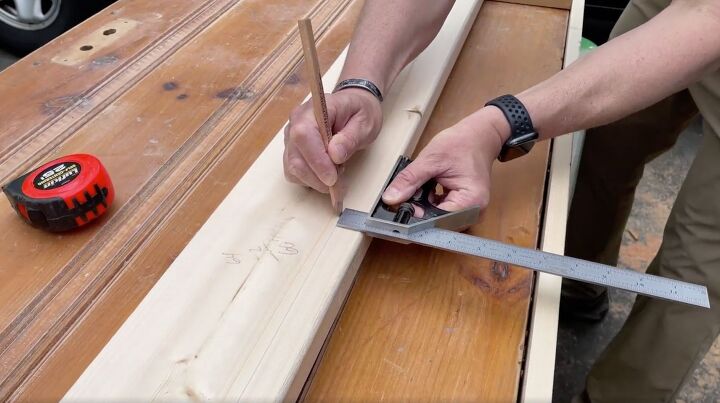
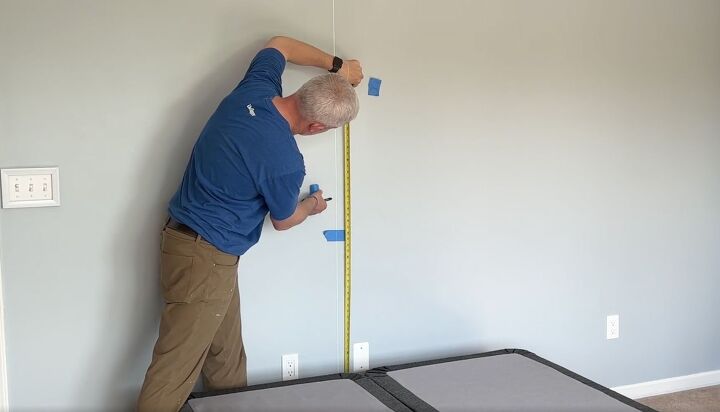
After giving the door a good sanding, we needed to figure out how high we wanted the legs to be.
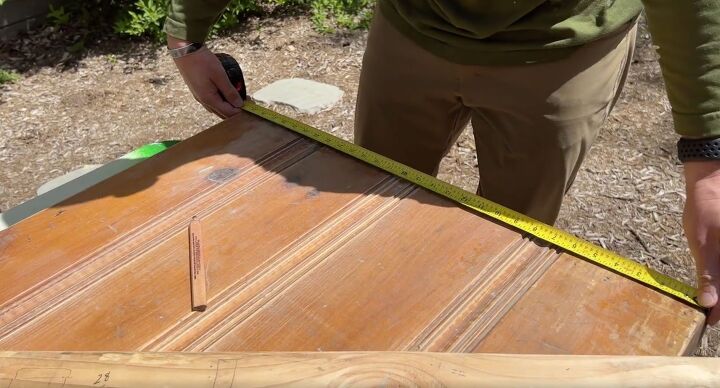
We used the height of the door, plus how high off the floor we wanted the bed to be, and that gave us the length of the two-by-four we needed to cut to create the legs.
We cut the boards to length and then created a notch. This is where the bottom of the door would sit when we create the headboard. We were super excited to work with 84 lumber on another project. They're a women-owned family-owned company, and they have a store right up the street from us, so it was easy to get supplies and advice from the staff.
You can find a store in your area here.

We cut the door to width based on the dimensions of our mattress. We have a queen bed, but this would work perfectly for a king, a double, or even a twin.

We essentially wanted to create a wrap around the door. So you cut one-by-fours to the same length as the legs and then attach them to the back of the legs.
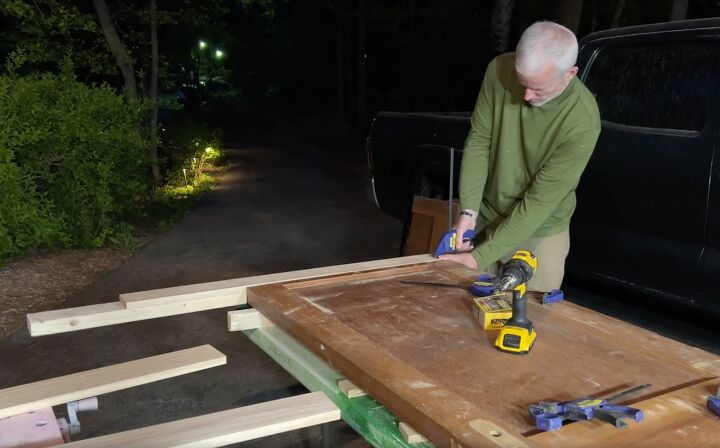
Then attach the whole thing to each side of the door.
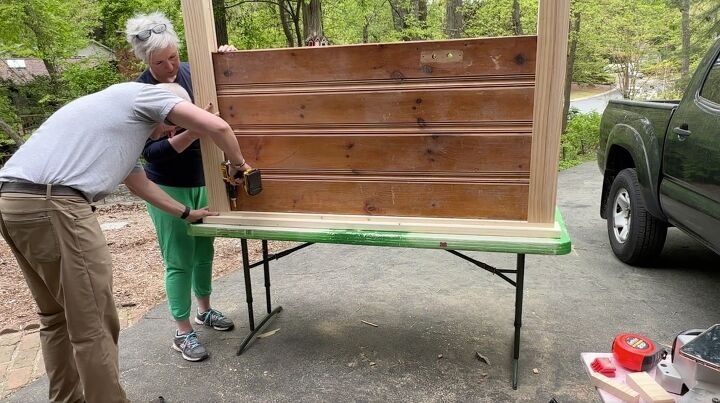
Next, we flipped the whole door over because we were ready to start on the face.

We cut two one-by-four the same length as the legs and nailed them to the front of each side of the headboard.
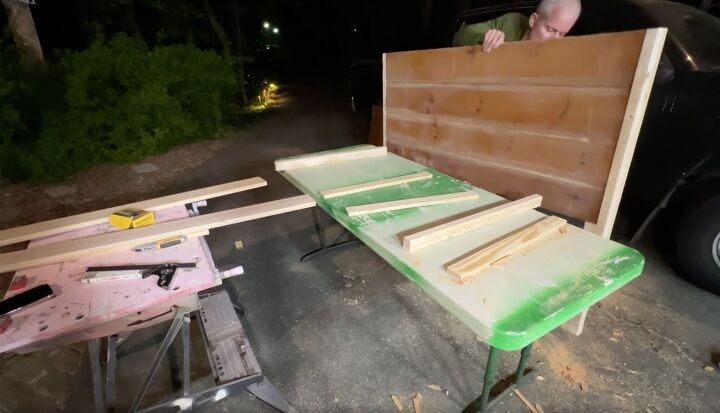
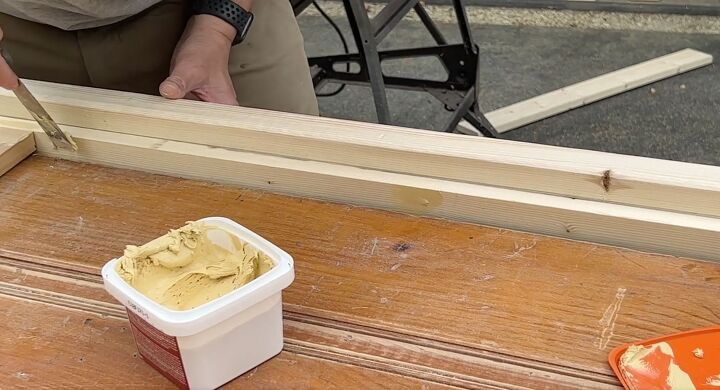
Then you glue and nail a second set of one-by-fours on the side.

Measure and cut a one-by-four to sit flush with the outside edges of the legs.

Glue and nail it in place.
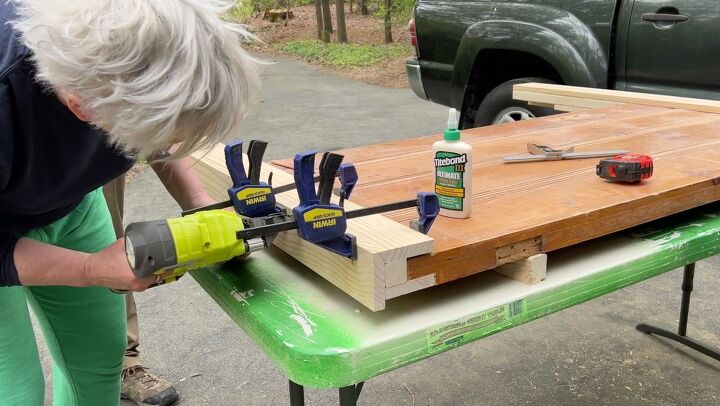
We measured how long we wanted the cap board to be and cut a two-by-six to overhang by at least one inch on each end.
We also measured a one-inch line from the front to get an even overhang.
Then we lined it up, glued, and screwed it in place.
Once we finished assembling the headboard, we filled all the nail and screw holes with putty and sanded them.

Finally, it was time to spray paint. We did three coats and let each one dry for about an hour in between. The best part about painting a headboard is you only have to paint one side because the other side will be against the wall.
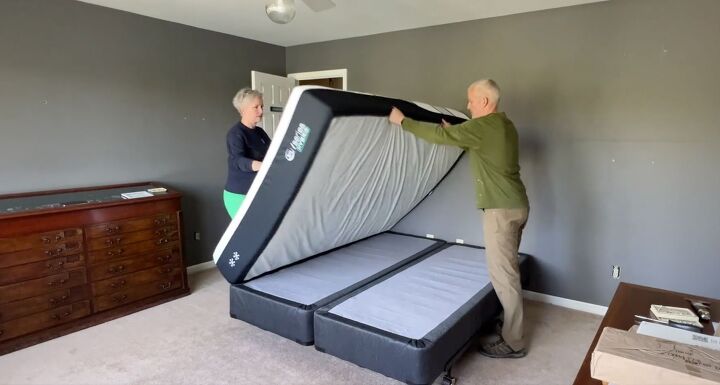
Then it was time to prep the room for painting. We took down all the artwork, moved the bed out of the way, moved all the furniture into the middle, and took down the blinds and drapes.
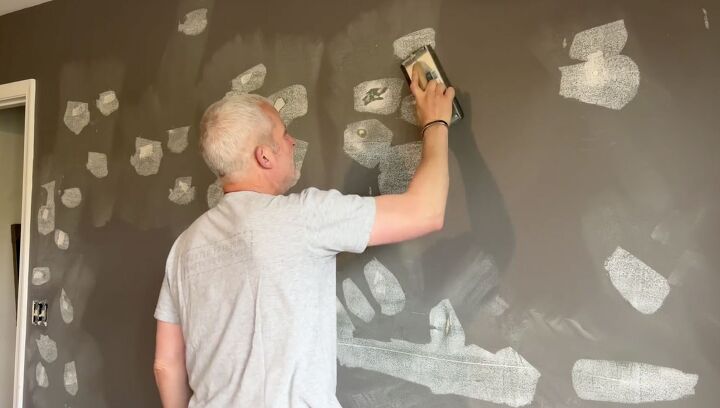
First, we spackled and sanded all of the nail holes and dings that had been in the wall since we first got here. The paint was the original color from when we first moved into the house, so there were lots and lots and lots of things to spackle and sand.
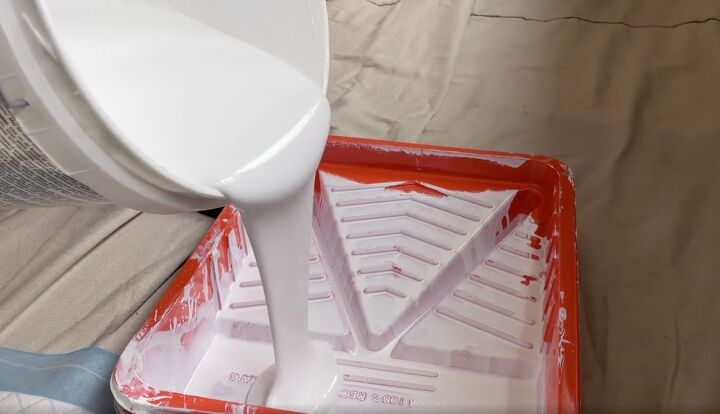
Finally, we were ready to paint the walls and we started with the primer. The walls were dark so we used Zinzer Bullseye 123, primer. We gave it one good coat. I always recommend you wear gloves because the primer is a lot harder to get off your hands than regular paint.
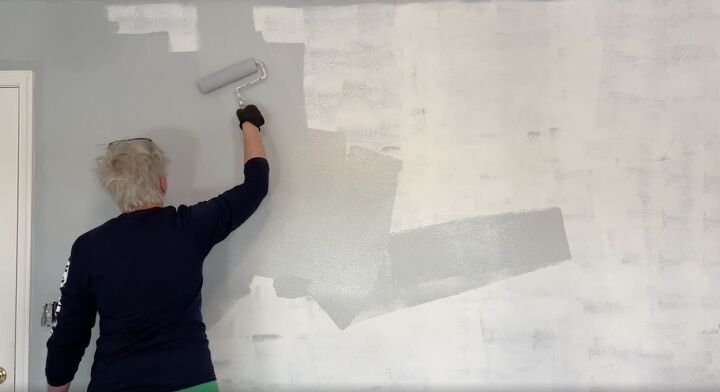
Then came my favorite part of every room renovation; the paint. We used Sherwin Williams Duration Satin Finish in Krypton. We did two coats on the walls.

To change up the curtain rods, I hung them from fishing wire in our backyard and gave them a quick coat of spray paint to match the room.
Finally, we were ready to bring in the headboard. You have a couple of choices when placing it in the room. You can either mount it to your bed frame or hang it on the wall. We always chose to hang it on the wall, so we just figured out where in the room we wanted it.
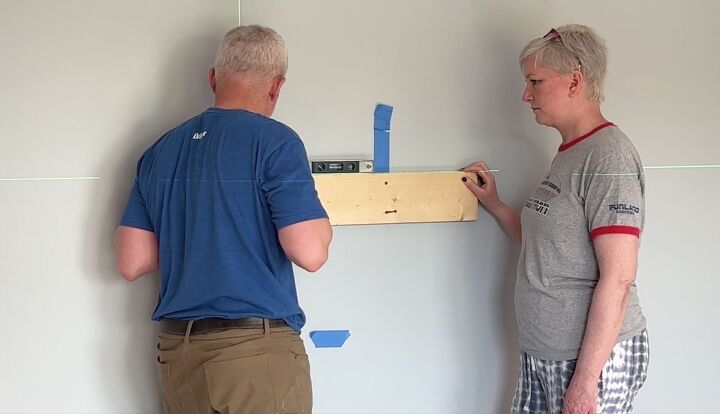
Then we mounted a scrap piece of two-by-six to act as a bracket.
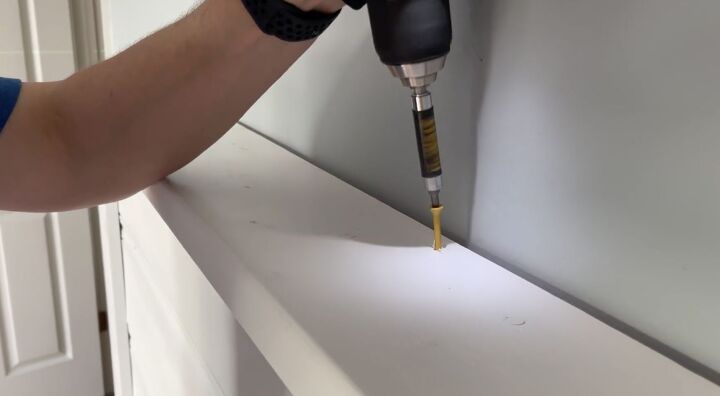
We screwed it into the studs in the wall, then brought in the headboard, which sits on the bracket, then drove in screws to hold it in place.
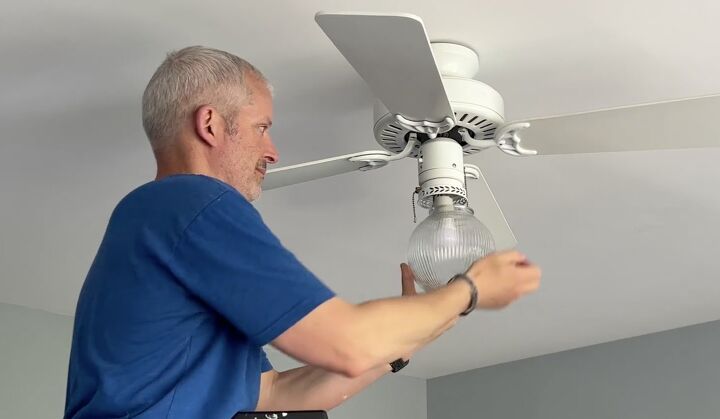
The ceiling fan and light were contractor grade and had been here since we moved in.

We had installed an air conditioning unit, so didn't need a ceiling fan anymore and wanted to replace it with something modern and coastal.
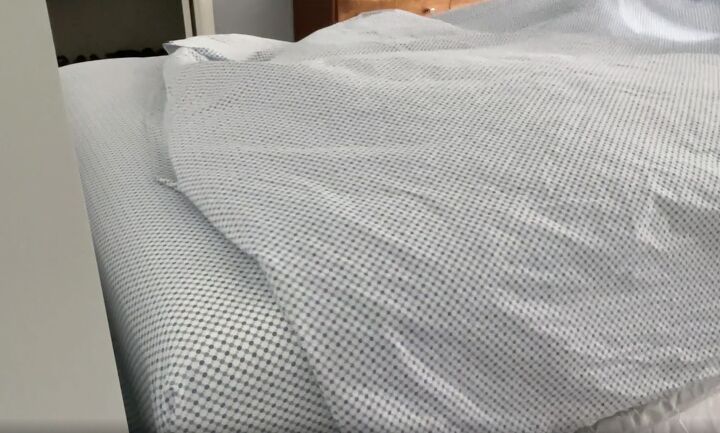
Now it was finally time to put the finishing touches on the room. We could reuse the curtain rod by giving it a quick coat of paint. I grabbed some new drapes for it though and some new sheets for the bed. The room really started to come together.
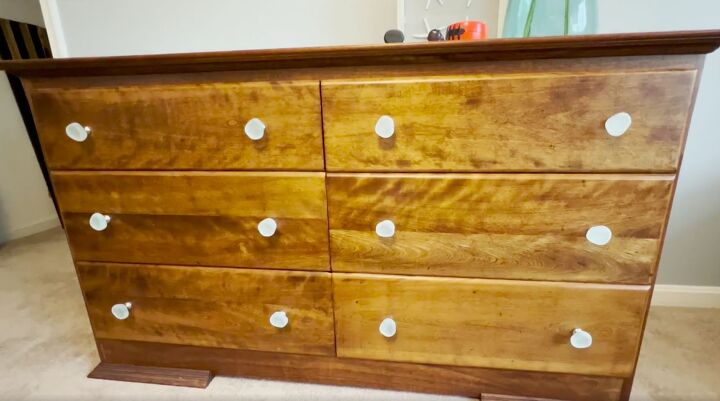
If you have a piece of furniture you don't want to refinish, never underestimate what a difference some new knobs can make.
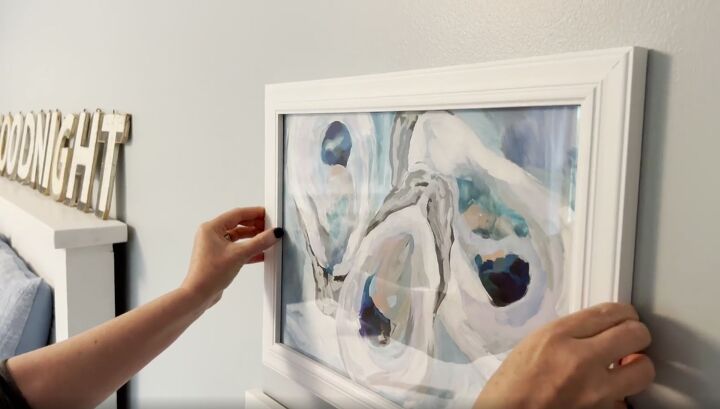
We shopped our house, added a few pieces of local art, and the room was complete.

All this in 48 hours. We almost can't believe how much we love it. The headboard turned out exactly the way we'd hoped, and a fresh coat of paint and some new artwork absolutely transforms the room.

We cannot wait to have our first guest over. We took this room from dark and dreary to bright and cheery, and we absolutely love the end result.
More Gorgeous Bedroom Ideas
Resources for this project:
See all materials


Comments
Join the conversation
-
Love it
-
The final results are amazing, thanks for sharing! Did you follow any particular style and have you used any interior design soft?


Frequently asked questions
Have a question about this project?
It’s a lovely room 💕. I wondered, did you just paint it a lighter shade of gray?
Okay, thanks! Sounds stressful but fun 😀 Do you mind if I try to redesign this space in 3d, probably at planner5d?