


How I Used Brown Paper Sacks to Cover a Laminate Table Top

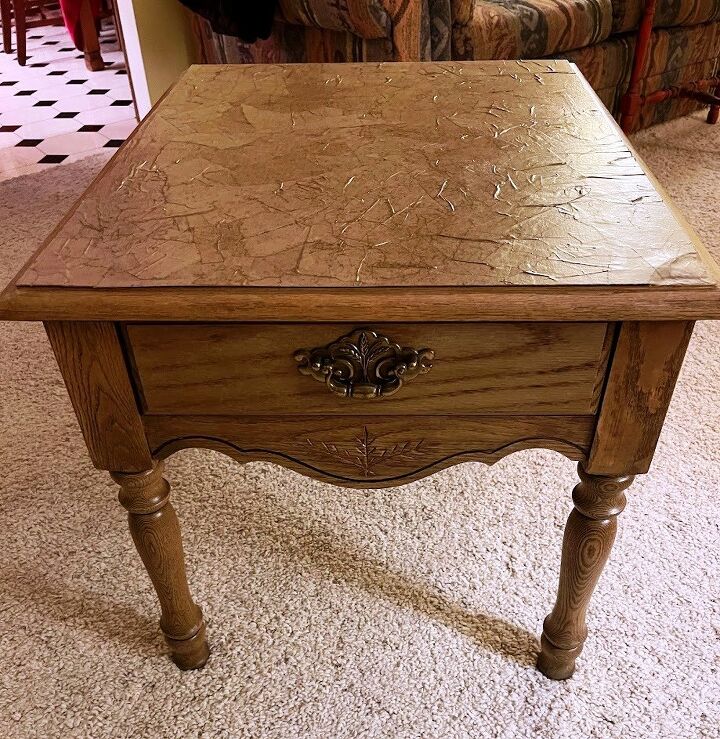
I have a really quick furniture refinishing project for you! I know, that's not usually my style :) On my last visit to my mom's house, she showed me a small side table that she had found during one of her morning walks. She said it was on the curb by a neighbor's house.
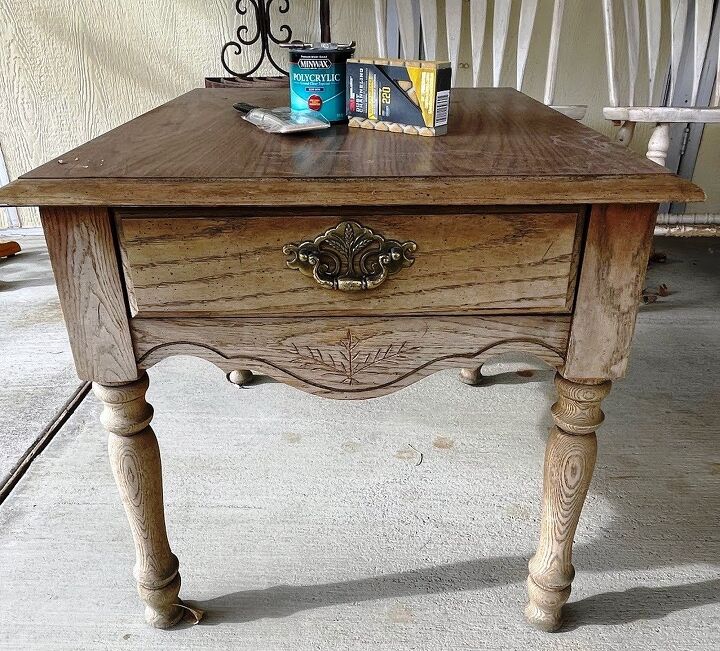
When she showed me the table, I asked what she planned to do with it. She said she hadn't thought much about it, she was just tickled to have been given a free table. I looked it over. It was obvious that it had set out in the weather because most of the stain & finish had worn off. It looked like a quick project and I offered to refinish it for her. I figured it would just need a light sanding & a clear coat. Since mom doesn't have a stash of furniture refinishing supplies, we went to Home Depot and I picked up a sanding block, paintbrush, and the smallest can of polyurethane that they had.
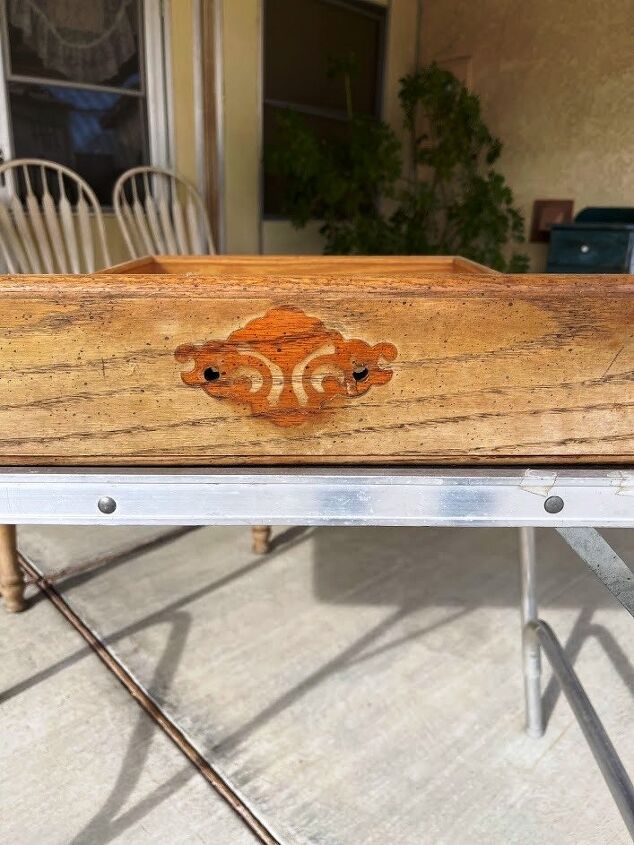
The first thing I did was remove the drawer and take off the handle using a screwdriver. Under the handle was the stain & finish that had been untouched by the weather. When I tried to sand it with the sanding block I had, it didn't even budge. Drat!
I then took a closer look at the table and noticed that the area that had been protected by the top of the table also had the stain & finish pretty much intact. Now, I needed a revised plan.

You might recall that I have used Easy Off to strip a few furniture pieces. I find it easier and less messy to use than actual stripper. I put the drawer and table out on the graveled area in mom's backyard and sprayed the few sections with the oven cleaner. After letting it work for about 20 minutes, I scrubbed the wood with a scrub brush and a little dish soap before washing it down with the garden hose.
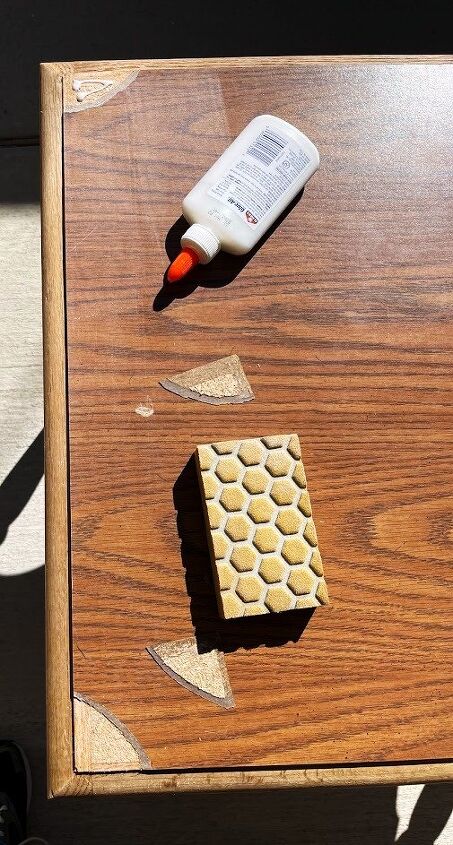
After the wood dried, it was easy to use my sanding block on the wood. With the wood sanded, I figured I'd go ahead and remove the veneer. I set a hot wet towel on the top of the table and let it sit in the sun. When I removed the towel and tried to remove the 'veneer', one of the corners just chipped off. It was THEN that I noticed that it was not veneer but laminate! Not only that but under the laminate was not wood but particleboard! I really have no excuse for mistaking laminate for veneer but my reasoning for doing so is that a few of my recent projects have involved removing veneer ;)
Now, I had another decision to make ... do I continue to remove the laminate, sand the particleboard, and apply poly or do I glue the broken piece back into place?
My first decision was to remove the laminate. I got out a blow dryer and applied heat to the tabletop only to have the 2nd corner chip off. Not only was that frustrating but it was going to take me forever to remove the laminate - IF, that is, it would come off at all!
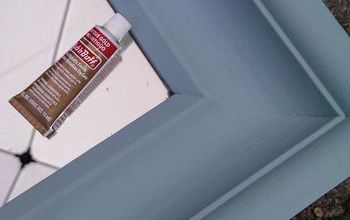
So, I decided to glue the pieces back into place.
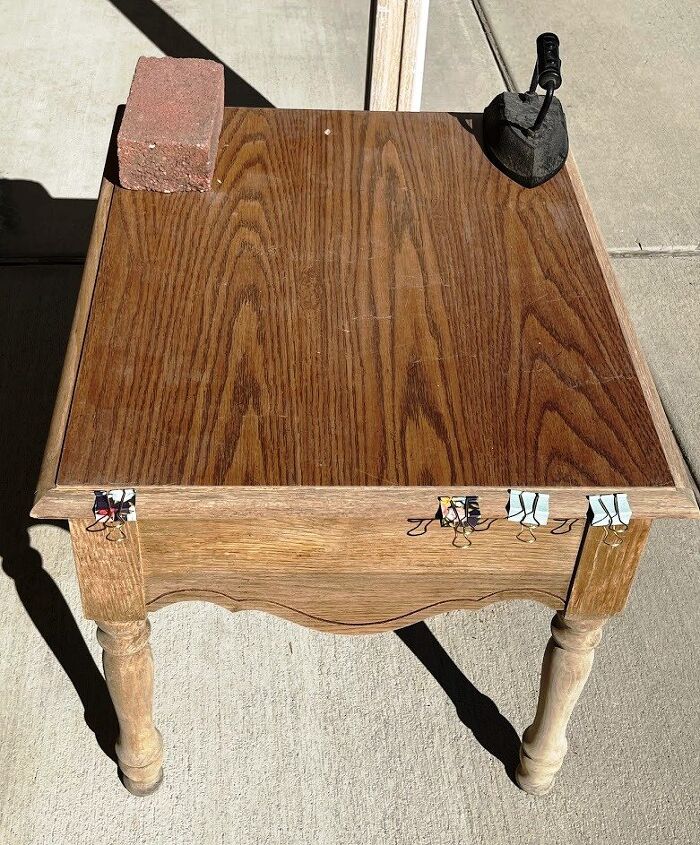
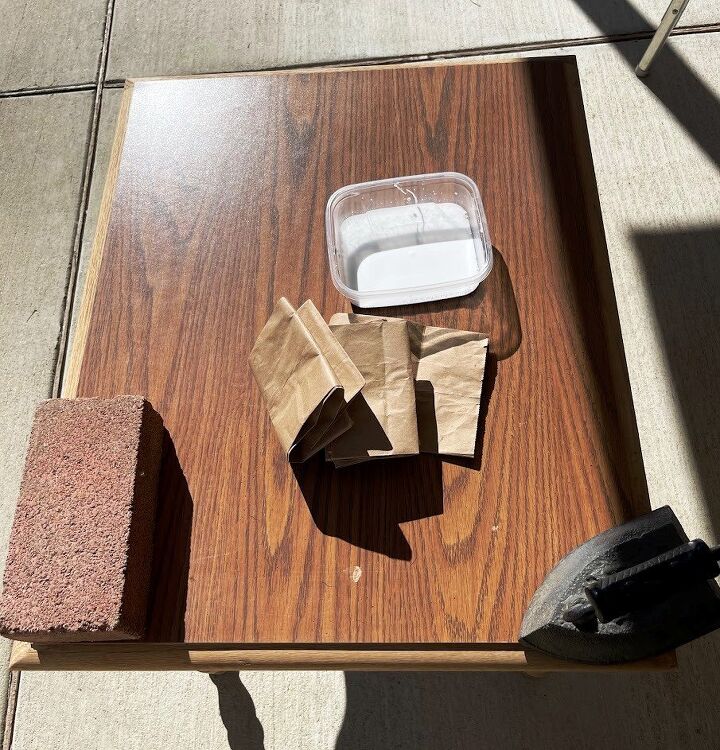
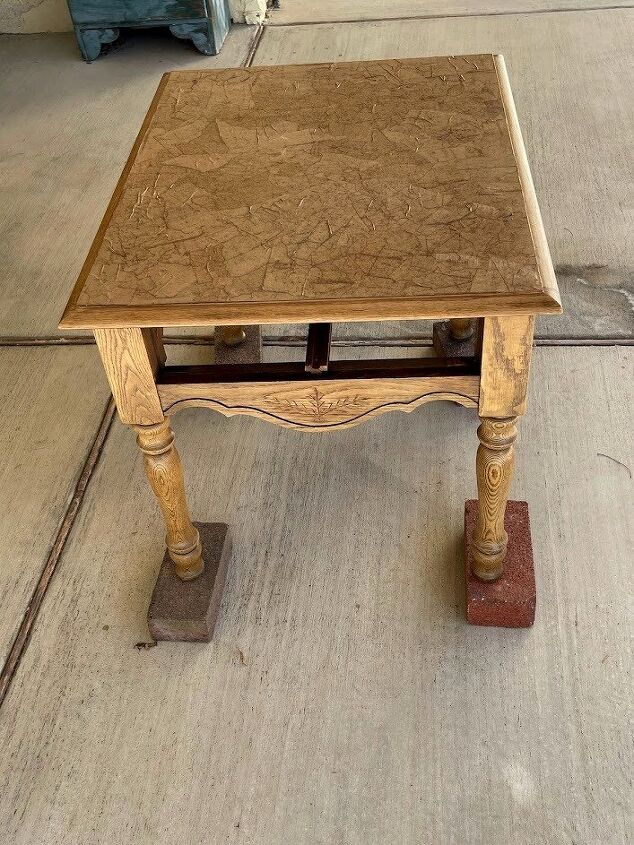
As I mentioned, mom doesn't have project supplies so I had to improvise with a brick & an antique iron - made of cast iron!
While I was using the glue, I saw that there was a thin piece of wood under the tabletop that came loose when it got wet. When I asked mom if she had any clamps, she brought me these metal clips for paperwork. Although I was skeptical that they would work, they were actually the perfect size!
Once the glue dried, I had another decision to make in regard to the top of the table. I couldn't leave it as is with the corner pieces glued back into place. I could paint it but the glued on pieces would be obvious. There had to be another option! After giving it a bit of thought and considering what supplies I had on hand, I decided to try a technique that I've seen but not used before - decoupaging with brown paper bags! After all, I already had glue and had seen a stack of paper bags in a kitchen drawer.
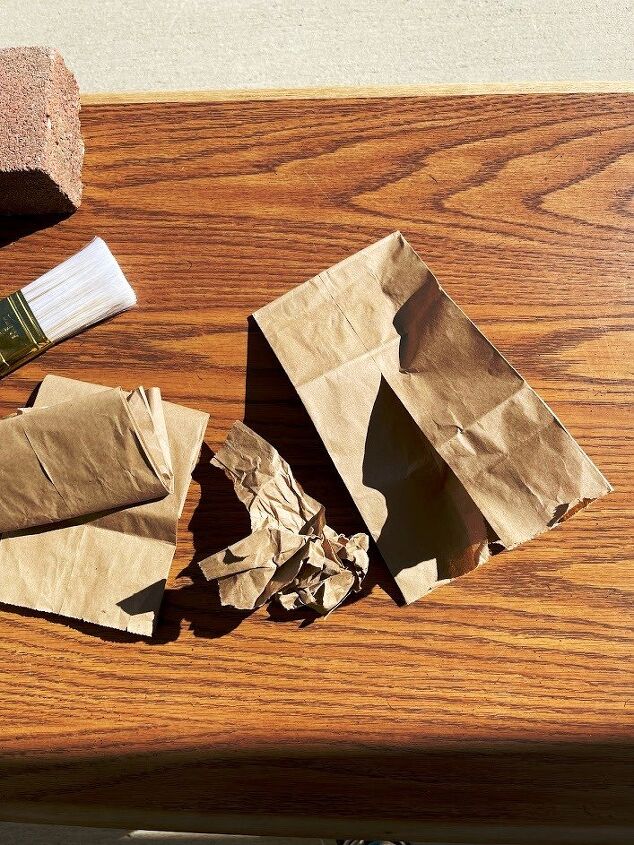
While I've not used brown paper bags to cover a surface before, I have decoupaged many items in the past. All you need is glue, water, brown paper bags without any printing on them (you can also use brown wrapping paper), and a paintbrush. The technique is simple. The first step is to mix a little water and glue together. The next step is to tear the bags into small pieces and then crumple them.
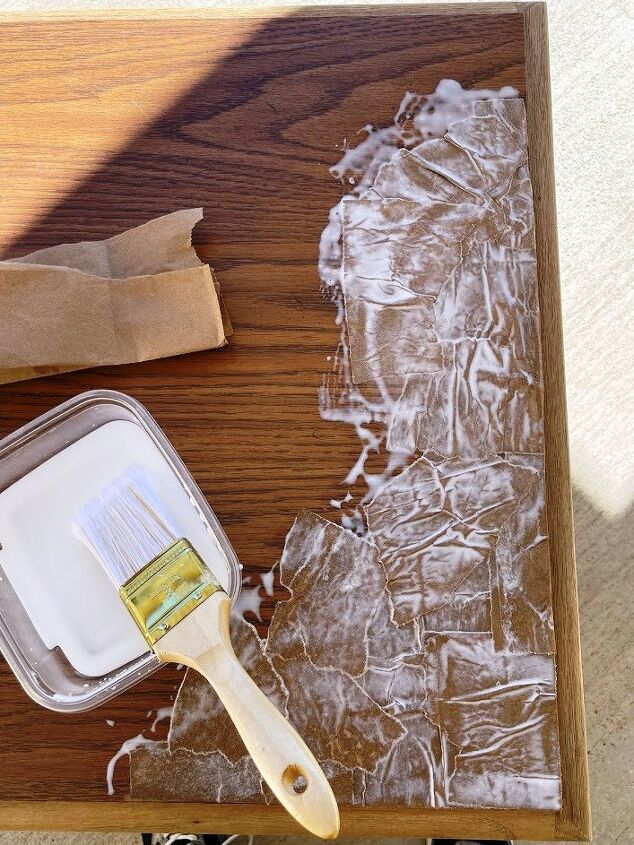
To apply the pieces to the tabletop, I dipped the paintbrush into the glue mixture and painted a small section of the tabletop. I then laid a piece of the crumpled but smoothed out a bit bag and applied the glue mixture on top of it. You could also dip each piece in the glue mixture if you prefer.

As I got close to the iron & brick, I removed them only to find that one of the corner pieces just fell off again. No worries, I'd just cover the space with paper and it would be hardly noticeable.
After the entire tabletop was covered, I added a little more of the glue mixture to pieces that were sticking up too much and pressed the pieces with a finger. Since I was working on the table outside, the glue dried quickly.
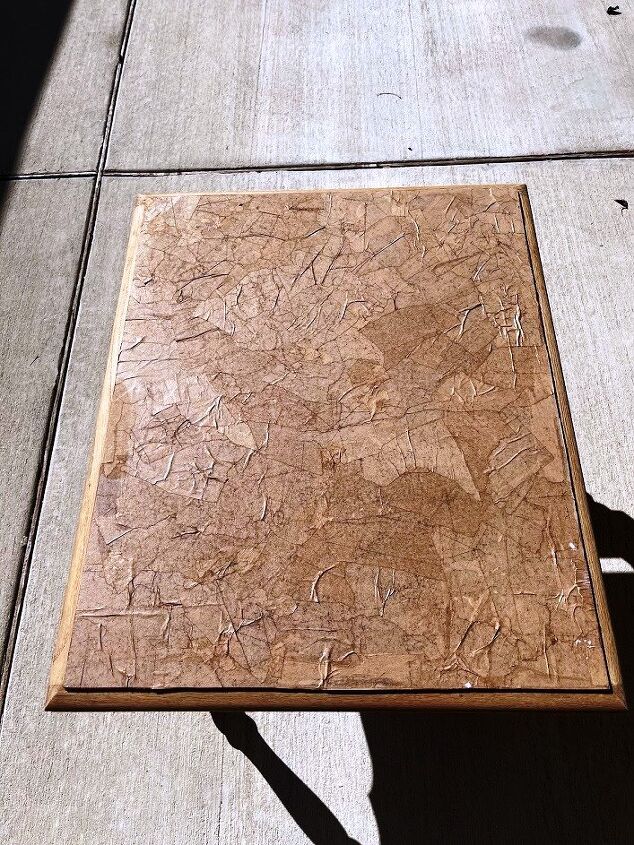
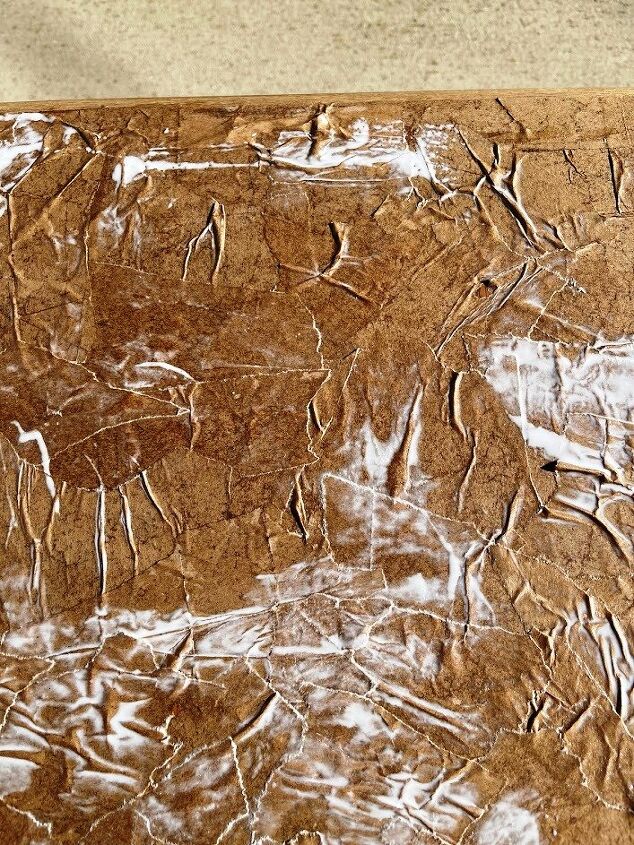
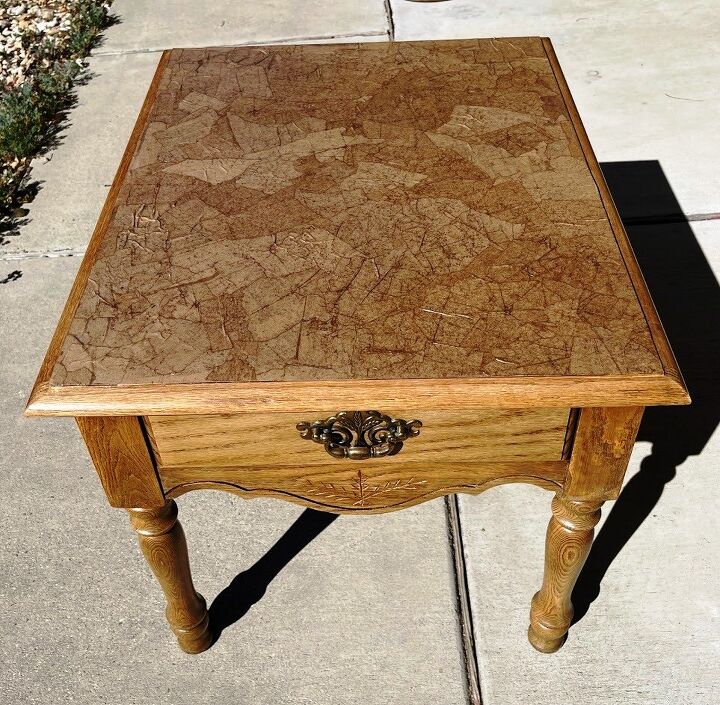
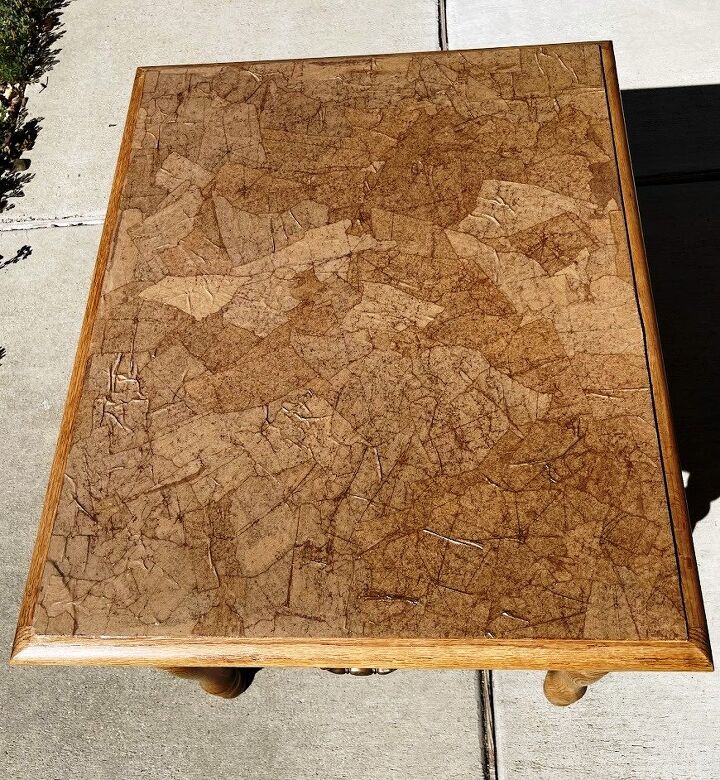
When the top of the table was dry, the brown paper bags looked like leather! There is a variation of color which just makes it more interesting.
To seal the wood, I applied 2 coats of Minwax water-based polyurethane in satin using a paintbrush. As I was working in the sun, I allowed only 1 hour between coats for drying time.
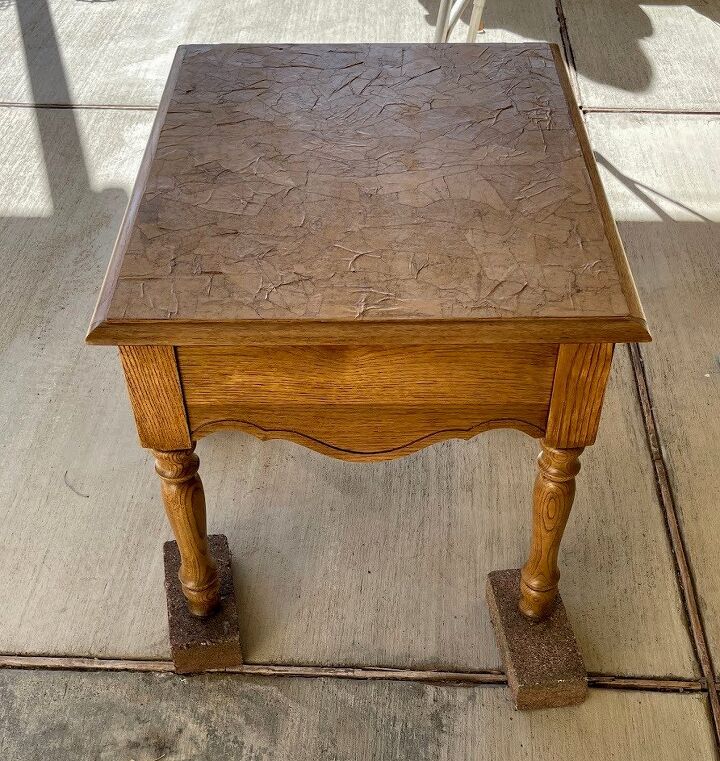
Because the tabletop will get more use, I applied 3 coats of polyurethane to it. I didn't take pictures of this part of the project; my sisters had come over for a visit so we were busy chatting as I was finishing up on the table.
When I started this refinishing project, I thought it would be a simple sand & poly one. But, with most of the projects I tackle, my estimate of what they will entail and how long it will take is usually too optimistic. However, this really was a quick & simple project. It just seems long since I walked you through my thought process as I worked on it :)
Steps:
Spray with Easy Off
Scrub wood & rinse
Sand wood
Decopauge with brown paper bags
Apply polyurethane
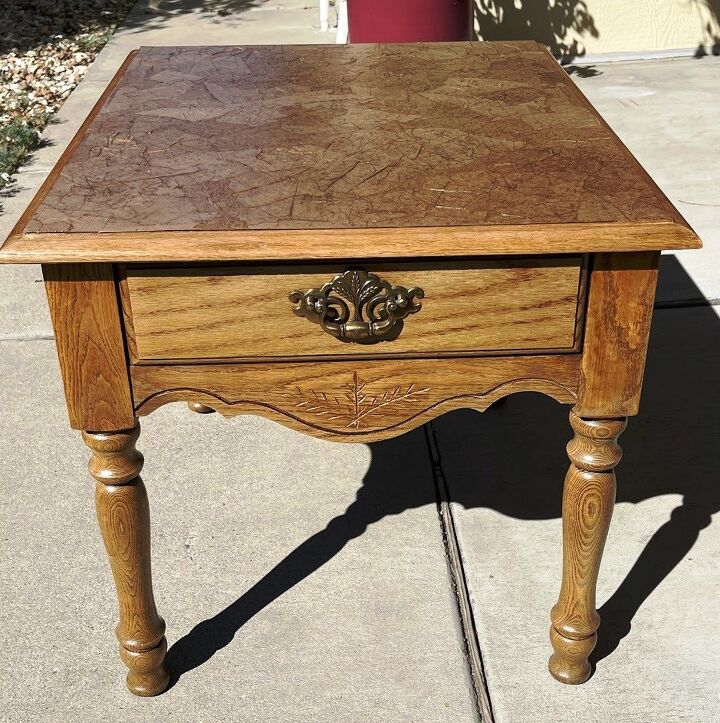
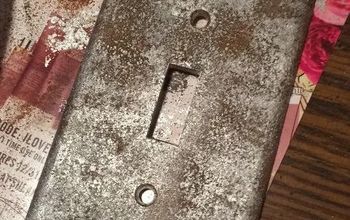
If you know that the corner piece is missing, you can see the indentation.
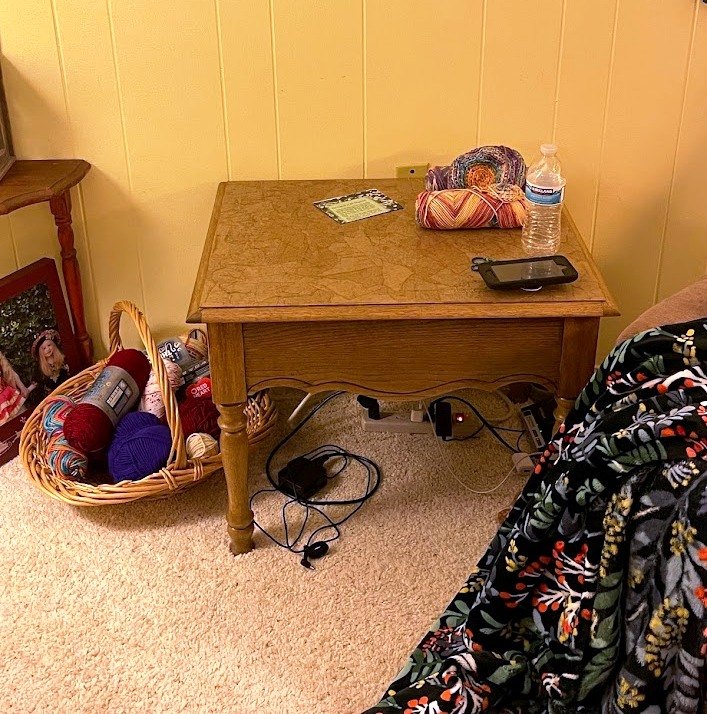
Where mom has the table set, though, it is not noticeable.
- Sanding block
- Easy Off
- Scrub brush
- Water
- Minwax water-based polyurethane
- 1 1/2" paintbrush
- Elmers glue
- Brown paper bags
- Clamps
- Screwdriver
- Remove any hardware
- Remove finish with Easy Off oven cleaner
- Spray Easy Off (or other oven cleaner) on a section of the furniture
- Allow to sit for 20 minutes
- Use a scrub brush dipped in water to scrub off finish
- Rinse with water
- Allow to dry
- Sand with 180-220 grit sandpaper
- Mix Elmer's glue with a little water
- Tear brown paper bags into small pieces & crumple
- Using a paintbrush, brush glue mixture onto surface
- Flatten pieces of paper back & lay onto glued surface
- Brush more of the glue mixture onto each piece of paper
- Allow to dry
- Apply two to three coats of water-based polyurethane
Resources for this project:
See all materials


Comments
Join the conversation
-
Years ago I did something similar using torn pieces of masking tape and stain. Look like real leather with no lumps.
-
Wow! Your table top is so interesting, creative, gorgeous AND also looks like leather!!! 👏👏👏 💕


Frequently asked questions
Have a question about this project?
I love the finished project but I do wonder why you did not use regular decoupage.
Also another option could be to use decorative paper the same way you used the paper bags or even pretty wall paper.
Nevetheless it is beautiful and a good find.
Is it a rough finish? It looks quite lumpy. I would like to try this, I love the look if it were smooth
Love this idea! Did you prepare the laminate in any way to get the glue to adhere? Can you do this same thing to Formica surfaces or would you need a different type of glue?