How to Update a Dresser Using Resin and Paper Clay Appliques

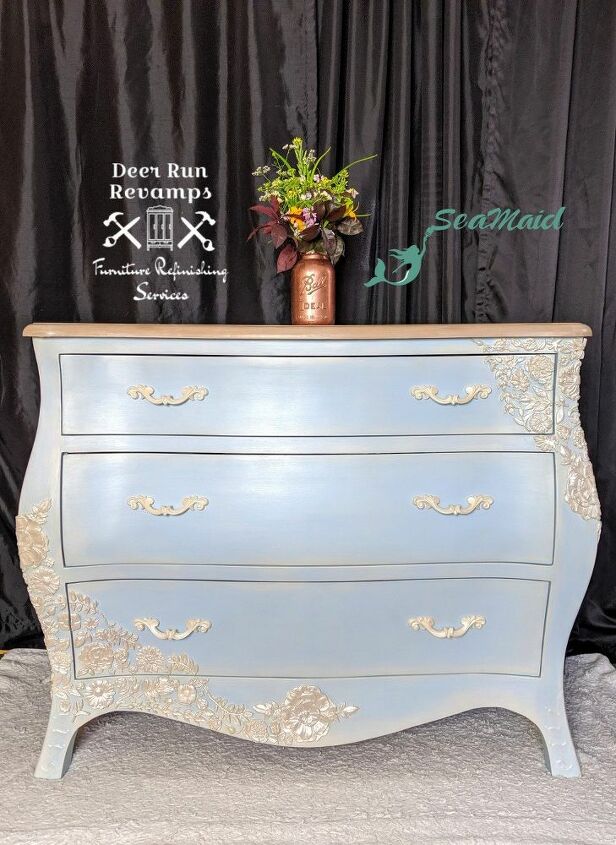
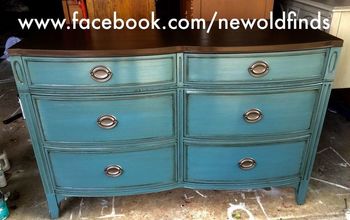
I bought this Bombay style dresser over a year ago for a client who originally wanted to add it to her decor, but then changed her mind. And I've been holding on to this piece ever since!
With those gorgeous curves, I knew I needed to do something special with this piece.
I saw this stunning piece full of floral molds on a high-end website and I was instantly inspired!
I gave my idea to another local furniture refinisher, and a friend, Candace, the owner of Sea Maid, and she loved it as well! So she helped me get started on this one....
I first prepped my piece. Clean really well, make any necessary repairs, then did a scuff sand all over using 220 grit sandpaper, and finally I primed the piece.
Once the primer dried, I painted the entire piece, except for the top, with heavenly blue by Frenchic. This only took 2 coats to cover and I sanded after each coat using 320 grit sandpaper.
Then dry brushed the entire piece using an ivory color, focusing on the curves
For the top, I used a product called retique it. It's liquid wood and is stainable. I applied the first coat and allowed it to dry, then applied the second,and while it was still wet, I ran a wood graining tool over it.
Now it's time to add the molds! There are two companies who make great silicone molds, Redesign with Prima and Iron Orchid Designs. We used 8 different molds to get all the different flowers and leaves.
I used paper clay to make the appliques that needed to go around the corners or be pliable, and amazing resin for the rest.
When using clay, sprinkle the silicone mold with corn starch, this allows the molded clay to pop out easily.
Just press the clay in the mold, and remove as much of the excess as possible. Then pop it out!
When using the quick set amazing resin (they make two different kinds, one takes 24-48 hours to cure, the other takes only a few minutes), mix in small batches according to the directions. It hardens quickly, so don't mix much at a time.
You don't need the corn starch when using resin. Just pour the mixture into the mold and wait for it to harden and then it will pop right out
To attach the appliques, you can use either e6000 or wood glue. They both work well and make a tight between the mold and piece of furniture
Once I had all of the appliques attached, I took a small detail brush and painted them all with general finishes champagne pearl effects. This is a beautiful shimmery ivory. We also painted the hardware in the same ivory color as the dry brushing and added a bit of the champagne Pearl effects as well
Once everything had dried, I sealed the entire piece with general finishes high performance top coat. I did 3 thin coats, waiting 2 hours in between coats
And there you have it! An extremely unique piece that you will never see again 😍
Here is a before photo
And some more after photos
If you have any questions, don't hesitate to ask, either here, or reach out to me on my Facebook page. I'd be happy to help and inspire 😉
You can also find more unique pieces and inspiration on my Instagram
https://m.facebook.com/deerrunrevamps/?ref=bookmarks
https://www.instagram.com/deer_run_revamps
Enjoyed the project?
Resources for this project:
See all materialsComments
Join the conversation
-
 Y'vonne Delano
on May 05, 2021
Awesome it's beautiful. I have two chest of drawers I'm going to try your technique...
-
-
 Bonnie Woolever
on Jan 28, 2023
Gorgeous!!
-






Frequently asked questions
Have a question about this project?
Hi good morning, this technique is possible on glass?
Sorry to appear thick! but why did you use resin?
Hi again, could you tell me the type of resin this is please? I live in England and can't buy that make. When looking on line to find it there seem to be a lot to choose from!!!??!?