


How to Update a Wooden Mirror With a Pretty Furniture Transfer

Need to update a wooden mirror with a new lease of life? See how paint and a pretty furniture transfer turns boring into a statement piece.
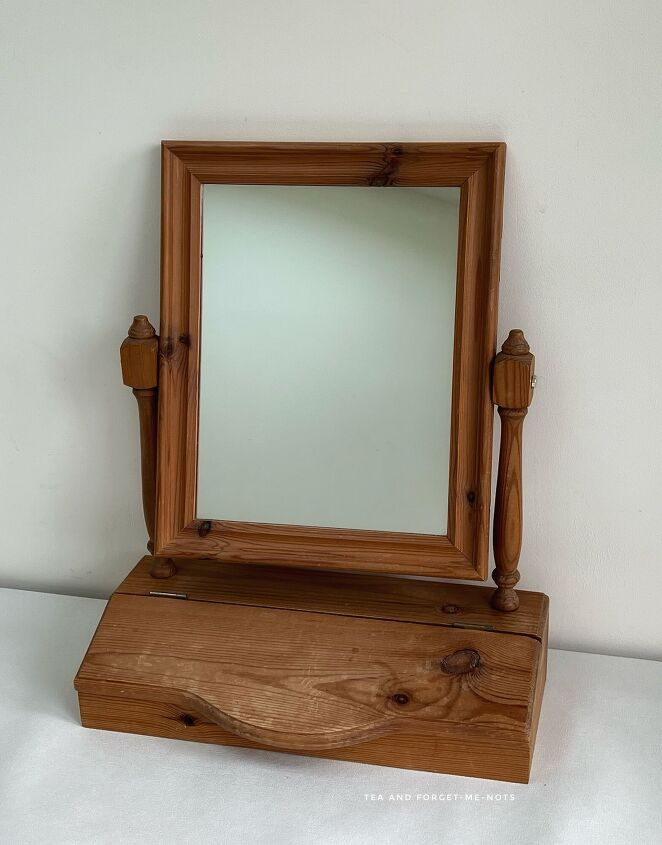
This mirror was bought in a charity shop for a bargain, at £5.
It was in great condition and didn’t need any repairs. The mirror was slightly loose and tilted forwards but to fix that I simply added a couple of washers to where it met the frame.
To start with, I gave the mirror and frame a quick clean with White Lightning. I’ve recently added a mixture of this to a spray bottle rather than making a new batch each time.
It’s so convenient to use now. I just need to buy a second spray bottle for the rinse afterwards and I’ll be really efficient with my time.
I just got these new sanding tools. They’re a set of various shaped rubber pieces. They are designed for sanding differently shaped areas.
So, this circular shape fitted perfectly in the groove of the mirror surround. It makes for a more accurate and even way to sand by hand
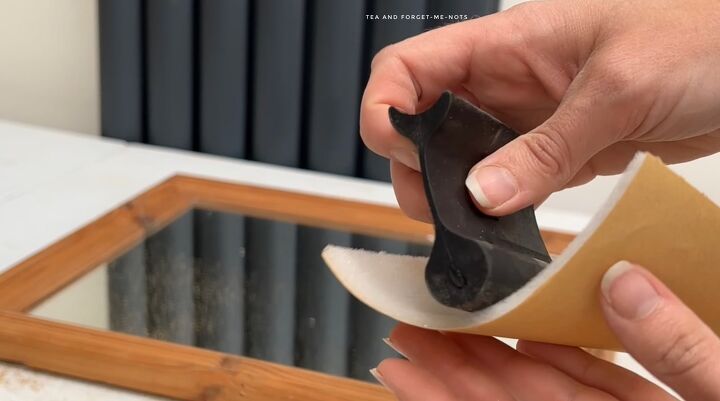
If you ever need to sand in odd nooks and crannies, I highly recommend them.
I sanded the mirror and frame with 180 grit sandpaper and then wiped the dust off with a damp cloth.
The mirror has a little compartment with a lid. I knew that I wanted a light coloured mirror but it’s easy for a compartment like that to get dirty, especially if it stores something like makeup.
So, I chose a dark wood stain for the inside. That would help hide scuffs but also contrast nicely with the light paint.
I did two coats of No Pain Gel Stain in the colour, Walnut. I applied it with a foam brush and wiped it back lightly after each coat. It turned out exactly how I hoped it would, a lovely rich brown.
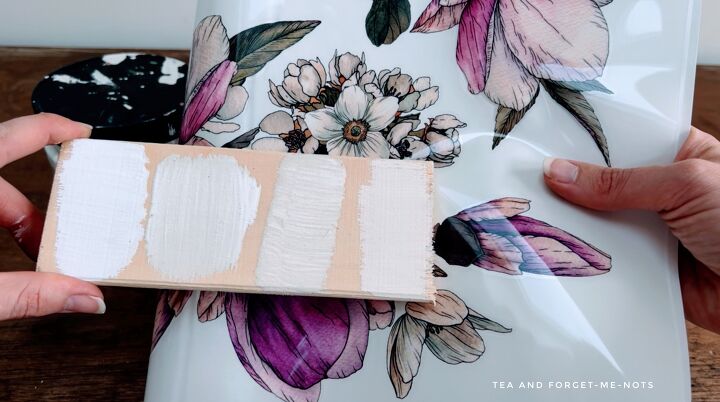
While I knew I wanted white or cream paint, I didn’t know which one. As I’d already chosen a furniture transfer for the mirror, I did four swatches of potential paint colours to see which looked the best.
So, I swatched Dixie Belle’s Salt Water, Endless Shore, Drop Cloth and Buttercream. I chose Buttercream as it complemented the floral transfer the best.
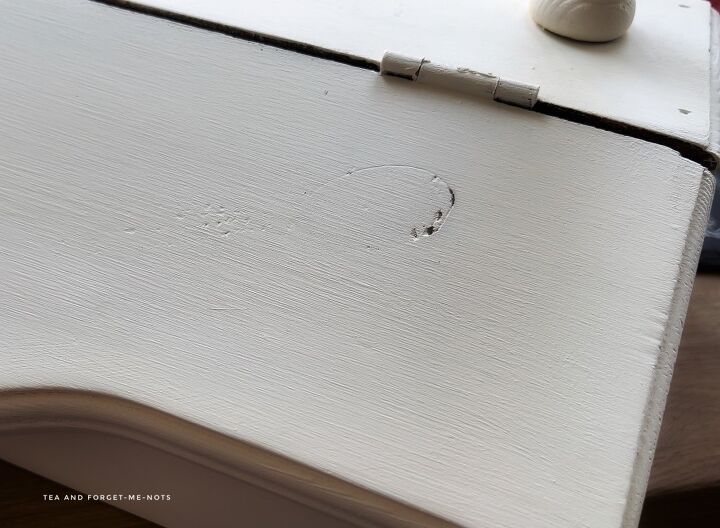
I painted two coats of Buttercream using a flat synthetic brush. Then I used a round synthetic brush for the spindles holding up the mirror.
I didn’t fill in the natural knots in the pine because I knew the transfer would cover them. Depending on the look you want though, you might want to fill a knot if it has holes in it. When a knot is painted over, the holes can look like dents or poor quality wood.
Sometimes I slot playing cards under the edge of the mirror to avoid getting paint on it. But the frame was too close to the mirror for cards to fit under.
I could have used FrogTape but there was a good chance that I would still have to do some clean up of the mirror even with this.
So I decided not to bother and use my great trick for cleaning up everything at the end. Which is using shaving foam and a razor blade. I kept the blade as flat as possible to avoid scratching the mirror and it removed the excess paint easily.
On to the transfer that inspired the whole look. I chose the floral transfer, Bud and Branches by Belles and Whistles.
As my mirror was a small project, I only needed part of the transfer and took some time to work out which pieces would work the best. I used one of the big florals for the base and two individual flowers for the mirror itself.
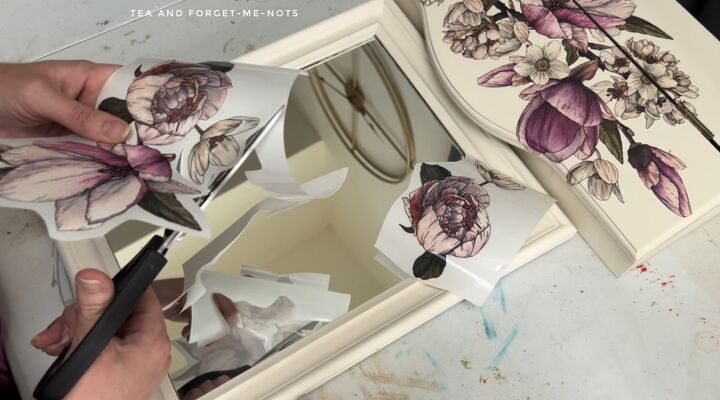
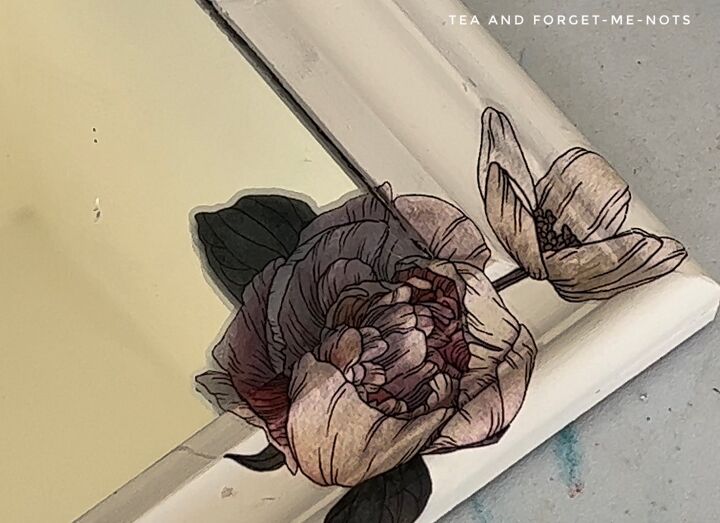
I initially placed the individual flowers overlapping the mirror. As I thought it would soften the shape of the hard edges of the mirror.
But I didn’t like the colour difference between it being placed over the paint and the mirror. So again I used my razor blade to remove the section that covered the mirror.
Enjoying the post? Please consider subscribing to my blog for my best-of tools, products and tips!
To finish, I sealed the piece with two coats of Clear Coat in Satin. For Belles and Whistles transfers, you seal on top of the transfer.
Other transfers you need to seal before applying it. It’s important to check which way round it is to give the right protection.
I also sealed the stain. Stain colours wood, but doesn’t add any level of protection itself.
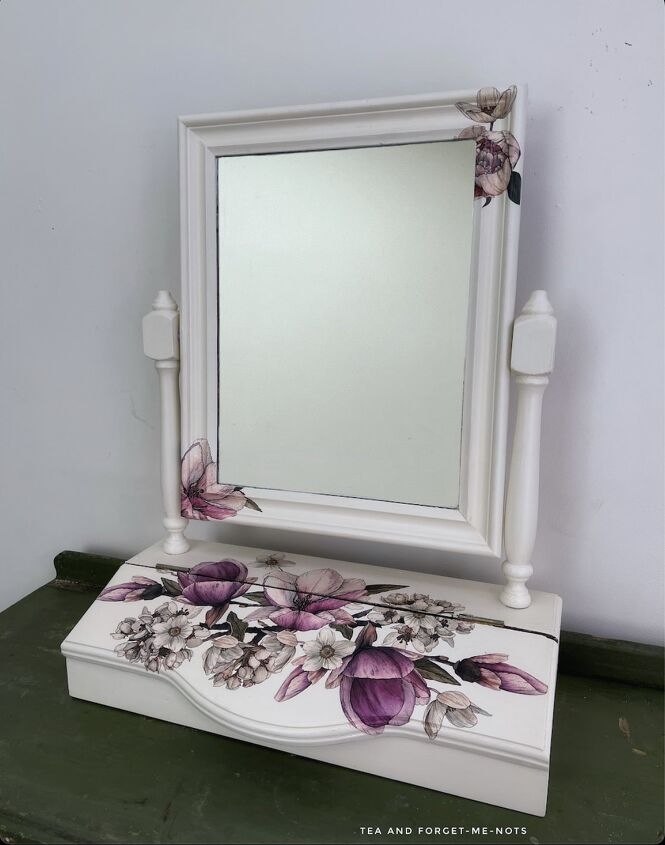
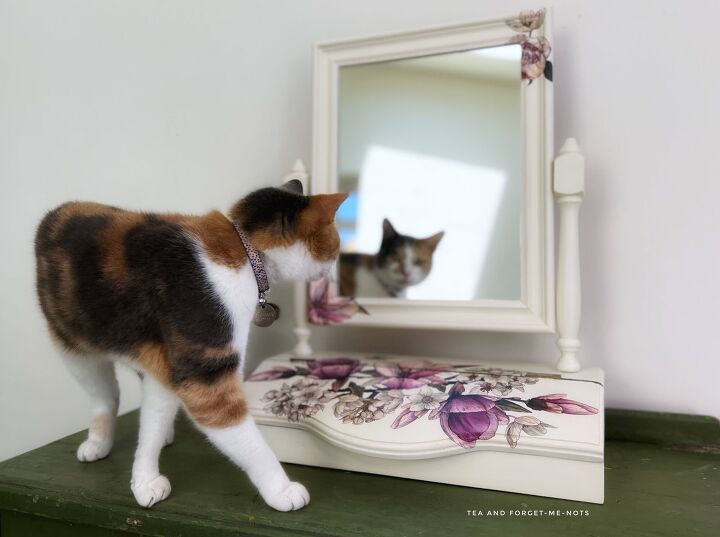
Sometimes my vision for a piece doesn’t work out how I imagine it. But this mirror is exactly what I hoped it would be.
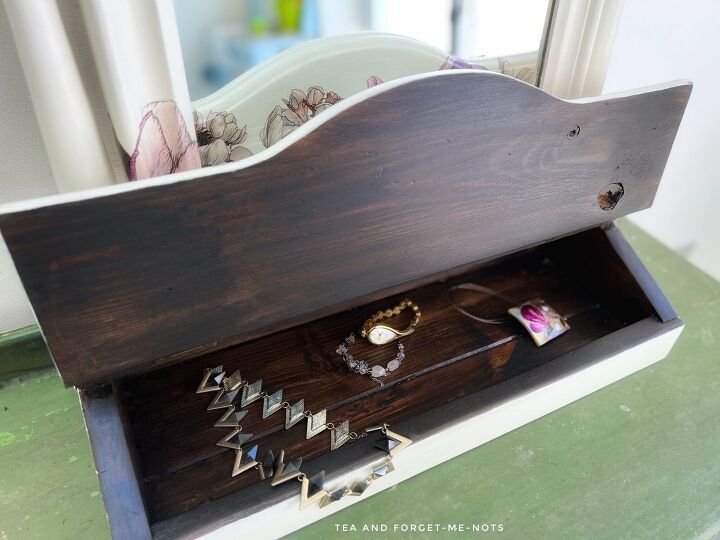
It would be lovely to store makeup or jewellery in. A special little cubby hole for treasure.
I love the contrast between the stain and the paint. And the purple flowers against the creamy paint.
And while the mirror is lovely, there can only ever be one star of the show. Here’s Pastel, proving that she is, of course, the fairest of them all.
I hope you enjoyed the transformation. It doesn’t take much to create a small, statement decor piece.
And if you’d like to see it come to life, here’s the 6-minute video.
Includes products gifted by Dixie Belle. All opinions are my own.
Resources for this project:
See all materials


Comments
Join the conversation
-
Very pretty. I love that transfer I have used it too. Cute cat!
-
Love the transformation but yes, our pets always take centre stage!! She's so pretty!


Frequently asked questions
Have a question about this project?
I'm sorry, but Pastel steals the show! What a cutie pie! What a fabulous job on the mirror (with Pastel's seal of approval)! Can you tell me where you found those rubber sanding blocks? I need to get some of them! And can you tell I love cats? 🐱