


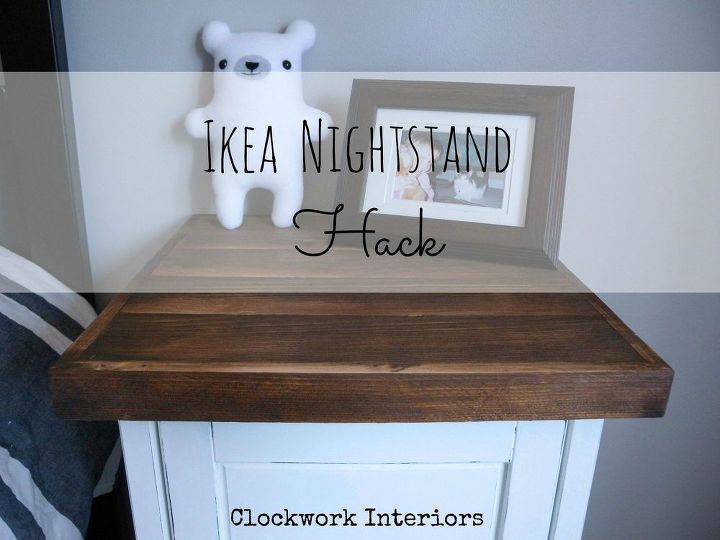
IKEA Hack - Customize a Hemnes Nightstand With Reclaimed Wood
Do you have any basic IKEA furniture you'd like to give a customized look? We'll show you how to take a plain Jane Hemnes nightstand into a rustic beauty!
This basic, black nightstand has been in my daughter's bedroom for the last five years. Her bedroom was getting a mini-makeover, and my now 15 year old wanted to give her nightstand a makeover, as well.
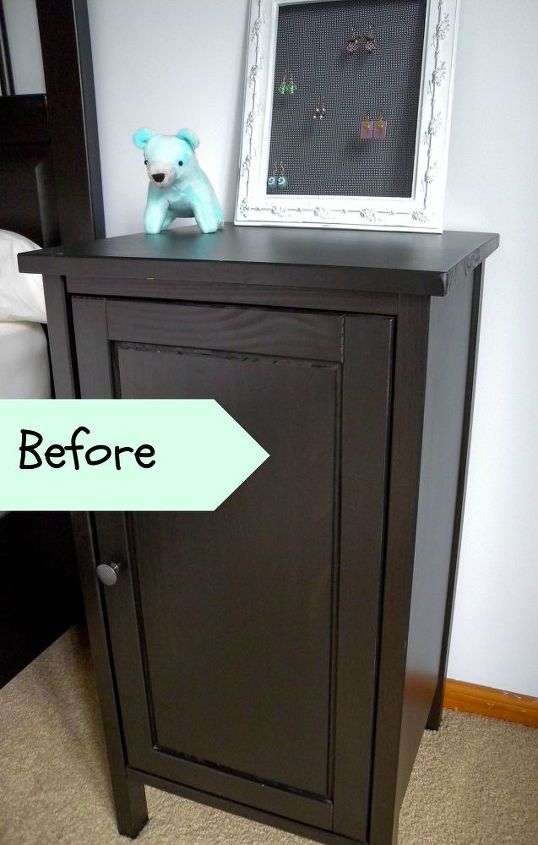
Using her Tech Ed skills, she wanted to build a new rustic wood top from leftover fencing and wanted the body painted white. My 15 year old built this top herself, with mitered corners, no less!
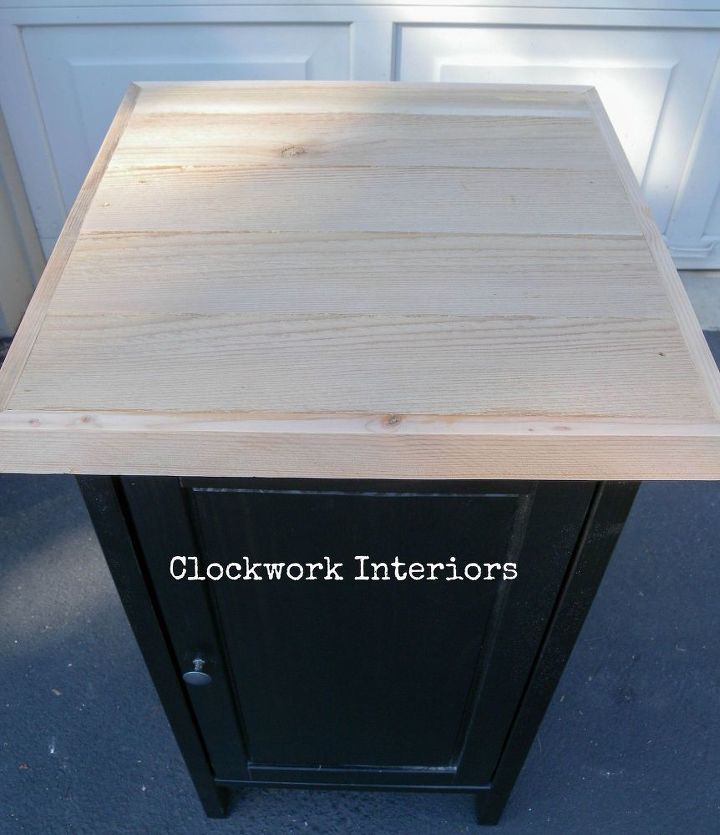
She basically assembled a slatted box top to be attached over the existing Ikea top. She first measured the width of the existing top. Using that measurement, she added an 1/8 inch and cut the amount of boards needed to cover the top horizontally -- in this case 5. The pieces were then glued and clamped together.
Now time for the sides. She wanted mitered corners. To do this she cut four pieces of edging, which are the width of the new top plus two times the thickness of the edging. The added width allows for the mitered corners. Setting your saw at a 45 degree angle, cut the ends of the edge pieces the required length. The inside edge should be the length of the table top while the outside should be the top plus two times the thickness of the edging. Once the top is dry, glue and clamp the edge pieces to the top piece.

Once the new box top was dry, she gave it two coats of Early American stain and heavily distressed it.
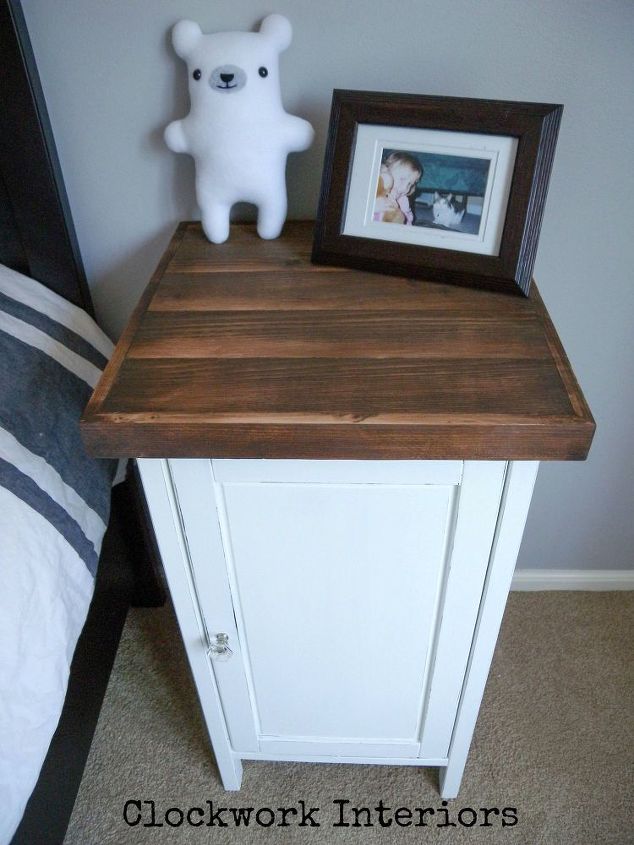
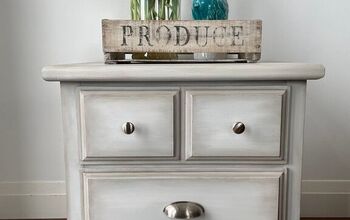
While the top was being built, I removed the door and hardware; taped off the inside; and gave the body two coats of chalk paint. Once dry, it was sanded super smooth and lightly distressed. The original hardware was replaced with a new glass knob.
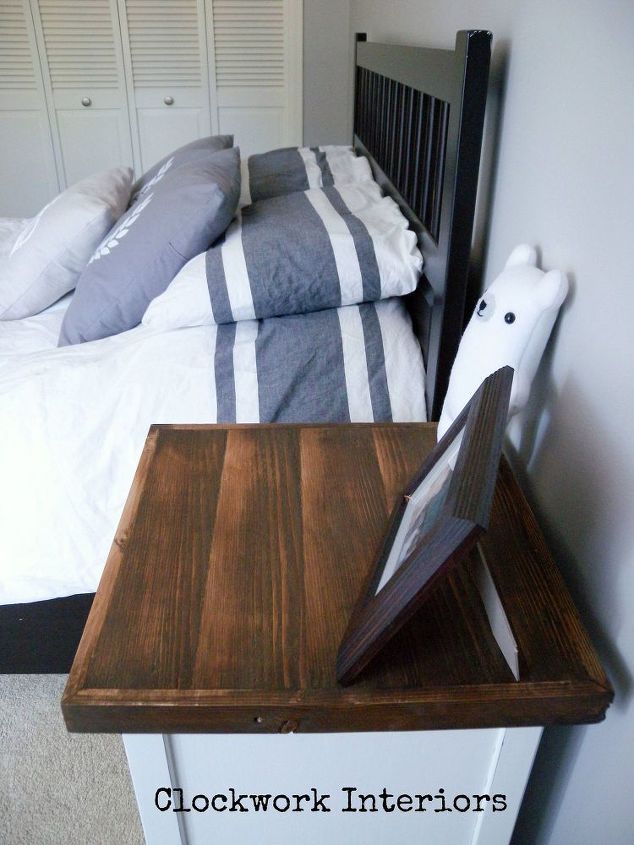
The new top was glued over the existing IKEA top -- it is super chunky now -- I think she did a great job. She has taken a basic prefab piece of furniture and created a special, customized piece perfect for a teen's bedroom. I invite you to check out my full post for further instructions and pictures!
DIY home decor using reclaimed wood

Comments
Join the conversation
-
wow! awesome job on that top! I need to do that for an old cabinet I have-I've been putting it off. Kudos to the kiddo!
-
This looks lovely!


Frequently asked questions
Have a question about this project?