


Using Paint With The Prettiest Name
Thank you to Lilly Moon Paint for sponsoring this post, all the opinions are my own.
'Lilly Moon' what a dreamy name.... I think it was the name that first got my attention.
This Knoxville, Tennessee based company is family owned by Yari and Johnny, a husband and wife team. Yari has been a furniture refinisher for many years with a wealth of knowledge, she has been a huge influence on others.
Lilly Moon carry a variety of decor paints in some of the most beautiful colours, there are over 50 shades to choose from. They also have a range of Smokey Gel stains.
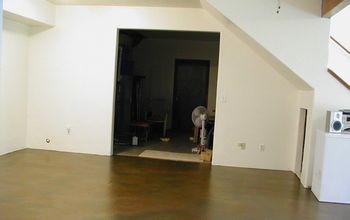
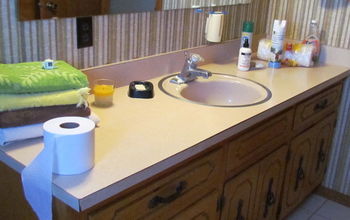
I have a dresser in need to a makeover.
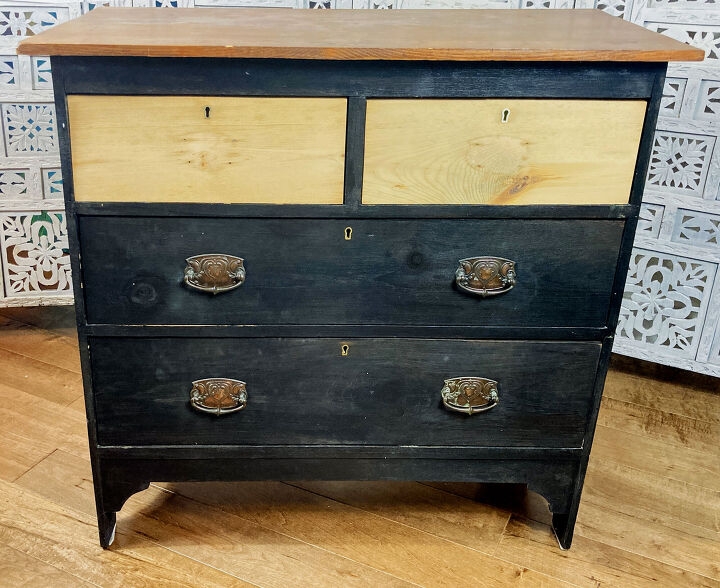
- I have had this this dresser for years, it is solid pine and actually quite old but it is rough and dirty and in need of some TLC.
As you can see, a few years ago, I started to prep it but this as far as I got when life got in the way.
Now it is time...
- THE PREPARATION PART.
- The most important part of any makeover is prep.
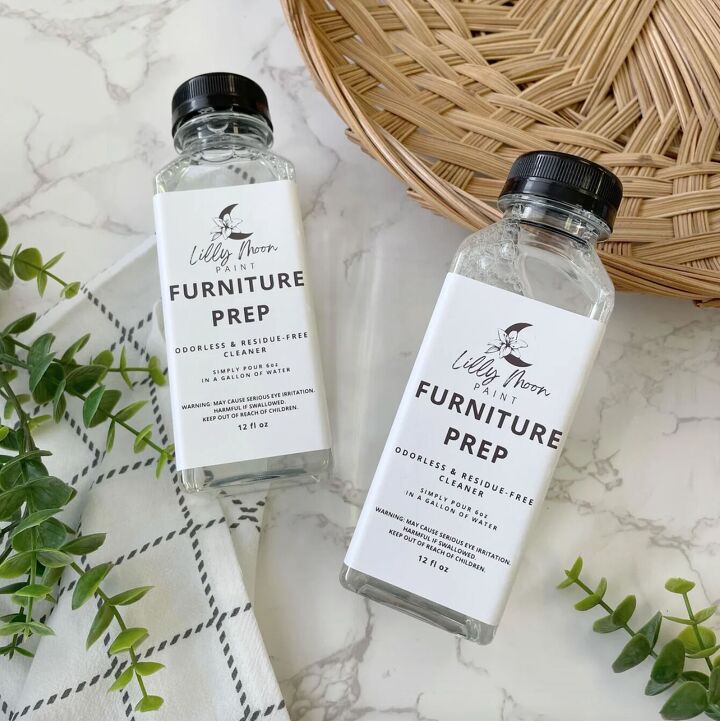
I must clean the piece thoroughly and Lilly Moon has a Furniture Prep.
It is odourless and leaves no residue you simply dilute it with water.
- CHOOSING THE PAINT
I spent ages looking at the Lilly Moon website trying to decide which paint to use, the colours are wonderful.
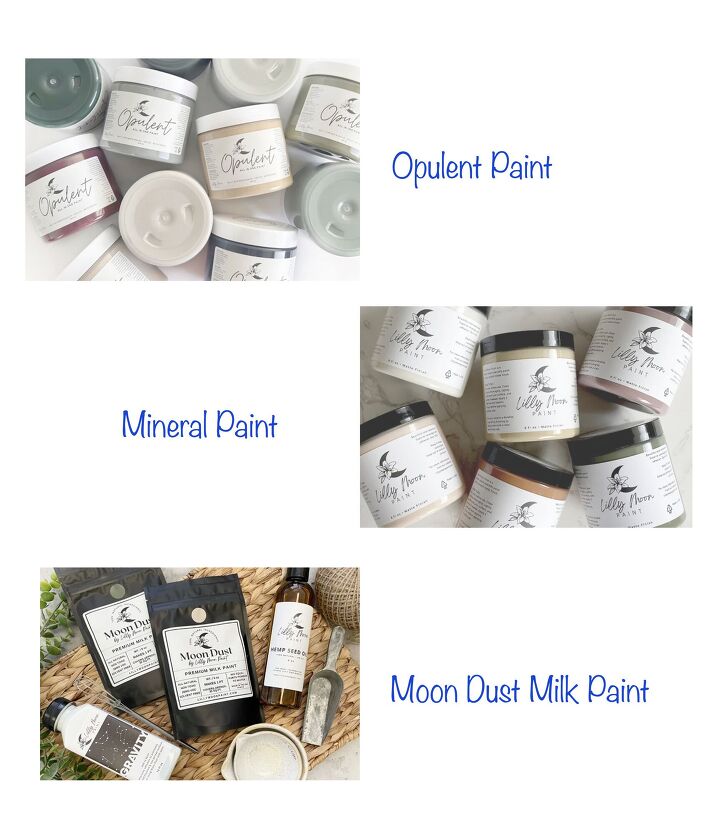
There are three types of paint to choose from:
- Lilly Moon Mineral Paint: Provides amazing coverage! Leaving you with a smooth velvety spray-like finish, perfect for beginners and the more advanced refinishers!
- Moon Dust Milk Paint: Sold in powdered form, you simply mix with water. It's 100% natural ingredients makes this a great choice for those wanting to use a more eco-friendly paint.
- Lilly Moon Opulent: An acrylic water-based paint formula that has a built-in primer, stain blocker and sealer. It is moisture and mildew resistant and has amazing levelling properties with superior coverage.
- CHOOSING THE STAIN
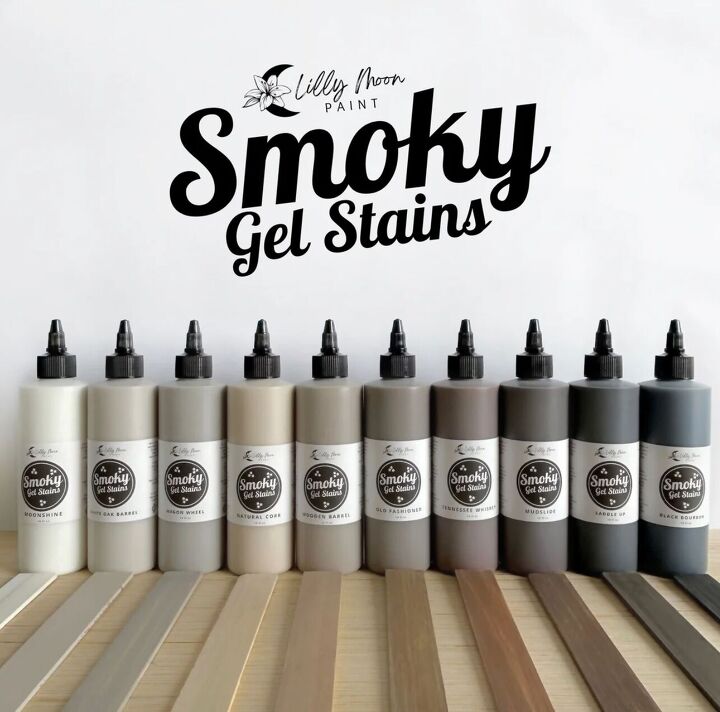
I want to incorporate some stain too, the Smokey Gel Stains are magic!
They are highly pigmented water based with a built in top coat. You can build up coverage layer by layer until you achieve the colour you want, much easier than using a water based stain alone.
They are mixable, can be used over raw wood and painted surfaces and also as a glaze.
WOW! This is a game changer for anyone who is nervous to try staining.

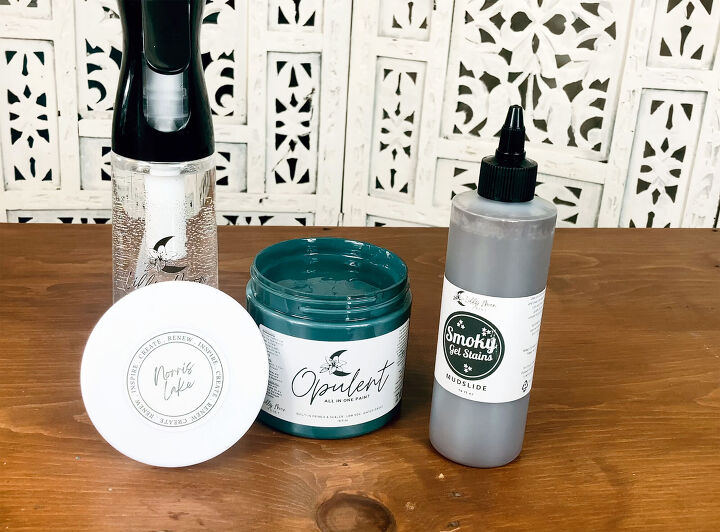
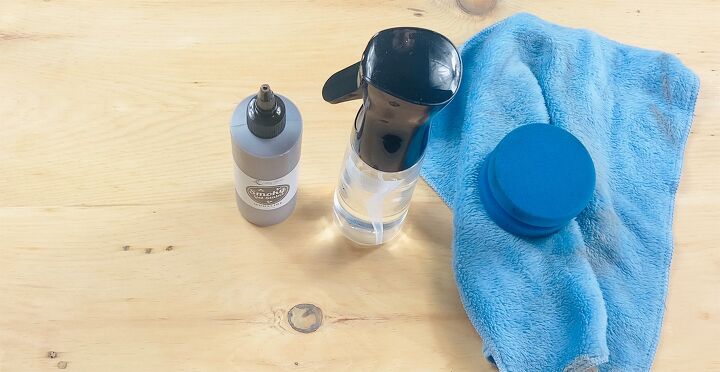
- This is my colour choice. 'Norris Lake' Opulent paint and 'Mudslide' Gel stain.
My plan is to paint the body of the dresser and bottom 2 drawers, and stain the top and the the two small drawers.
OK let's get started....
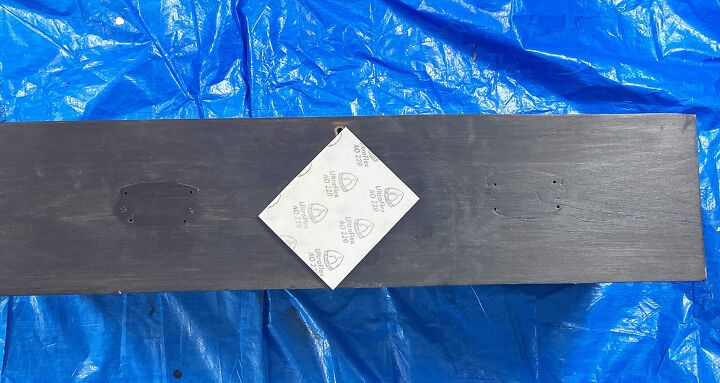
- I am going to start with the long bottom drawers. They are clean and as I am painting these all I need to do is a scuff sand. Using a 220 sanding sponge.
I use a barely damp microfibre cloth to wipe away the dust.
- THE PAINTING PART
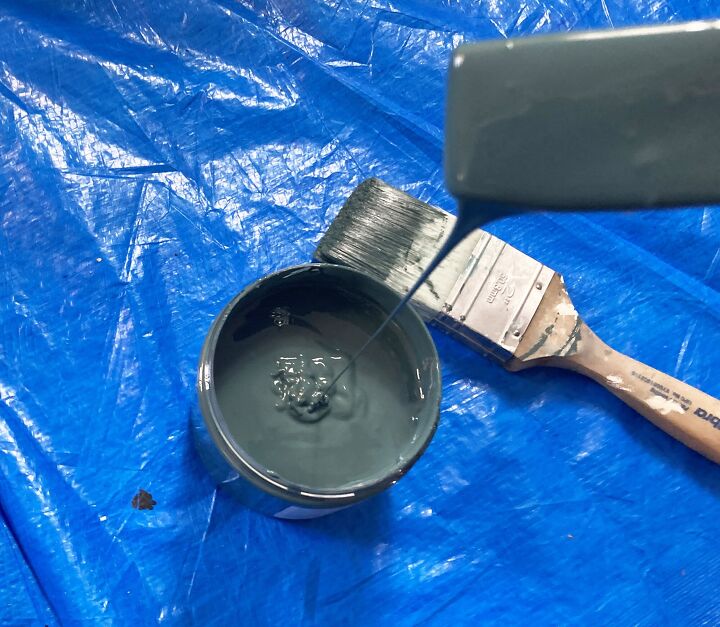
After giving the paint a stir, I pour it into another container ready to use.
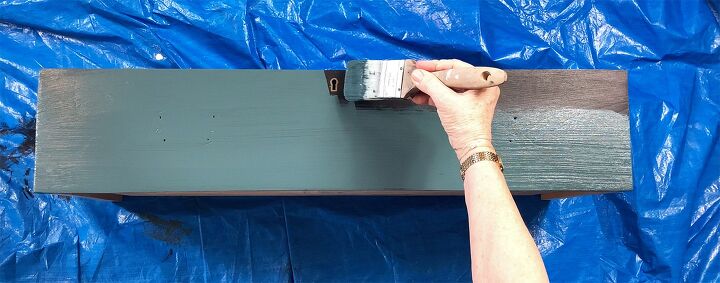
This paint is amazing, it is silky and the coverage is wonderful. I give my drawers one coat and leave to dry. After a couple of hours I lightly sand with my 220 sanding sponge, wipe away the dust and apply a 2nd coat.
The paint dries to a beautiful matte finish.
No need to top coat unless you want to!
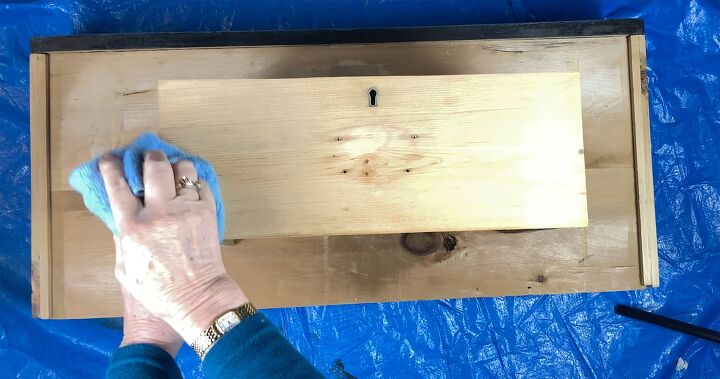
- Now for the small drawers. They have been cleaned, sanded to 220-grit and now I am using the damp microfibre cloth to remove the dust.
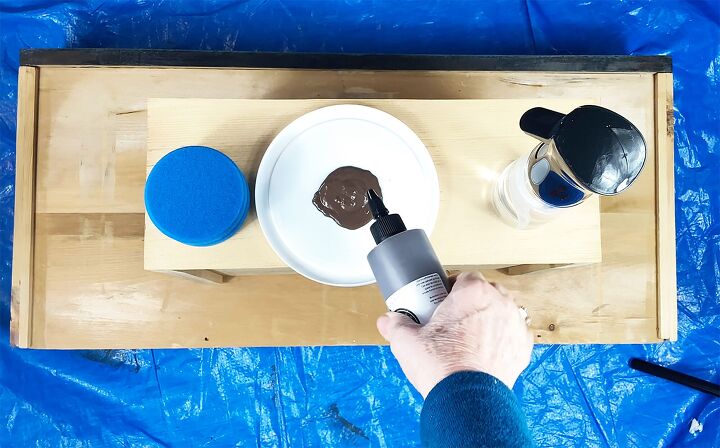
- THE STAINING PART
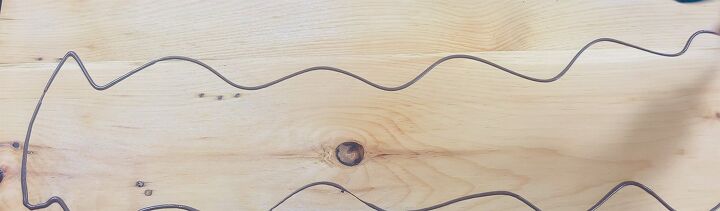
- You must shake the stain really well as all the pigment settles on the bottom.
Lilly Moon suggest you mist the surface lightly with water, this extends workability and help the stain move more easily.
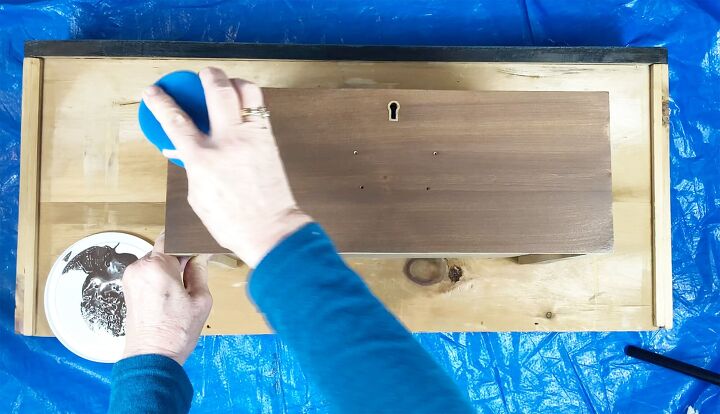
- Using the blue sponge from Lilly Moon, I apply the stain in long sweeps across the drawer.
I am applying quite a lot of pressure and using the edge of the sponge to wipe away any excess stain.
There is a built in top coat so I am done.
Clean up with soap and water.
- It is so easy to apply, you will love it!
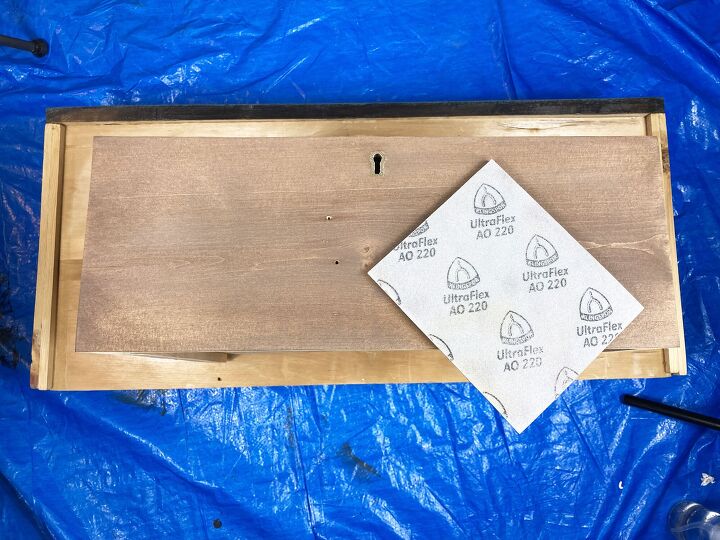
- After 30 minutes the stain is dry and I decide to do another coat.
Sanding in between coats with a 220 grit or higher is also recommended for an ultra smooth finish. Remember to wipe away the dust!
- Now it is time to stain the top. It is clean and sanded to 220 and dusted. I have stain, a blue sponge, a water mister and a dry microfibre cloth.
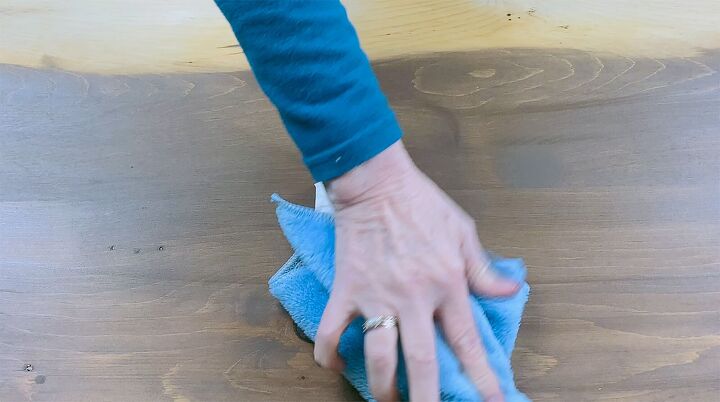
- This time I apply the stain straight from the bottle after shaking really well.
As before I use the blue sponge to move it across the surface. At the half way point I used the microfibre cloth to wipe away the excess, it does dry down quite fast so work in sections.
After the stain was dry I applied another coat as before.
Pine is notoriously hard to stain as it has a close grain, with this product I had no problems at all.
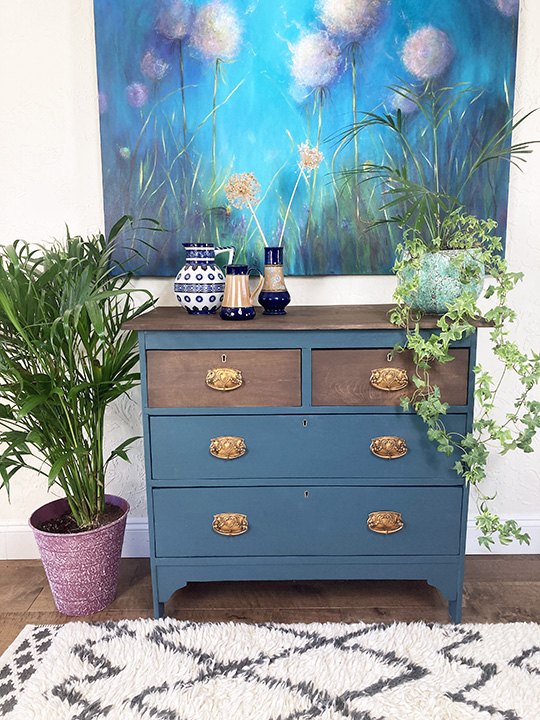
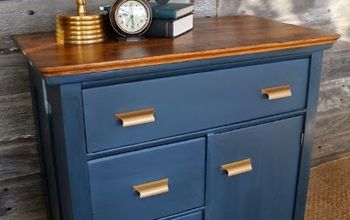
- THE FINALE!
Here is my dresser, isn't it beautiful? I have had this furniture for so long wanting to be refinished and I love it.
I hope you enjoyed this tutorial and you are inspired to use these wonderful products.
If you have never painted or stained before, you will find them so easy to use. I highly recommend them.
Thank you Yari and Johnny for Lilly Moon Paint.
Now get to the website and start shopping!
Julie ❤️
Please check out the video below and watch me make over my dresser.
Resources for this project:
See all materials


Comments
Join the conversation
-
Your piece looks wonderful! Yari painted a sleigh bed for me and her paint is so beautiful in person!
-
Very retry colors


Frequently asked questions
Have a question about this project?
I love the redo and the colors you picked, Great Job!.
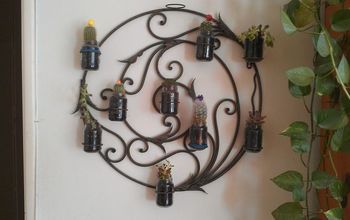
My question is about your planter- did you do it or buy it already done?
is this a chalk type paint? the Lily product?
What color is that paint