


Mid Century Modern Slat Barn Door

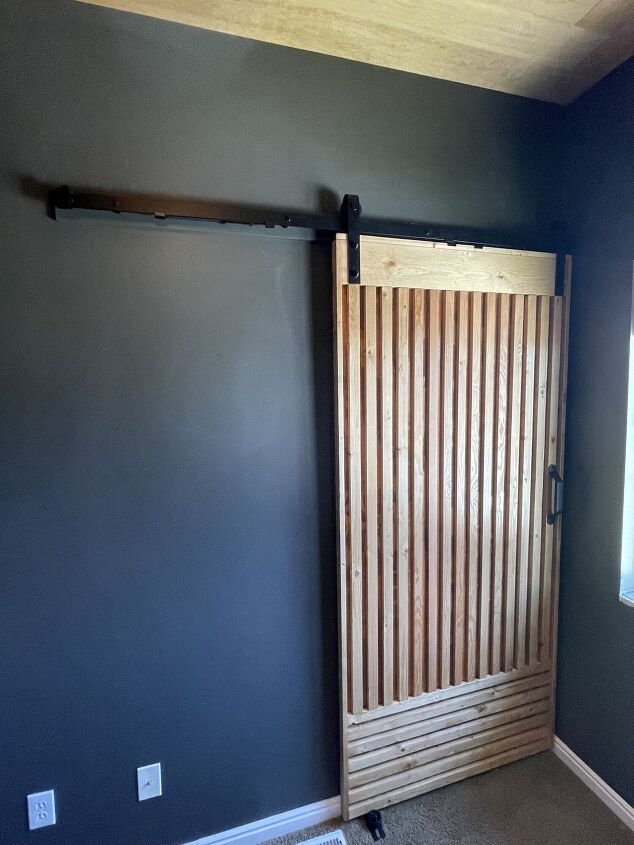
There is something about a barn door that feels warm and inviting, no matter the style. This door is my 5th barn door that I've made, no they're not all in my home, I'm not that crazy. I made this door for my husband's home office renovation that I am doing for the One Room Challenge. I knew I wanted it to have a masculine feel. To me, there is nothing more masculine than wood tones and no fuss lines. So I decided to go with a slat looking barn door.
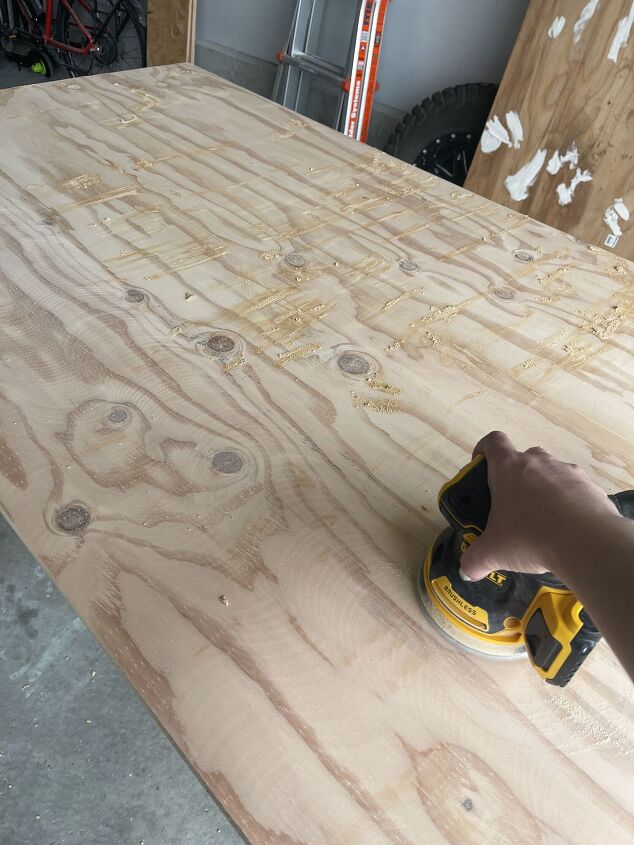
I started the door off with a basic sheet of birch plywood. I had Lowes cut it for me. After taking the dimensions of my existing door I simply added an inch all around, because I knew I wanted it to be a little bigger. With the current quality of plywood (or any wood for that matter) I decided to use a stainable wood filler to make the front of the door look more finished. Then I sanded the whole thing down using 180 grit sand paper.

Next I bought a bunch (20 ish?) 1 x 2s. I sanded them down, put a coat of shellac on them and then stained them. I also bought a 1x6 to use at the top of the door. I left these to dry overnight.
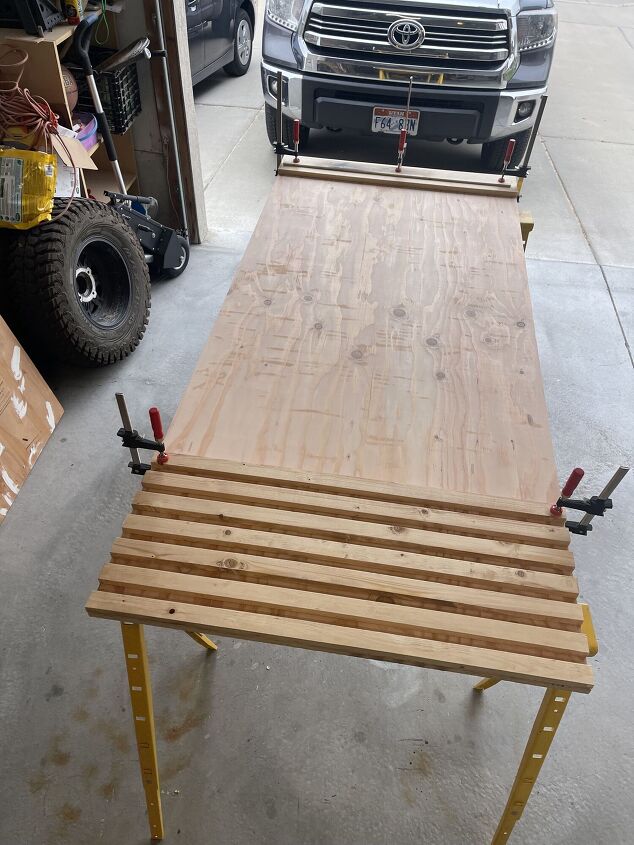
Next it was time to start assembling the door. I started off by putting the 1x6 on the top of the door. I attached it using wood glue (Titebond III), clamps and brad nails. Then I started working on the bottom slats of the door. Odd numbers always look best when grouping something together so I opted for 7 slats at the bottom of the door. To get the consistent spacing between each slat I a scrap 1x1 piece of MDF that I had lying around my shop.

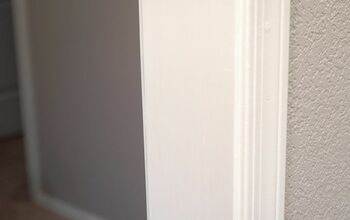
Next I added a 1x2 to each side of the door to hide the unfinished plywood edges from bing seen. Then it was time to move on to the vertical slats on the door. I followed the same process as I did with the bottom slats. Using my spacer MDF to keep the space uniform. I glued and then nailed with my brad nailer from the backside of the door. As I moved toward the center of the door my clamps weren't able to reach, so I started using items from around my shop to weigh down the boards as I nailed them in.
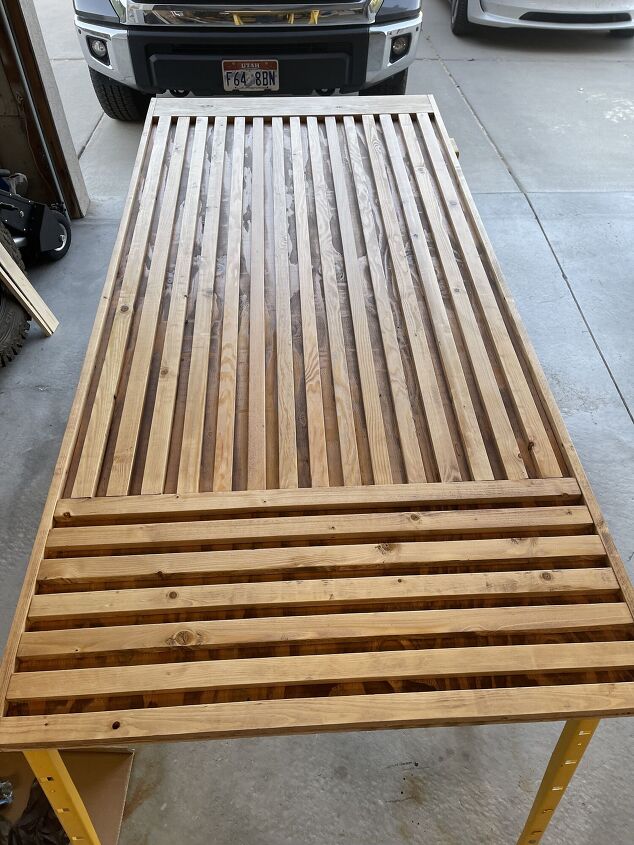
I got very lucky with my slats lining almost perfectly with the spacing. I had to adjust the final 4 pieces to have slightly bigger spaces between, but you'd never be able to tell without a measuring tape. After all the slats were attached it was time to stain the door one final time. The slats didn't take much more stain since they had previously been stained, but the plywood backing did. I purposefully left the plywood unstained as I attached the slats. I wanted to make sure the slats (unstained on the back) and they plywood had a solid connection with the wood glue.
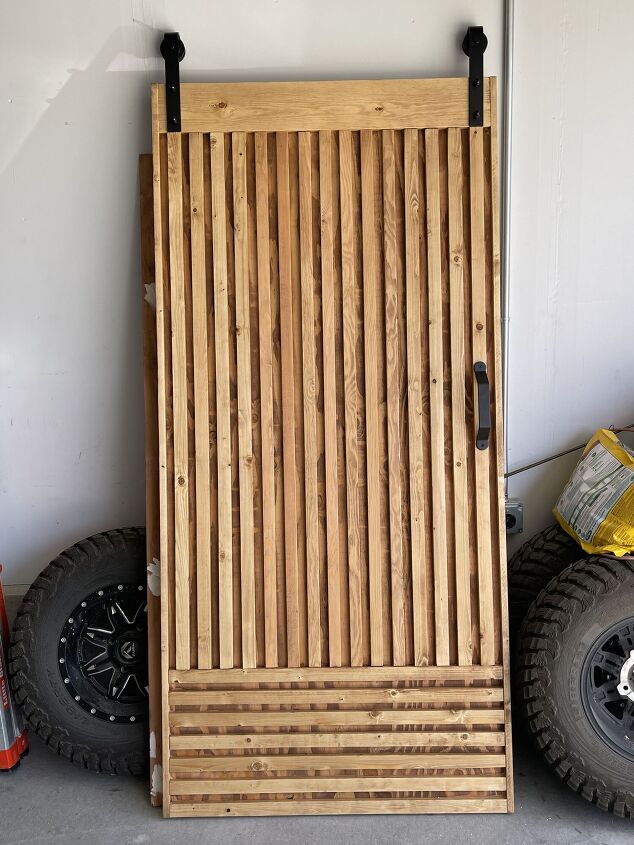
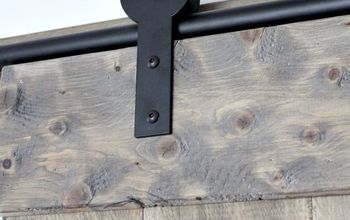
Once everything had dried overnight I added my hardware. The wheels/rail and handle. All from National Hardware. While the door was drying overnight I worked on getting a header and the track installed inside. You can check out this Instagram reel to see how I went about doing this. Once the door was installed I was able to add a soft close feature, yep, you heard that right. Barn doors can be soft close! This kit was from National Hardware as well.

And that's it! I'd say my biggest tip on creating your own barn door is DON'T scrimp on sanding your pieces before assembling them! It can make all the difference in the final outcome.
0 views0 commentsPost not marked as liked
Resources for this project:
See all materials


Comments
Join the conversation
-
Oh my word, this door is absolutely stunning, I see myself wanting this door,
Thank you so much for sharing your door, and your talent.. Well done.
-
WoW! Absolutely beautiful. Who cares about cleaning just another thing to dust or vacuum.


Frequently asked questions
Have a question about this project?
How heavy is it?
Nice!! What spacers did you use? You are talented!
Great job and absolutely beautiful work!