DIY Tufted Headboard

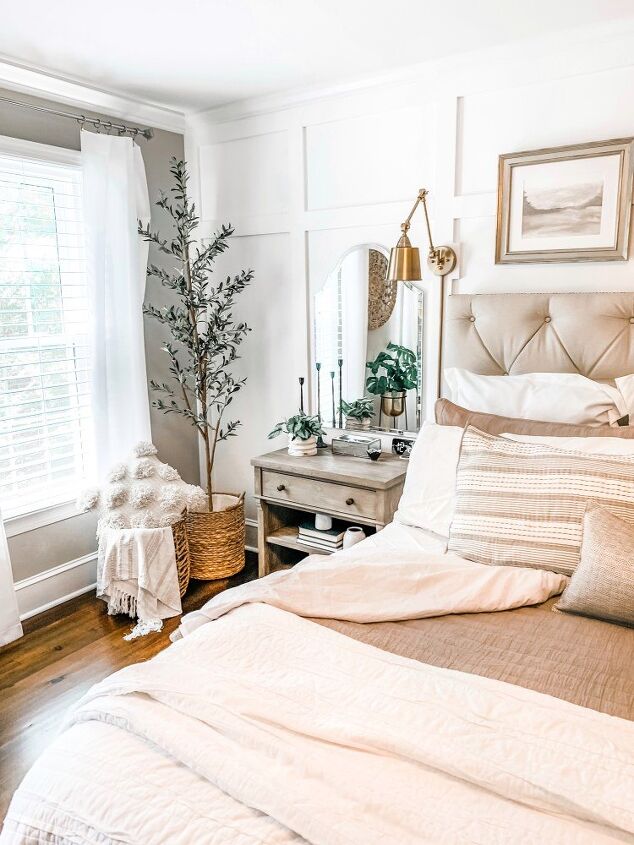
I am so excited to finally share our DIY Tufted Headboard with you. I’ve had many requests for this blog post, and I do apologize it took me so long to get this posted. I wanted to make it as detailed as possible, which required the help of my hubby because let’s be honest… he did most of the work. 🙂
Without further ado, here are the headboard instructions.
With the structure itself complete, the next step was to drill the holes that would later be used to perform the tufting. To ensure the holes were aligned properly, an X was made using chalk line to mark the center of the board.
Next, to ensure all the holes would be evenly and adequately spaced, we used a sheet of pegboard to mark where we would drill. Depending on how much “tufting” you want, you can modify the spacing of your holes, the key is to make sure they are even. We moved ours around a few times in order to achieve the look we wanted.
Once the holes were drilled, a memory foam mattress topper was glued to the face of the plywood and cut to size. We then used a long knitting needle pushed through the drilled holes in the board and through the foam to determine where to cut the holes in the foam. A piece of metal pipe was used to cut 1 inch holes in the foam.
With the holes cut where the tufting buttons will go, a large straight edge is aligned to them and the foam was cut halfway through to the board. These cuts will make the fabric folds for the tufting.
We then laid the batting and fabric over the foam. 1/4th inch bolts, washers, and wingnuts were then screwed through the pre-cut holes. This was a bit tricky, but we figured out having one person underneath, holding the wingnut, while the other tightened the bolt from the top was the key.
As the bolts are tightened the fabric gets pushed down. While this is happening we guided the fabric into cuts in the foam to form the creases.
This will look messy at first, but will start coming together as more bolts are added.
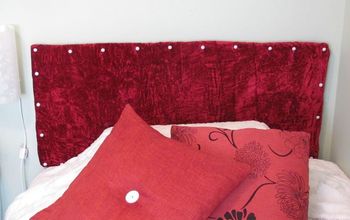
With all the bolts in place, we then pulled the fabric around the frame tightly and stapled it to the back. Buttons were then glued to the tops of the bolts. We used matching, fabric-covered buttons. However, any button would work provided they are large enough and have a flat back surface to glue flat to the bolt heads.
Decorative metal beading was then nailed to the edges for a finishing touch.
The next step was to prepare the legs to receive the bolts that would secure the headboard to the bed frame. Since we were using an existing frame, we carefully measured to make sure the holes were aligned properly so the bed would be level. Threaded metal inserts were then inserted into the holes for the bolts to screw into.
Finally the headboard was attached to the frame using the original bolts.
At some point, we will paint the existing bed frame and new headboard legs so they all match. But, since you can’t see any of it when the bed is made, it’s not high on our priority list right now.
Let’s take a moment to admire this beauty one more time 🙂
I hope this post is helpful. If you have any questions, please feel free to post them below. We’d also love to see your headboard if you give this project a try. Please tag us on Instagram @revealmydiy.
Note: This post may contain affiliate links











Frequently asked questions
Have a question about this project?
This is absolutely gorgeous!! I have been wanting a new bedroom suite with a tufted fabric headboard for a while now however the one I want is not cheap or something I can afford at the moment. This looks amazing and I think between my husband and myself we can also diy one also! Thanks so much for sharing!
BTW... where did you find the matching buttons for the dropcloth fabric?