


How to Make a DIY Channel Headboard in a Chic Art Deco Style

If there’s one thing I’ve learned over the past few years, it’s that I really appreciate a cozy and welcoming sleeping space. Who’s with me? For this DIY channel headboard project, I wanted to create a Pinterest-inspired Art Deco wall piece that looks chic but feels comfortable too.
This pink velvet headboard is actually for a little girl’s room, so it needed to be cute and girly for her too. Let me show you how to cheaply and easily make your own DIY panel headboard out of thin pieces of wood, foam, and fabric. Let’s go!
Tools and materials:
- Measuring tape
- Pencil
- Long, thin pieces of wood
- Jigsaw
- String
- Tape
- Sandpaper
- Scissors
- Foam
- Staple gun
- Velvet fabric
- Screws
- Screwdriver
- Drill
- Plastic keys
- Hammer
- Nails
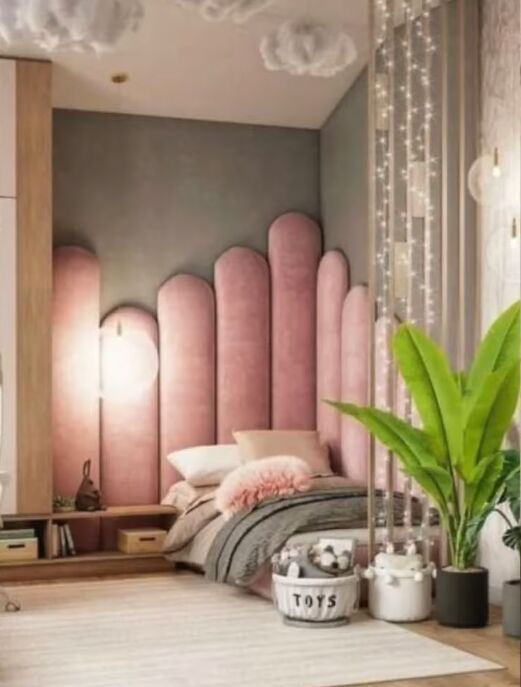
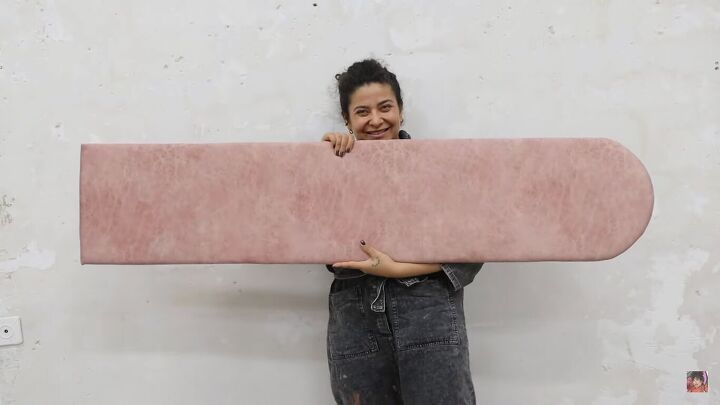
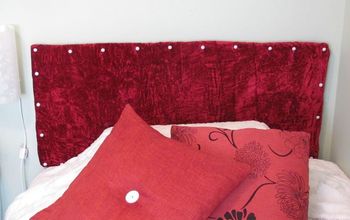
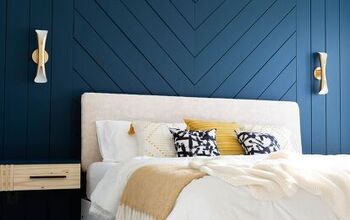
Here’s the inspiration for my DIY velvet headboard. This is somewhere between a channel headboard (also called a panel headboard or stuffed headboard) and a fluffy decorative wall piece.
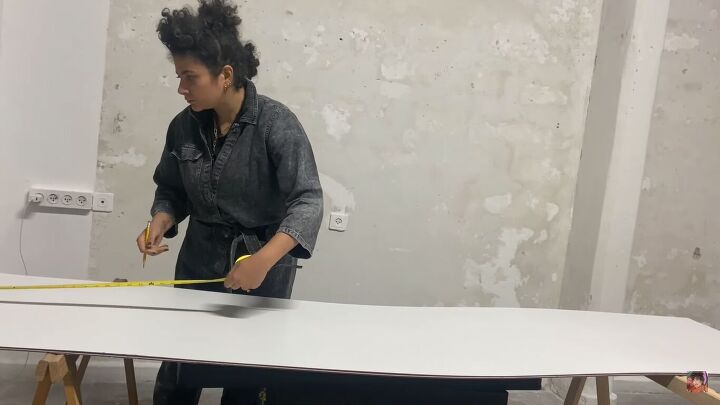
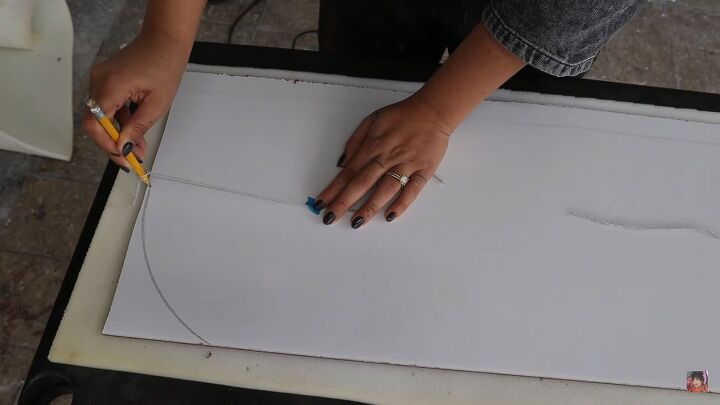
1. Measure & mark
Take out your measuring tape and mark 30cm (11.8 inches) on each end, then connect the two marks with a straight line.
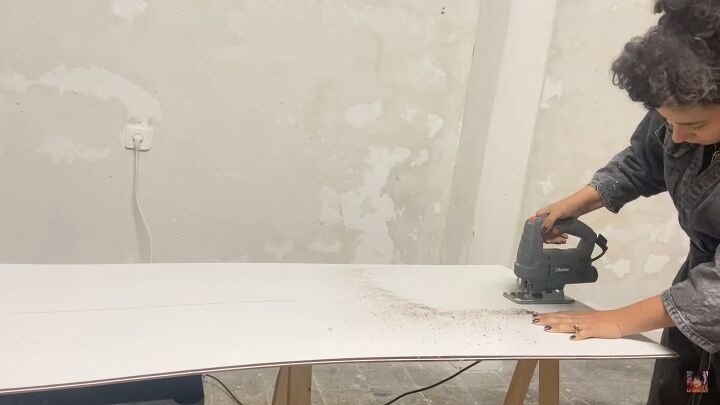
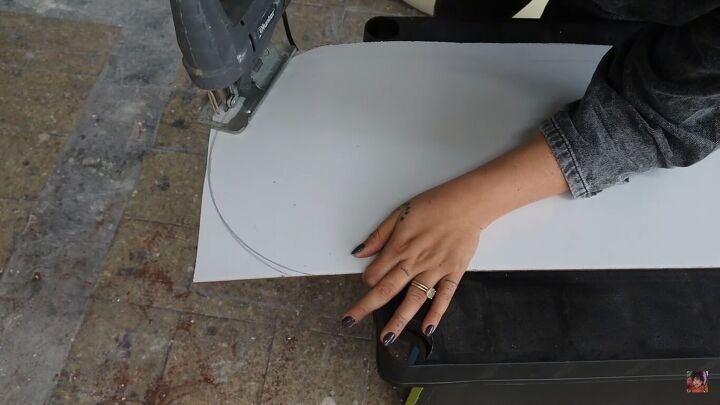
2. Cut
Next, take your jigsaw and cut along the line that you drew.
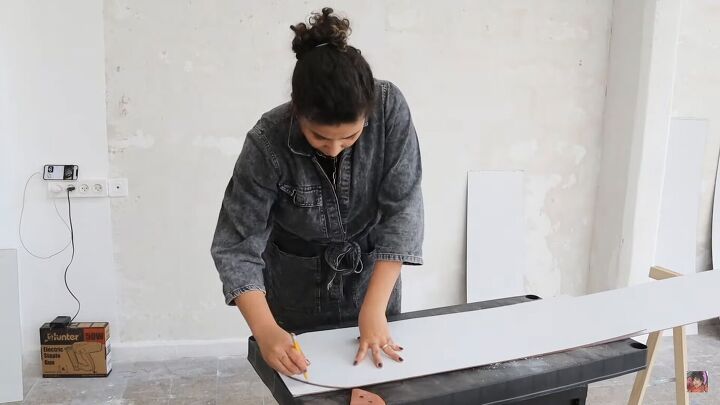
Repeat for the other pieces, making each piece 30cm (11.8 inches) shorter than the one before. Mine were 180cm (70.9 inches), 150cm (59.1 inches), 120cm (47.2 inches) etc. I had one tall one, then two of each smaller size, which will create a cascading effect.
3. Create the curve
To get a perfect curve at the end, make a mark in the middle of your board, around 30cm (11.8 inches) from the end.
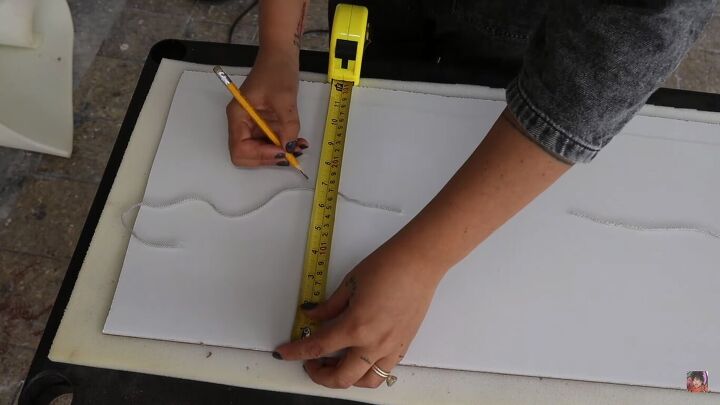
Attach a pencil to a piece of string, place the pencil at the end of the board, and tape the other end of the string to the mark. Make sure the string is pulled tight, then draw the curve.
Cut it away with your jigsaw, then sand the edge.
To get the same exact curve for all the pieces, trace the shape, rather than use the pencil and string again.
Measurements
Tip: you don’t have to follow the exact measurements I give you. I based mine on the space that I had; you can do whatever you want. If you have a smaller space, maybe make the pieces thinner. If you have high ceilings, you can make the pieces taller. It’s up to you.
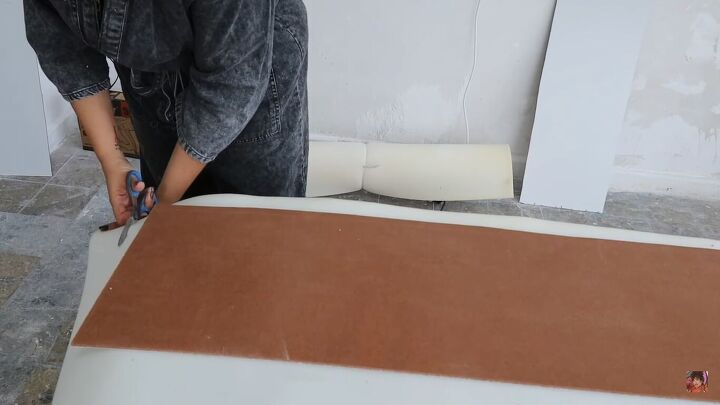
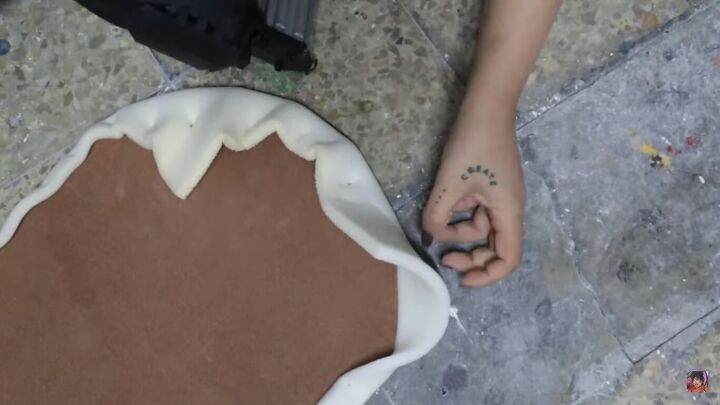
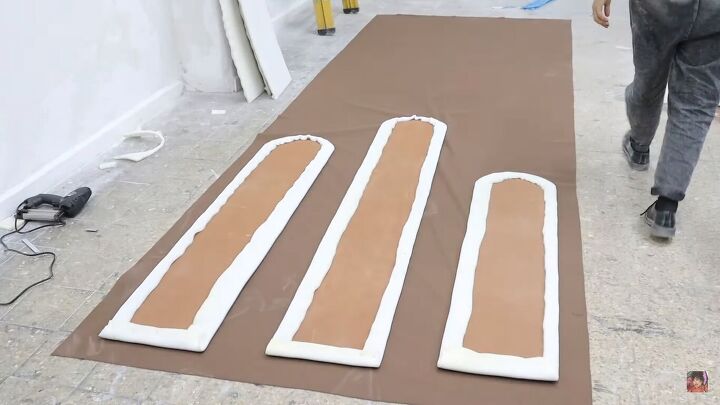
4. Add foam
You can use whatever thickness of foam you prefer, but as it’s on the wall and it doesn’t have to be comfortable enough to sit on, I just bought the thinnest I could find. Cut around your wood pieces, leaving a 2cm (0.8-inch) margin, so you can bend it on top of the wood.
Bend the foam over the edge of the wood and staple it in place with a staple gun.
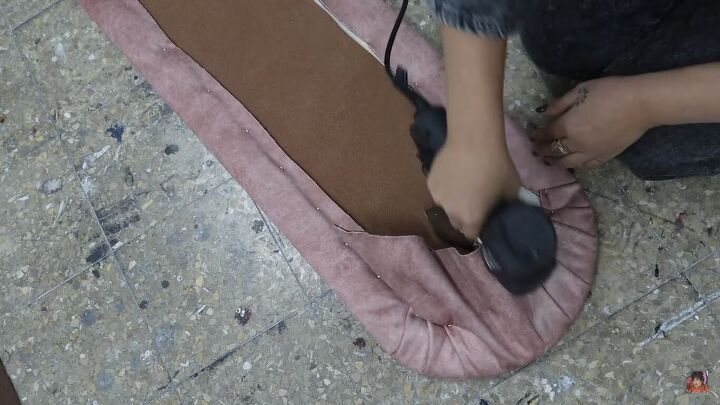
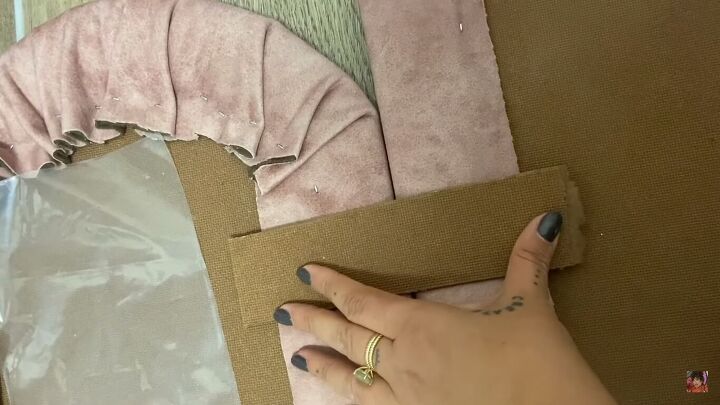
5. Add the fabric
Next, roll out your fabric and place the pieces on them. I needed 4x1.5 meters of fabric (4.37x1.64 yards) for mine. Cut around the pieces. Leave 4-5cm (1.5-2 inches) around the edges, so you have enough to cover the foam and staple to the back.
Staple the fabric in place. Pull the fabric so it doesn’t create folds on the front side. Once at the top, play with the fabric—folding and pulling—to get the curve right.
Similarly, for the corners on the straight end, pull the fabric in slightly.
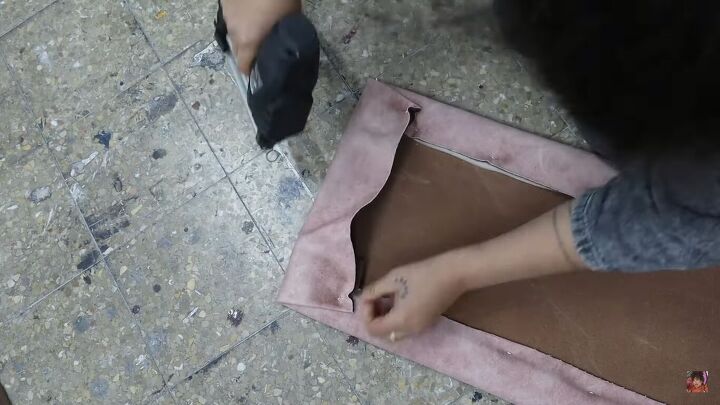
You should have something like this.
6. Assemble the headboard
Now it’s time to assemble the headboard. To make the board look seamless from the front, I used scrap pieces of wood from this project as connectors at the back of the pieces.
Then, with some screws, I stuck the panels together. I used two screws on either end of the connecting pieces.

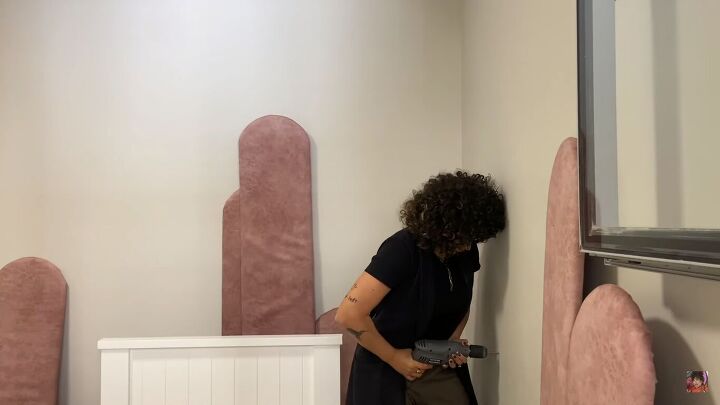
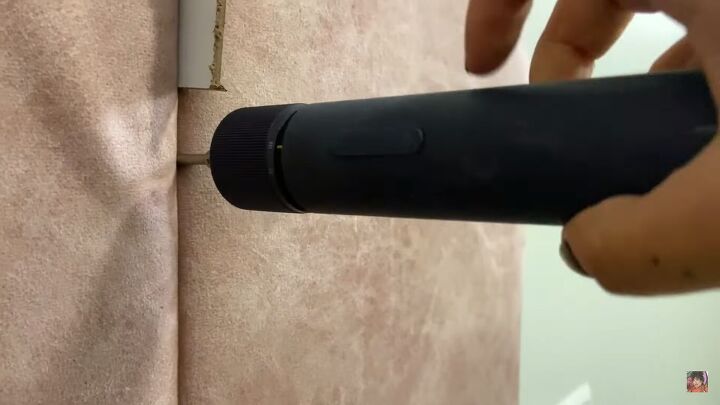
7. Attach the headboard to the wall
After the pieces were connected together, I placed them on the wall where I wanted them, made some marks where I wanted holes, and drilled the holes. You want one hole and one nail for every connector that you have between the boards.
Hammer in the plastic keys to the holes.
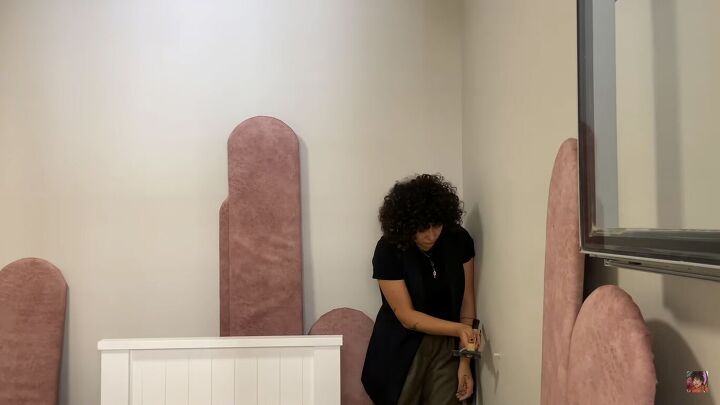
Then pass the screw exactly between the connector into the hole on the other side.
DIY channel headboard
This DIY panel headboard was so simple to make and the result looks so effective.
This may be for a little girl’s room, but I would totally have a similar design in my own bedroom. In fact, I’ve also created an arched headboard using a similar technique, with the help of some pool noodles!
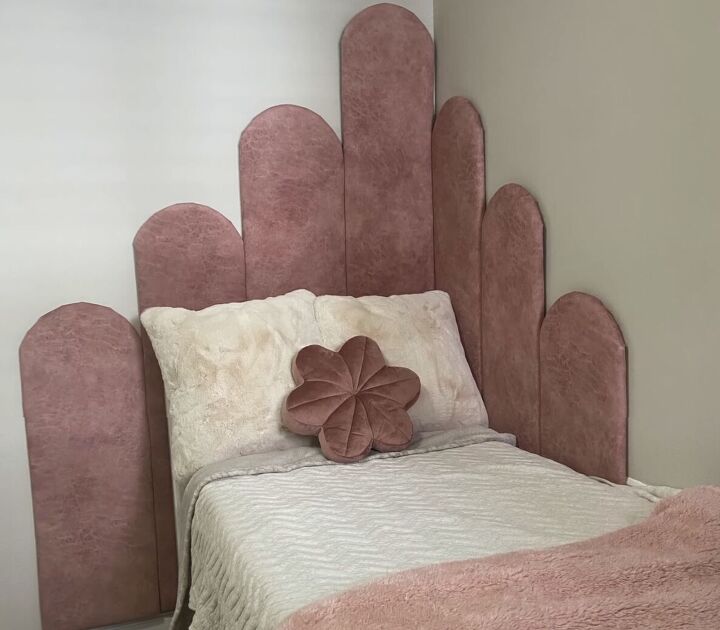
What do you think of this pink velvet headboard? Let me know your thoughts and feedback on this project in the comments below.
Comments
Join the conversation
-
Love it! It’s very unique!
-
OUTSTANDING Job!!


Frequently asked questions
Have a question about this project?
Your headboard is wonderful and not just for a little girl's room! The matching pillow is a win, did you make that too?