


How to Make a Hummingbird Feeder With Materials You Likely Have

By Brooke Ressell
Hummingbirds are one of the most fascinating species to watch outdoors. When you see one in your yard, you can’t help but be mesmerized by how teeny-tiny they are, how quietly they glide through the air, and how rapidly they beat their gossamer wings.
And while there are certainly many hummingbird feeders and nectars on the market, making a DIY hummingbird feeder and your own nectar can be a really fun project for the whole family. The best part is that you can use many of the items you already have at home while also teaching your children the importance of reducing, reusing, and recycling at the same time.
To help you get started, we’ll share some really cool facts about hummingbirds as well as our very best tips for how to make a hummingbird feeder and nectar at home.
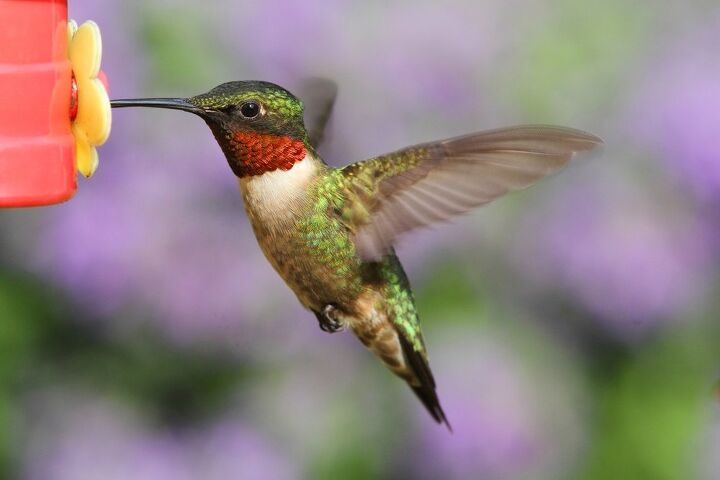
Photo via Shutterstock
About Hummingbirds
One of the most noticeable attributes of hummingbirds is their size. The average length of a hummingbird is around three inches long or the length of a credit card while the average weight of a hummingbird is roughly four grams or the weight of a nickel. But don’t let their small stature fool you: Hummingbirds have a very high metabolism so they have to eat roughly half their weight each and every day just to survive. This means eating bugs and drinking nectar every ten to fifteen minutes.
One reason they need all of this energy is that they have some pretty interesting migratory patterns, typically wintering in Mexico and Central America and spending their summers way up in the northern United States. And they take their jobs as pollinators very seriously, pollinating wildflowers and plants along the way.
How to Attract Hummingbirds
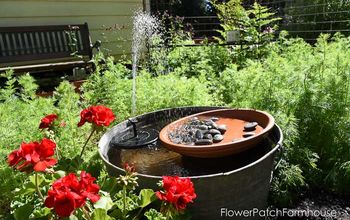
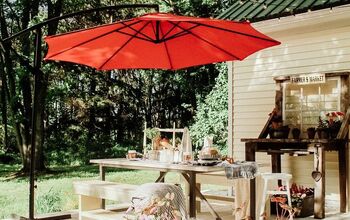
Perhaps the most important thing you need to know before learning how to make a homemade hummingbird feeder is what will draw these birds to your yard. To attract hummingbirds to your yard this season, add native plants to your garden, provide them with a good source of water like a bird bath or water feature—even a mister will do—make your DIY hummingbird feeder in bright colors to catch their eye (and mimic flowers), and provide them with homemade nectar (which we’ll teach you how to make below).
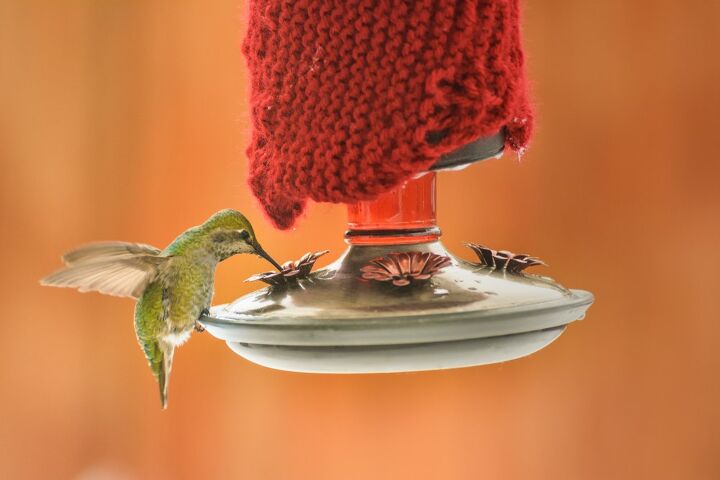
Photo via Shutterstock
How to Make Hummingbird Nectar
Before we get into how to make a homemade hummingbird feeder, we’ll show you how to make your own hummingbird nectar to fill it up. Hummingbirds love a sweet, sugary drink, and this hummingbird nectar recipe is sure to quench their thirst.
Tools and Materials Needed:
- Water
- Sugar
- Saucepan
Step 1: Bring Water to a Boil
Pour two cups of water into a saucepan, turn the stove burner on high, and bring the water to a boil.
Step 2: Add Sugar
Next, add half a cup of sugar to the boiling water.
Nectar Yield
Step 3: Stir
Stir the water until all of the sugar dissolves. Create an incredible DIY sugar bowl with your remaining sugar.
Step 4: Let Cool
Once all of the sugar is dissolved, turn the stovetop off and let the nectar cool completely.
Step 5: Fill the Hummingbird Feeder
Once the nectar is completely cool, you can fill your hummingbird feeder with it, and then hang it outside for the birds to enjoy.
Saving Nectar
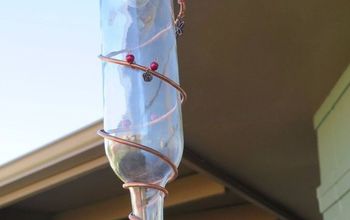
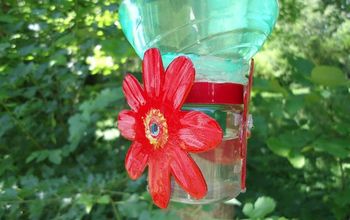
How to Make Hummingbird Feeder with a Plastic Bottle
Now that you’ve learned how to make hummingbird nectar at home, it’s time to learn how to make a hummingbird feeder with stuff you already have laying around the house. We’ll show you two easy methods to try out for yourself.
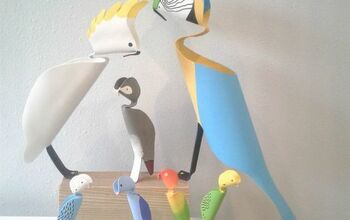
For the first one, head to your recycling bin: You'll learn how to make a hummingbird feeder out of a plastic bottle. The good news is that any plastic bottle will do regardless of its size or shape. Have more plastic bottles laying around? Make this angel tree topper.
Tools and Materials Needed:
- Plastic, brightly colored plate
- Marker
- Scissors
- Hole punch
- Plastic, bendable straw
- Electric drill and bit
- Plastic bottle such as a water bottle, pop bottle, or juice bottle with a lid
- White glue
- 12-gauge craft wire
- Hummingbird nectar
Step 1: Make a Flower Pattern
Using a marker, trace a flower pattern onto any brightly colored plastic plate. You can even use the bottle cap as a tracing guide.
Step 2: Cut Out the Flower Pattern
Next, take your scissors and cut the flower pattern out of the plate.
Step 3: Hole Punch the Flower
Now, using your hole punch tool, punch a hole directly in the center of your plastic flower. Keep your hole punch tool handy to make these wine glass charms.
Step 4: Insert the Straw
Then, insert the straw through the center of the plastic flower, and set it aside.
Step 5: Drill a Hole in the Bottle Cap
Using your electric drill, drill a hole in the center of the plastic bottle cap. The drilled hole needs to be large enough for the straw to fit through but not so large that the straw easily falls out.
Step 6: Insert the Straw
Once your hole has been drilled through the plastic bottle cap, it’s time to insert the straw. Be sure to insert the long part of the straw through the bottle cap so that the shorter end of the straw with the bend in it is located outside the top of the bottle cap.
Step 7: Slide the Flower
Slide the flower along the short part of the straw until it’s just on top of the bend.
Step 8: Seal With Glue
Glue around the straw and the flower, keeping both in place. Let the glue dry for several hours or overnight.
Step 9: Reassemble the Bottle
Once your glue has dried completely, place the longer end of the straw through the hole you drilled into the bottle cap. Screw the bottle cap on tight with the straw coming through the hole.
Step 10: Make a Hanger
Then, take the 12-gauge craft wire and make a hanger for your hummingbird feeder. You’ll do this by wrapping the wire around the neck of the bottle, twisting the wire around itself starting at the neck of the bottle and working your way to the ends, and then making a big loop at the end to hang it from.
Step 11: Fill the Feeder With Nectar
Next, remove the bottle cap and straw, fill the bottle with nectar, and secure the cap and straw back on tight.
Step 12: Hang the Feeder
Lastly, secure your filled hummingbird feeder to a tree. There are a few ways to do this—we recommend attaching twine through the wire loop and wrapping it around a tree branch or using a tree branch hook.
How to Make a Hummingbird Feeder with a Mason Jar
The mason jar method is another simple way to create a unique DIY hummingbird feeder out of something many people already have at home. Plus, you can even go a step further and decorate it however you want.
Tools and Materials Needed:
- Four-ounce mason jar
- Marker
- Brightly colored plastic plate
- Scissors
- Hole punch
- Twine
- Ruler
- Colorful wood beads (optional)
Step 1: Remove the Band and Lid
Remove the band and the lid from the mason jar and set the band aside.
Step 2: Trace the Lid
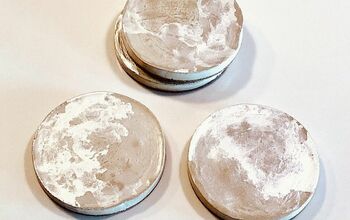
Using a marker, trace the around the mason jar lid onto any brightly colored plastic plate. Learn how to make these cute mason jar lid plant labels for your garden.
Step 3: Cut out the Circle
Next, use scissors to cut the traced circle out of the brightly colored plate.
Step 4: Hole Punch the Circle
Then, use the hole punch tool to punch a few holes around the circle you just cut out.
Step 5: Place the Circle Inside the Band
Take the circle and place it inside the jar band.
Step 6: Cut the Twine
Using the ruler to measure, cut the twine into one 20-inch piece and three 12-inch pieces.
Step 7: Secure the Long Twine Piece
Wrap the 20-inch piece of twine around the lid of the mason jar twice then tie a knot with both ends to secure it into place.
Step 8: Secure Short Twine Pieces
Take each of the three pieces of 12-inch twine and attach them to the 20-inch twine equal distances apart by slipping them through the 20-inch twine piece and securing with a knot.
Add Beads
Step 9: Fill the Mason Jar
Fill the mason jar with homemade nectar.
Step 10: Twist the Band With Lid
Twist the band with the lid insert you made out of the brightly colored plastic plate already in place onto the top of the mason jar.
Step 11: Knot the Twine
Gather the ends of all three 12-inch pieces of twine and knot them in order to hang the feeder.
Step 12: Hang the Feeder
Lastly, hang your hummingbird feeder in a tree by hanging it around a tree branch or using a tree branch hook.
Have you tried attracting hummingbirds to your yard? If so, we’d love to hear about it!
Comments
Join the conversation
-
It would really help to have a picture of the finished feeders so we know what they are supposed to look like.


Frequently asked questions
Have a question about this project?
do u have pics of the finished project? I’m having a hard time visualizing!