


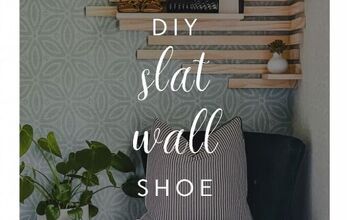
How to Build a Stylish DIY Wall Mounted Shoe Rack

Are you tired of tripping over shoes scattered across your closet floor? It's time to reclaim your space and get organized with a creative and practical solution.
In this guide, I'll unveil the ultimate shoe organization solution—a DIY wall-mounted shoe rack that not only saves space but also adds a touch of style to your home.
Say goodbye to clutter and hello to a tidier, more organized closet with this step-by-step tutorial.
This post was transcribed by a member of the Hometalk editorial team from the original HometalkTV episode.
Tools and Materials:
- A 6-foot piece of 1 by 6 wood
- Miter saw, jigsaw, or skill saw
- Square
- Sandpaper
- Pencil
- Stain or paint
- Four wooden blocks
- Brad nails
- Curtain rod and holders
- Metal saw blade
- Screws and wall anchors
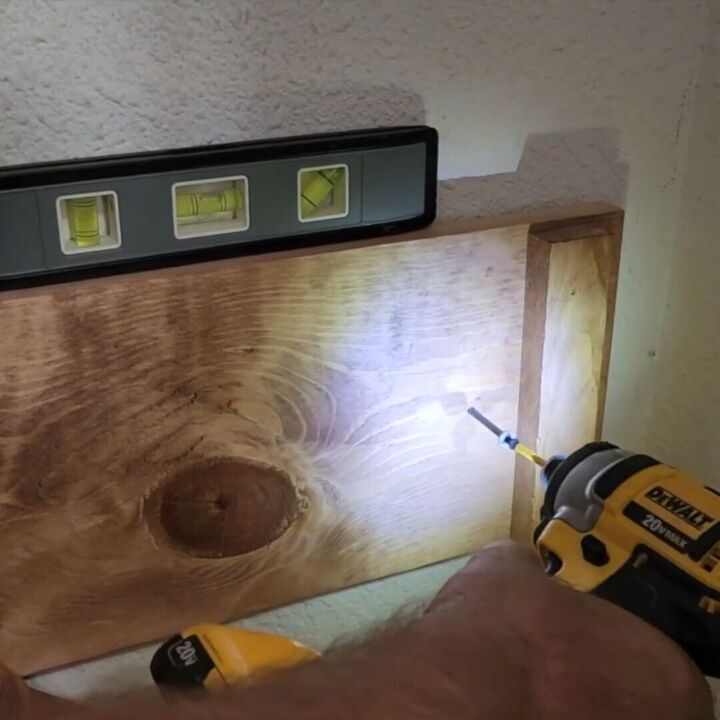
- Level
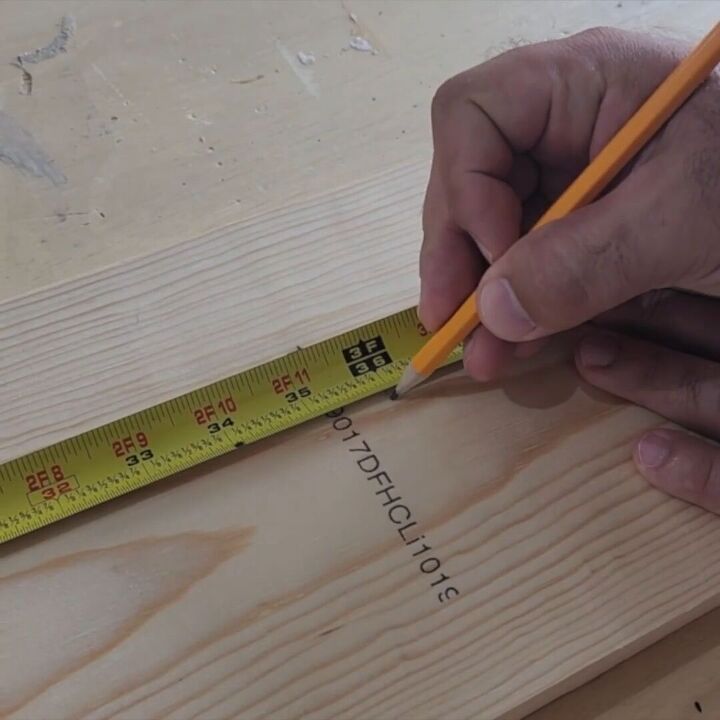
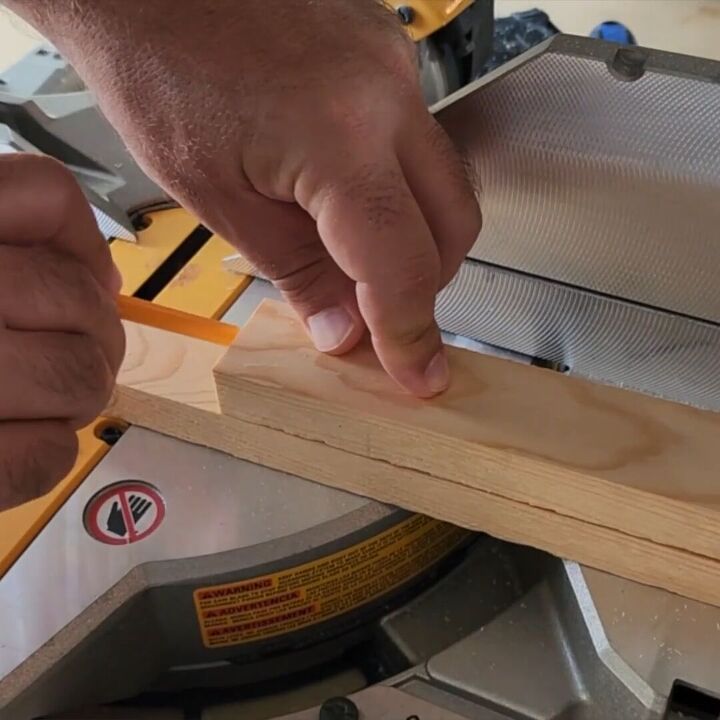
1. Measure and Cut the Wood
Begin by cutting your six-foot wood board in half at the three-foot mark.
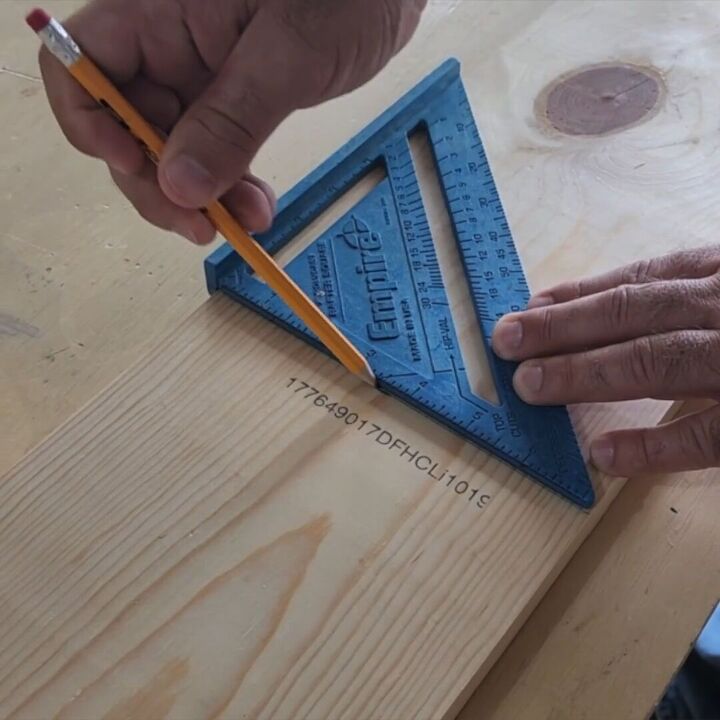
Ensure you use your square to create a straight line for a precise cut.
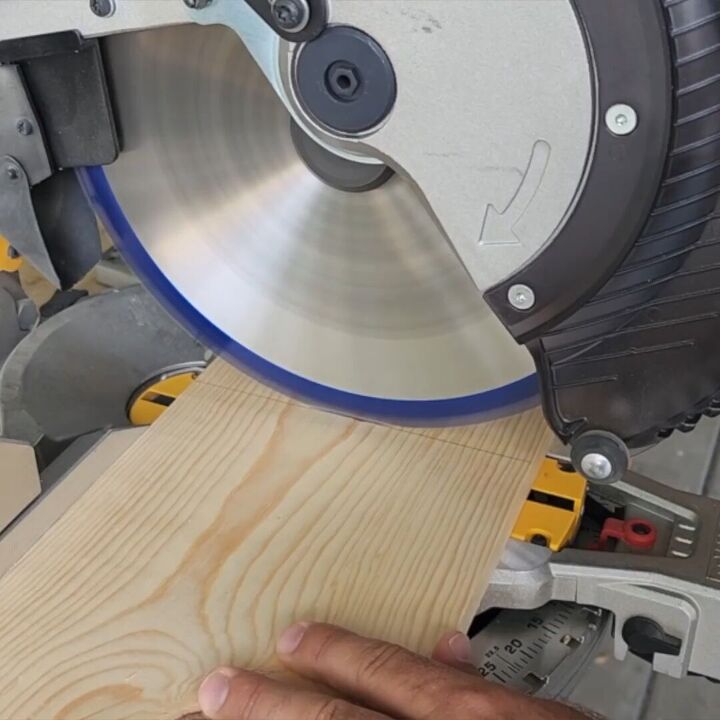
A miter saw, jigsaw or skill saw will work for this step.
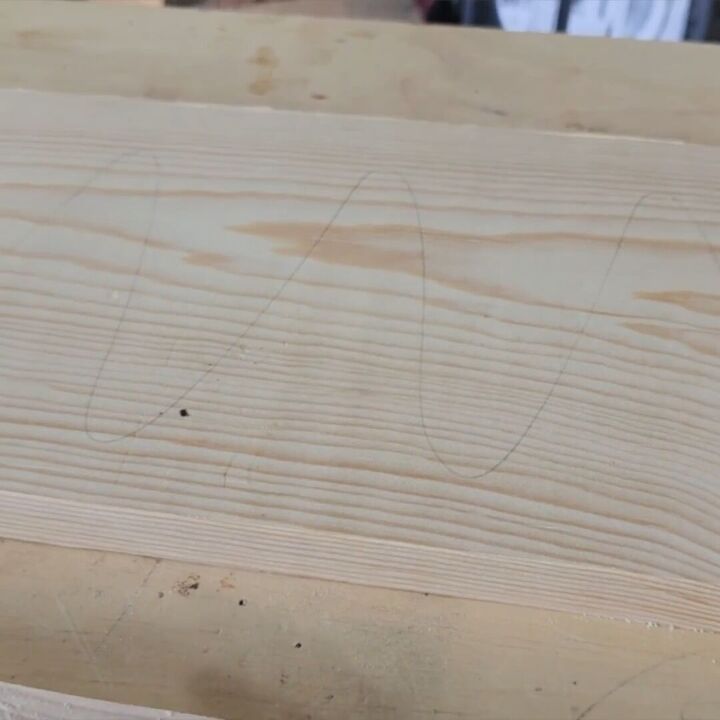
2. Sand and Prepare the Wood
To prepare the wood for staining, use a pencil to lightly mark squiggly lines across the board. This will serve as a visual indicator to know when you've sanded it adequately enough to accept the stain.
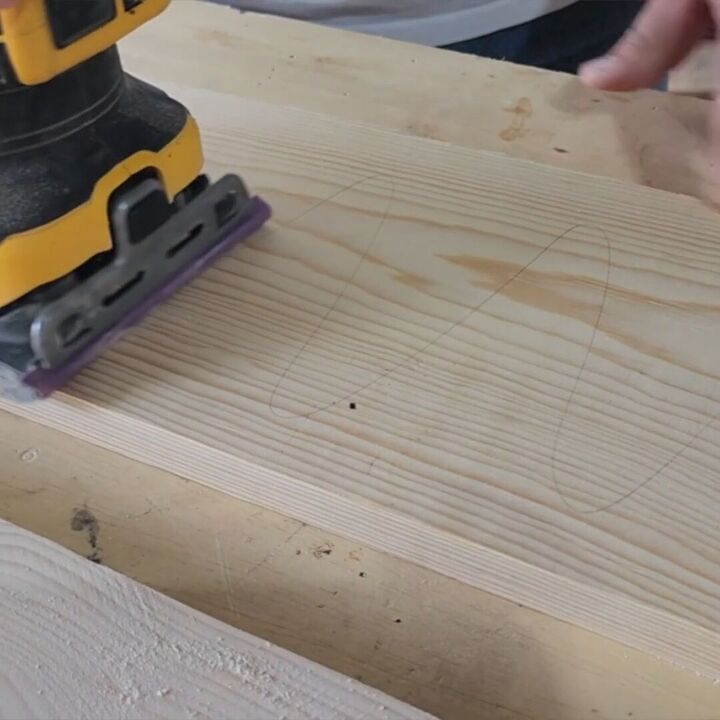
Sand the wood.
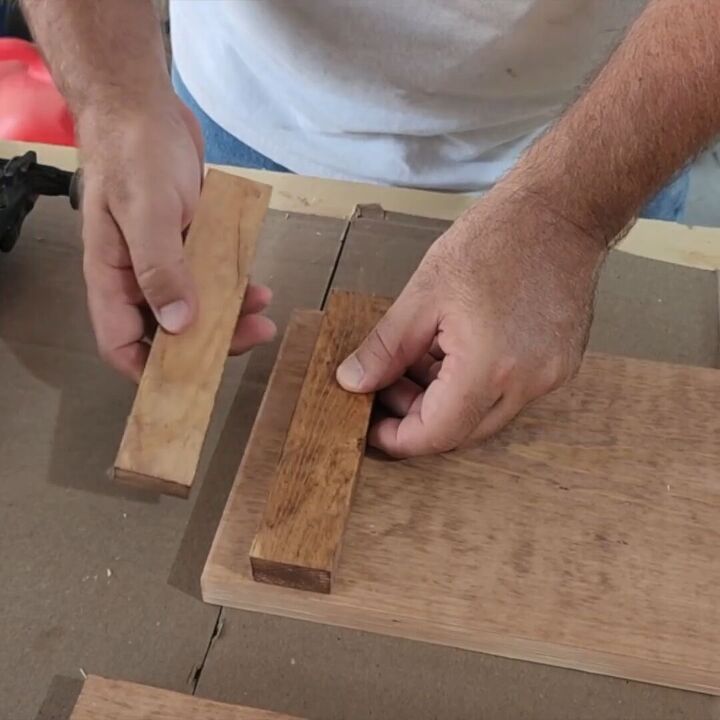
3. Cut the Wooden Blocks
Cut four wooden blocks.

These blocks will provide space for your curtain rod when mounted on the board. The exact placement will be determined later in the process.
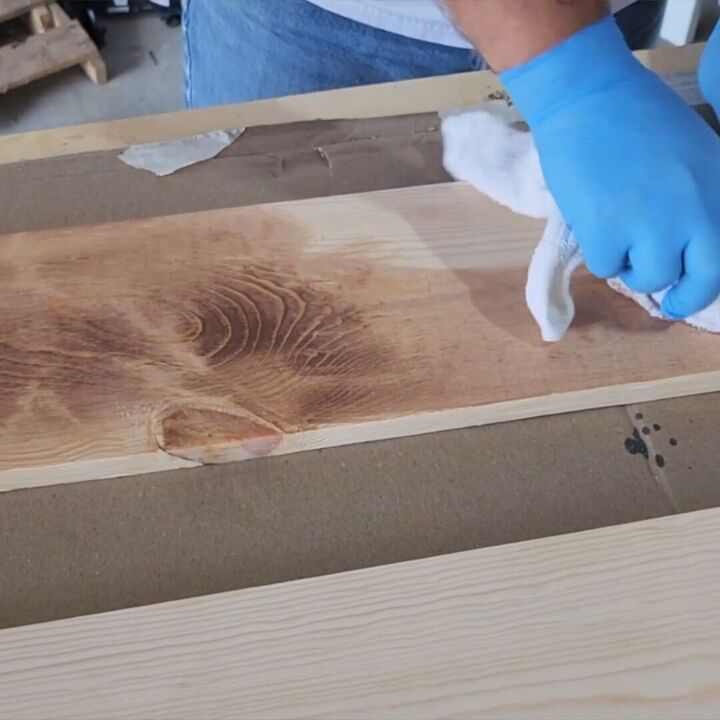
4. Stain the Wood
Apply your chosen stain to the wood. In this example, a cherry stain was used. Consider using a pre-stain to achieve an even finish and prevent dark spots on the board.
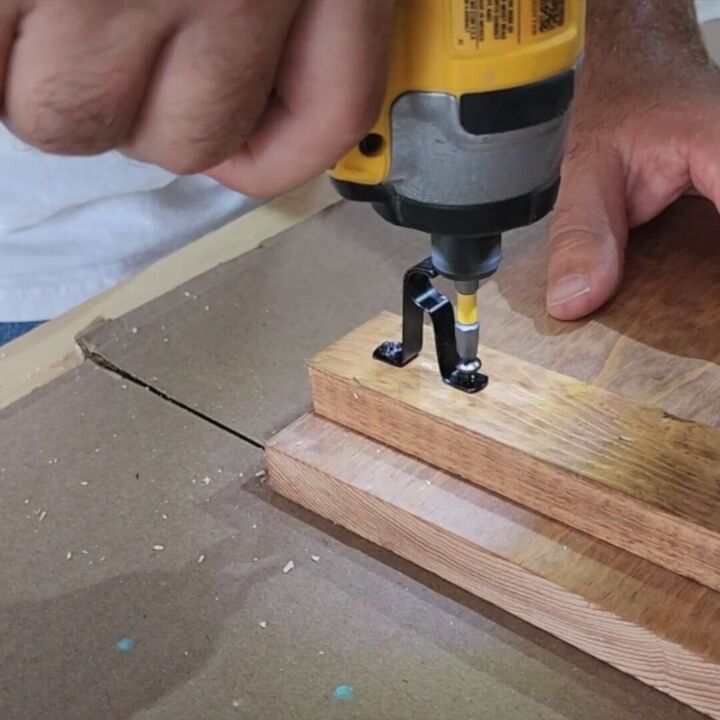
5. Attach the Blocks and Curtain Rod Holder
Use one of the wooden blocks as a spacer to determine the placement of the block we will attach to the board.

Attach the blocks on either side of the boards.
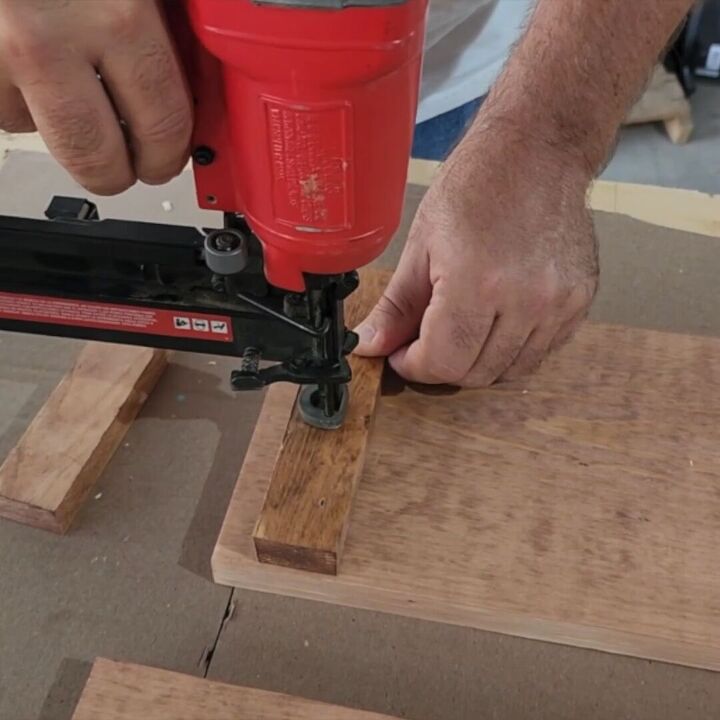
Secure them with three Brad nails each, making sure not to go through the boards.
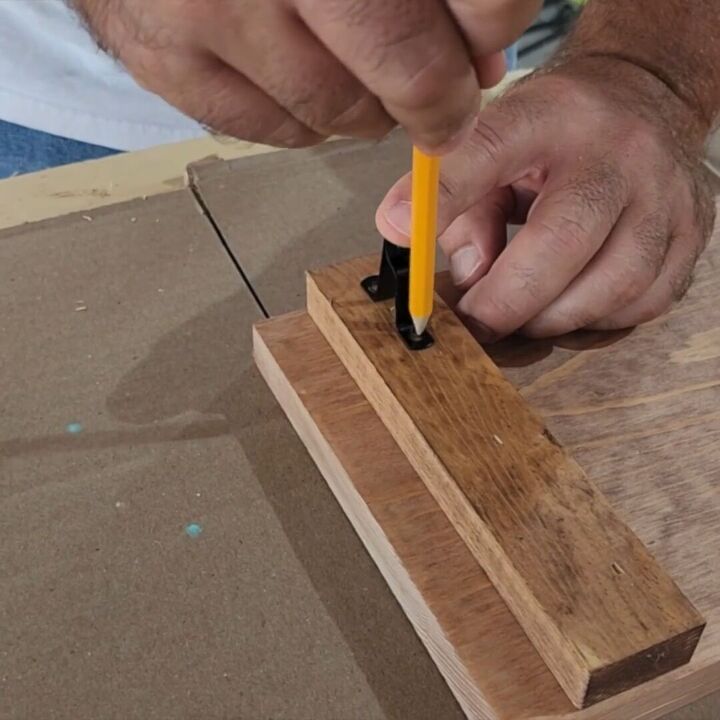
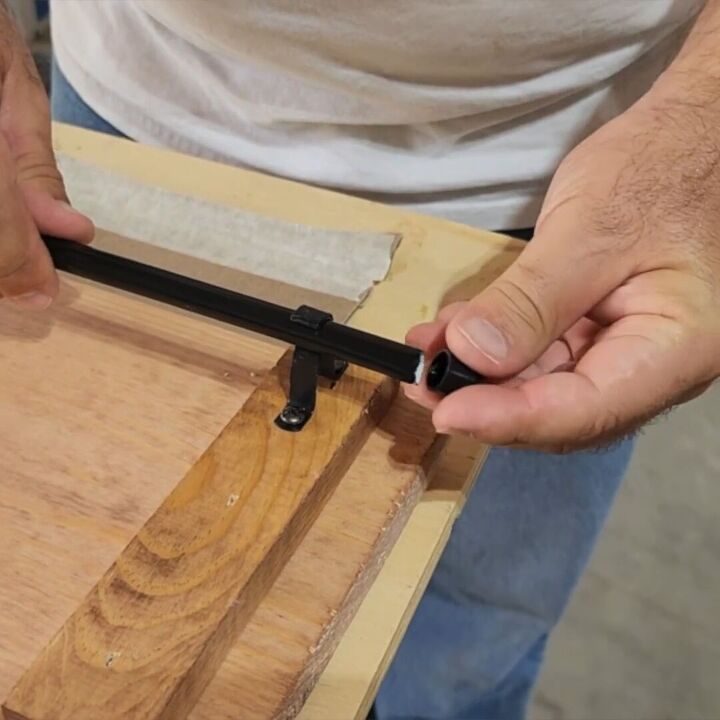
Next, measure and mark the curtain rod holder at the bottom of the board.

Pre-drill the holes.
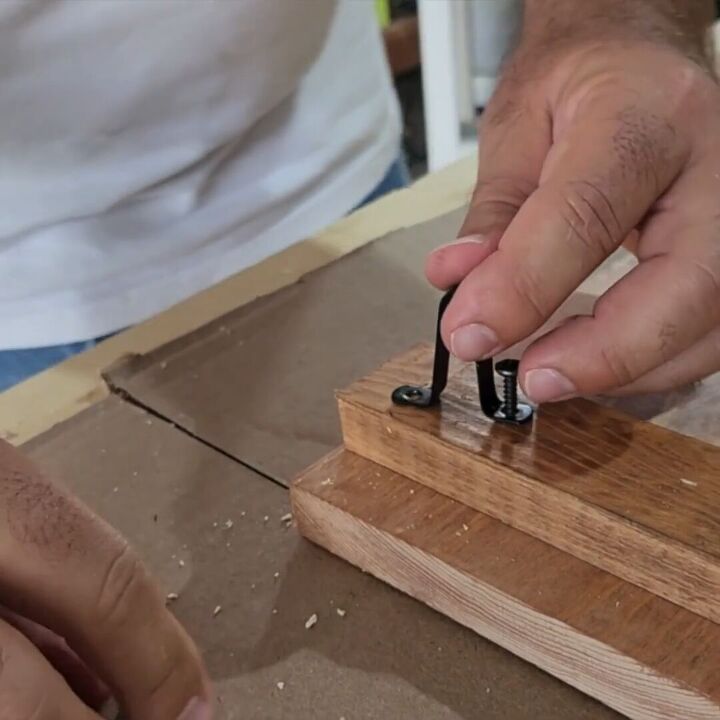
6. Mount the Curtain Rod Holder
When attaching the curtain rod holder, insert the first screw halfway
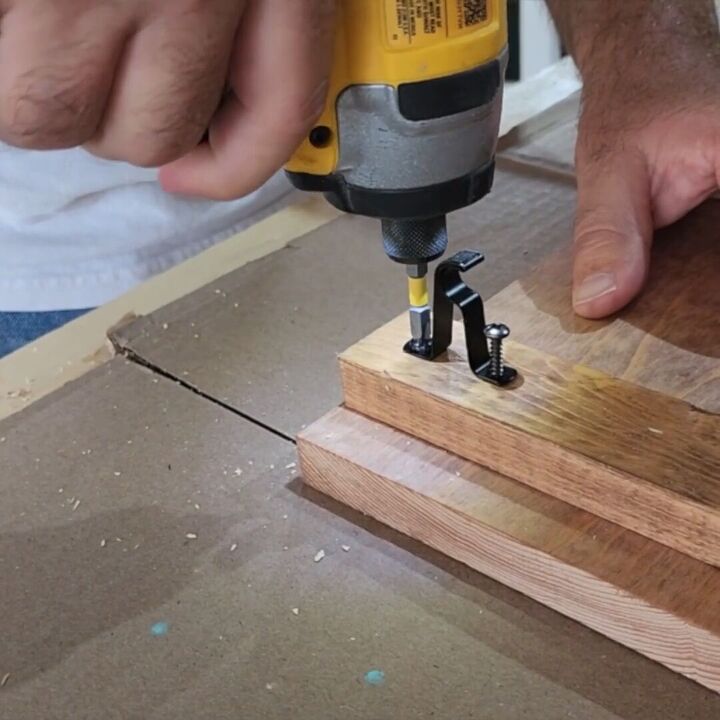
Then move on to the second one and insert it all the way. This technique will allow for easy adjustments if needed.
Once your second screw is inserted, you can go back and screw the first one in the whole way.
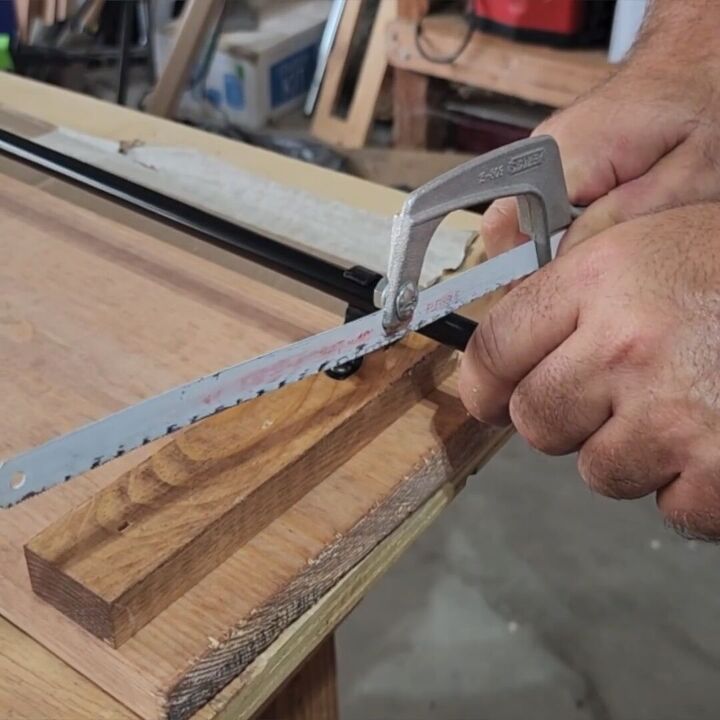
Now, insert the curtain rod and gently saw off the excess.
These curtain rods come with little caps to place on the end, so you will not see the rough edge.
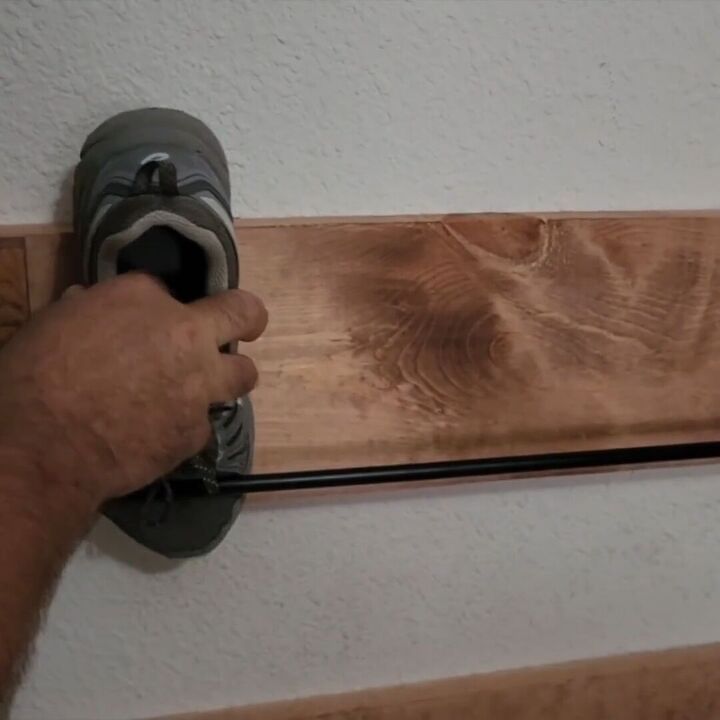
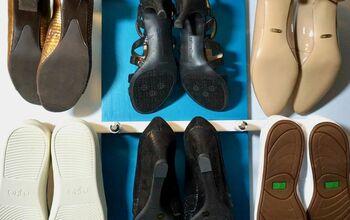
7. Mount the Shoe Rack
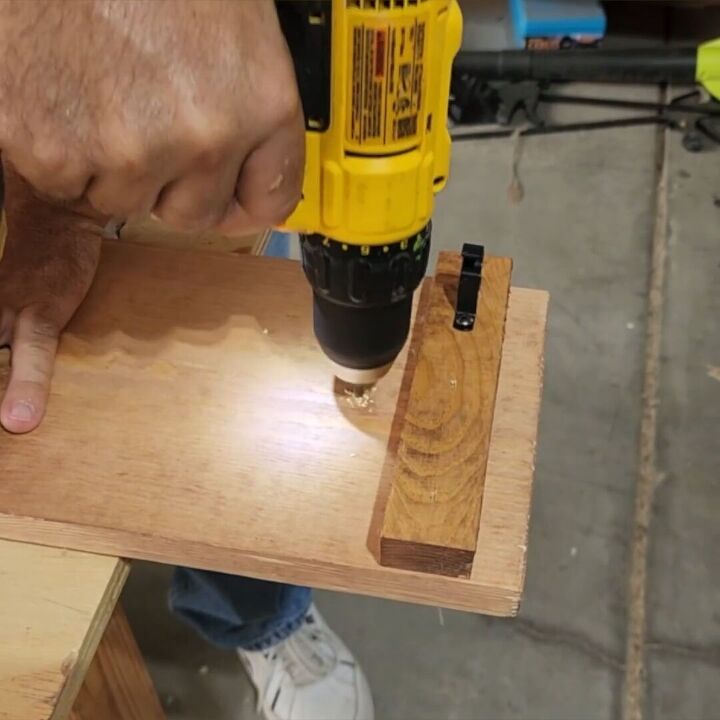
Predrill the holes you will use to mount your DIY shoe rack on the wall.
Install the two wooden boards on the wall using a level to ensure they are straight.
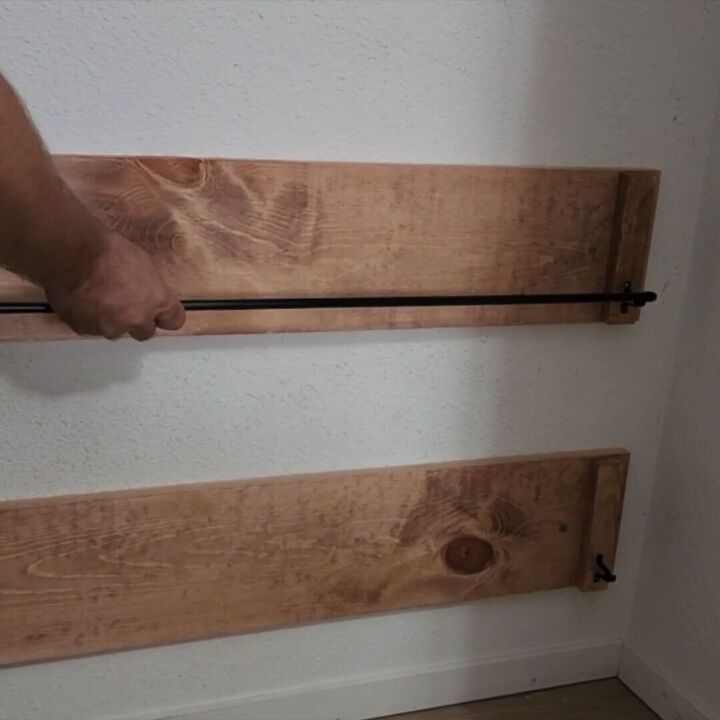
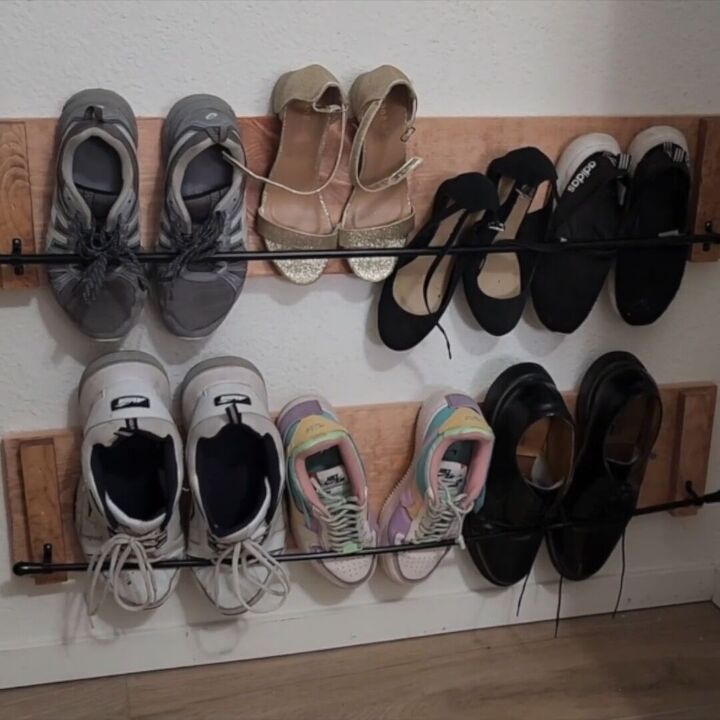
Place the curtain rods inside the holders, and you're ready to start organizing your shoes!
More Shoe Organizers
DIY Wall Mounted Shoe Rack Tutorial
With this simple and practical DIY project, you can create a stylish DIY wall-mounted shoe rack that saves valuable floor space and neatens up your home or closet. Customize the size and finish to suit your needs and style preferences.
Have you tried this homemade shoe rack idea or have other creative shoe rack ideas to share? Let us know in the comments below! We'd love to hear about your DIY woodworking projects and any tips you have for optimizing your space.
Comments
Join the conversation
-
That’s a very crafty idea! Thanks for sharing! I have a lot of shoes and I’ve been trying to figure out a good way to store them so I can actually see what all I have.
-
Interest project, but I doubt many women would have the skill set for this.


Frequently asked questions
Have a question about this project?