


Drab Old Dining Chairs Repurposed Into Fun Patio Furniture

The company I've worked for the past 24 years has had their doors closed for the past 14 months, due to the pandemic. I had been trying to think up ways to earn extra money until we [fingers crossed] re-open! I have a fairly large assortment of tools (I’m an avid hobby DIYer) so I thought maybe I could find items on marketplace for a great deal and either upcycle or repurpose them for resale/profit.
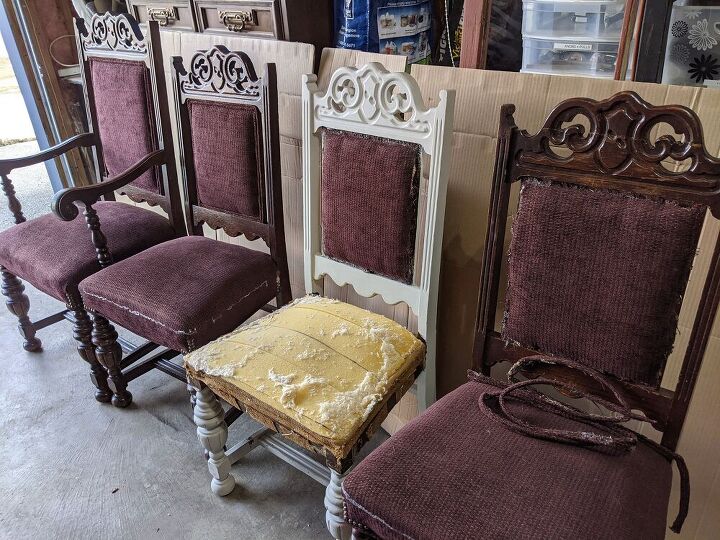
I recently picked up four free dining chairs on marketplace. And given that anything patio related are hot ticket items for the spring season, I came up with a plan to repurpose them into patio furniture.
Hometalk Recommends!
PREPPING FOR A BENCH SEAT
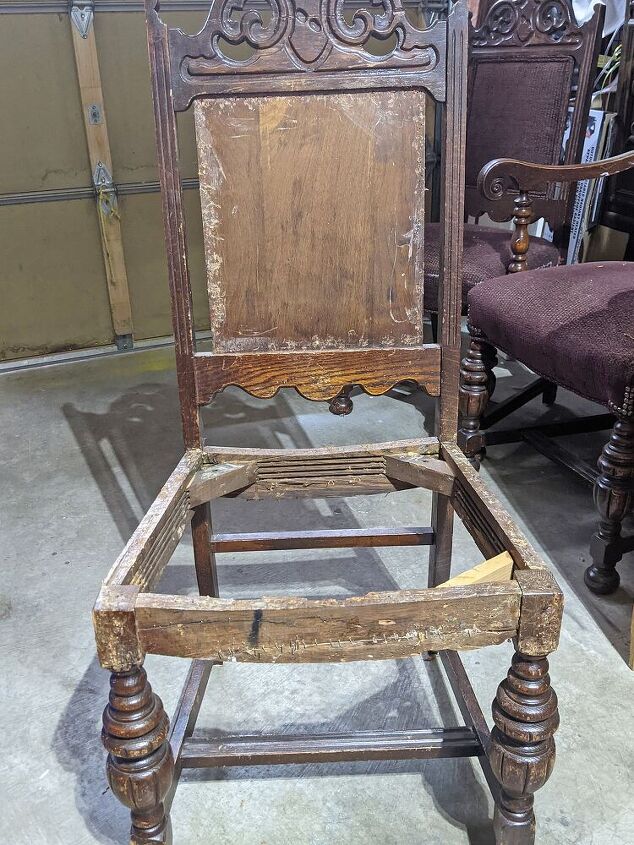
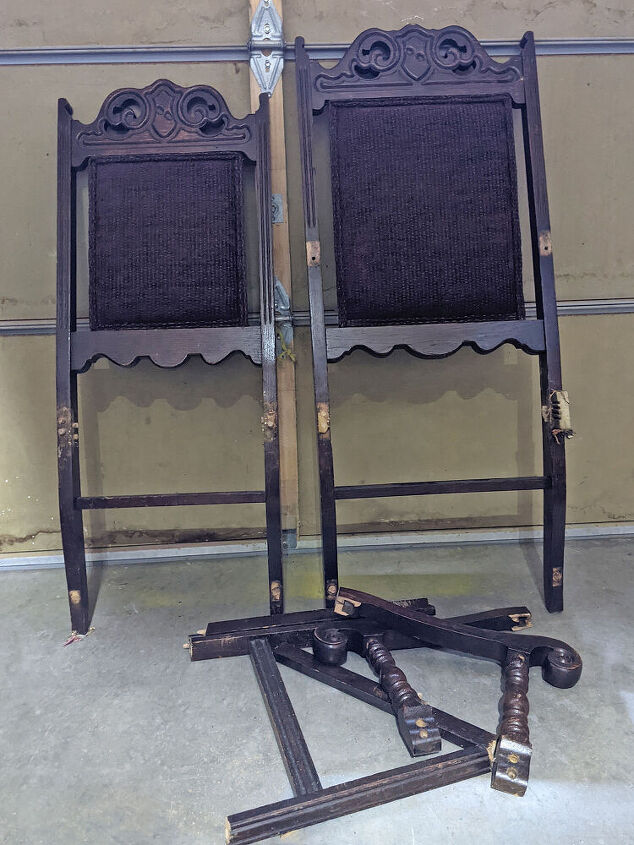
The first thing I did was remove the fabric, padding, springs and straps from two of the chair seats and backrests. There’s really no quick way to do this, as it involves pulling out a million staples and furniture tacks. I used a U tip staple remover to get them out.
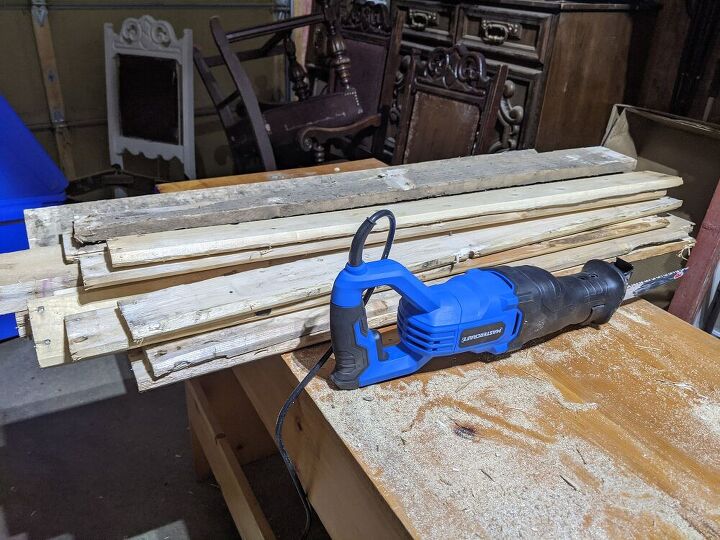
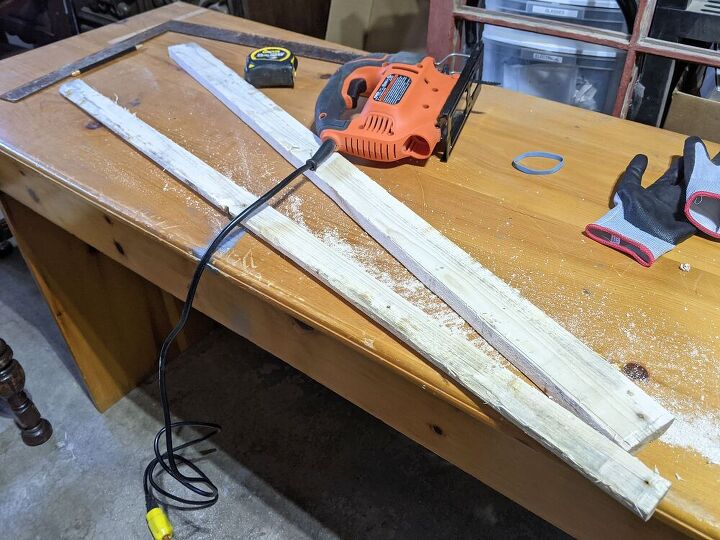
I needed wood to work on this project, but due to the drastic increase in wood costs I picked up a free wood pallet from a local hardware store.
I took the pallet apart, using a reciprocating saw to cut the nails.
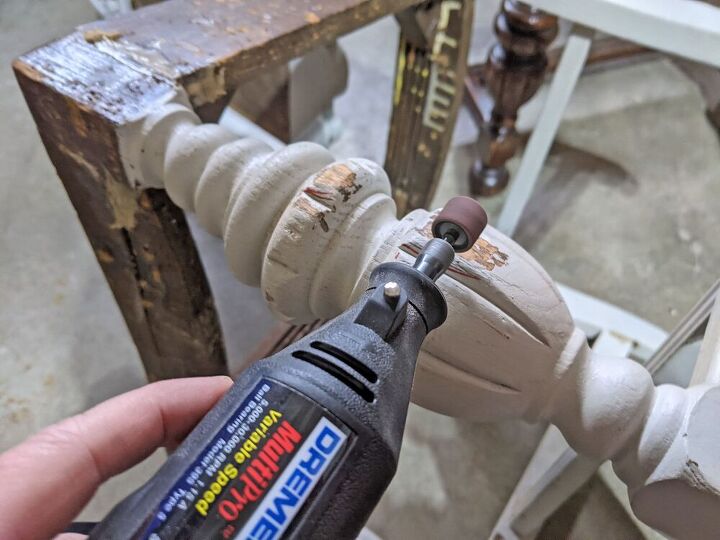
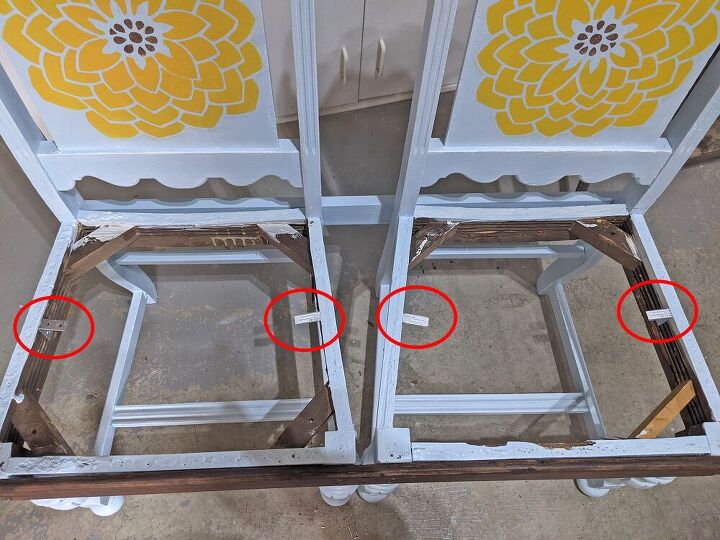
After sliding my two chairs side-by-side, the wood slats from the pallet were about half an inch too short to cover the front of the seat frames (which was the widest spot). It occurred to me that the easiest way to make up this difference was to sand down the spots where the two front legs touched in the center. I marked off the spots where they touched with a red marker and sanded them down using a Dremel rotary tool, to remove the curves and allow the legs to fit closer together.
And now the pallet slats were the perfect width! To make it the right depth I ripped one of the slats using a jagsaw.
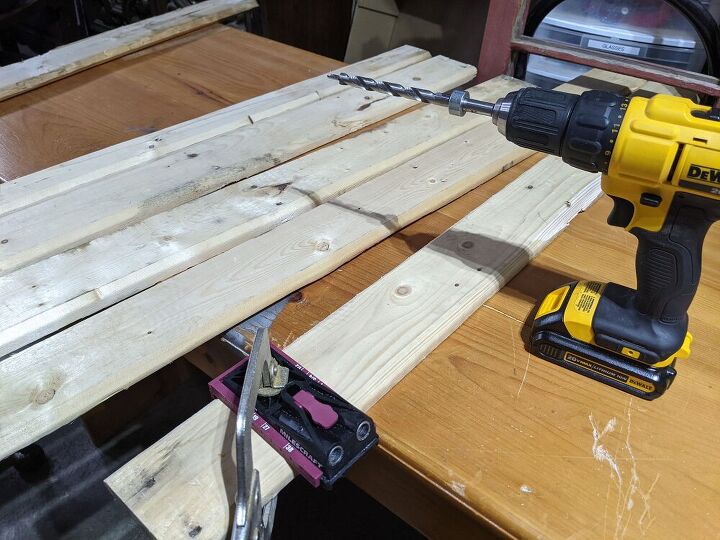
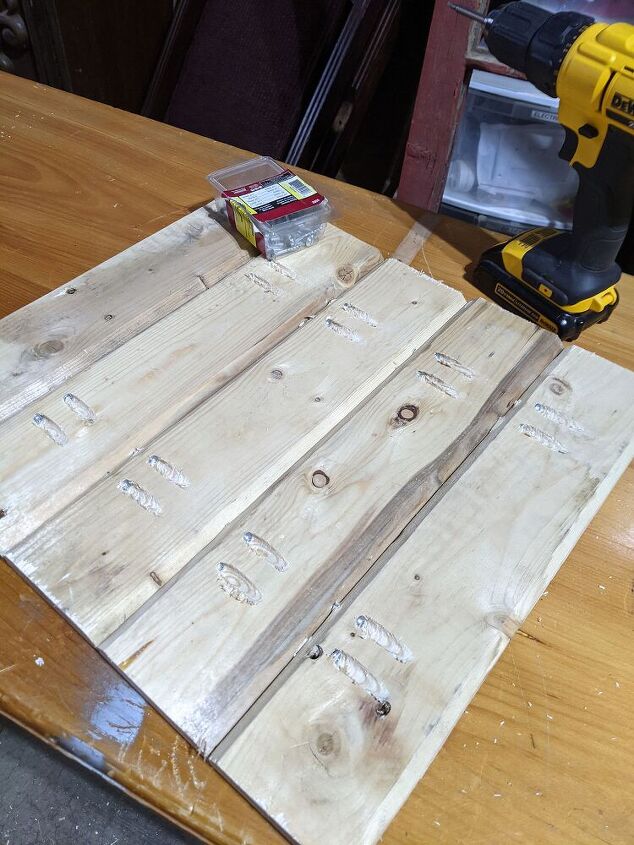
Once I had the right dimensions for the new seat I drilled pocket holes into the boards and screwed them together. The key to attaching boards side-by-side, without perpendicular support boards, is to make sure you don't sink your screws too deep. If you do, and the boards start to curl up, just turn the screw back half a turn until the boards lay perfectly flat.
I filled the staple holes on the backrests with wood filler and sanded them smooth.
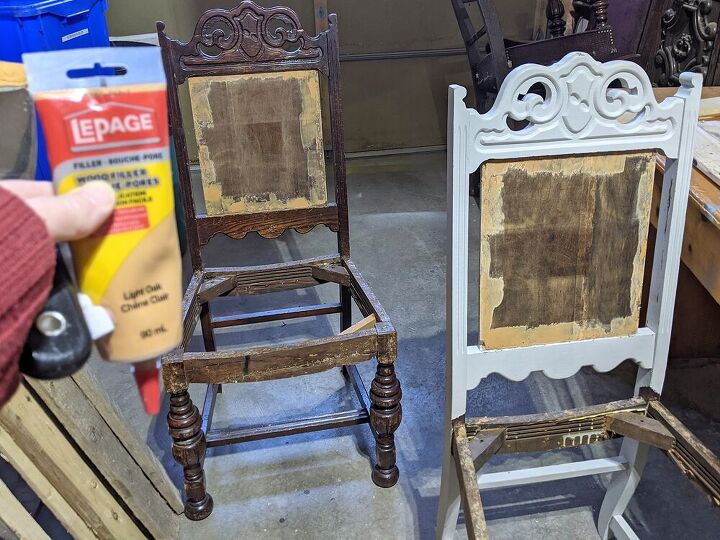
I painted both chairs with interior / exterior primer, two coats. Then I painted them with a pretty blue paint I had left over from another project - I think it was behr white cabinet paint mixed with fusion azure blue. Then I lightly dry brushed with white.

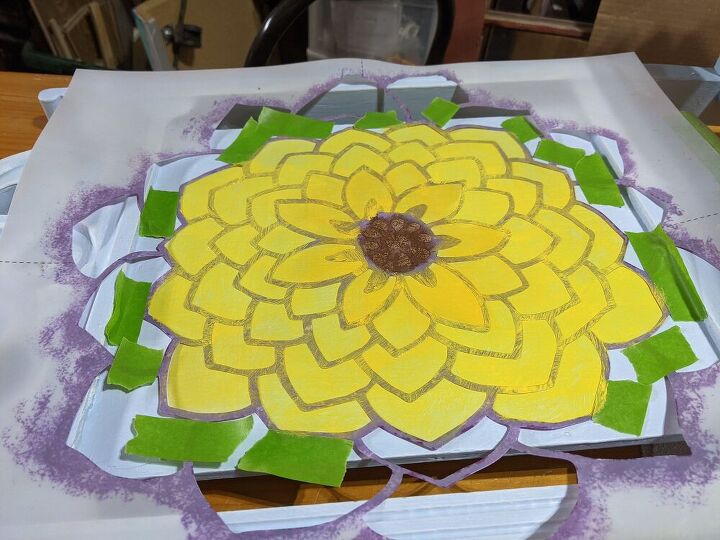
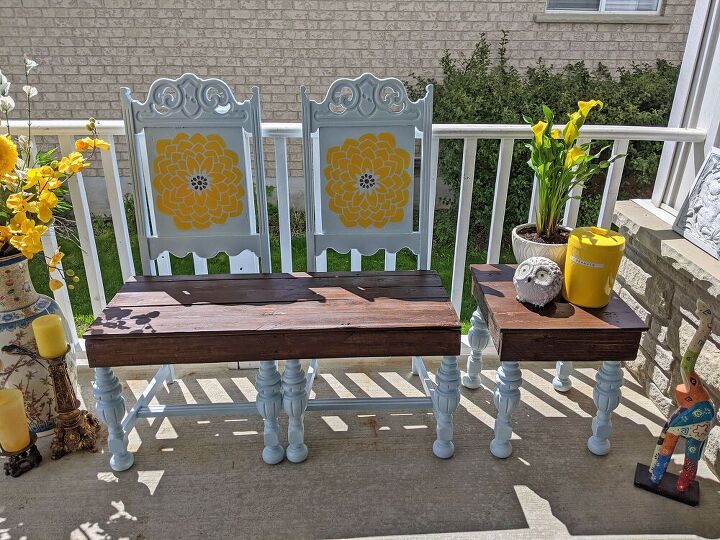
I stenciled yellow flowers on the backrests using dollar store paint. The stencil was too large so I used the center portion only.
Then I sealed the chair frames with Varathane outdoor satin clear spray.
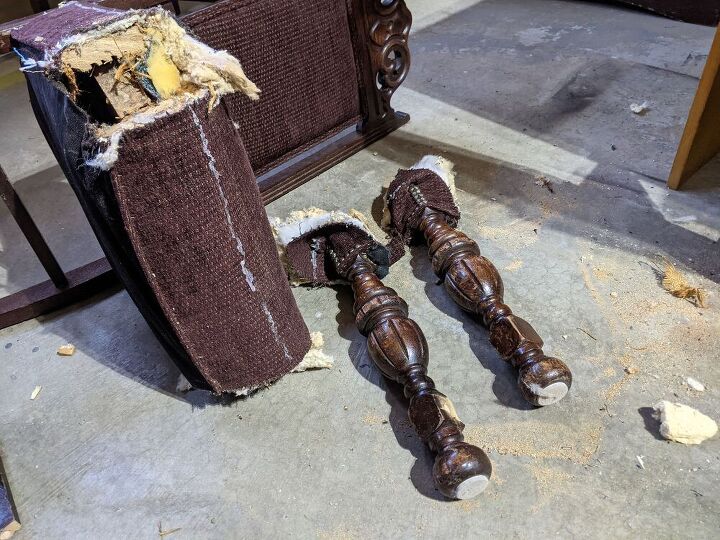
PREPPING FOR A SIDE TABLE
I wanted to use the front legs from the two remaining chairs to make a little side table. I really didn’t want to spend another four hours removing staples, so I used the reciprocating saw to cut the two front legs off each chair. There were still staples and tacks to remove, but not nearly as many!
The two remaining backrests and rails I added to my scrap pile, to likely be used on another project later on.
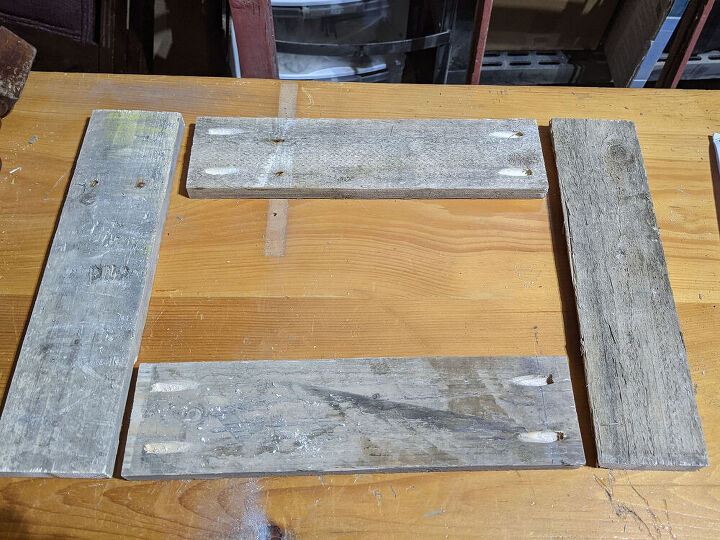
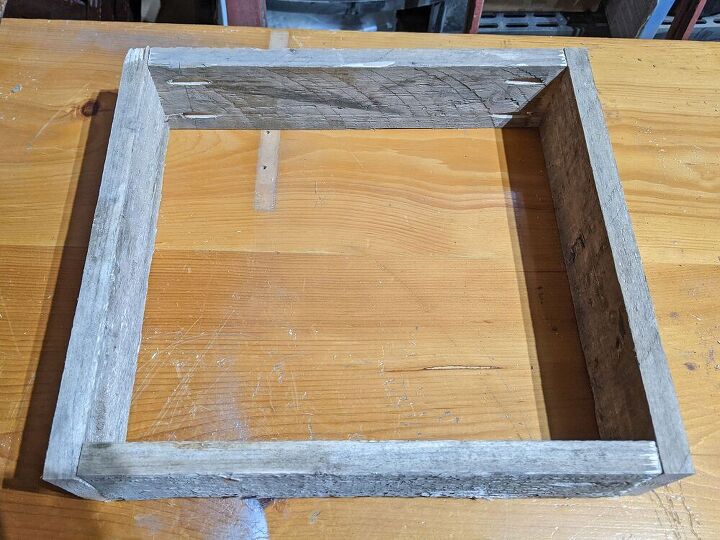
I cut four pieces of pallet wood to create a small rectangle. I made pocket holes and screwed them together to create a frame for the table top.
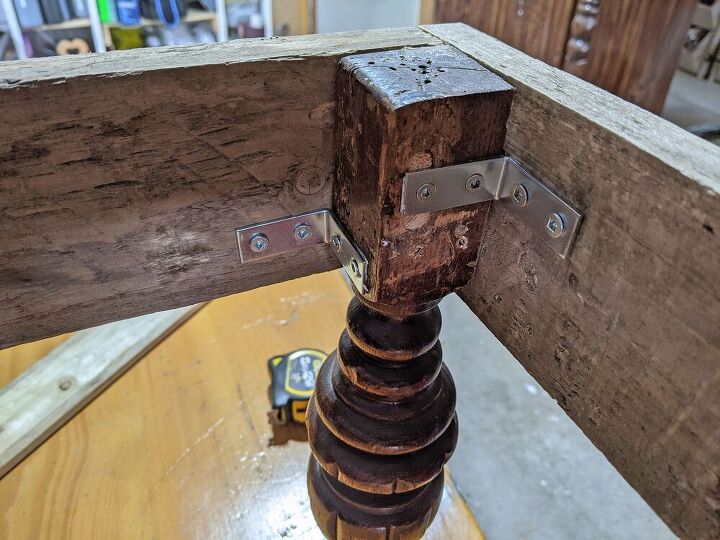
Then I attached the four fancy legs to the frame, using metal L brackets.
I pained, dry brushed and sealed the legs the same as the bench.
Then I cut five more wood slat pieces to create the table top. I joined them together the same way as the bench seat.
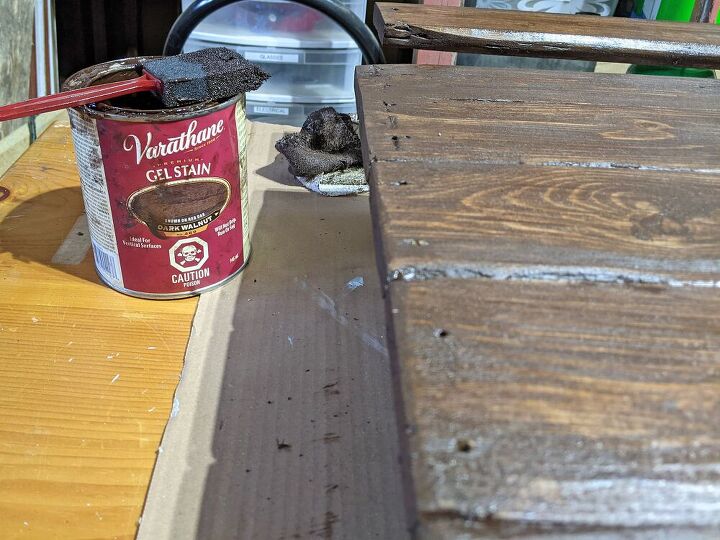
I sanded all my wood pieces, using 60 grit followed by 100 grit, then stained with dark walnut gel stain. The stain was old and had gone runny so I used a foam brush to apply it. I let it sit for about 10 minutes and then wiped back any excess with a cloth.
PULLING IT ALL TOGETHER
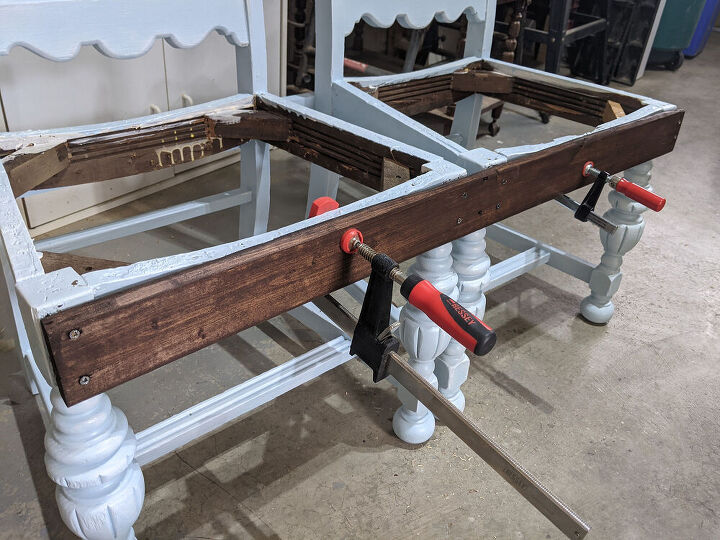
I added a support board to the back of the chairs, to run parallel to the one on the front. I painted it blue to blend in.

Then I attached the support board to the front, drilling black screws into the four chair legs.
I added L brackets to the inside chair frames. Then flipped the chairs on their back and screwed the top on, going up from the bottom.
I did the same steps to attached the top to the side table. Then I sealed the wood with satin clear coat rated for outdoors, three coats.
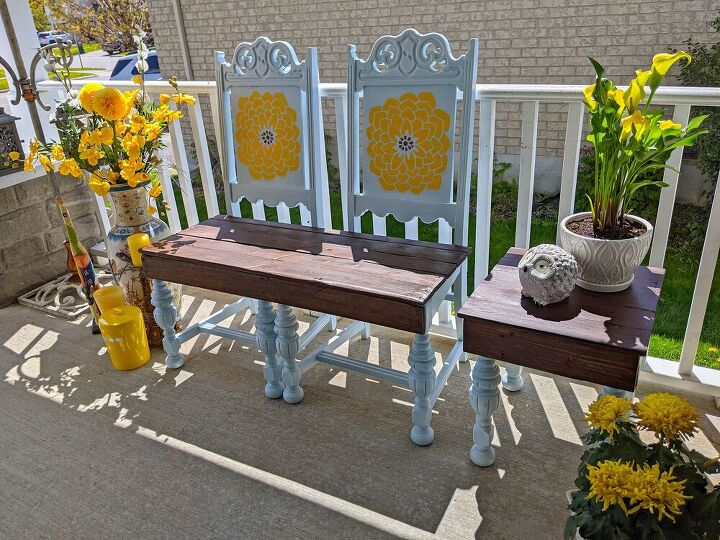
And done!
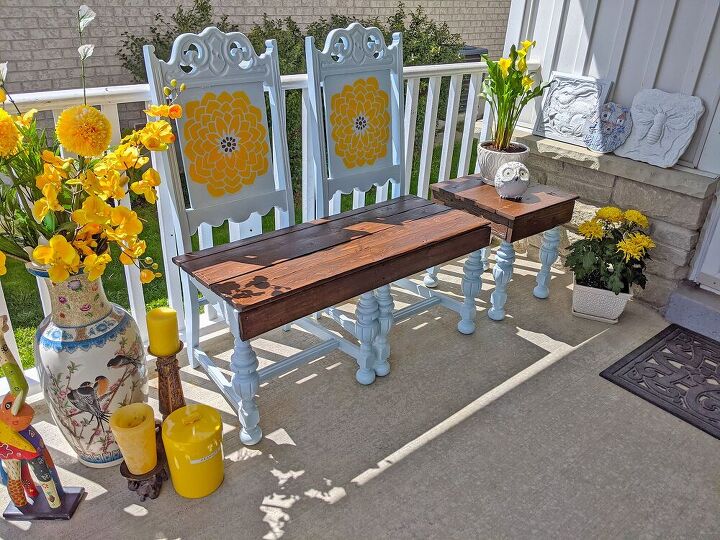
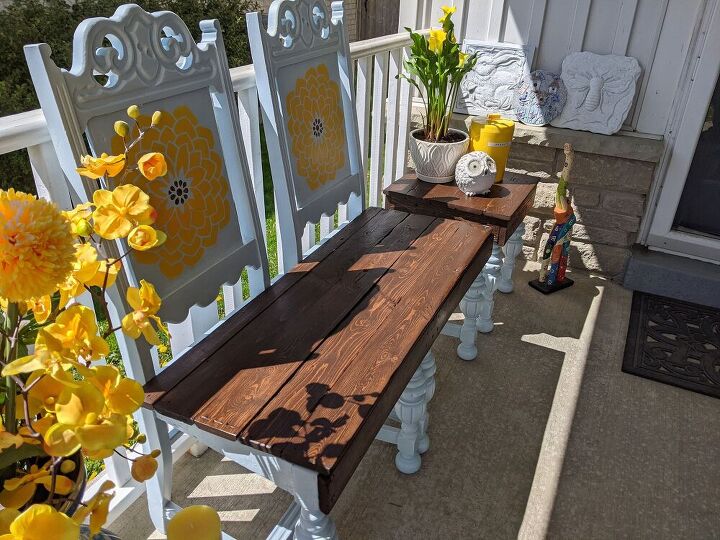
Because I already had tools and paints/stain on hand, I only spent $15 on this project. Even though my plan was to sell this on marketplace, my daughter has apparently fallen in love with it. She said “we should keep it, it’s our vibe!!” LOL She NEVER sits outside due to fear of bugs, so if I can fetch the right price we'll see what happens there. But I must admit, I think it turned out pretty cute. 😊

Resources for this project:
See all materials


Comments
Join the conversation
-
How very cool! Nice work.
-
I love all your projects!! This set is definitely a beauty. Great job💜


Frequently asked questions
Have a question about this project?
Wow, I have 3 chairs I was planning to do this with. But wasnt sure how to go about it. I want to see what else you have made. Do you have a blog or a website. Because someone down the street from me, he goes to auctions and what he can't sell he puts out on the street, as give aways.
I would like to see what else you have made. What I make, I don't sell . I belong to a garden club, and like to make things for a club raffle. It helps them make money for some of there projects. We help set up garden areas for the water company. They show different classes, people take to take care of their yards and gardens. In turn, it helps us get new members for our garden club. We have different projects like this one.
Thank you for your time.
Sharon
snoah2011@aol.com
Not criticizing ...because this is super cute ! but wondered why you didn’t use the arms off the other chair? That would have been another cute addition to the bench.
I love to see such beautiful outdoor living spaces, but how do you keep it clean?
We live on a farm but we don't don't have any open fields around us, also no road close by. House is surrounded by grass and we have a paved yard. Still I have to wipe off my deck table, chairs etc off every day or so or or they become covered in grit. Consequently I don't have cushions or other elegant embellishments on my deck. Can't call it a cozy outdoor space that's for sure. I admire those that do however. Well done.