


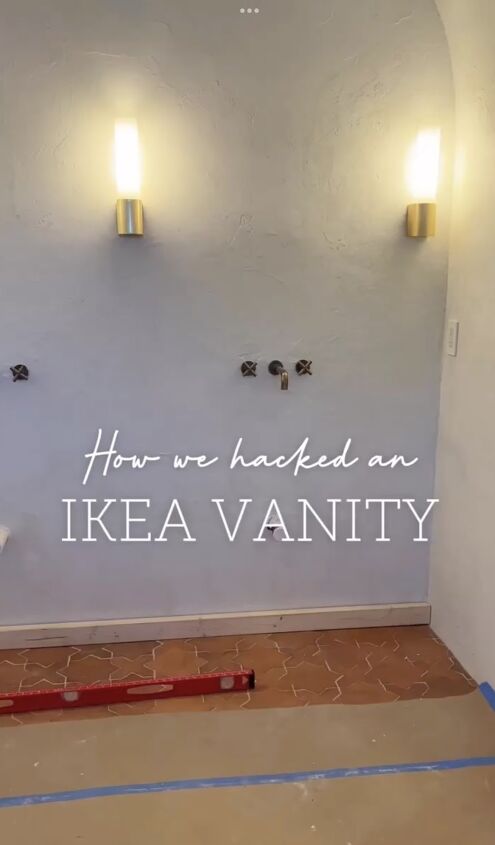
IKEA Godmorgon Vanity Hack: How to Build a Custom Bathroom Piece

I'm excited to share an incredible IKEA Godmorgon vanity hack. My partner and I turned a couple of IKEA Godmorgon vanities into a stunning custom oak masterpiece for our bathroom. Read on to learn how we did it.
Tools and materials
- 2x4s for the frame
- Bottom shelf for added functionality
- IKEA Godmorgon vanities (2)
- Saw for cutting drawers to fit around plumbing
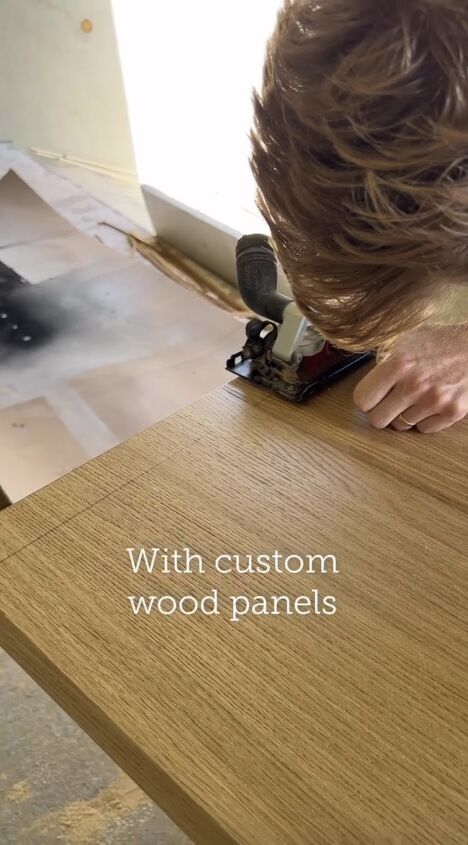
- Edge banding for a polished look
- Filler pieces for seamless integration
- Hardware for both aesthetics and functionality
IKEA Godmorgon vanity hack
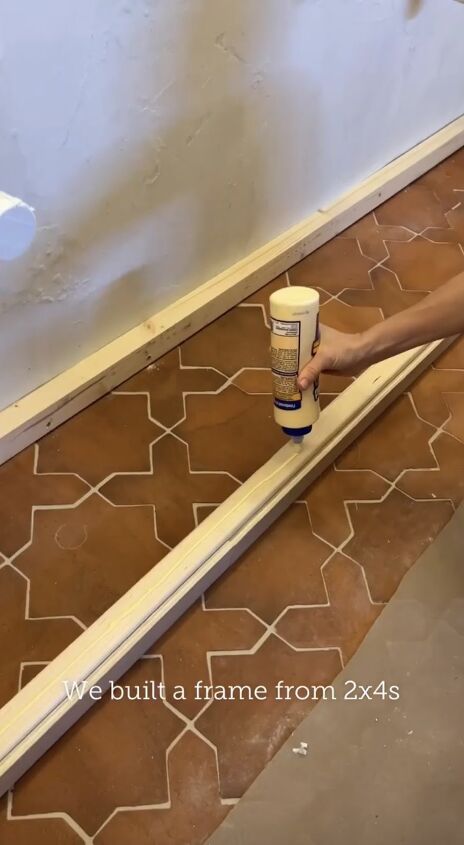
1. Building the Foundation
We went to the local hardware store for a few 2x4s. We carefully crafted a sturdy frame that would serve as the foundation for our vanity hack. This step was crucial to ensure the longevity and durability of our creation.
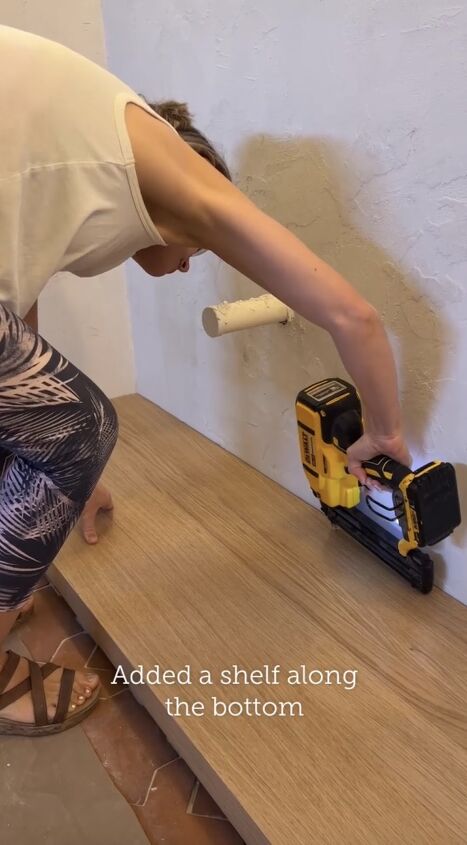
2. Adding Functionality with a Shelf
To maximize the utility of our vanity, we decided to include a bottom shelf. This addition not only provided extra storage space but also added a touch of practicality to our design. Now, our bathroom essentials had a designated spot within easy reach.
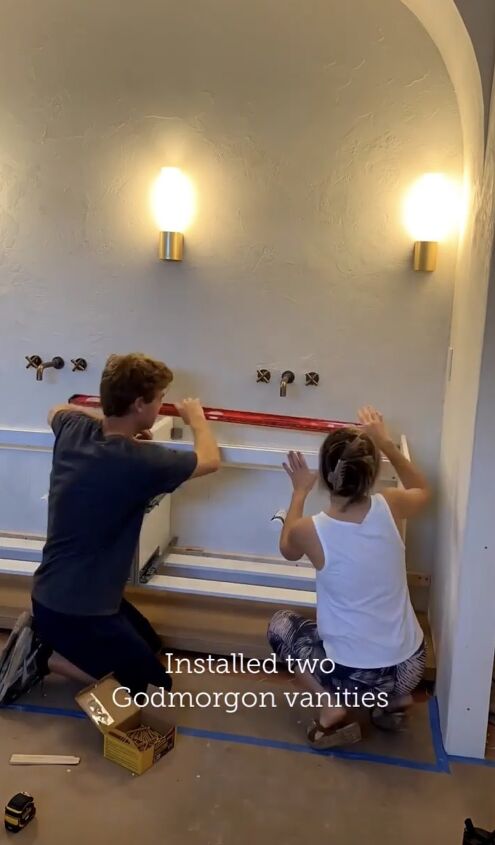
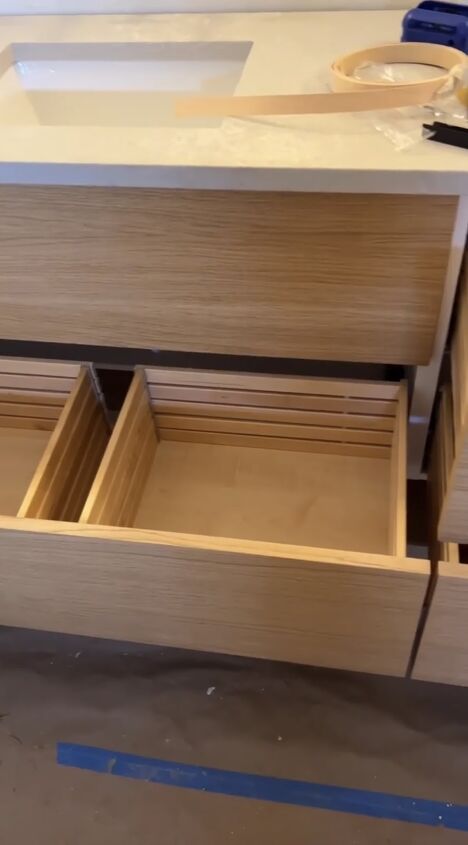
3. Using the Godmorgon Vanities
Next up, we added the IKEA Godmorgon vanities. These sleek pieces became the focal point of our project, offering a modern and minimalist aesthetic. Their functionality matched with our vision perfectly.
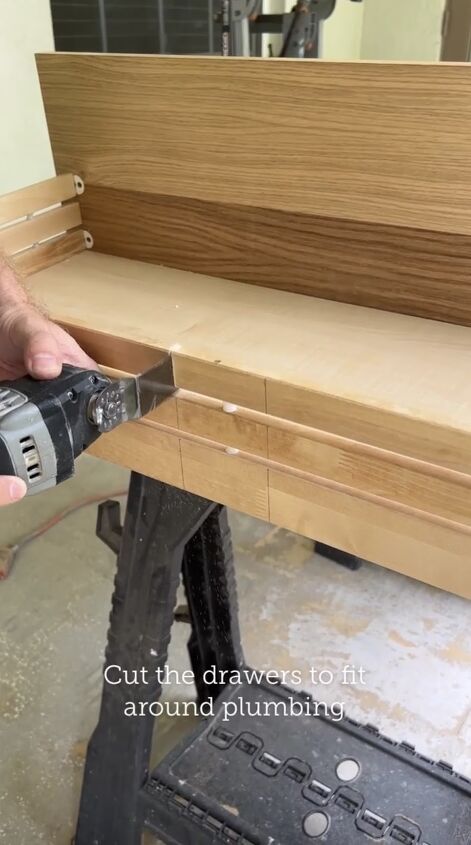
4. Customizing for Plumbing
Every DIY project encounters its challenges, and ours came in the form of plumbing. With a bit of ingenuity, we skillfully cut the drawers to fit seamlessly around the plumbing. This adjustment not only preserved the functionality of the vanities but also showcased our commitment to a tailored, bespoke result.
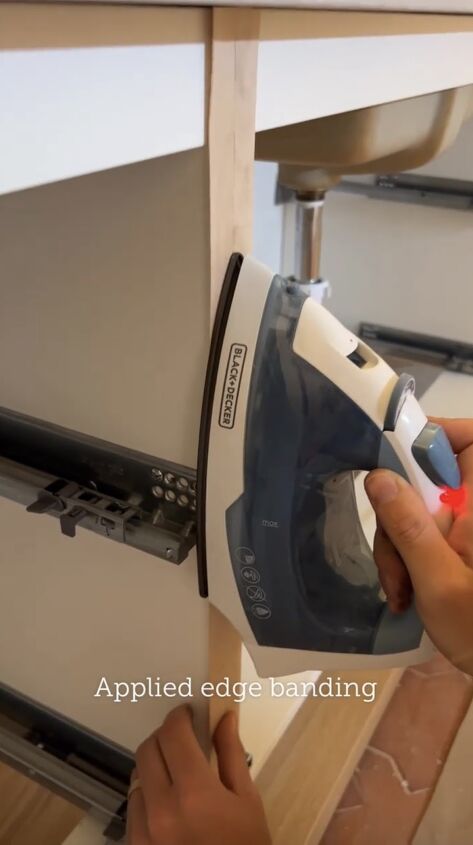
5. Finishing Touches with Edge Banding
To elevate the overall look of our vanity, we applied edge banding. This small detail made a significant impact, giving our creation a polished and refined appearance. It's amazing how a simple addition can transform the entire aesthetic.
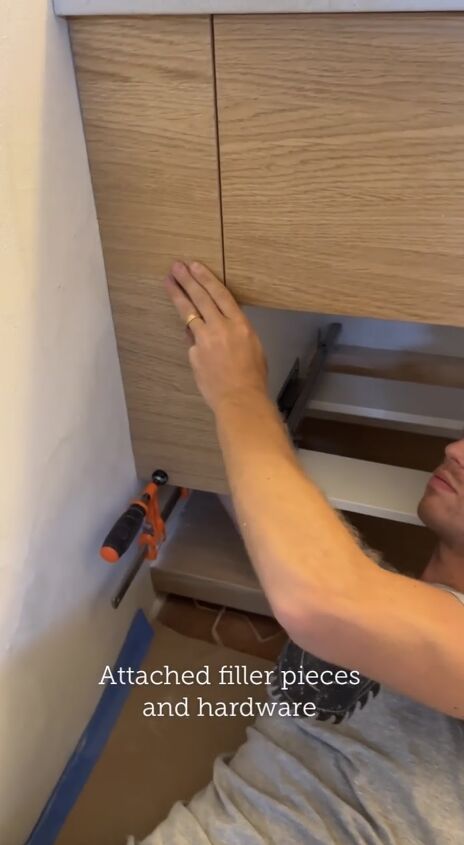
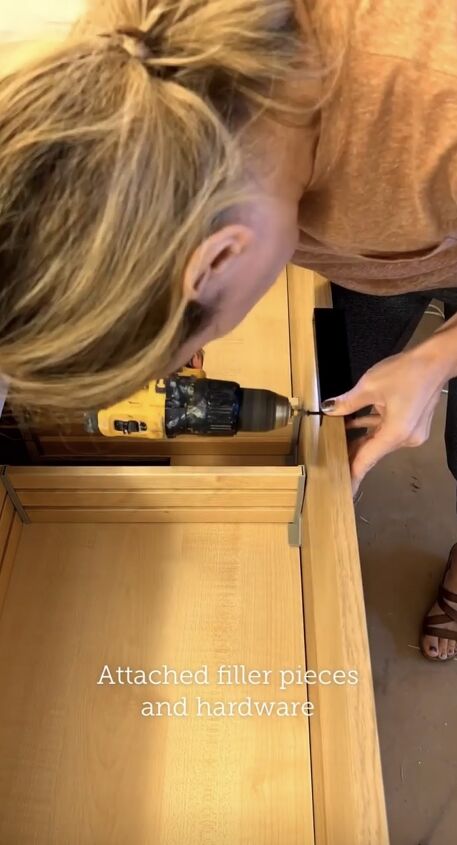
6. Filler Pieces and Hardware
With the core structure in place, we added filler pieces to ensure a seamless integration of all components. The carefully selected hardware not only enhanced the visual appeal but also contributed to the functionality of our custom oak vanity.
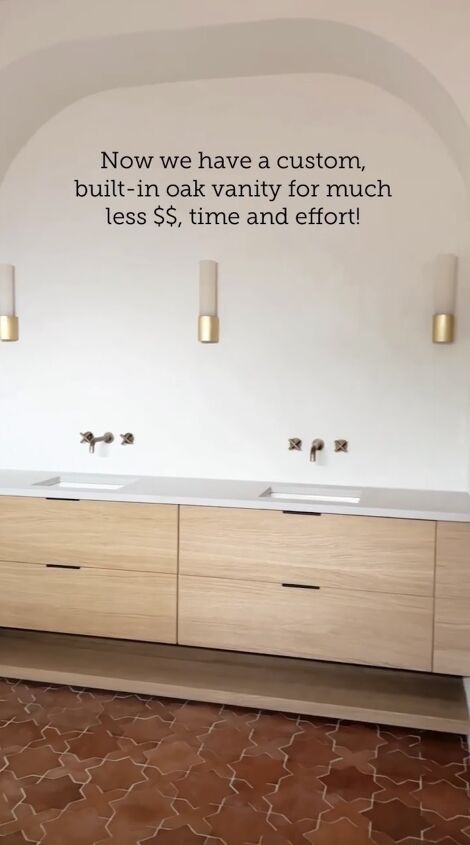
After days of hard work, our bathroom transformation was complete. We accomplished it all for a fraction of the cost, time, and effort it would take for a pre-made custom piece.
IKEA Godmorgon vanity hack
What do you think of our IKEA Godmorgon vanity hack? Did it inspire any ideas for your own DIY projects? Share your thoughts in the comments below.
Follow @jennasuedesign on Instagram for more DIY ideas.


Frequently asked questions
Have a question about this project?