


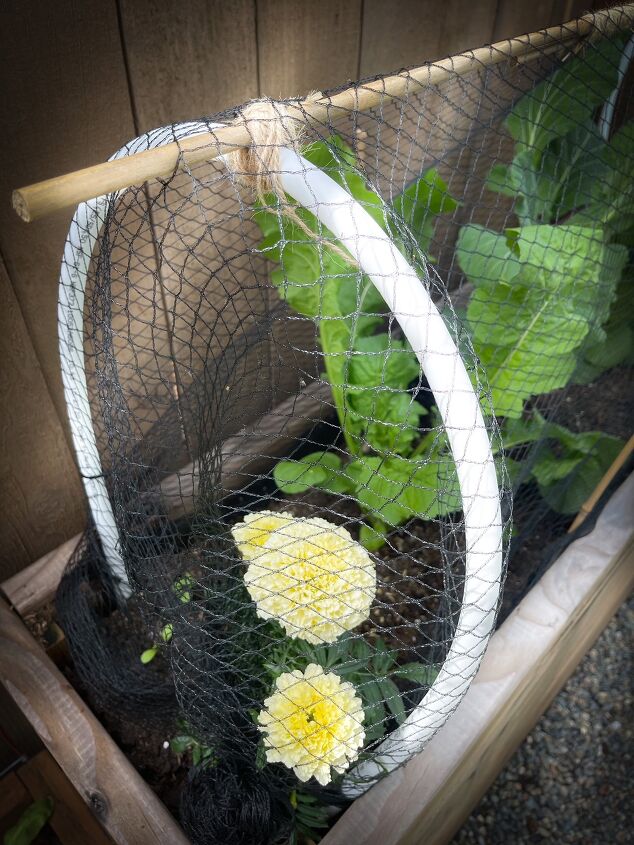
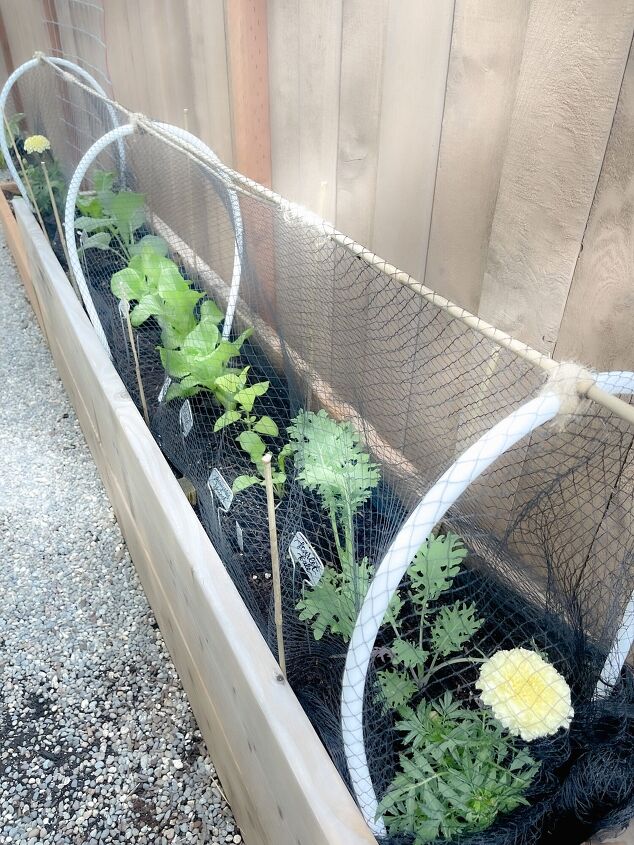
Four Easy Steps for a Garden Bed Cover DIY

This easy garden bed cover has really helped me save my kale and other plants but especially, I love the look and how simple it is to make it. Simple things are the best and sometimes the most successful.
You can see more Cozy Creations here!
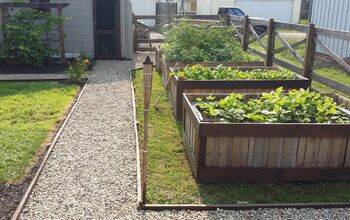
Let’s build a simple, but elegant garden bed cover that it is stylish and require easy to get materials. This cover will prevent pests, such as the cabbage butterfly from wiping it and provide options to transition as it grows.
And this is one of them!
EASY AND STYLISH!
Spending a cozy day Harvesting Flowers, creating a ground cherry salad recipe and decorating.
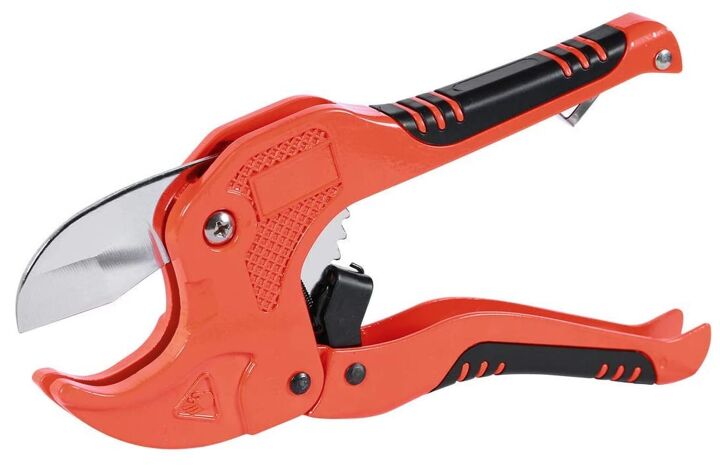
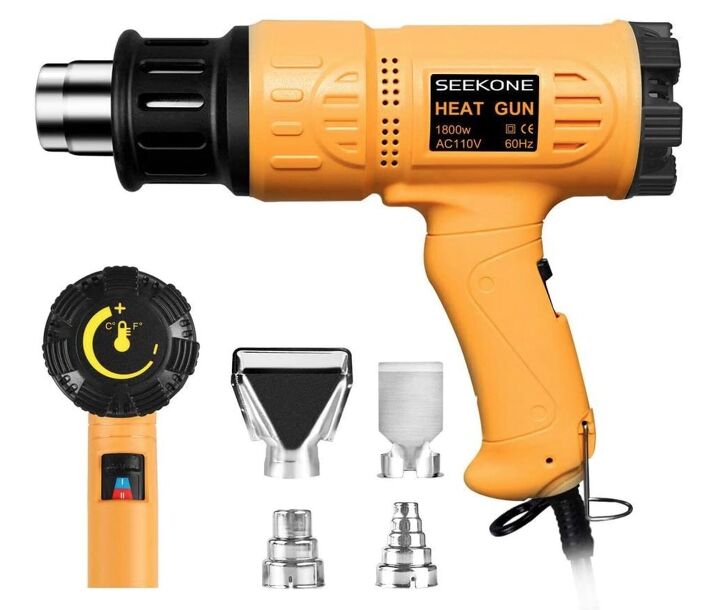
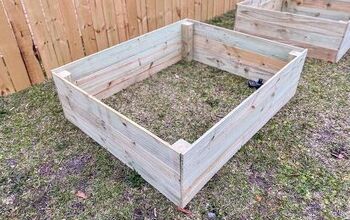
Material to make a Garden Bed Cover
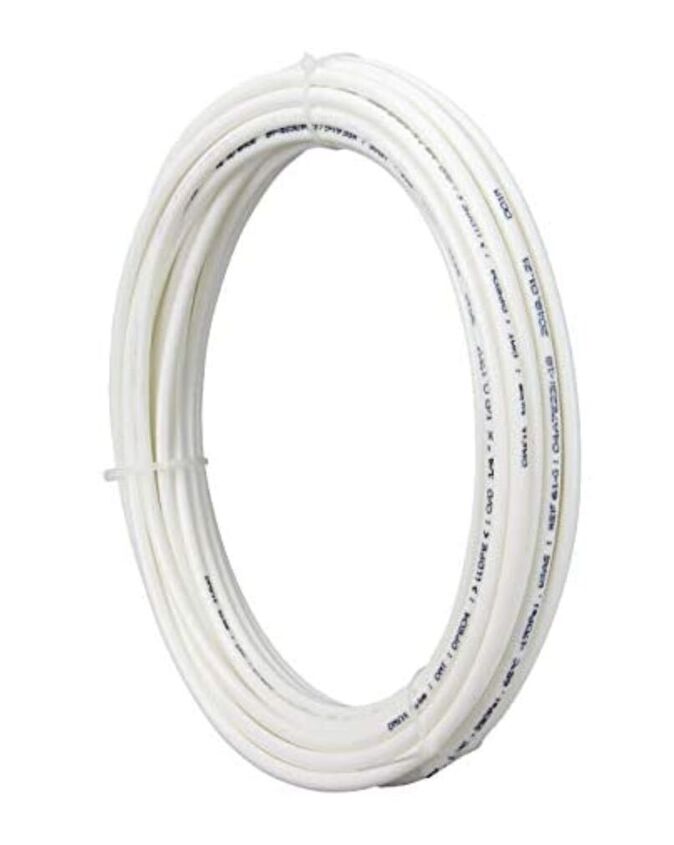
- 3/8″ Roll of Bending PVC Tuber
- Heat Gun
- Garden Netting
- Measuring Tape
- PVC Pipe Cutter
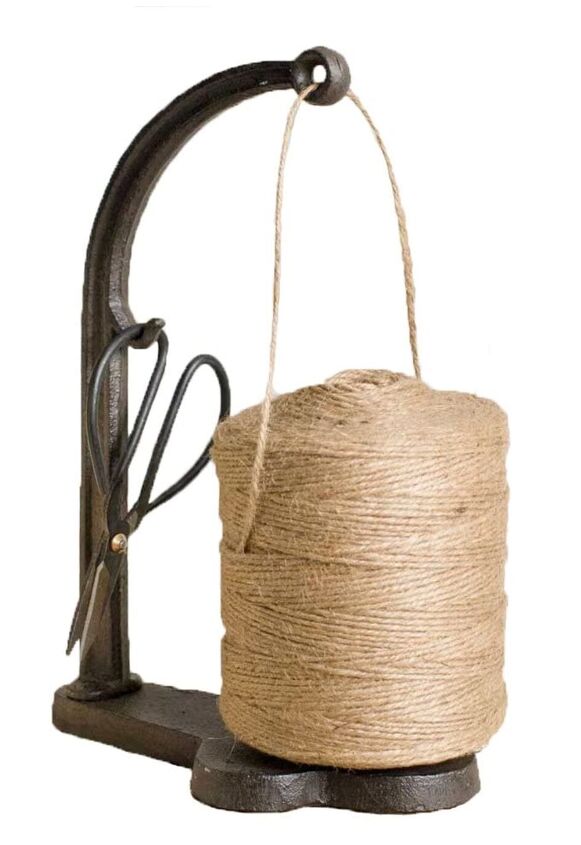
- Twine
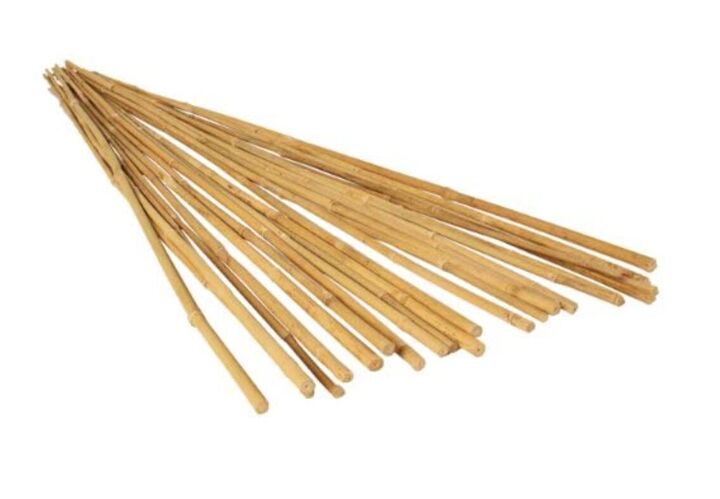
- Bamboo Poles
- Industrial Cables UV Resistant
Using the right material is always so important. Just as as important as the things you use to garden.
Links in this article are affiliate links and if you click on them, we will receive a small commission at no additional cost to you! Clicking and purchasing help to support this blog and all of the home and garden decor tutorials we bring to you! Check out full disclosure on website.
Cast Iron Garden Twine Holder with Scissor; https://amzn.to/3Bj5zAP
Visit the blog for links of other materials on this project.

Steps to create a Garden Bed Cover
- Cutting and Shaping PVC Tubing
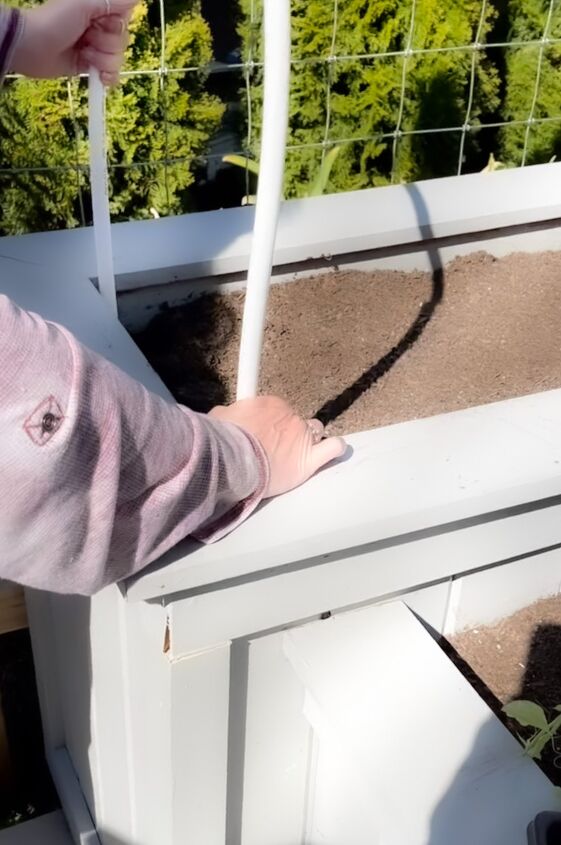
- Measure lengths needed of the tubing to create your hoops. Remember to determine the length by how much the plant will grow if you are keeping it throughout the full season.
- Cut PVC Tubing into the length needed. (SEE CUT PVC VIDEO ON THE BLOG)
- Allow 1″ or 2″ overlap.
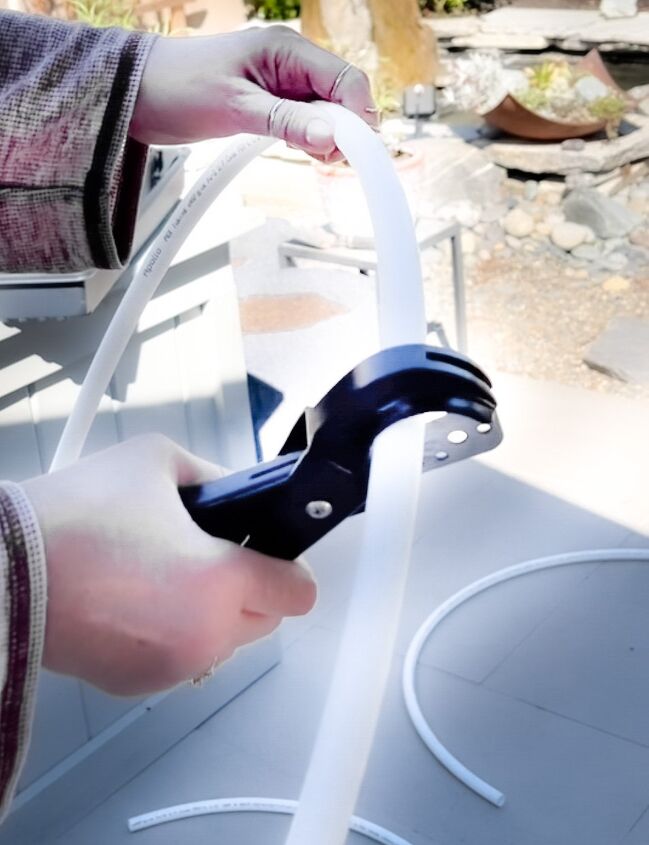
CUT PVC
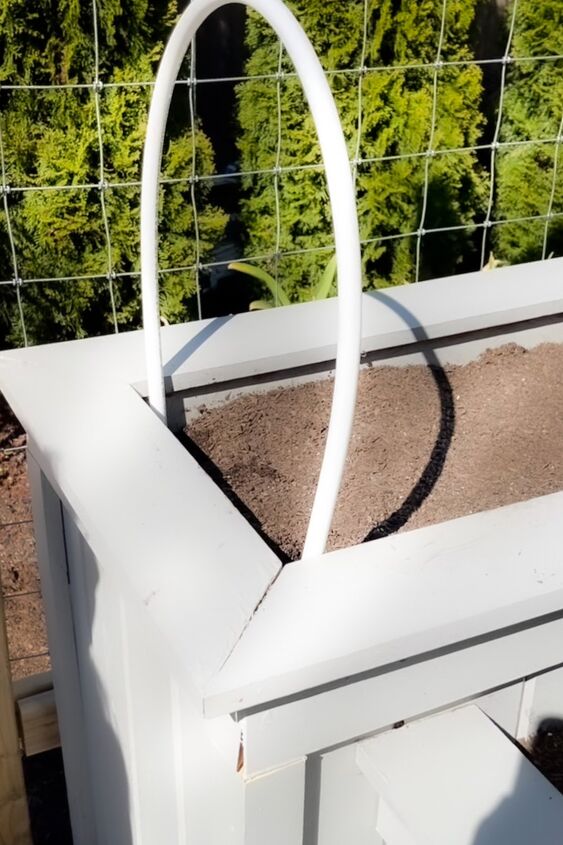
- With the heat gun heat area that needs to be bend. It is critical you don’t over heat the tubing because it will melt. (SEE HEAT TUBING VIDEO ON THE BLOG)

HEAT TUBING
- With your hands begin to shape the hoop. Go through the process slowly, apply heat and shape, go back and forth until you have the hoop shape desired. (SEE SHAPE PVC VIDEO ON THE BLOG)
SHAPE PVC
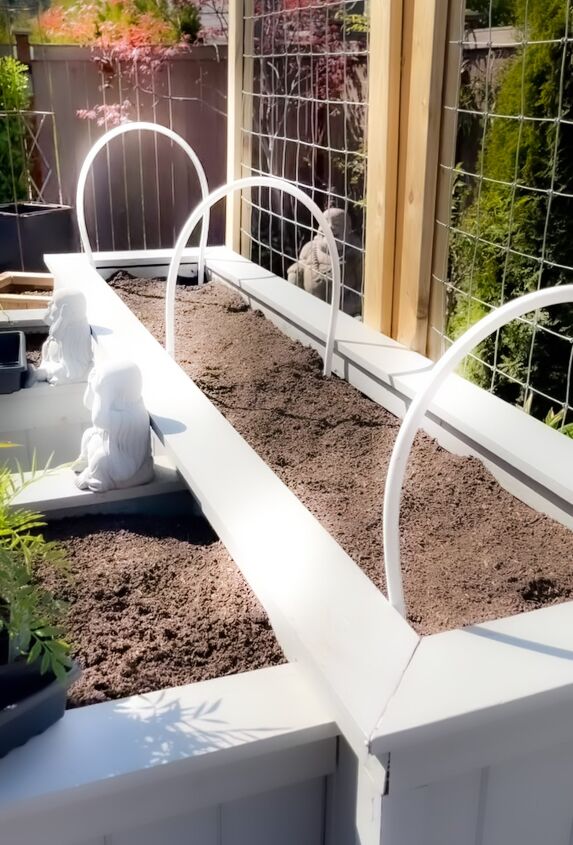
- Place your hoops where you need them every 3′ to 4′ in spacing depending on the size of your bed.
- Cut bamboo sticks to the length needed. When cutting the bamboo, always cut them at the knuckle. This will make it much easier. (SEE CUT BAMBOO VIDEO ON THE BLOG)
Materials you use make such a difference on how everything in your garden looks. Bamboo is the greatest material, easy to use and affordable. Planning what you are going to do can really makes a difference.
2. Applying Bamboo Pole Support
Apply the bamboo from hoop to hoop after cutting.
CUT BAMBOO
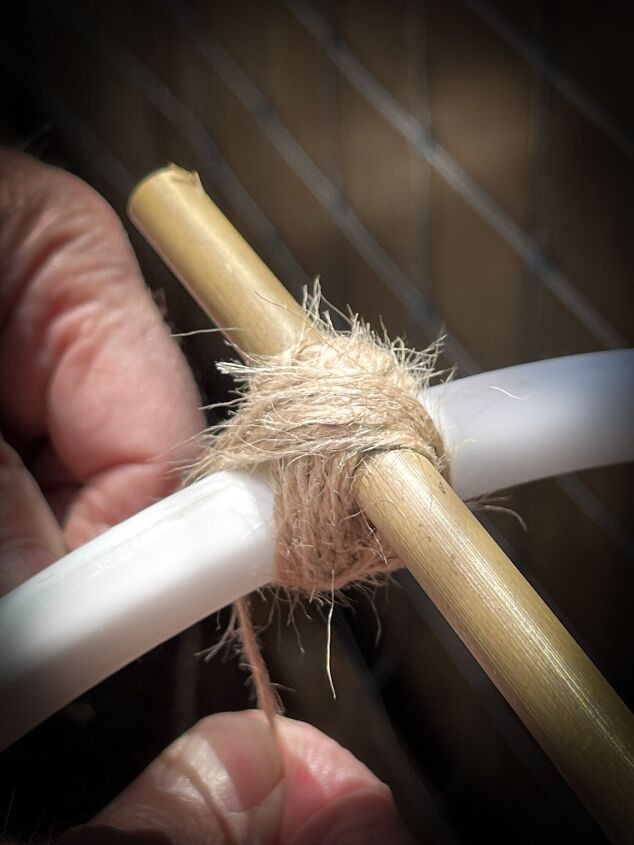
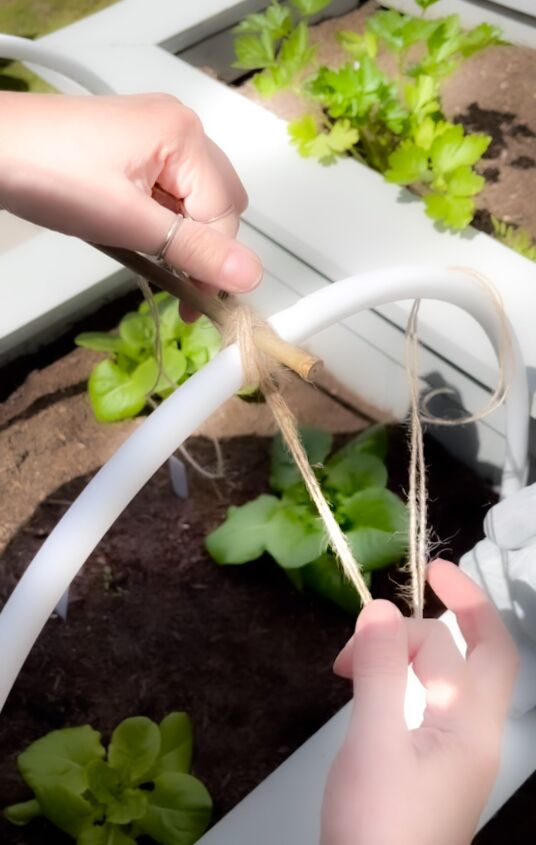
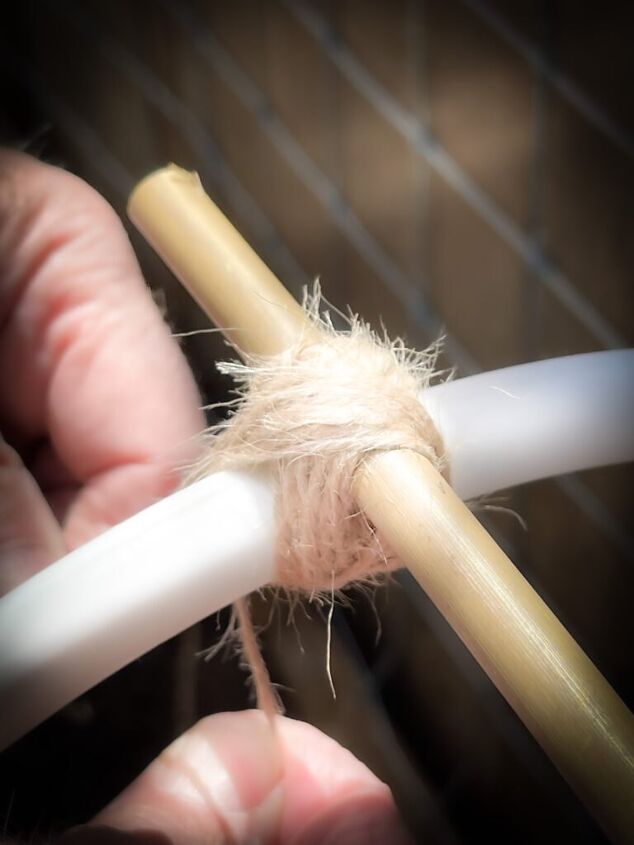
Bamboo Intersections
Hold bamboo in place with twine.
- Add bamboo to the top between each hoop to add stability and hold the garden netting in place.
- To begin applying twine to the intersections. Start by applying a slip knot on the double bamboo area. (SEE APPLY TWINE AT INTERSECTIONS VIDEO ON THE BLOG)
APPLY TWINE AT INTERSECTIONS
- At the ends, make sure to allow 1″-2″ to extend from each end in order for the bamboo not to slip off when applying the twine or after.
- At the intersections apply your twine on a criss cross style. (Refer to video for more information)
- Tie off wrap the same way as the double bamboo. (SEE APPLY TWINE AT INTERSECTIONS VIDEO ABOVE)
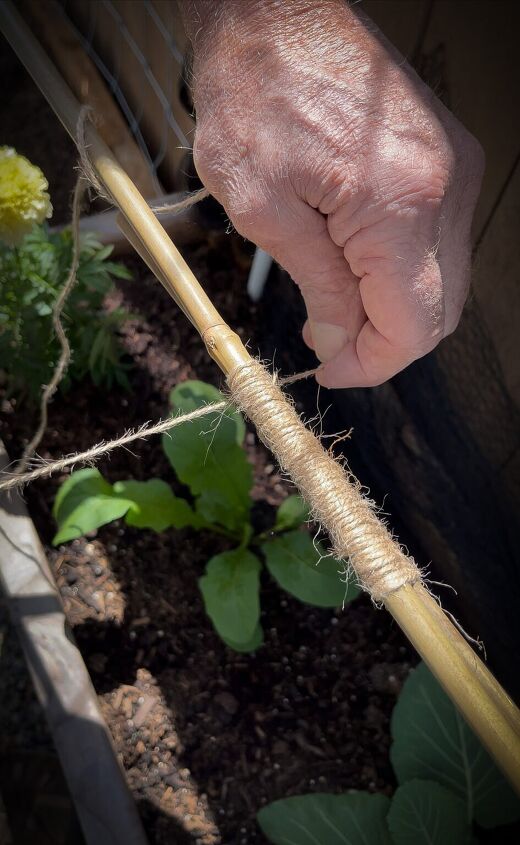
Double Bamboo Area
- You can double the bamboo to add length. (SEE DOUBLE BAMBOO TIE OFF VIDEO ON THE BLOG)
- Add twine where both bamboo pieces meet.
- To begin applying twine to the intersections, start by applying a slip knot on the double bamboo area. (SEE APPLY TWINE AT INTERSECTIONS VIDEO ON THE BLOG)
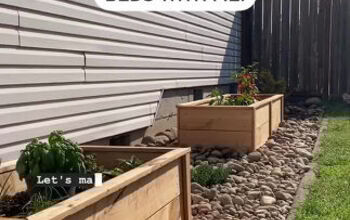
3. Applying Garden Netting to Create the Garden Bed Cover
Add net above the hoops and bamboo support.
Tie the net on the corners with zip tides.

Gathered netting and use zip tide to hold it together.
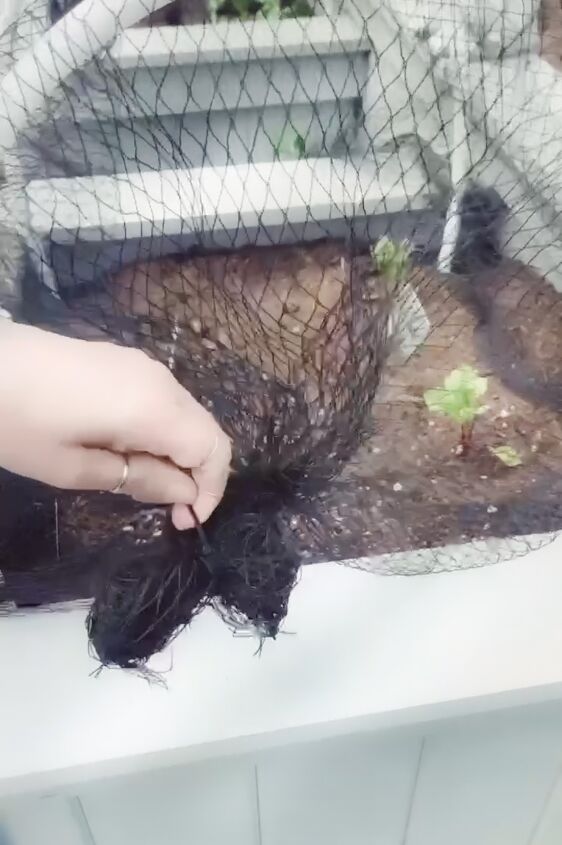
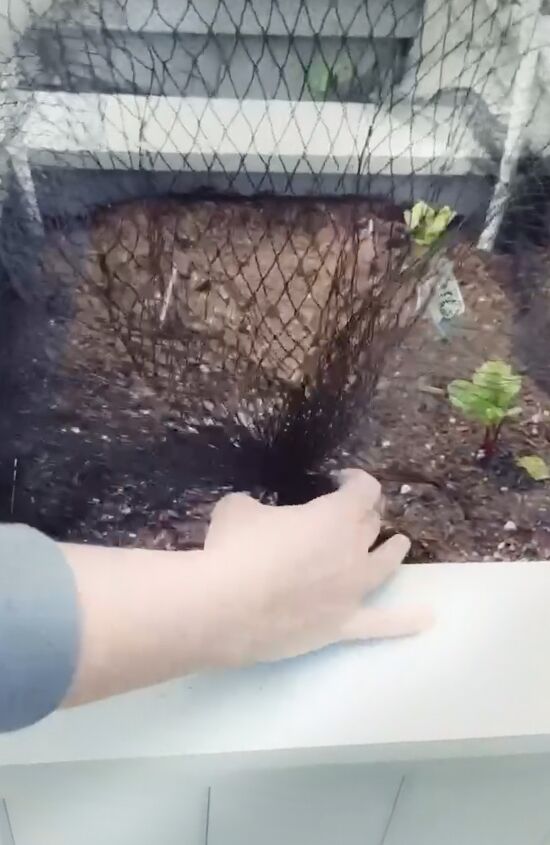
Place it inside the planter after you are done tying it up. Use a couple of zip-tides to gather the whole thing up.
- Drape garden mesh above. (SEE GARDEN NETTING VIDEO ON THE BLOG)
- Add industrial cables at the bottom of each tubing.
- Tie each end of the netting on either end.
GARDEN NETTING
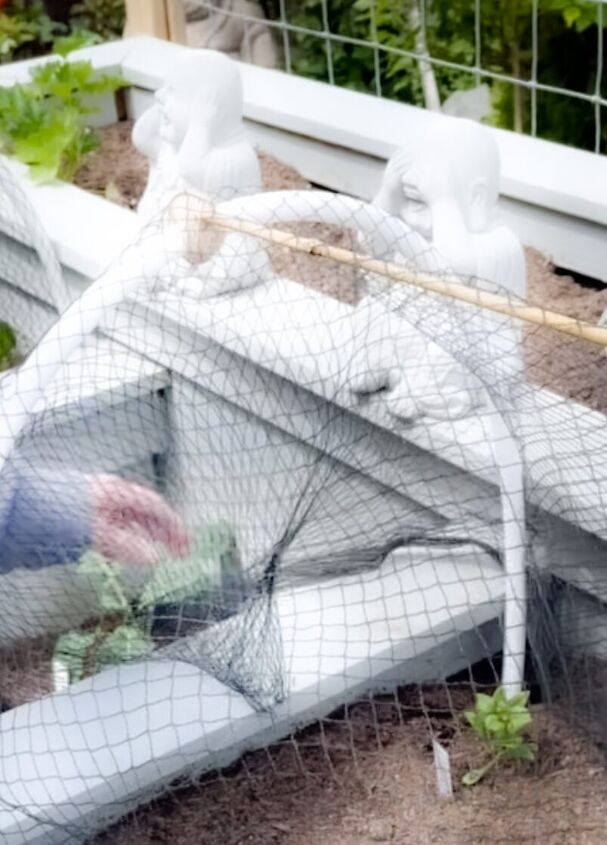
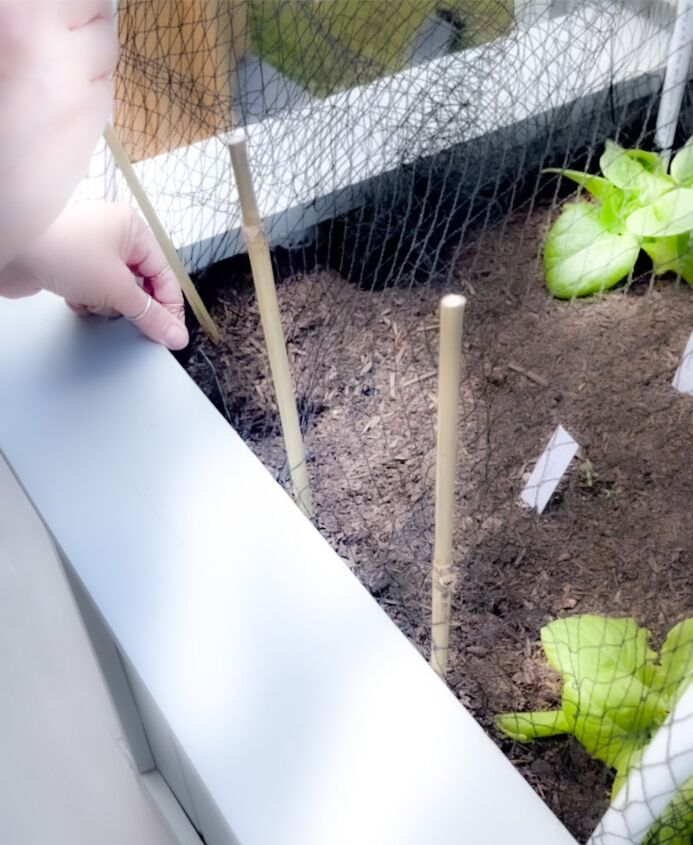
4. Close Front and Back of the Garden Bed Cover
We have to keep it stylish!
So I have a great way to close up the garden mesh on the front and back!
Gather your Bamboo sticks. Here we go!
- To close the front and back off the Garden Bed Cover add bamboo sticks. (SEE FRONT/BACK BAMBOO TIE OFF VIDEO ON THE BLOG)
- Cut the bamboo sticks 12″ to 18″.
- Insert bamboo pole through the garden netting, to hold it in place use small industrial cables. This will keep the garden netting in place and it is easy to remove when you need access to harvest. Most importantly, It looks Stylish as the final Garden Bed Cover!
FRONT / BACK BAMBOO TIE OFF
Grow Happily!
From now on, No Fear!
The pests will not win!
This a great way to battle in an organic way and have a successful harvest. It has worked out amazing for me in a small urban garden and I can’t wait for you to try it.
I have chased pests with fly swatters throughout the garden and I am happy to announce!
NO MORE!
For more Cozy Days I invite you to my You Tube!
Your Cocoon Awaits you
JOIN ME ON SOCIAL MEDIA!
Instagram @cocoonraw
Pinterest https://www.pinterest.com/cocoonraw/
Facebook https://www.facebook.com/cocoonrawdesign

I invite you to join me for Cozy Days full of beautiful Flowers on my You Tube!
Resources for this project:
See all materials


Comments
Join the conversation
-
I was lucky to avoid the butterflies, but the rabbits ate right through my mesh netting and decimated my garden over night. This year I will use chicken wire around the bottom, and mesh across the top. When my tomatoes grow to the top of the netting I cut a hole the diameter of my tomato plants and stick tall bamboo in 4 places around the base of my tomato plants and use the mesh netting to wrap around the poles covering the diameter of the hole I cut (you can attach the netting together using small zip ties if you want or have enough overlap that you don't need to) and then I wrap it around attaching it with zip ties and tying it off at the top. When it gets that tall I just untie the top and let it grow and pray for the best!
-
Very clever!


Frequently asked questions
Have a question about this project?
Ok so here is my DUH question probably, but how can you access your stuff? Do you have to undo all the ties and take out pegs..sorry newbie in home crafting and veggie growing, but I could sure use one of those for my Brussel sprouts. Thank you for the idea